macOS Ventura, meeting people's long expectations, is released on October 24th, 2022. As a major and significant macOS update, it welcomes so many fantastic features and enhancements including Stage Manager, Continuity Camera, Apple Passkeys, and so on.
You can clean install macOS Ventura on your device if it is officially supported by Apple, or you can download OpenCore Legacy Patcher to install macOS Ventura on an unsupported Mac. A Windows PC, on the other hand, can run macOS Ventura using VirtualBox. (Install Mac OS on VirtualBox)
This article describes in detail how to run macOS Ventura on VirtualBox on Windows PC. Read on to experience macOS Ventura on your PC even if you don't have a Mac right now!
Tips: You can install macOS on a Windows PC through a Hackintosh or virtual machine.
How to run macOS Ventura on VirtualBox on Windows PC?
This article will walk you through the process of installing macOS Ventura on your Windows VirtualBox, so you won't get confused. In a nutshell, your patience will be your trump card throughout the installation process.
Preparations to install macOS Ventura on VirtualBox
Before you go ahead to perform the installation work, there are some prerequisites that you must complete:
- A Windows 11/10/8.1/7 computer with at least 8GB of RAM
- A disk with at least 20GB of free storage for macOS Ventura running
- macOS Ventura ISO file (download macOS Ventura to create ISO file)
- Command lines to rule out the limitations of VirtualBox and avoid errors
Tips: Want to directly download the macOS Ventura VMDK file? Check out: Download macOS 13 Ventura VMDK for VMware/VirtualBox
Step 1: Install VirtualBox and the Extension Pack
Because macOS is not supported by Windows, you must install VirtualBox and the Extension Pack to create an environment for macOS Ventura to function normally.
How to install VirtualBox on Windows:
- Download VirtualBox and the VirtualBox extension pack from virtualbox.org.
- Right-click the installer and tap Open.
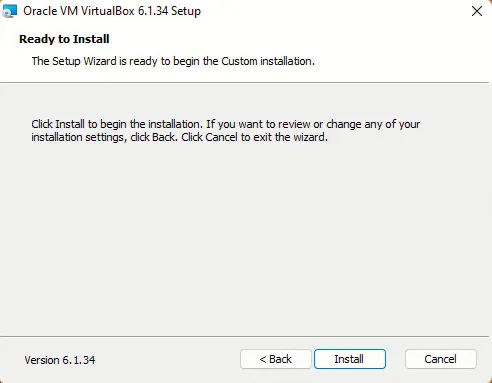
- Follow the on-screen wizard and click Next on the welcome screen, custom window, and features window.
- Select Yes and click Install.
How to install VirtualBox Extension Pack on Windows:
- Open VirtualBox you have downloaded on your PC.
- Click Preferences on the VirtualBox home window.
- Head to the Extension tab on the left sidebar and click the add icon.
- Locate the VirtualBox Extension Pack and click Open to install it.

VirtualBox Extension Pack is indispensable because it allows your mouse and keyboard to work properly during the installation process.
Step 2: Create a virtual machine for macOS Ventura on your PC
Since you have installed VirtualBox and VirtualBox Extension Pack on your PC, you can now create a virtual machine for macOS Ventura.
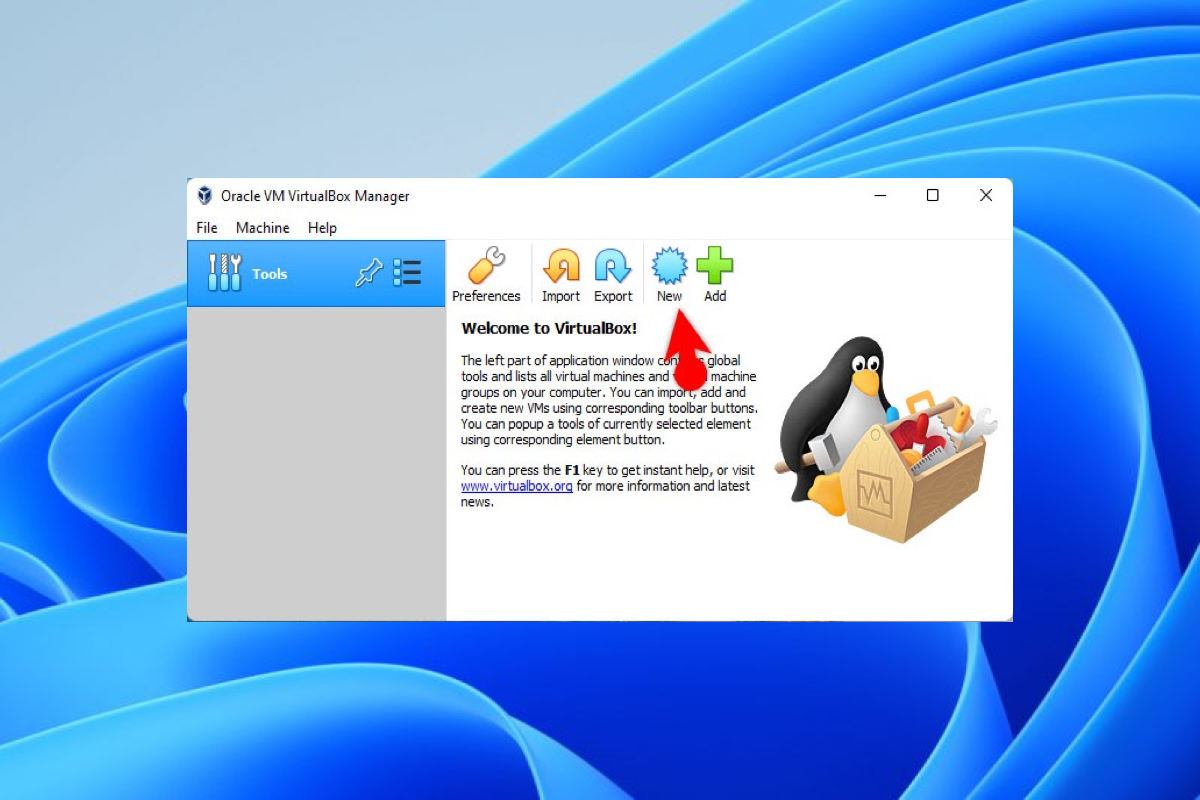
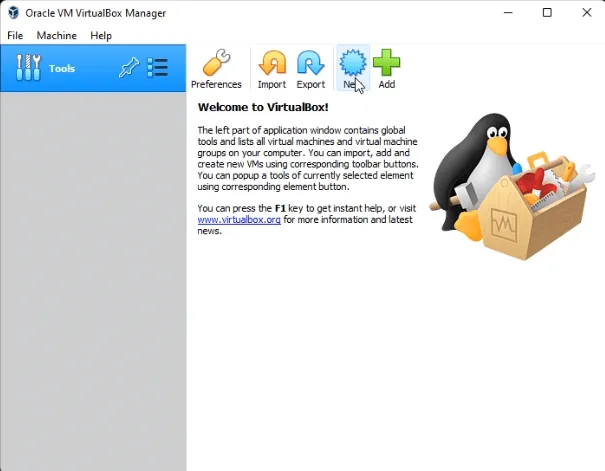
- Launch VirtualBox on your Windows computer.
- Click New on the top menu bar of the VirtualBox home window.
- Name the virtual machine as macOS Ventura and leave the rest of the settings (Machine Folder, Type, and Version) as default.

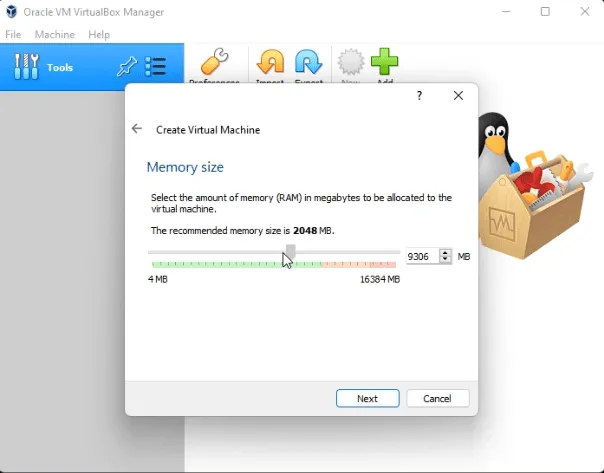
- Expand your memory size to the upper green limit and click Next.
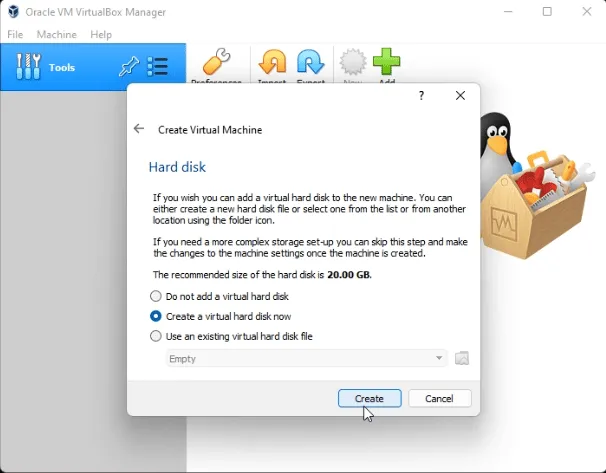
- Select Create a new virtual hard disk now and click Next.
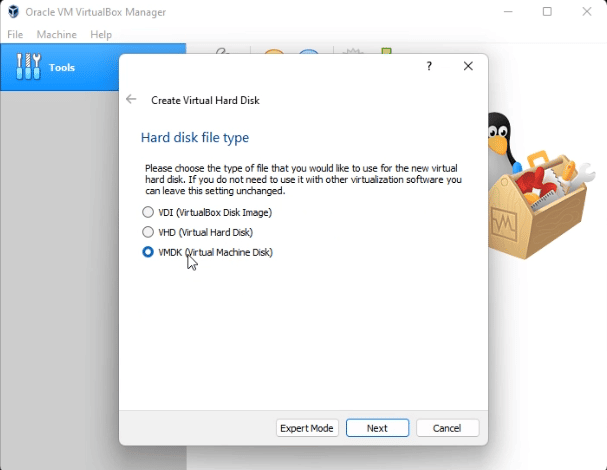
- Choose VMDK in the list and then select Next.
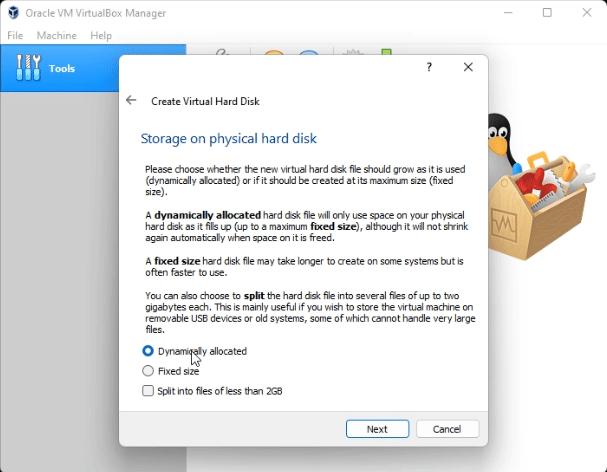
- Choose Dynamically allocated and click Next.
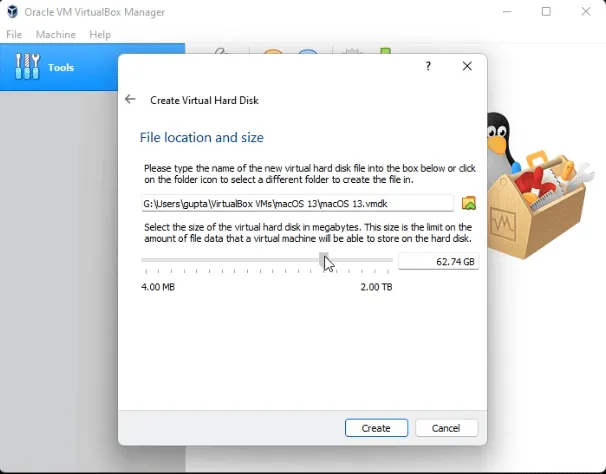
- Select a size for you to restore files and data when running macOS Ventura and click Create.
Step 3: Set up settings for macOS Ventura virtual machine
There are some necessary settings you need to modify before you install macOS Ventura on your Windows computer:
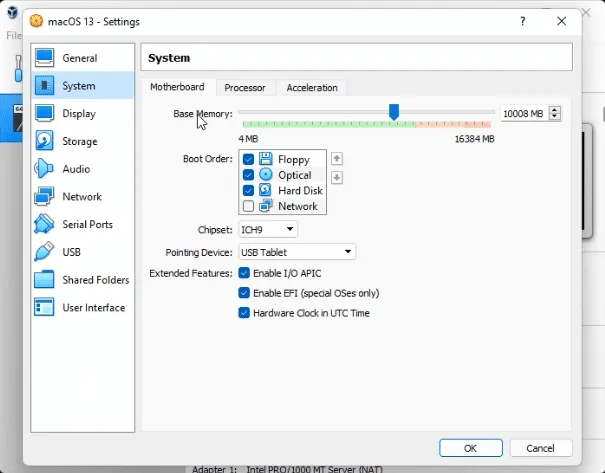
- Click Settings, click the Motherboard tab, and drag Base Memory to the far right of the green color.
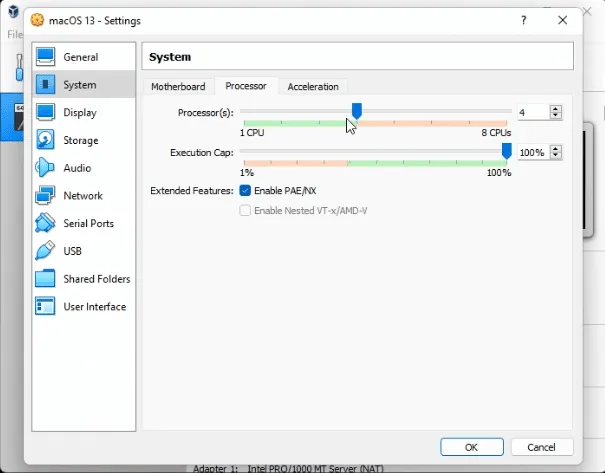
- Switch to the Processor tab, and increase the processors to 4.
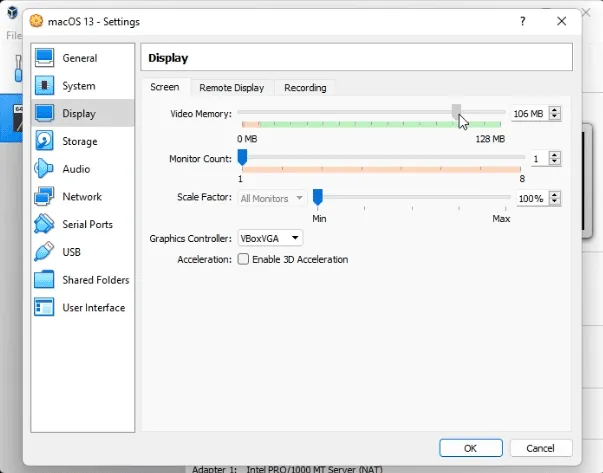
- Select Display in the left sidebar, and drag the indicator to the rightmost in Video memory.
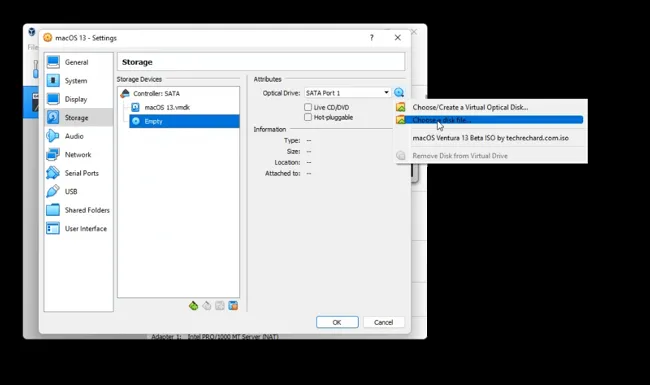
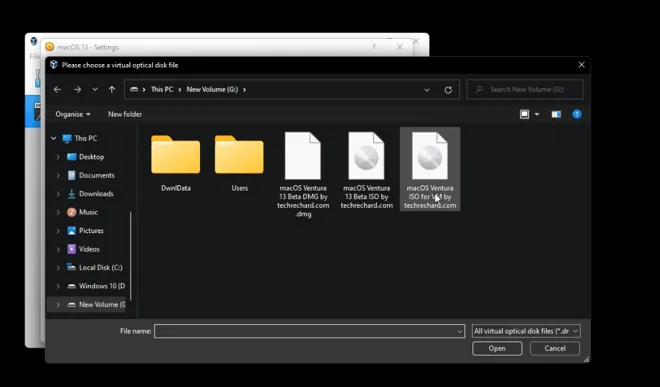
- Switch to the Storage tab, click Empty, and click the blue icon to select Choose a disk file.
- Click USB on the left bar on the VirtualBox window and tick Enable 3.0 (xHCI) controller.
Step 4: Install macOS Ventura on VirtualBox
Now, you can install macOS Ventura on your Windows VirtualBox then:
- Select the macOS Ventura ISO file that you have downloaded and then click Open.
- Launch Command Prompt and run as administrator.
- Copy all the following command lines and paste them on your Command Prompt window. Remember to replace masOS 13 with macOS Ventura which you named your virtual machine before:cd "C:\Program Files\Oracle\VirtualBox\" VBoxManage.exe modifyvm "macOS 13" --cpuidset 00000001 000106e5 00100800 0098e3fd bfebfbff VBoxManage setextradata "macOS 13" "VBoxInternal/Devices/efi/0/Config/DmiSystemProduct" "iMac19,3"VBoxManage setextradata "macOS 13" "VBoxInternal/Devices/efi/0/Config/DmiSystemVersion" "1.0" VBoxManage setextradata "macOS 13" "VBoxInternal/Devices/efi/0/Config/DmiBoardProduct" "Iloveapple" VBoxManage setextradata "macOS 13" "VBoxInternal/Devices/smc/0/Config/DeviceKey" "ourhardworkbythesewordsguardedpleasedontsteal(c)AppleComputerInc" VBoxManage setextradata "macOS 13" "VBoxInternal/Devices/smc/0/Config/GetKeyFromRealSMC" 1
- Hit Enter/Return to run the command lines to rule out the limitations of VirtualBox and to avoid errors in installing Mac OS on VirtualBox.
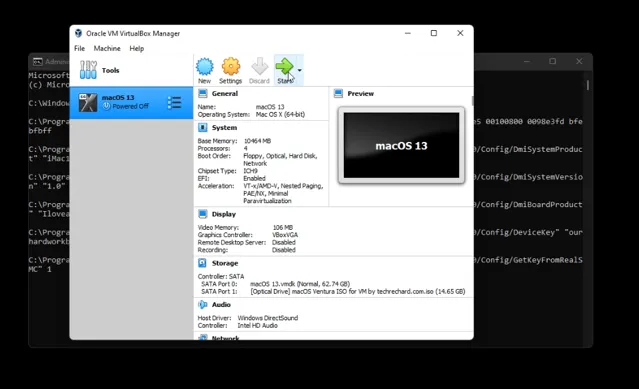
- Launch VirtualBox and select macOS Ventura on the left sidebar.
- Click Start on VirtualBox.
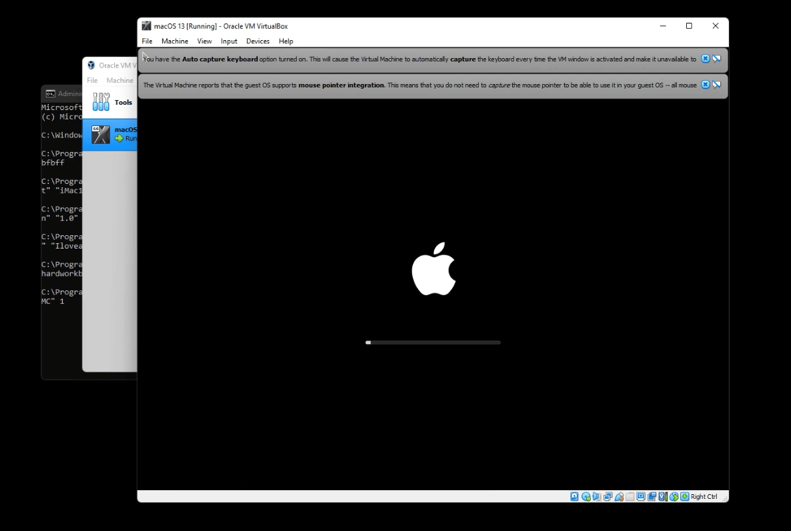
- Wait for the process which will take some time and wait for the apple logo to appear.
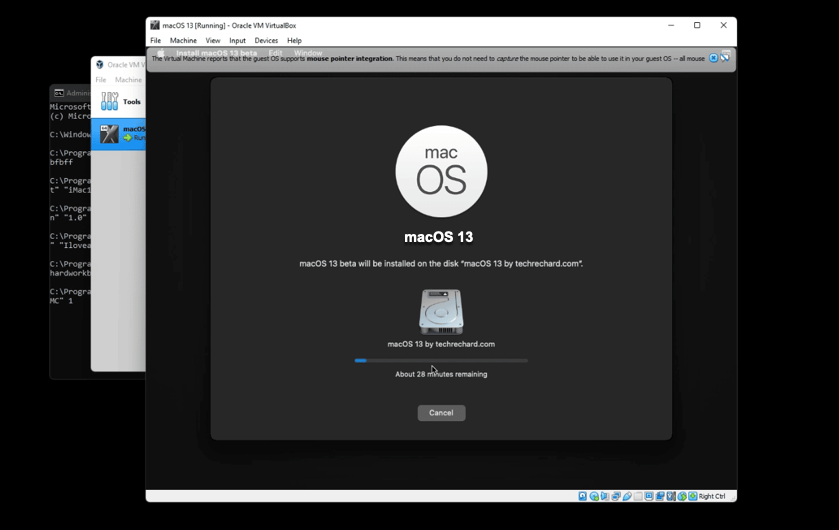
- Follow the on-screen wizard to complete the whole installation work.
Now, you can experience macOS Ventura as long as you launch VirtualBox on your Windows computer. And do not forget to share your happiness with your families and friends!
Want to try the macOS Sonoma on your Windows PC? This post from iBoysoft is right for people who want to install macOS Sonoma on VirtualBox on a Windows PC.
Tricks on using macOS Ventura on Windows VirtualBox
When running macOS 13 in Windows VirtualBox, you may encounter issues. Just relax; this article will provide you with solutions to common problems you may encounter.
1. What to do when stuck in a boot loop
- When your device boots again and again, please add the following command lines to those that are used to rule out the limitations of VirtualBox.
- VBoxManage settextradata “YOUR_VM_NAME” “VBoxInternal/TM/TSCMode” “RealTSCOffset”
- The "Your-VM-Name " refers to the virtual machine name that you modified, and you should replace it before you run the command lines.
2. Failed to query SMC value from the host (VERR_INVALID_HANDLE)
When you meet the trouble that "Failed to query SMC value from the host (VERR_INVALID_HANDLE)", run this command line in the Command Prompt:
VBoxManage.exe setextradata “VM name” “VBoxInternal/Devices/smc/0/Config/GetKeyFromRealSMC” 0
Please replace "VM name" with your virtual name before running this command line.
Wrap up
macOS Ventura is highly rewarded for its wonderful performance. This article tells you how to install macOS Ventura on a Windows VirtualBox so that experiencing macOS 13 on Windows is not wishful thinking anymore. If you are eager to get a taste of macOS 13 on your Windows PC, try it right now!
12 Best macOS Ventura Hidden Features You Must Know!
This article goes over the hidden features of macOS Ventura to help you get the most out of this new operating system. They make it easier for you to work with macOS Ventura. Read more >>
If you're interested in installing macOS 13 on VMware, check out this guide: How to Install macOS Ventura on VMware on Windows PC? (Step-by-Step)
Share this article to let more Windows users have a chance to enjoy macOS Ventura without buying a Mac!
FAQ about how to install macOS Ventura on VirtualBox on Windows
- QWhat Windows PC can run macOS Ventura?
-
A
You can run macOS Ventura on your Windows 11/10/8.1/7 by creating a virtual machine on your PC.
- QIs there another virtual machine available for running macOS Ventura on a Windows PC?
-
A
Yes, you can use VMWare, VirtualBox, and Parallels to run macOS Ventura on your Windows PC