The first exposure of Command Shift 4 arouses your curiosity to learn everything about it. Well, this post is a full introduction to Command + Shift + 4 on Mac. It will explain what Command Shift 4 is, compare it with Command Shift 3 and 5, and answer your other common questions about this keyboard shortcut on Mac.
What is Command Shift 4 on Mac?
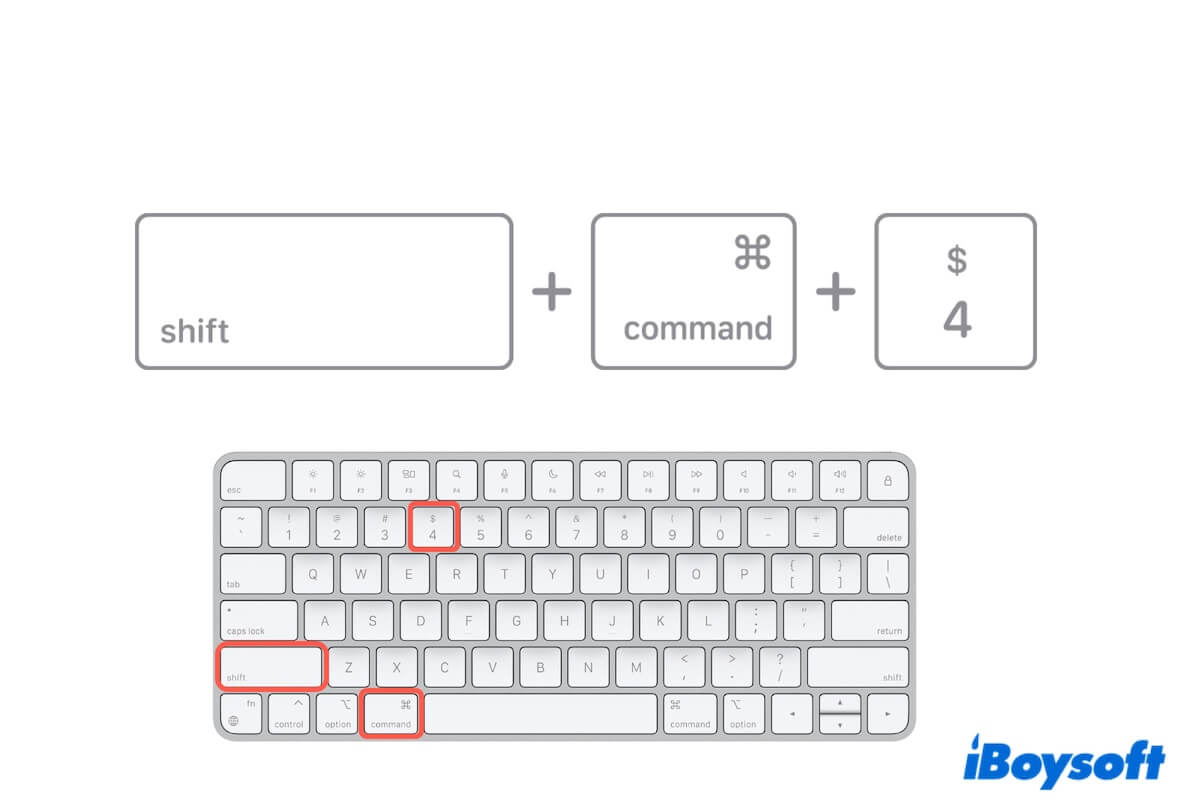
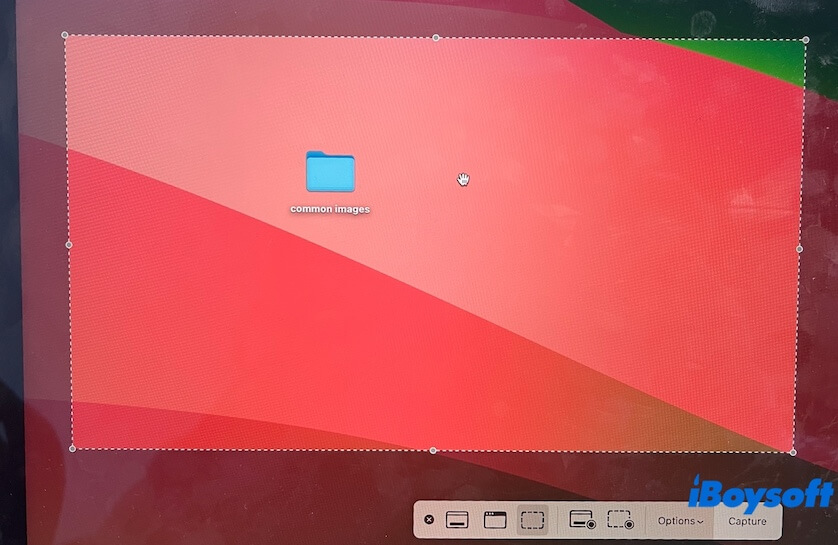
Command Shift 4 is the keyboard shortcut that enables you to capture a portion of your Mac screen. After you press Command Shift 4, a crosshair will appear on your screen. You can drag the crosshair to select the area you want to capture on the screen. Later, you'll see this screenshot on your Mac desktop (if you haven't changed the save location).
If you want to cancel capturing the screen, press the Esc key. If you want to the selection become movable, hold down the Space bar while dragging it.
What's the difference between Command Shift 3, 4, and 5?
Not only Command Shift 4 for taking screenshots on a Mac or MacBook, but also Command + Shift + 3 and Command + Shift + 5 can do that. However, these three key combinations for taking screenshots on a Mac are slightly different.
Here are the differences between Command Shift 4, Command Shift 3, and Command Shift 5.
- Command Shift 4 is used to capture the partial of the screen on your Mac. You need to drag the crosshair to select your wanted area on the screen.
- Command Shift 3 is used to directly take a screenshot of the entire screen on your Mac and save it as a PNG file to your desktop by default.
- Command Shift 5 is the shortcut used to launch the built-in Screenshot application on your Mac. It invokes an overlaid and movable rectangle with edition options for capturing the entire screen, selected window, or selected portion or recording the entire screen or selected portion.
| Capture the selected portion of the screen | Take a screenshot of the entire screen | Record the screen | Drag to select the area you need to capture | |
| Command Shift 4 | Yes | Yes | No | Yes |
| Command Shift 3 | No | Yes | No | No |
| Command Shift 5 | Yes | Yes | Yes | No, but need to adjust the overlaid and movable rectangle to take a screenshot. |
If you understand the similarities and differences between Command Shift 4, 3, and 5, go to tell others.
Is Command Shift 4 saving the image to the clipboard?
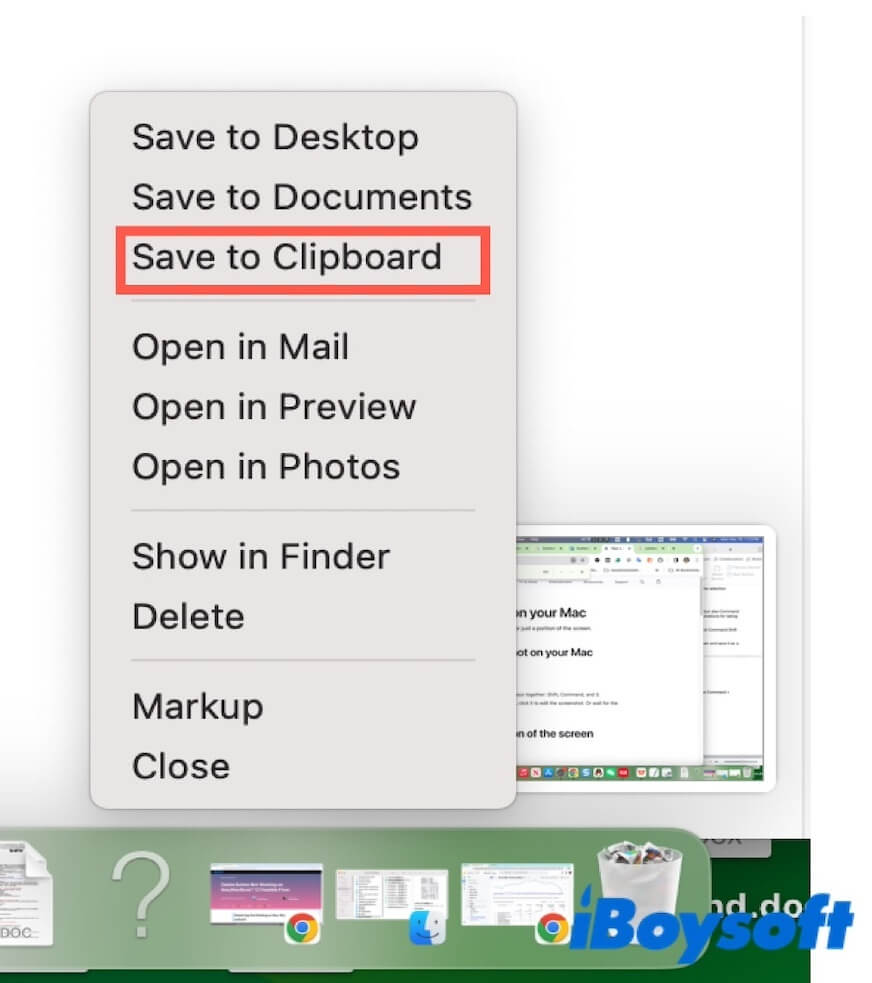
After taking a screenshot with Command Shift 4, the image is saved to the desktop by default. It won't save the image to the clipboard.
To use Command + Shift + 4 to save to the clipboard, you need to right-click the thumbnail in the bottom right corner of your screen after capturing the screen, then select "Save to Clipboard."
Command Shift 4 not working on Mac, what to do?
If Command Shift 4 not working on your Mac, you can follow these checks and fixes:
- Check if you've enabled Command + Shift + 4 on your Mac in System Settings (Keyboard > Shortcuts).
- Use Command Shift 5 or Command Shift 3 to take a screenshot on Mac.
- Check or change your external keyboard.
- Re-pair your wireless keyboard.
- Directly open the Screenshot utility in Launchpad > Other.
- Use a third-party app like iBoysoft MagicMenu to right-click to capture the screen on Mac.
How to do Command Shift 4 on Windows?
Command Shift 4 is used to capture a screen on a Mac. The equivalent of Command Shift 4 on Windows is the Print Screen key on your keyboard.
Here's the detailed steps about how to take a screenshot on Windows:
Take the entire screen of a Windows computer:
- Find the Print Screen key on your Windows keyboard. It may be abbreviated as "PrtSc" or "PrtScn".
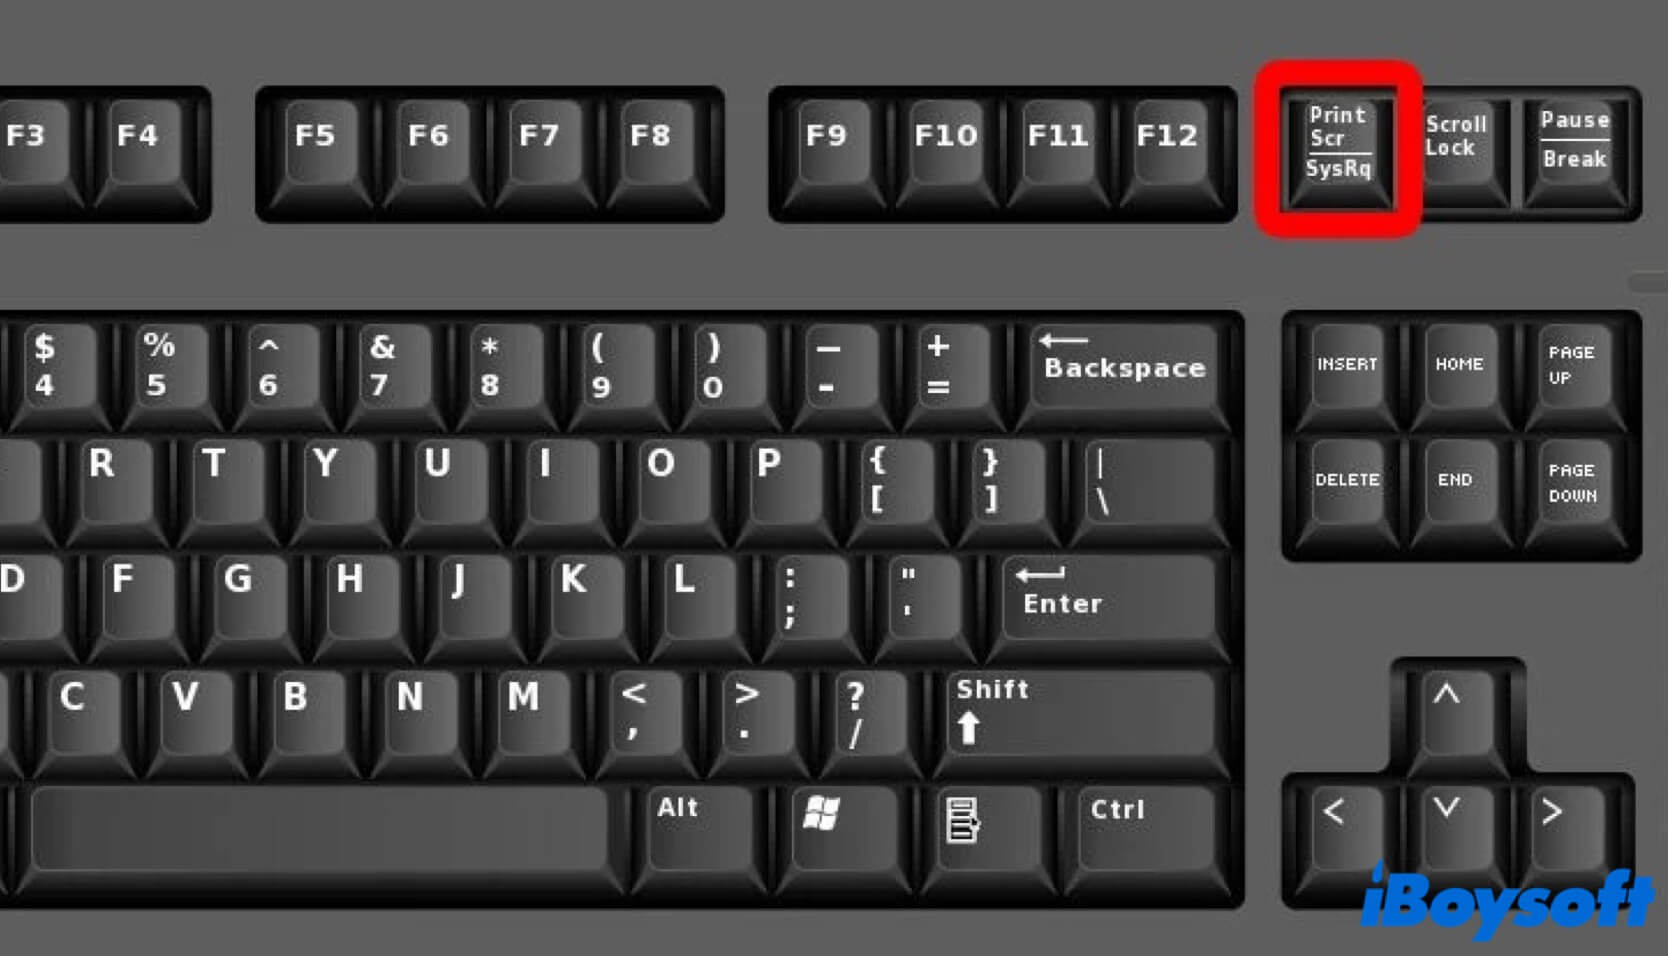
- Press the key to capture the entire screen on your PC.
To capture a selected area on the Windows screen:
- Press down the Windows key, the Shift key, and the S key.
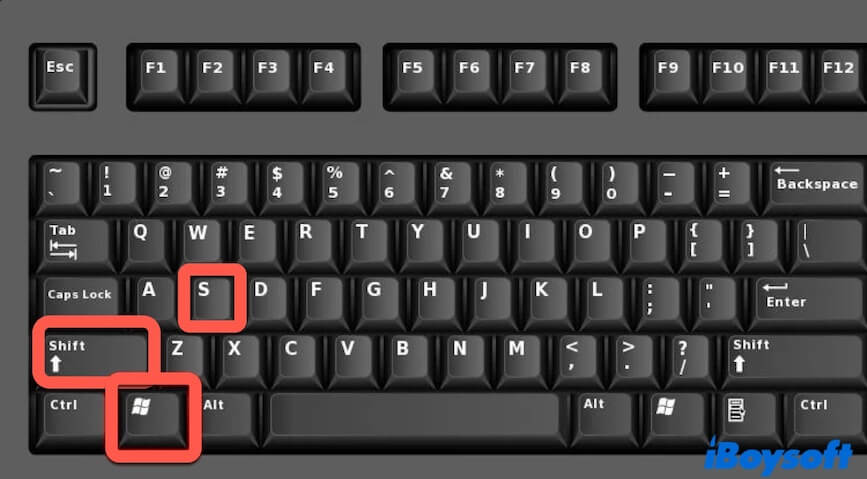
- Select the area on the screen you want to capture.
Take a specific window on the Windows screen:
- Click the window to activate it.
- Press the Alt + Print Screen shortcuts.
- Open one of the image editors (like Photoshop) on your computer and press Ctrl + V to paste the captured window.
If this post helps you get a full learning of Command Shift 4, share it with your followers.