Downloading macOS ISO files is often required for creating virtual machines, installing macOS on non-Apple hardware for testing, or preparing bootable installation media. However, Apple does not officially provide macOS ISO files for direct download, which makes many online ISO sources unreliable or unsafe.
This guide explains the safest and most practical ways to get macOS ISO files, with a strong focus on official sources and an easier alternative using iBoysoft DiskGeeker.
Do You Actually Need a macOS ISO? (Quick Decision Check)
Use ISO if:
✅ Running macOS in a VM
✅ Creating bootable media from non-macOS environments
Do NOT use ISO if:
❌ Installing macOS on a Mac (use installer directly)
Why You Should NOT Download macOS ISO Files Online?
Downloading macOS ISO files from unofficial websites may seem convenient, but it comes with serious risks that can affect both your system's security and stability.
- Modified systems: Unofficial ISOs may be altered to include unwanted changes, hidden scripts, or pre-installed software you didn't ask for.
- Missing updates: These files are often outdated or incomplete, lacking important security patches and system components.
- Malware and security threats: Some downloads may contain malicious code, putting your personal data and system at risk.
To ensure a safe and reliable installation, always download macOS from official Apple sources or using a trusted tool that automates the process safely.
Method 1 (Recommended): Create macOS ISO from Official Installer (Tested)
If you already have the macOS installer app on a Mac, you can manually create an ISO file using Terminal.
- This method works if:
- ✅ You have a Mac that's compatible with the macOS version you need.
- ✅ You can deal with Terminal commands.
- ✅ You don't mind spending more time or facing potential errors.
| Test Environment |
| 💻 Device: MacBook Air |
| 💿 OS: macOS Sonoma |
| 🎯 ISO Target: macOS Sonoma |
| ⏰ Time: ~30 minutes total |
Basic Workflow:
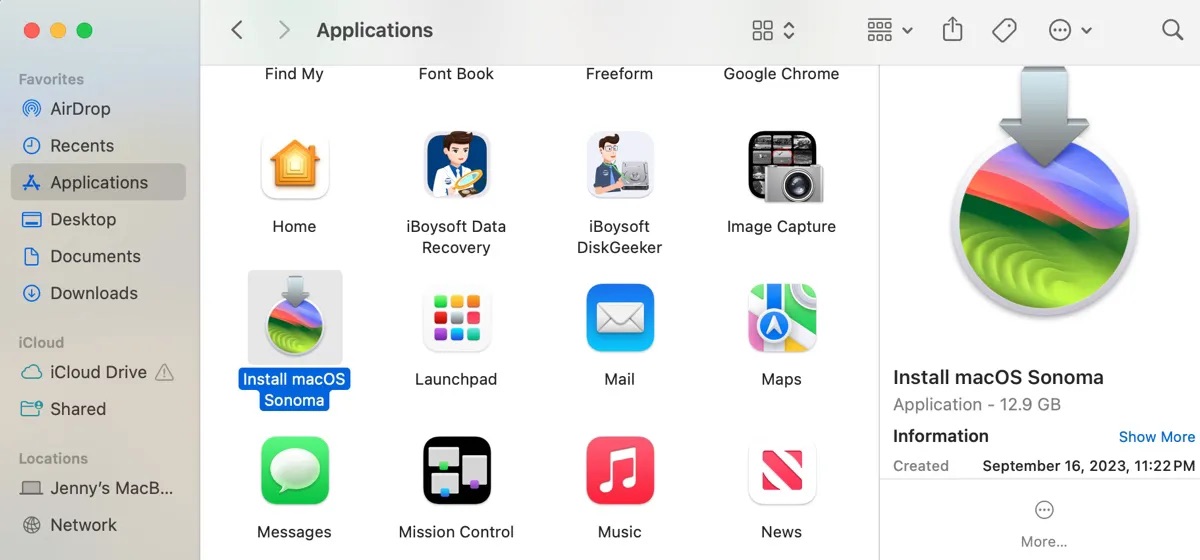
Step 1: Download the official macOS full installer
To make the macOS ISO file, you'll need to download the macOS full installer first. For macOS High Sierra and later, you can get it from the App Store. For macOS Sierra and earlier versions, download the DMG file and then double-click to expand it until you install the macOS installer to the Applications folder.
Download the latest macOS Tahoe full installer here
Step 2: Make an empty ISO disk image in Terminal
Then you can proceed to create an empty disk image to accommodate the bootable USB installer. To do it, open Terminal and run the following command:
hdiutil create -o /tmp/Sonoma -size 15979m -volname Sonomaiso -layout SPUD -fs HFS+J -type UDTO -attach
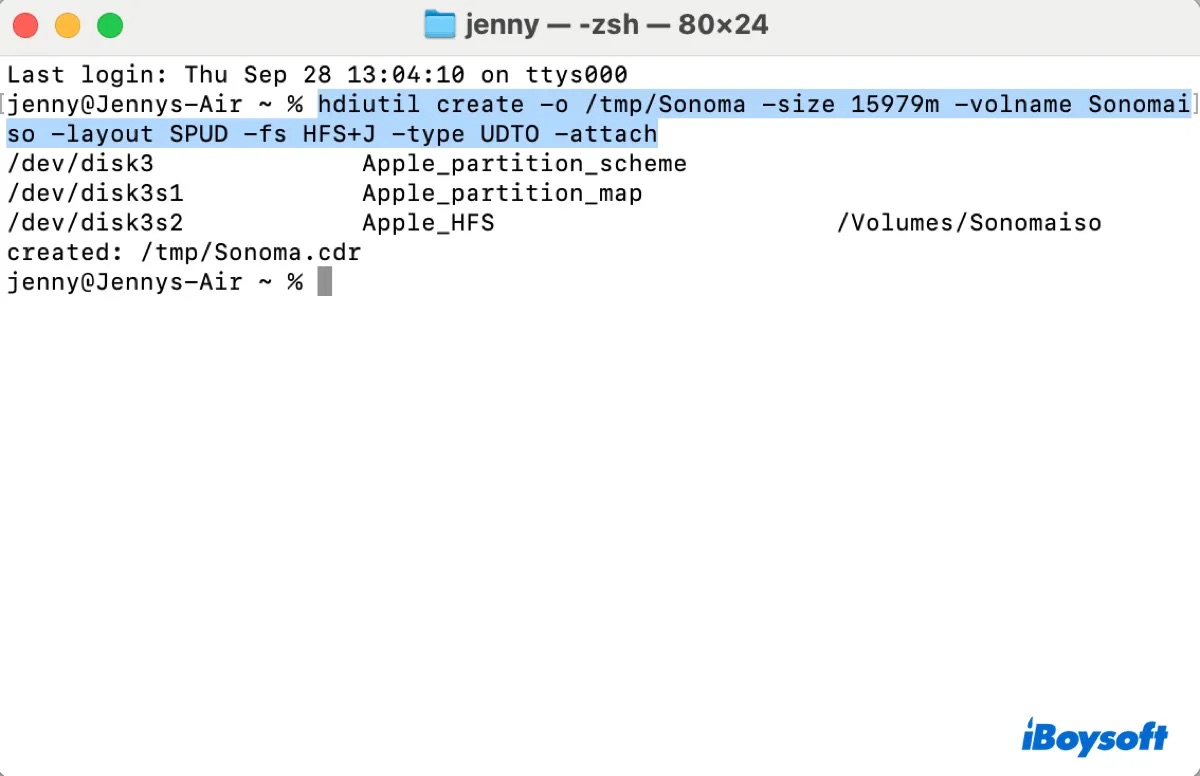
This command makes a new, 15979 MB disk image with the file system Mac OS Extended (Journaled) in the /tmp directory with the name "Sonoma," and of the type suitable for creating CD/DVD ISOs.
If you're creating an ISO file of a different macOS, change "Sonoma" to the desired system.
Step 3: Create a bootable macOS installer
To make the ISO file bootable, you'll also need to turn the macOS full installer into a bootable copy. Copy and paste the command for your macOS version and execute it in Terminal.
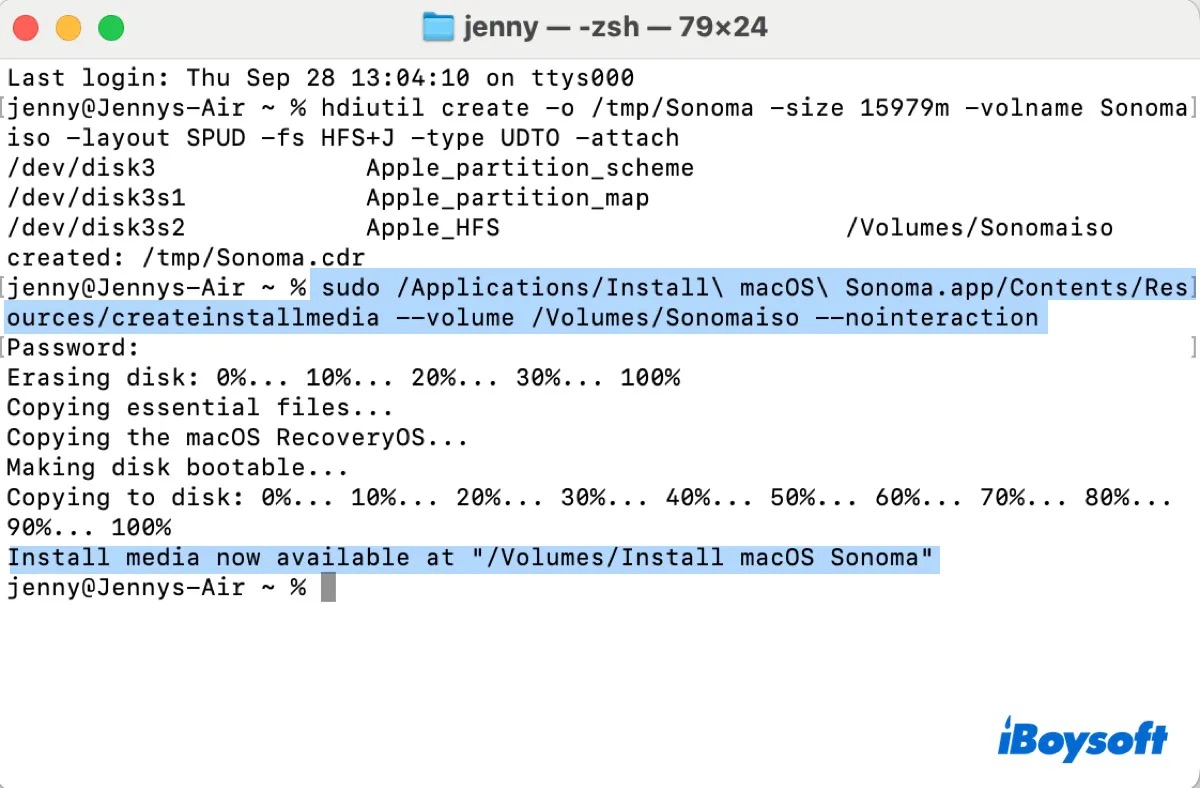
sudo /Applications/Install\ macOS\ Tahoe.app/Contents/Resources/createinstallmedia --volume /Volumes/ISOsudo /Applications/Install\ macOS\ Sequoia.app/Contents/Resources/createinstallmedia --volume /Volumes/ISOsudo /Applications/Install\ macOS\ Sonoma.app/Contents/Resources/createinstallmedia --volume /Volumes/ISO sudo /Applications/Install\ macOS\ Ventura.app/Contents/Resources/createinstallmedia --volume /Volumes/ISOsudo /Applications/Install\ macOS\ Monterey.app/Contents/Resources/createinstallmedia --volume /Volumes/ISOsudo /Applications/Install\ macOS\ Big\ Sur.app/Contents/Resources/createinstallmedia --volume /Volumes/ISOsudo /Applications/Install\ macOS\ Catalina.app/Contents/Resources/createinstallmedia --volume /Volumes/ISOsudo /Applications/Install\ macOS\ Mojave.app/Contents/Resources/createinstallmedia --volume /Volumes/ISOsudo /Applications/Install\ macOS\ High\ Sierra.app/Contents/Resources/createinstallmedia --volume /Volumes/ISO
sudo /Applications/Install\ OS\ X\ El\ Capitan.app/Contents/Resources/createinstallmedia --volume /Volumes/ISO --applicationpath /Applications/Install\ OS\ X\ El\ Capitan.app
The command runs with administrative privileges, requiring your account login password. Type the correct password (it won't echo to the screen) and press Enter to send it.
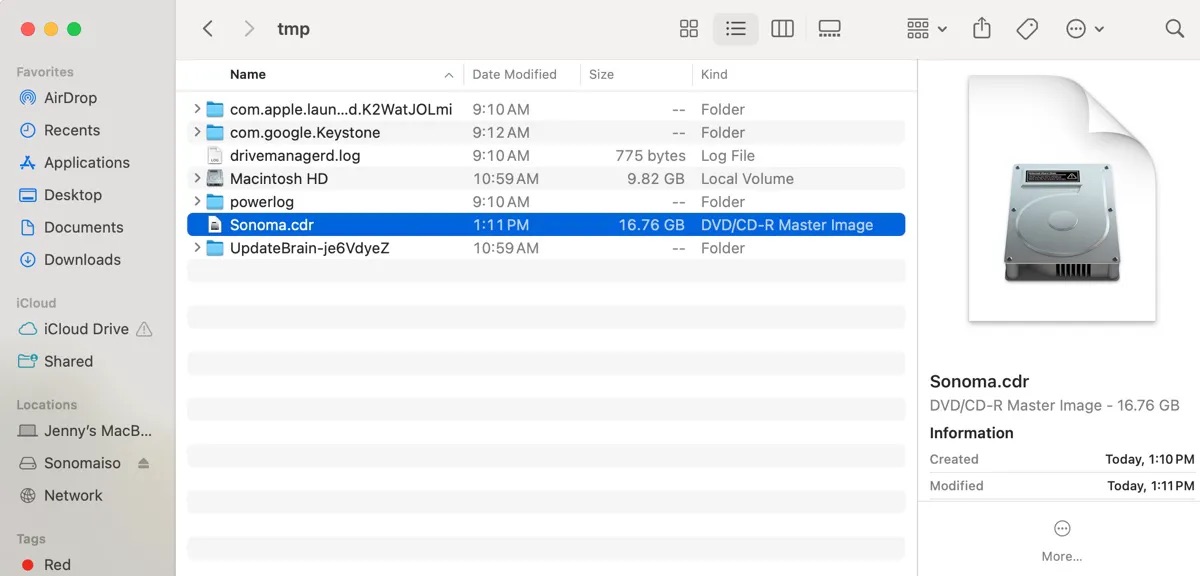
Step 4: Unmount the disk image and convert it into ISO
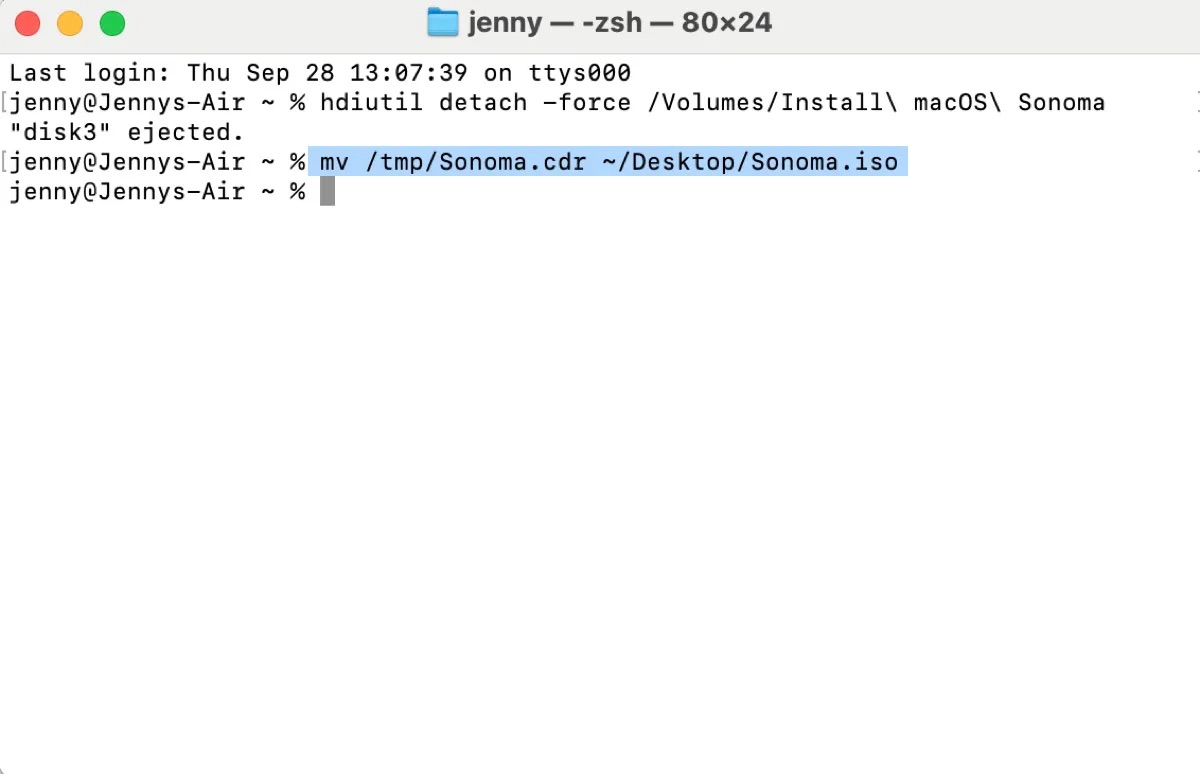
Once the macOS install media is created, unmount it and convert it from .cdr to .iso with the following commands (Replace Sonoma with your macOS version):
hdiutil detach -force /Volumes/Install\ macOS\ Sonoma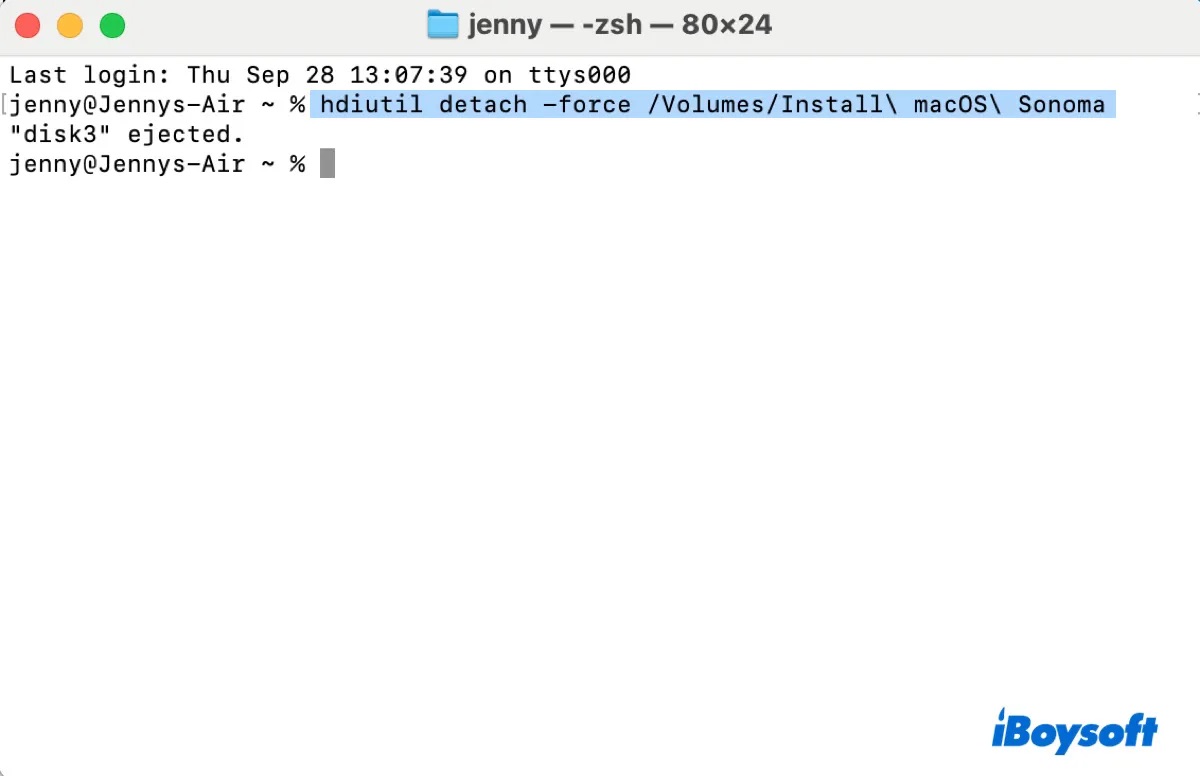
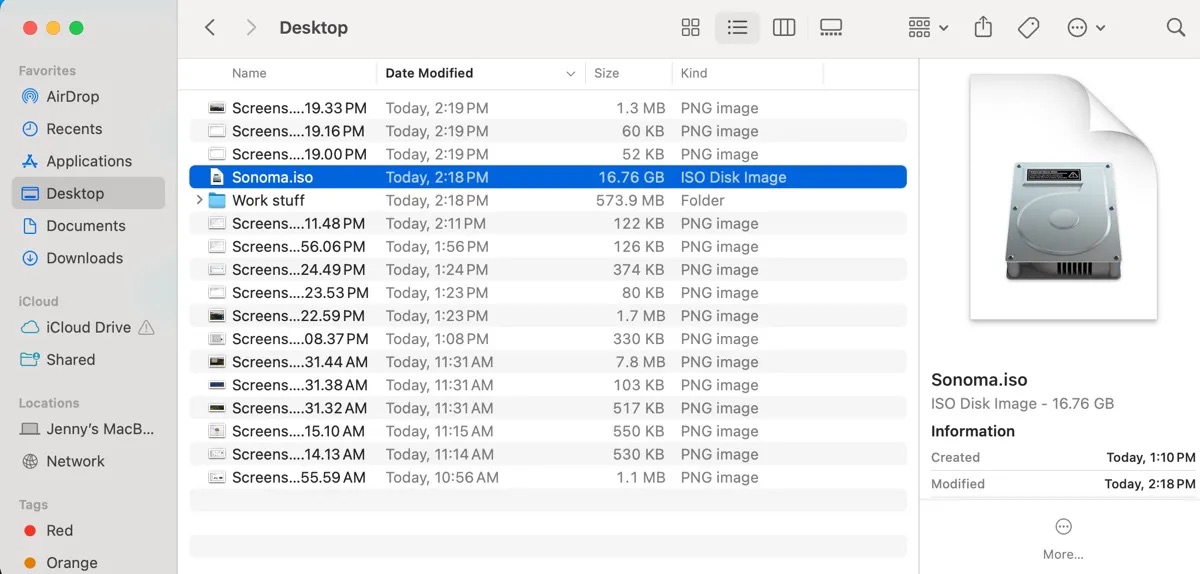
mv /tmp/Sonoma.cdr ~/Desktop/Sonoma.iso
Step 5. Test the ISO in a Virtual Machine
After the ISO file is created, I tested it in VMware Fusion on my MacBook Air. It booted successfully without errors.
⚠️ This method is error-prone and not recommended for inexperienced users.
Common Errors & Fixes (Real Cases)
| Error | Cause | Fix |
|---|---|---|
| resource busy | volume not detached | use hdiutil detach |
| command not found | wrong path | drag file into Terminal |
| boot failure | corrupted ISO | re-run conversion |
Method 2: Easier Workflow Using a GUI Tool (Beginner-Friendly)
- When this makes sense:
- ✅ No Terminal experience
- ✅ Uses Apple's official distribution channels
- ✅ Eliminates the risk of corrupted or modified installers
- ✅ Working on Windows & macOS
- ✅ Want fewer manual steps
iBoysoft DiskGeeker is recommended if you want to download the macOS ISO file on a Windows PC or a Mac directly with fewer steps.
What the tool actually does (demystified):
- Download official macOS installers directly from Apple servers.
- Choose from multiple macOS versions.
- Avoid broken or unsafe third-party ISO sources.
- Download macOS ISO files and create macOS bootable USB installers.
macOS Versions Available for Download in This Tool:
Choosing the right macOS version depends on your hardware, compatibility needs, and use case. Use the table below as a practical reference:
| macOS Version | Release Year | Best For | Notes |
|---|---|---|---|
| macOS Tahoe | 2025 | Latest testing & VMs | Cutting-edge, may have compatibility issues |
| macOS Sequoia | 2024 | Latest VM testing | May have compatibility issues |
| macOS Sonoma | 2023 | Stable modern use | Recommended default for most users |
| macOS Ventura | 2022 | Broad compatibility | Good balance between performance and support |
| macOS Monterey | 2021 | Older VM setups | Stable and reliable |
| macOS Big Sur | 2020 | Intel & Apple Silicon Macs | First version supporting Apple Silicon |
| macOS Catalina | 2019 | Legacy software support | No 32-bit app support |
| macOS Mojave | 2018 | Older Macs | Last version with 32-bit app support |
| macOS High Sierra | 2017 | Older Macs | Good for very old hardware |
| macOS Sierra | 2016 | Older Macs | Basic functionality only |
| OS X Mavericks | 2015 | Older Macs | Legacy use only |
| OS X Mavericks | 2014 | Older Macs | Legacy use only |
| OS X Lion | 2013 | Older Macs | Very outdated |
| OS X El Capitan | 2012 | Older Macs | Stable but obsolete |
| OS X Yosemite | 2011 | Older Macs | Obsolete |
| Mac OS X Snow Leopard | 2010 | Older Macs | Very old, unsupported |
Tip: If you're unsure, choose macOS Sonoma for the best balance of stability, compatibility, and modern features.
Download macOS ISO on Windows
On a Windows PC, you can download the targeted macOS ISO file directly and then use it for virtual machines, installing macOS on a PC, or creating a macOS bootable installer on Windows.
Step 1: Download, install, and open iBoysoft DiskGeeker for Windows.
Step 2: Open Download and create boot disk > Download macOS system image.

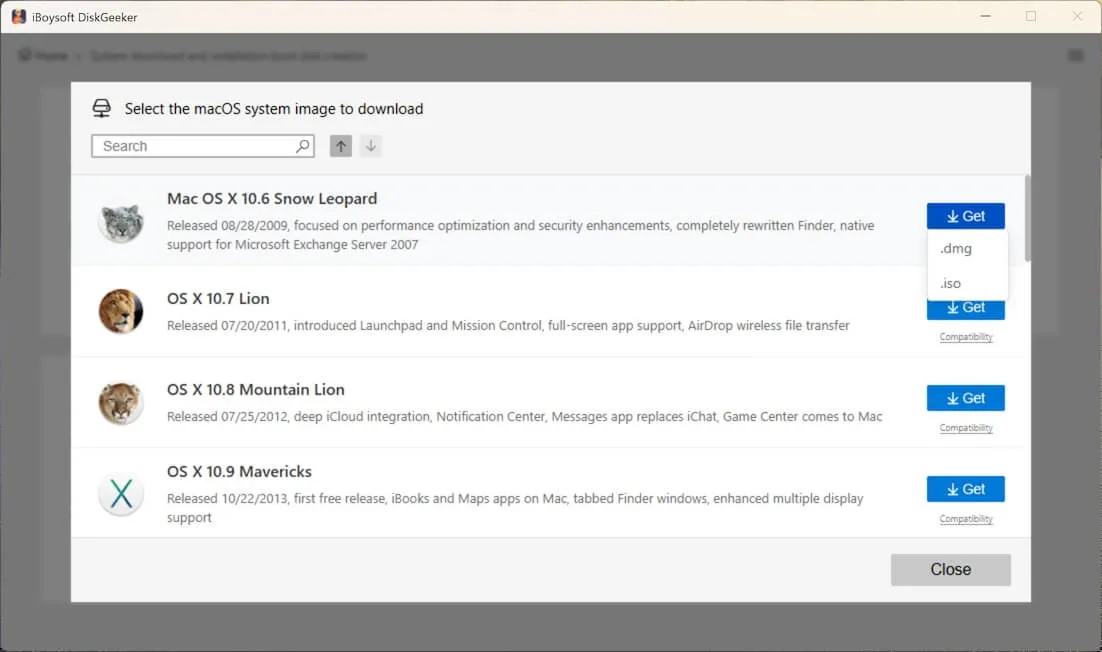
Step 3: Choose the needed macOS version and click Get.
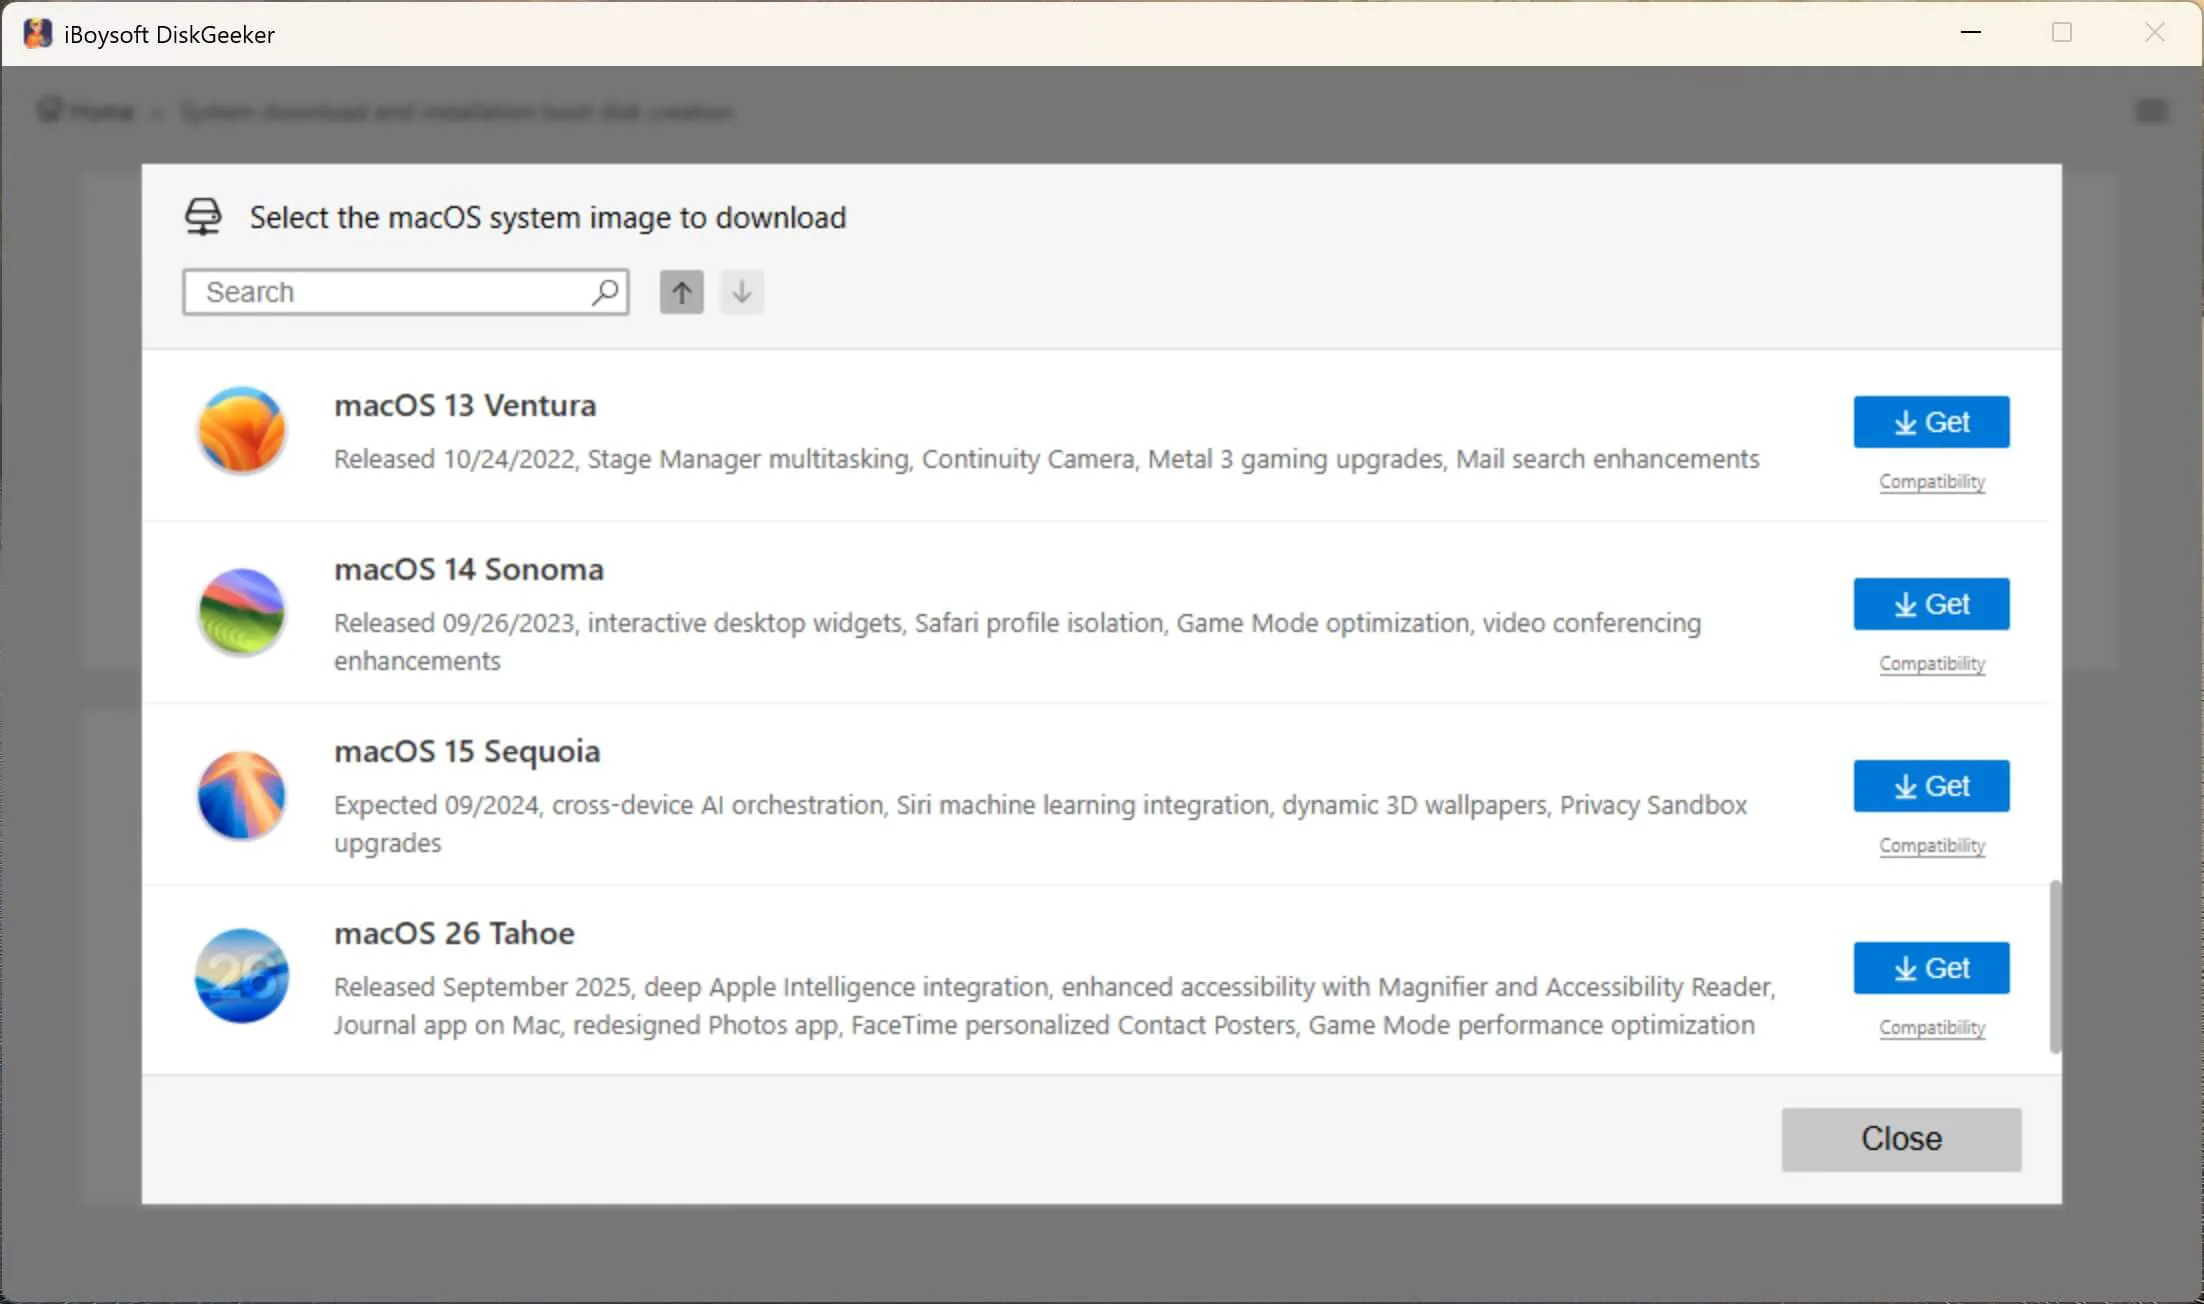
Step 4: Select the .iso format.
Step 5: Save the Mac OS ISO file to a desired location.

Reminder: If you need a macOS bootable USB installer, choose Create macOS USB installer in Step 2 instead.
Share this tool to benefit others!
Download macOS ISO on Mac
On a Mac, you can download the macOS installer for virtual machines or deployment. Follow the steps below:
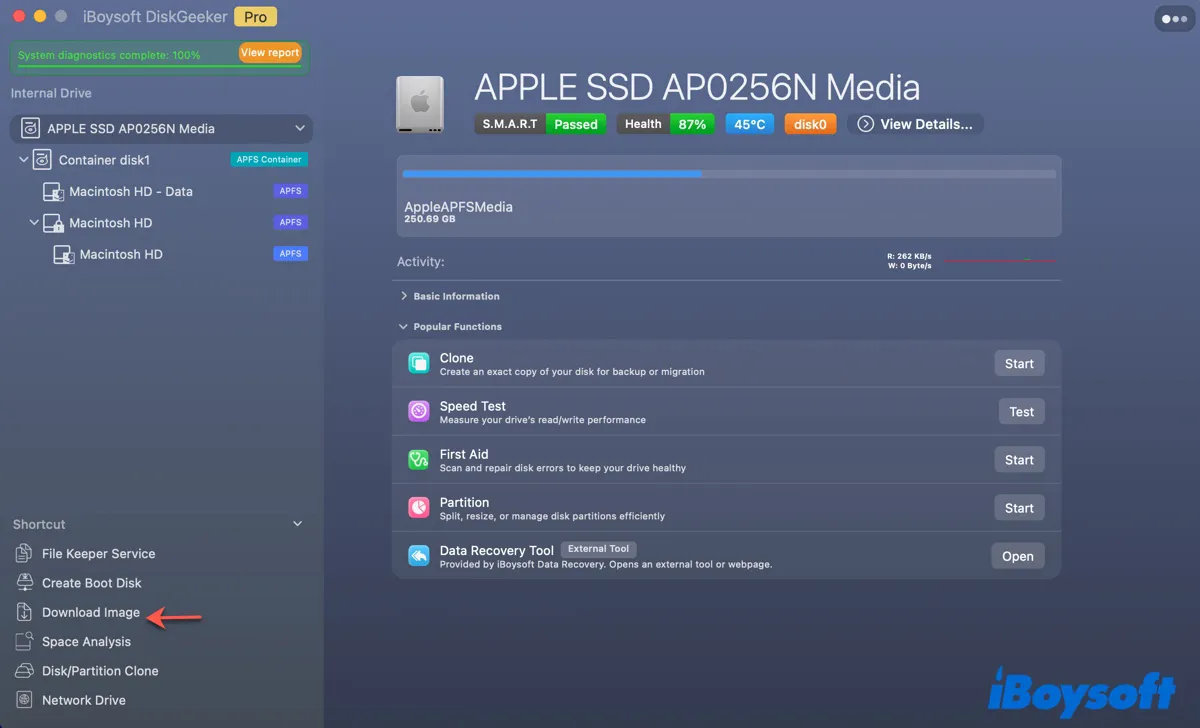
Step 1. Free download and open iBoysoft DiskGeeker for Mac.
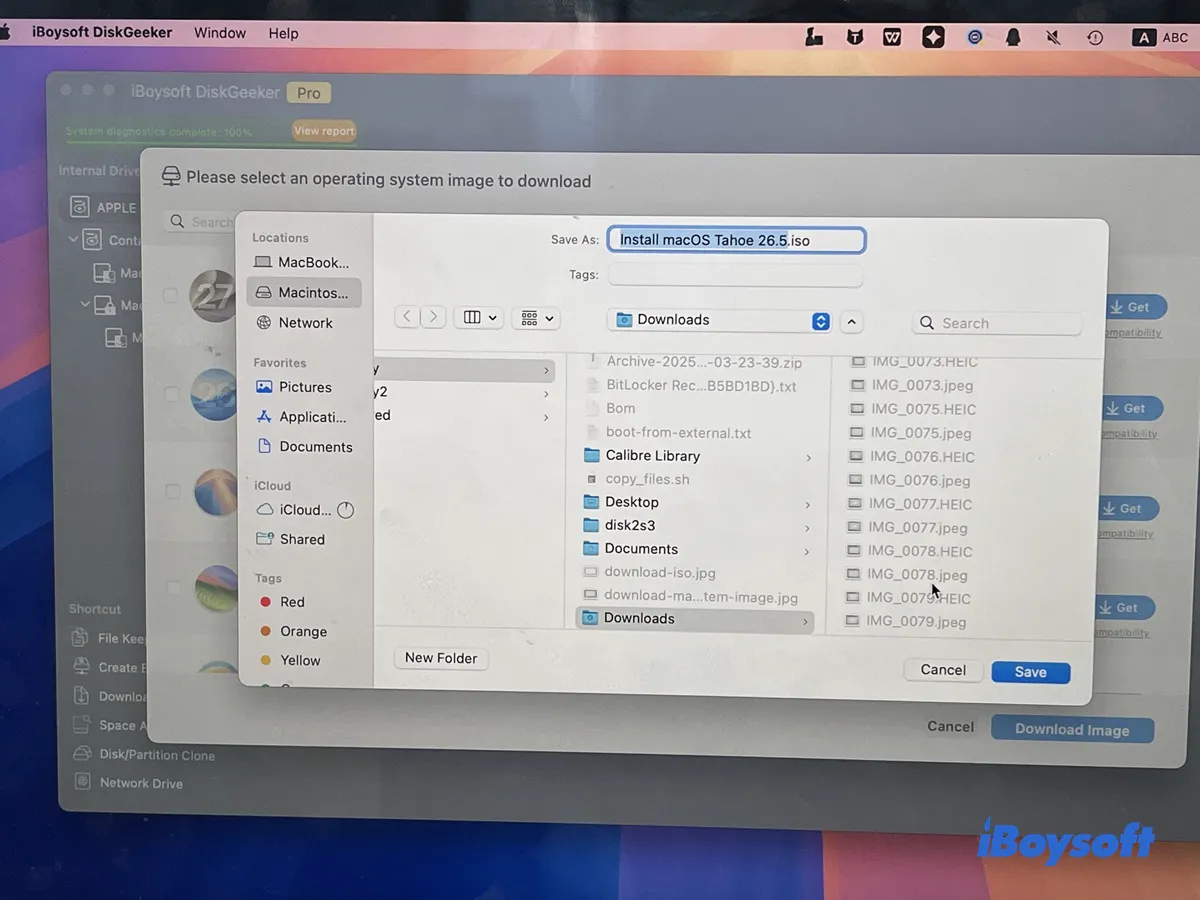
Step 2. Click Download Image.
Step 3. Select the macOS version you want and click Get.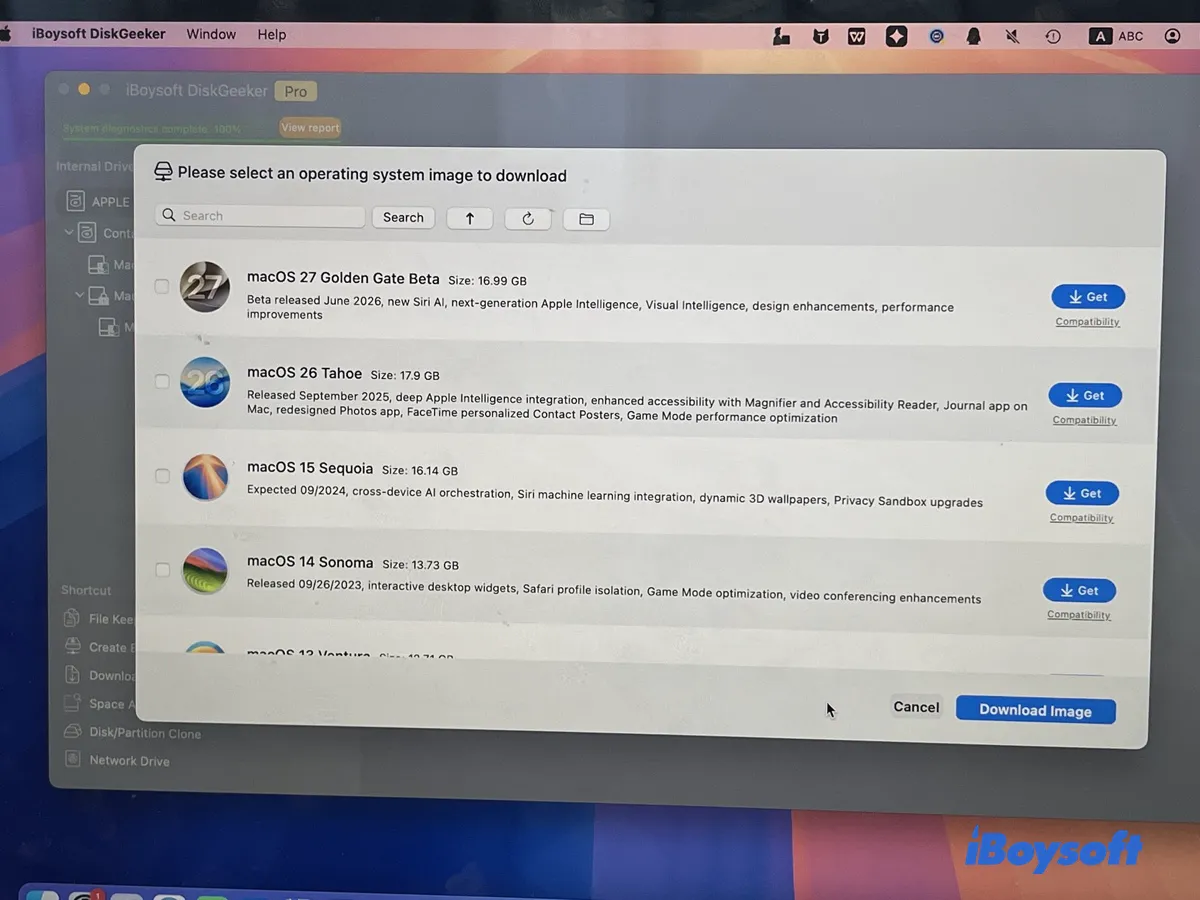
Step 4: Select the ISO format and choose how to download the ISO file.

* High-Speed Download: Faster but takes more cache space temporarily. Space will be released after the ISO file is downloaded.
* Backup Download: Regular speed.
Step 5: Decide the location to save the ISO image.
Share this tool to help others download the macOS, OS X, or Mac OS X ISO file!
Final Verdict
If you need macOS ISO files, the safest approach is to download official macOS installers on a Mac and convert them properly. However, if you only have a Windows PC, download them directly with a reliable tool.
iBoysoft DiskGeeker simplifies this process by providing direct access to verified macOS installers without unsafe third-party downloads. It supports multiple macOS versions, reduces manual errors, and ensures system integrity. For both beginners and professionals, it is the most reliable starting point for macOS ISO download.
If you want to learn more about the ISO file of each macOS version, check out the following guides:
Download/Create macOS Sonoma ISO File for VMware or VirtualBox
Download/Create macOS Ventura ISO File for VMware or VirtualBox
Download/Create macOS Monterey ISO for VirtualBox/VMware
Download/Create macOS Big Sur ISO for VirtualBox/VMware
Download/Create macOS Catalina ISO for VirtualBox/VMware
Download/Create macOS High Sierra ISO for VirtualBox/VMware
👉 macOS files are also available in other formats. Download macOS installers, DMG, and ISO files. Explore macOS DMG files in the macOS DMG download center.
Frequently Asked Questions
- QCan I download macOS ISO files directly from Apple?
-
A
No. Apple does not officially provide ISO files. They only distribute installer apps, DMG, or PKG files.
- QIs it legal to create macOS ISO files?
-
A
Creating ISO files from official Apple installers for personal use is generally acceptable under Apple's license terms.
- QCan iBoysoft DiskGeeker download older macOS versions?
-
A
Yes, when Apple still provides the installer, DiskGeeker can retrieve compatible versions automatically.
- QWhy does my ISO not boot?
-
A
The most common reasons are:
﹒A corrupted ISO file
﹒Incorrect image format
﹒Wrong boot mode (UEFI vs BIOS)
﹒Improper USB creation
﹒Incompatible hardware or VM settings
Start by checking these basics before trying more advanced fixes.