You accidentally click "Replace" on the pop-up window that warns you the file with the same name already exists in the exact location on your Mac, consequently, you lose the original file. So, can you recover overwritten files on a Mac? The answer is Yes.
But different from deleted files that may remain in Trash, an overwritten file usually won't be stored in any destination on your Mac. If you want to learn how to recover replaced files on your Mac, please follow this article. This post offers different ways to help you recover the replaced Word documents, Excel files, PowerPoint files, Pages files, PDFs, or other types of files from Mac devices.
If you worry the permanent data loss, try iBoysoft Data Recovery for Mac to let it quickly scan the replaced files on your Mac for free and recover overwritten files with one click.
How to recover replaced files on Mac without Time Machine
For most of you, it is unlikely that you've backed up your Mac with Time Machine just before the document is replaced. Thus, using Time Machine (mentioned in the next part) is not a common solution for you to get back the overwritten file.
To recover replaced files on your Mac without a Time Machine backup, you can utilize data recovery tools, cloud backups, or the built-in revert function of the apps.
Recover the overwritten files with data recovery software (The easiest way)
If, unfortunately, you haven't backed up your Mac recently with Time Machine or a cloud storage service. To restore the replaced files on your MacBook Pro, MacBook Air, or so, you can get help from data recovery software.
Data recovery software can scan the files that are no longer stored on your Mac, including the replaced, inaccessible, unsaved, and deleted files. Then, it makes its best effort to retrieve lost files on your Mac.
Here, we highly recommend the secure and easy-to-operate iBoysoft Data Recovery for Mac. This Apple-trusted Mac data recovery app can scan your entire Mac hard drive and detect overwritten files with reliable, secure, and advanced algorithms. Then, it returned all the lost data it scanned for you.
More importantly, it is designed with a user-friendly UI and has an on-screen guide that anyone who knows nothing about technology can follow.
Here's how to recover replaced files on Mac using iBoysoft Data Recovery for Mac:
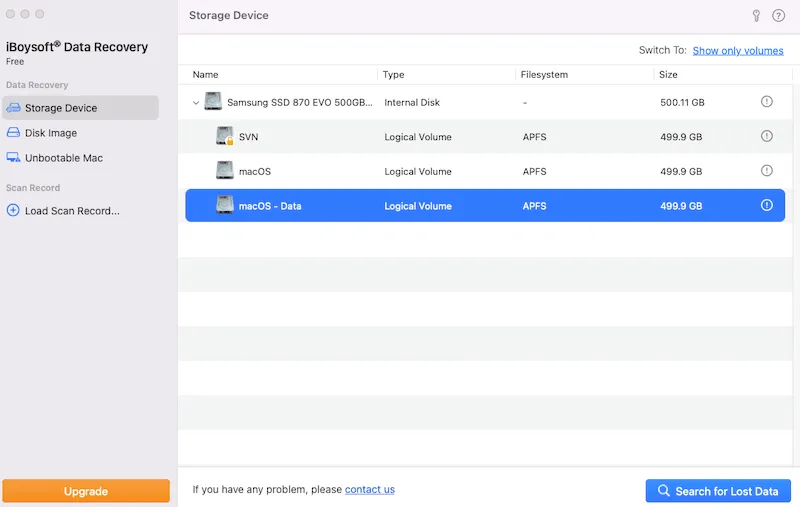
- Free download, install, and launch iBoysoft Data Recovery for Mac on your Mac.
- Select your Mac's hard drive and click "Search for Lost Data" to find the lost files.
- Preview the scanning results by type to find the replaced Word file, Excel file, PPT, or other.
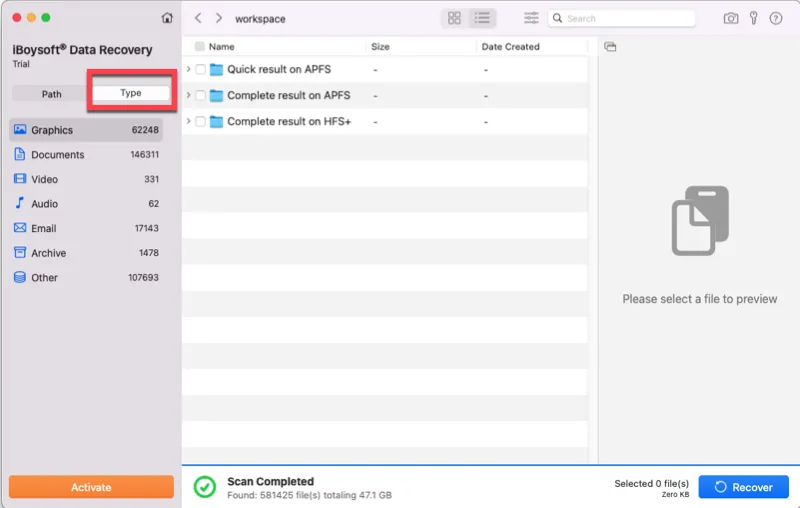
- Click "Recover" to get back your wanted files.
Then, the restored files will be saved to your Mac or the external storage device that you choose. Easy enough, right?
Recover the replaced files using the app's built-in restore feature
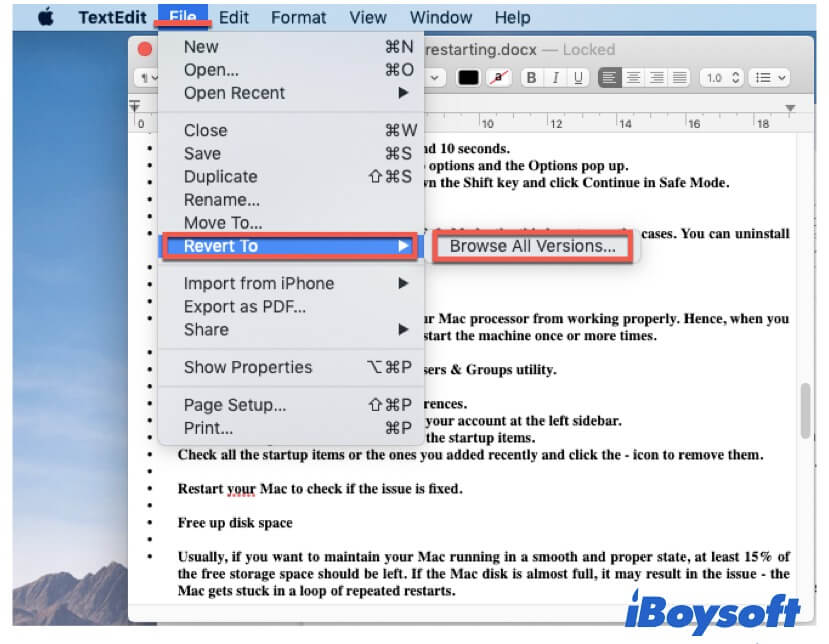
Nowadays, many apps are designed with restore functions. If you've replaced a document within an app, go to check if it supplies a restoration option. Just like Apple's TextEdit app, it offers you a chance to revert to the previous versions of documents.
To check if there's a restoration feature available within the document editing app you use, go to the top Apple navigation bar. If it has, click "File" > "Revert to" or similar options to check the version history of the accidentally replaced file. Next, look through the previous versions of the file and restore the desired original file.
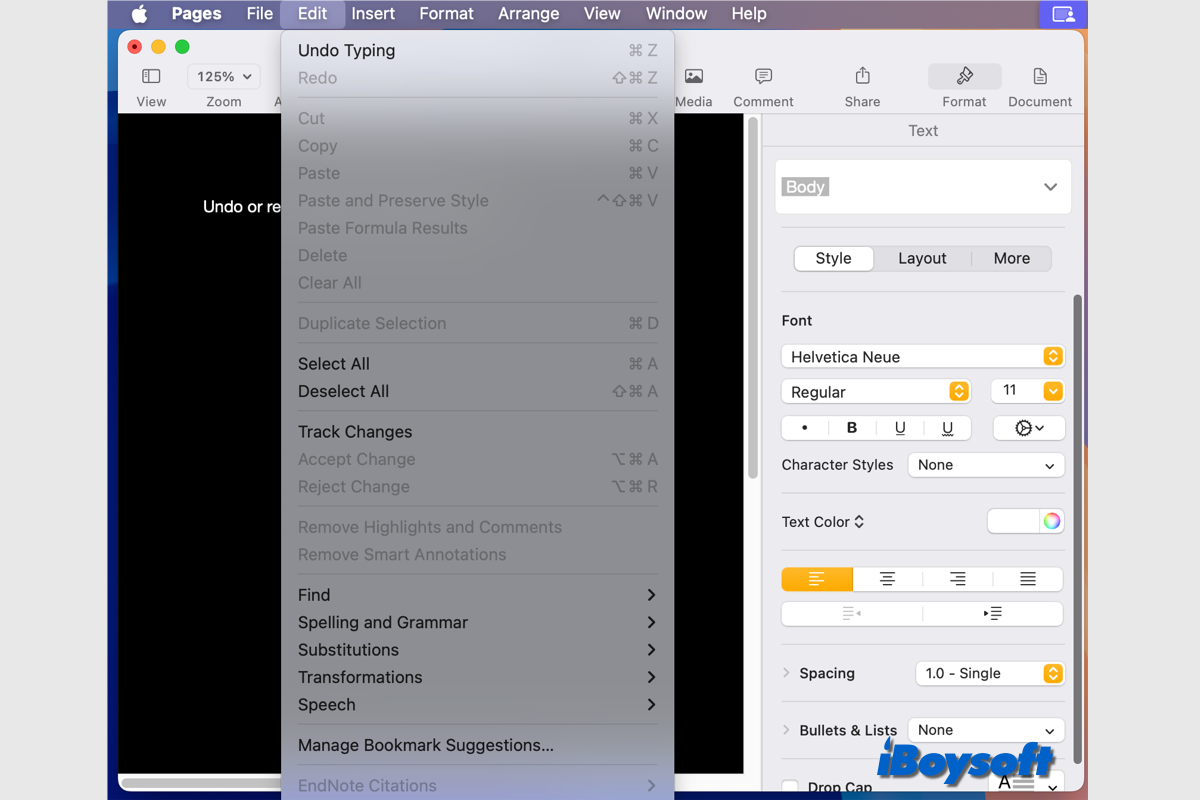
This post tells how to undo or redo changes in Pages on Mac. Besides, it explains why you can't undo changes on Mac Pages and provides possible solutions.
Recover overwritten files on Mac with cloud backups
Most of the cloud backup storage features maintain the history of changes to files. You can get back the accidentally replaced files on your Mac from the history files in cloud storage services.
Use iCloud
iCloud is a popular backup and recovery tool for Apple devices, including Mac computers. The file location of iCloud is on a remote server. One of iCloud's excellent functions is, it can retain your deleted or overwritten files in a recovery folder for 30 days.
Hence, as long as you have turned on iCloud on your MacBook, iMac, or Mac mini, you can use it to retrieve the previous version of the file. Otherwise, try to use data recovery software like iBoysoft Data Recovery for Mac.
Here is how to use iCloud to restore the previous version of the file:
1. Access iCloud.com from Google or other browsers.
2. Type your Apple ID to sign in to iCloud.com.
3. Click "Account Settings".

4. Click "Restore Files" at the bottom of the settings page.

5. Browse files in the Restore Files tab to check all the previous versions of the replaced files. Then, restore the desired overwritten file to iCloud Drive.
Use Dropbox
If you sync your Mac with Dropbox, you can follow the steps below to retrieve your overwritten files on your Mac.
1. Log in to your account at dropbox.com.
2. Choose the folder where your overwritten file is located or access "All files".
3. Select the file you want to recover and click the three dots > check the "Version history" option.
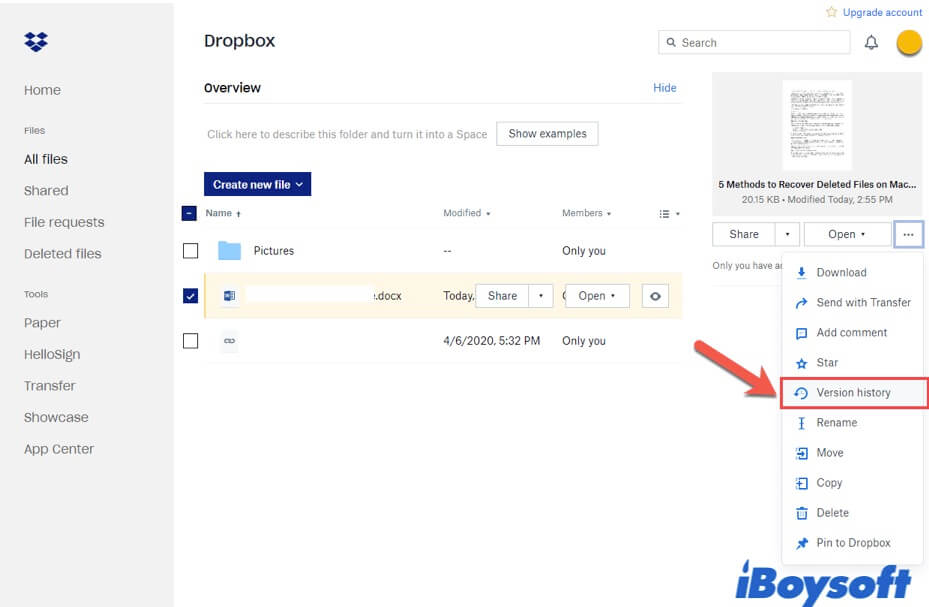
4. Find the original version of the file and click "Restore".
Share with your friends the ways to regain the overwritten files on a Mac without using Time Machine.
How to recover overwritten files on Mac with Time Machine
The powerful macOS always considers users' requirements. It is designed with a built-in backup tool called Time Machine, helping you do regular backups on your Mac in case of unexpected data loss. For example, data loss due to your accidental file replacement.
But the case is, Time Machine is different from cloud storage that can back up data on your Mac in real-time, or we say sync.
So, as long as you've turned on your Time Machine before the file is replaced, you can use it to recover an overwritten file on your Mac. Otherwise, you have to use a cloud backup or data recovery tool to help you.
To restore files with Time Machine, you can refer to these steps:
1. Open Finder > the folder where the overwritten file was stored.
2. Click the Time Machine icon in the upper right corner of your screen. Then, choose Enter Time Machine from the Time Machine menu.
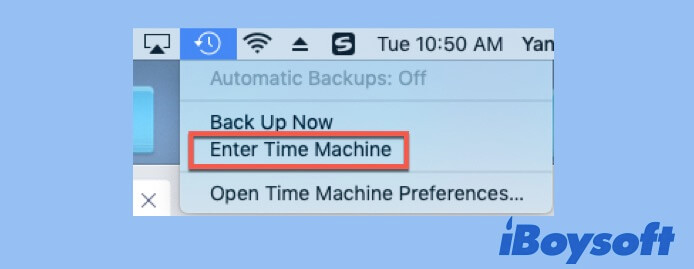
3. Click the up arrow to return to the time when the previous file still exists and select it.
4. Click "Restore" and make sure which file you want to remain, the previous or current one, or both of them.
Where do the replaced files go on a Mac
When the original file is overwritten by the new one with the same name in the same location, its content is utterly replaced with that of the new one. Then, it seems that you can't find the overwritten file anywhere on your Mac.
But in fact, the previous file is still recoverable. It still stores on your Mac's internal hard drive until some new data is written in its original location on the hard drive. That is why some document editing apps feature the reversion option to give you a chance to revert to the file's previous version.
Go to tell others where the overwritten documents are on a Mac.
Final thoughts
All right, there are many options for you to recover overwritten files on Mac, such as Time Machine, a cloud storage tool, the internal restore feature of the app, or data recovery software. But whether you can recover the replaced documents or not with one of these tools depends on your situation.
In general, using a data recovery app like iBoysoft Data Recovery for Mac is the easiest and most convenient way, as it can restore your overwritten Word document, Excel spreadsheets, Pages file, images, or other files within a few clicks. Moreover, it also helps recover deleted files on your Mac.
If you think this post is worth reading, share it with more people.
FAQs about recovering overwritten files on Mac
- QHow do I recover a file I accidentally replaced on my Mac?
-
A
You can try using the "Revert to" or a similar function in the file editing app to restore the replaced file. Or, you can use Time Machine or iCloud to restore it if you've enabled it. If all these ways are failed, the only chance is to use data recovery software like iBoysoft Data Recovery for Mac.
- QHow to recover a replaced Word file on Mac?
-
A
You need to open the Word document. Then, select the File option at the top of the Apple navigation bar and click Revert to > Browse All Versions. Next, browse versions by clicking the up arrow and choose the version you'd like to restore.
If you want to recover the document to this version, just click Restore. But if you want to restore this version in a new document, press down the Option key and then, click Restore a Copy.
- QHow do I recover an overwritten Excel file on Mac?
-
A
Open the Excel document and navigate to the top Apple menu bar. Click File and select Browse Version History. Look through the history versions of the File document and then choose your desired one.
- QHow do I undo a replaced file on a Mac?
-
A
You can try to undo replacing the file with the revert function within the app. Or, restore from your Time Machine backup or cloud backup. If the mentioned three options are not available, use third-party software to get the lost file back.
- QWhat is an overwritten file?
-
A
The overwritten files, or called replaced files, are lost files on your Mac computer. When you store a file that has the same name as another one, the operating system will usually ask you if you'd like to replace the file that already exists. If you insist on replacing it, the file labeled with the same name will replace the original one. That is what we call an overwritten file.
- QIs overwritten data gone?
-
A
Technically, not yet. When the original file is overwritten by the new one, the content of the original file is replaced with the new one. The previous file is still stored on your Mac hard drive until been utterly written by the incoming data in the same location of the drive.