A new version of macOS should commit to improving performance and enhancing security. The latest macOS Ventura released on October 14, 2022, introduced some new features such as the Stage Manager, Continuity Camera, etc.
Among them, there is a noteworthy new Accessory Security feature for external Thunderbolt and USB devices, also known as USB Restricted Mode on Mac. Here, we are going to explore more about it on macOS Ventura.
What is macOS Ventura accessory security?
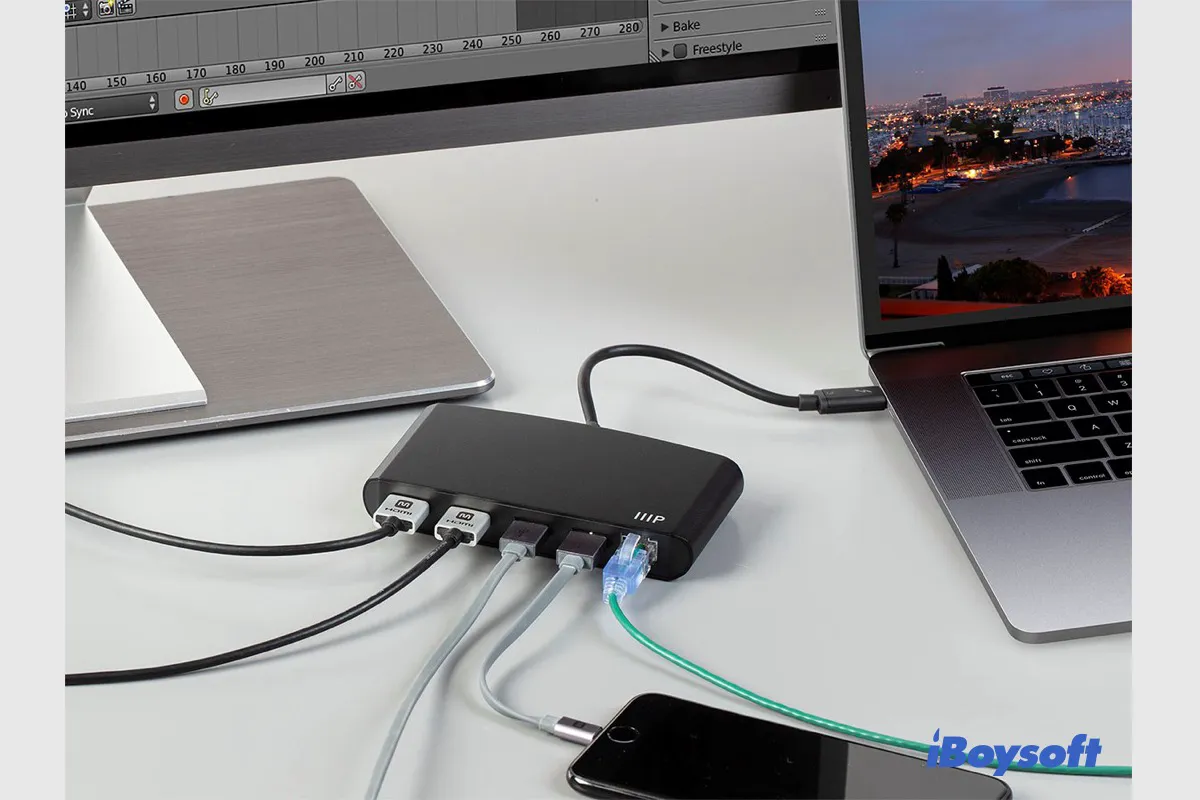
Previously, you can straightforwardly connect an external device to your Mac for charging or transferring data. Mac automatically detects the attached accessories and allows it to access data on your Mac. However, if any inserted USB or Thunderbolt device contains malicious software or files, it may cause data loss and damage the system.
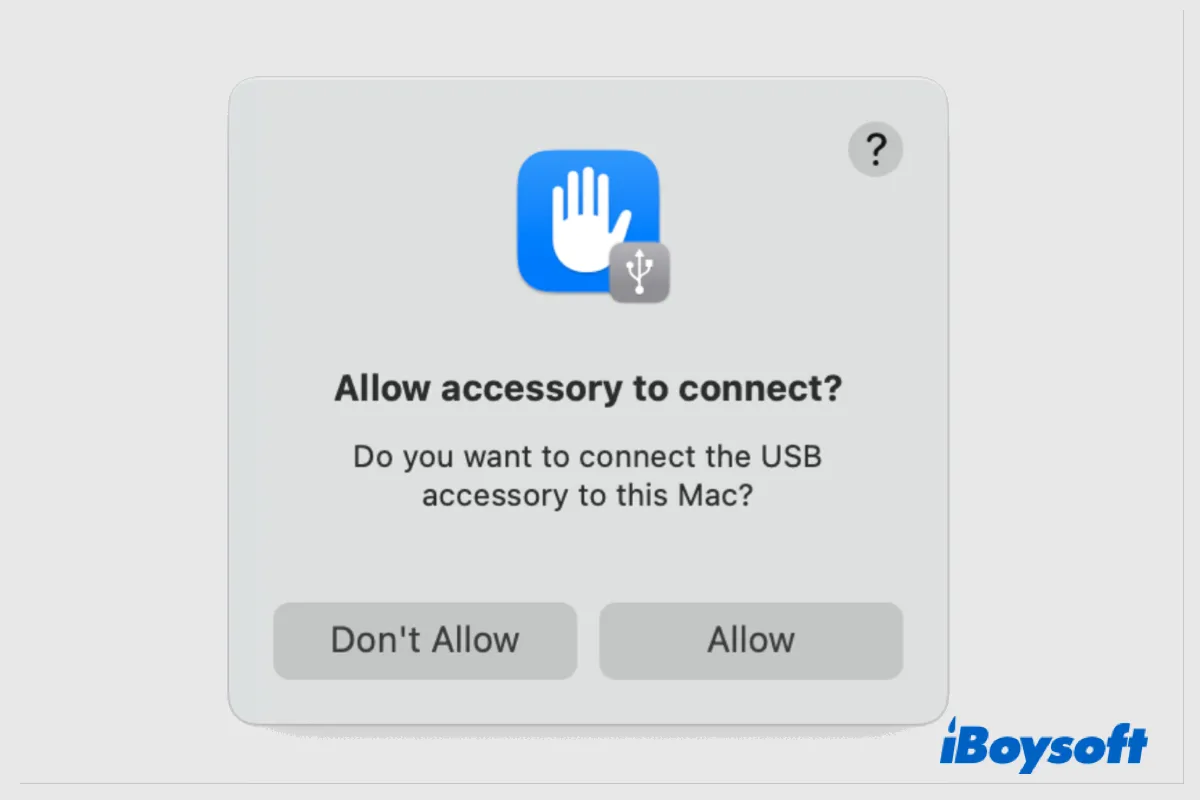
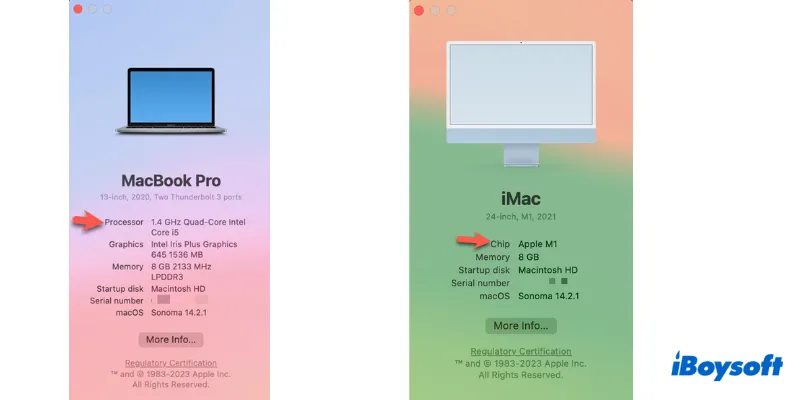
With that in mind, Apple introduced the accessory security feature to macOS Ventura, and it is only available for Apple Silicon Macs such as M1 Mac and M2 Mac. This feature is enabled by default to ask for approval when you connect a new USB or Thunderbolt accessory to the Mac.
Only if you approve the connection, the accessory can communicate with macOS. Power adapters, independent displays, and connections to authorized hubs are exempt from this rule. An unapproved accessory can't access your data and can still charge.
This newly added accessory security is similar to the USB Restricted Mode on iPad and iPhone. It was introduced to iOS devices since iOS 12 (the latest version is iOS 16), and it seems that it is a tendency for Apple to borrow some features from iOS to macOS, the System Settings on macOS Ventura also reflects it.
Mac Thunderbolt Not Working: Cannot Use Thunderbolt Accessory
If you connect a Thunderbolt device to Mac with the Thunderbolt port but it doesn't work such as the Thunderbolt display not working, you can read this post to learn the fixes for malfunctioning Thunderbolt on Mac. Read more >>
How does the USB Restricted Mode work on Mac?
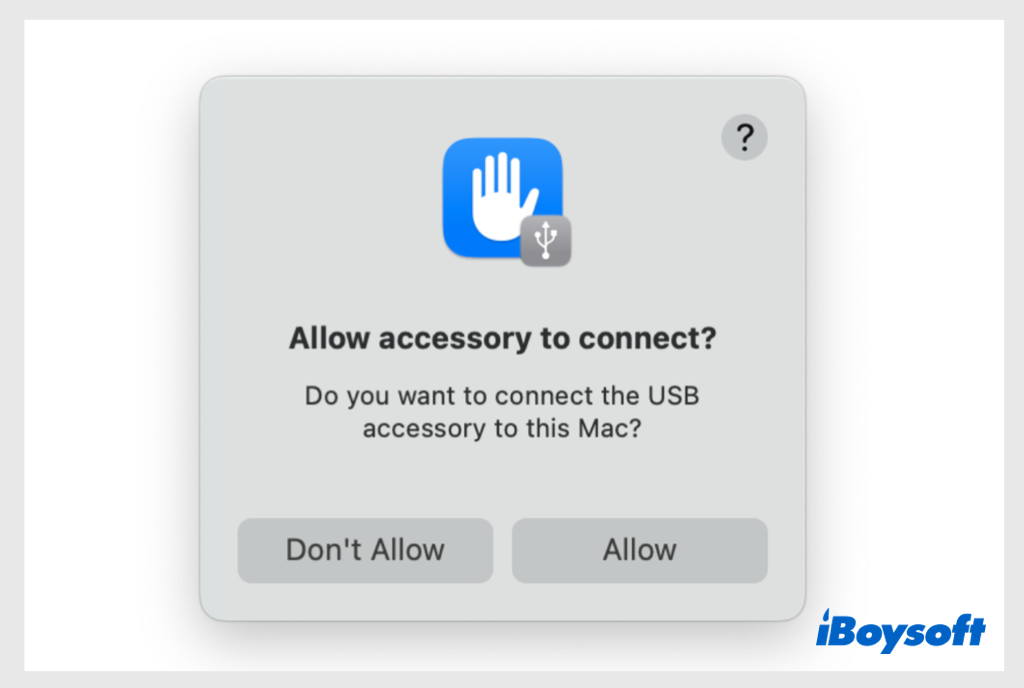
It prompts a dialogue for approval whenever a new USB or Thunderbolt device is attached to the Mac. If the Mac is locked, you should first unlock it and click the Allow/Don't Allow button. When your Mac has been locked for about an hour, the protection starts. And a locked Mac can be accessed for three days by approved devices.
If you attach a USB/Thunderbolt accessory while upgrading macOS to Ventura, such a device is automatically allowed. After you restart the Mac, the previously attached accessory might work but won't be remembered. And the next time you reconnect it to your unlocked Mac, it needs to be allowed. That's why some Mac users find Mac not recognize external monitor after upgrading to macOS Ventura.
This article tells you how to disable USB ports on a Mac. This can be done by using physical locks, deleting specific kext files, activating USB Restricted Mode, or employing a professional USB blocker.
How to change/disable the Accessory Security feature?
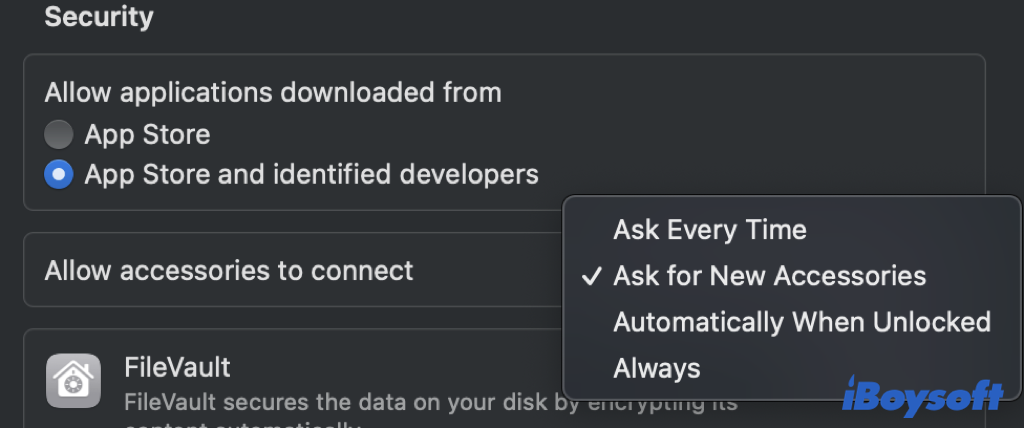
On Apple silicon Mac running macOS Ventura, the Accessory Security feature is turned on by default, and it is set to ask for approval when a new USB/Thunderbolt device attaches, and there are other options you can configure:
- Ask Every Time. Every time you connect an accessory, be it a new one, or an approved one, it displays the pop-up windows and asks for approval.
- Ask for New Accessory. This is the default setting, Mac only needs permission for the newly attached devices.
- Automatically When Unlocked. When your Mac is unlocked, any connected accessory is allowed without extra approval.
- Always. An attached USB/Thunderbolt device is always allowed regardless of whether your Mac is locked or unlocked.
Some Mac users who think their local computer environment is safe and secure may find this repeatedly prompted warning annoying, then they can disable the USB Restricted Mode on macOS Ventura to prevent seeing the notice.
For enhanced security which is important for some others, it is worthwhile to enable this feature and display the message for approval of the attached USB/Thunderbolt accessory.
Depending on your own case, you can change or even disable this security feature on macOS Ventura with the steps below:
- Head to the Apple Menu and choose System Settings.
- Scroll down the left sidebar and choose Privacy & Security.
- On the right, move to the Security section and find Allow accessories to connect.
- Click the dropdown box and choose an option you prefer.
- Close the System Settings app.
If you attempt to modify the accessory security settings and discover that the Mac allow accessories to connect not showing in the Settings, keep reading to find out why and what you can do.
Conclusion
The Accessory Security feature on macOS is designed to protect your data on Mac. Based on your own needs, you can change the security configuration in System Settings or even disable it with the detailed steps above. If you think this post is helpful, just share it with others now!