If you want to test out the new features of macOS Ventura while keeping the currently installed macOS for major work, installing it on a separate partition is a great option. It's much less risky, as you can't predict what Ventura bugs you may encounter.
Experienced users might have tried to install macOS Ventura on a separate partition like how they have done with previous macOS releases: download the macOS Ventura installer from the Software Update preference pane and point it to a specific volume or partition when the installer app opens. Unfortunately, the process doesn't work with macOS Ventura anymore.
So, can you install macOS Ventura on a separate partition? The answer is yes, and we will guide you to do it. But before getting started, you must ensure your Mac model is compatible with macOS Ventura. Check if it's in the following list.
Mac models compatible with macOS Ventura:
- MacBook Pro (2017 and later)
- MacBook Air (2018 and later)
- MacBook (2017 and later)
- Mac Pro (2019 and later)
- Mac mini (2018 and later)
- iMac (2017 and later)
- iMac Pro
Step 1: Create a separate partition
Decide whether you want to create a new partition on your Mac or an external storage device to install macOS Ventura, and follow the corresponding process below to prepare the partition.
If you want to create a separate volume or partition on your Mac's internal hard drive:
To create a separate partition on your Mac, you need to use the built-in disk manager: Disk Utility. It usually allows you to partition your startup disk or add a new volume to the APFS container. The latter is more recommended because the volumes in an APFS container share free space but a partition can only use the space you assigned to it.
Here's how to create a separate macOS Ventura volume on Mac:
- Open Disk Utility from the Applications > Utilities folder.
- Select your main APFS container from the left side and click the Volume ( + ) button at the top menu bar.
- Give it a new name, such as macOS Ventura.
- Keep APFS as the Format and click Add.
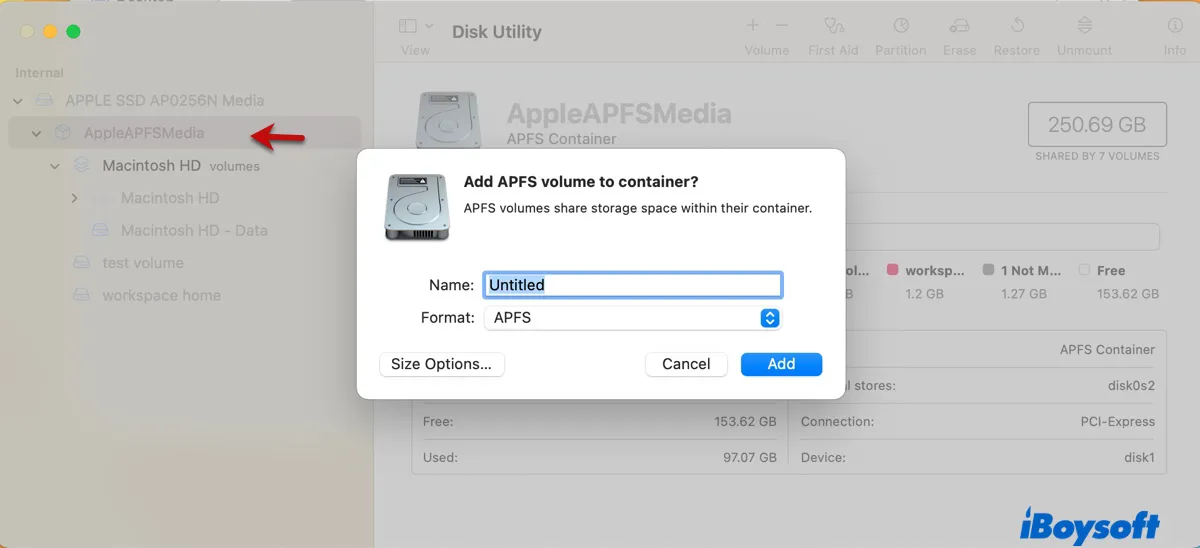
- Once the volume is created, click Done.
If you want to create a separate partition on your external storage device:
You can install macOS Ventura on an external hard drive, USB flash drive, or other storage devices with enough space. If you want to install macOS Ventura to a partition of your external drive, you need to partition the disk. If you wish to install macOS Ventura to the whole external drive, just erase it. Regardless, you need to format the partition or drive with APFS.
Note: When creating a macOS Ventura bootable installer, you're asked to format the external drive with Mac OS Extended (Journaled). But to install macOS Ventura on an external drive or a partition of the drive, the format needs to be APFS. Otherwise, you will encounter the error that reads "The volume is not compatible with this update" when selecting the external partition to install macOS Ventura.
Here's how to prepare an external drive for macOS Ventura:
- Connect the external disk to your Mac.
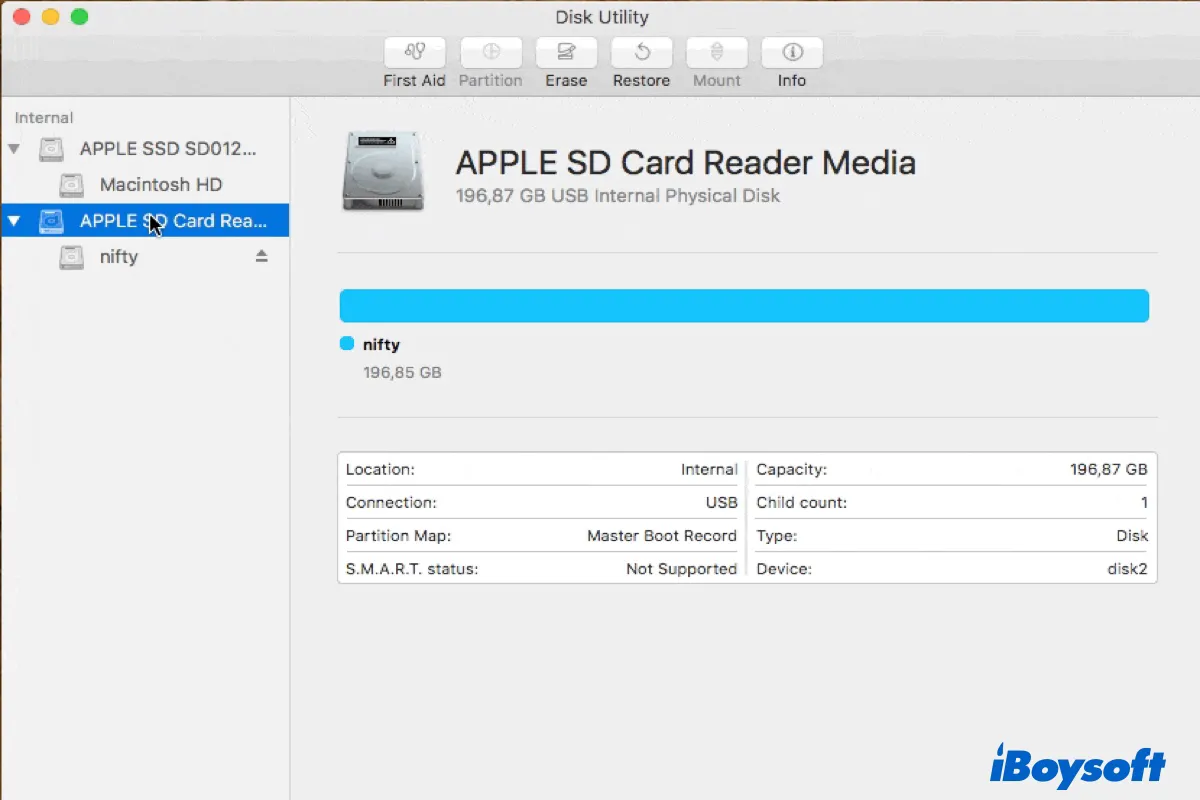
- Open Disk Utility from the Applications > Utilities folder.
- Click View > Show All Devices.
- Select the top-level disk of your external drive.
To create a second partition to install macOS Ventura:
- Click the Partition button at the top.
- Click the Add button below the pie chart.
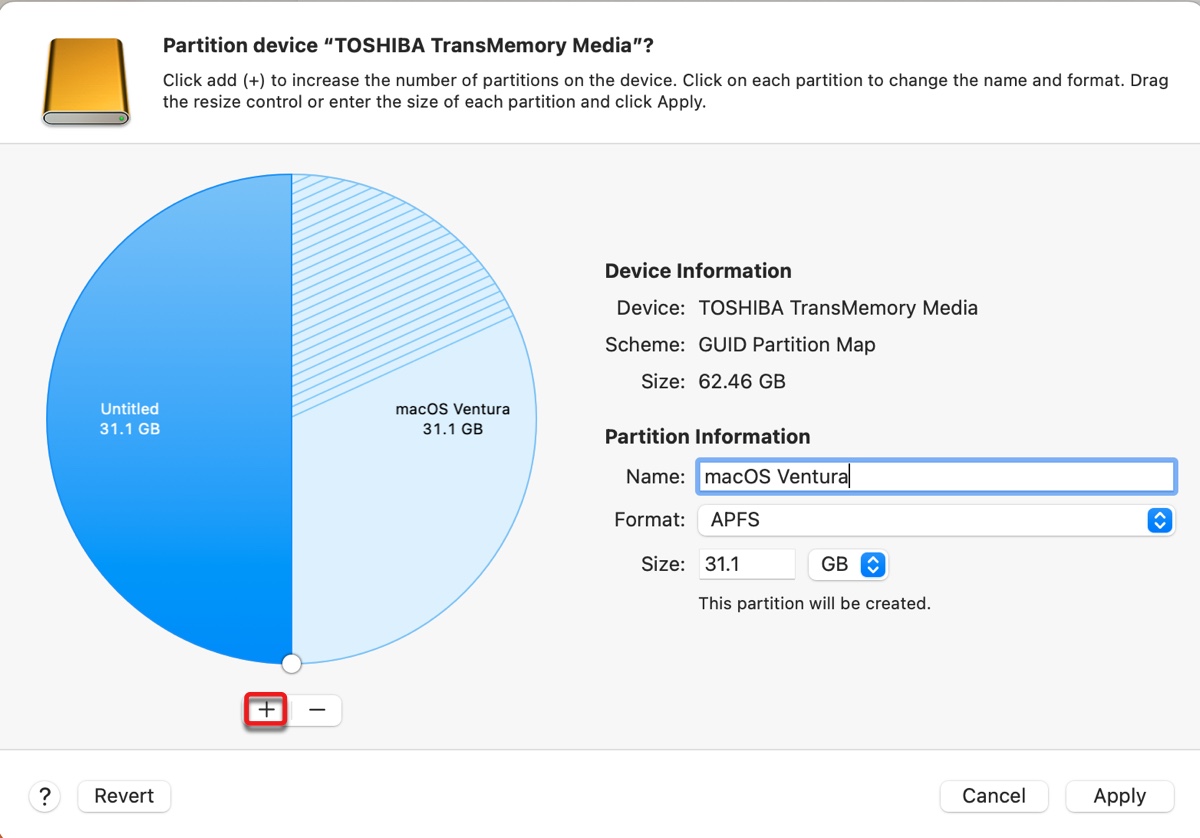
- Name the partition and choose APFS as the Format.
- Click Apply.
[Fixed] Can't Partition SD Card/USB Drive/Hard Drive on Mac?
If you can't partition a drive on Mac due to the Partition button grayed out or other errors, here's a full guide to help you add a partition successfully on Mac. Read more >>
To use the whole drive for macOS Ventura: (Back up essential data on the external drive beforehand!)
- Click the Erase button at the top.
- Give the drive a name.
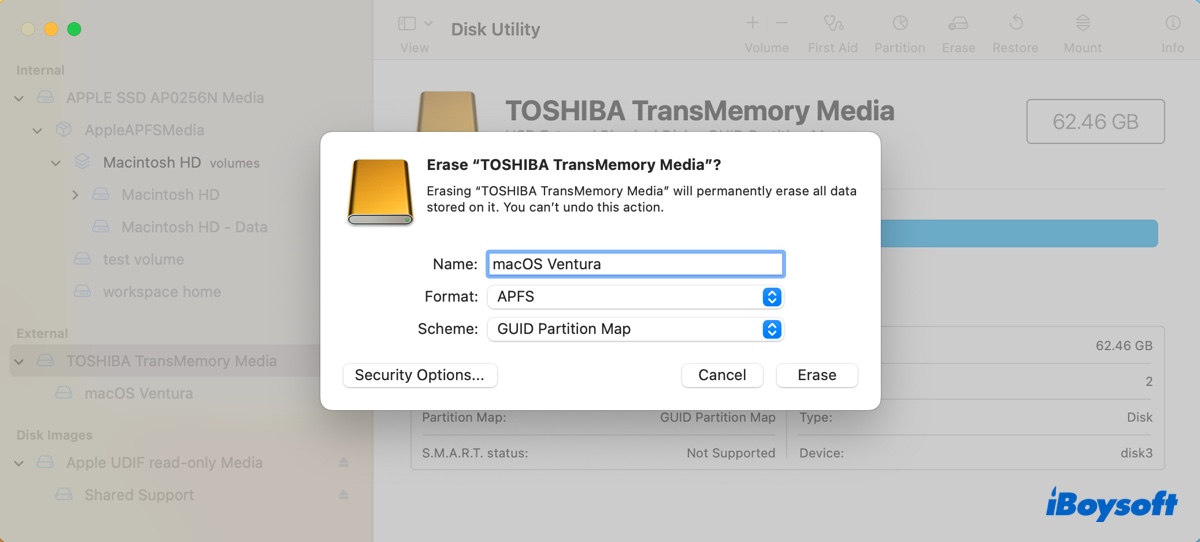
- Choose APFS as Format.
- Select GUID Partition Map as Scheme.
- Click Erase.
You can click the button below to share these steps.
Step 2: Download the macOS Ventura full installer
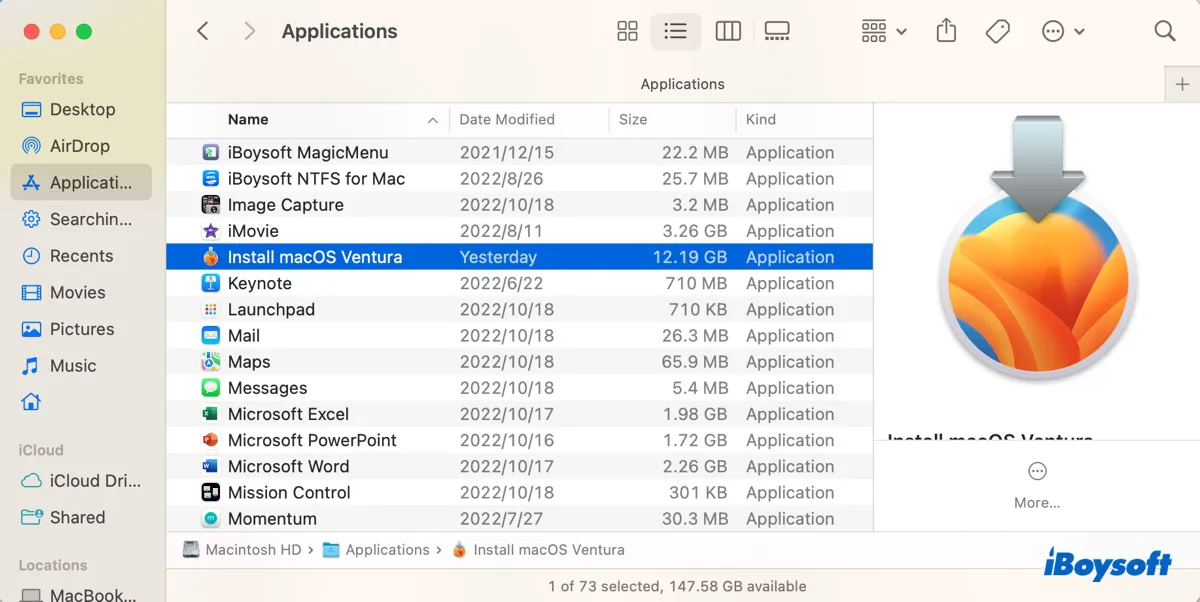
Unlike previous releases, the macOS Ventura installer you can download from Software Update is now a minor software update, whose size differs depending on your current version of macOS. So, if you download the macOS Ventura installer from Software Update, the installer won't be added to the Applications folder, or ask you to select a volume, instead, it installs straightly to your Mac.
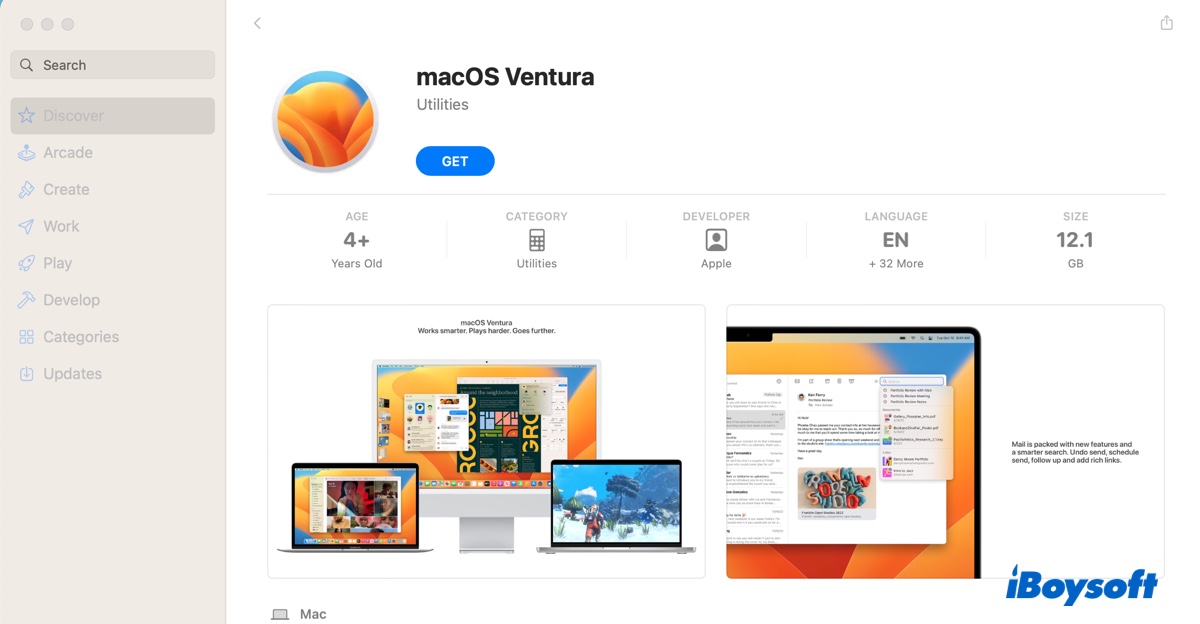
To get the full macOS Ventura installer, which is around 12.15GB, you need to go to the App Store.
- Open App Store on your Mac.
- Search for macOS Ventura.
- Click Get and you will be transferred to Software Update.
- Click Download when a pop-up asks you whether you are sure to download macOS Ventura.
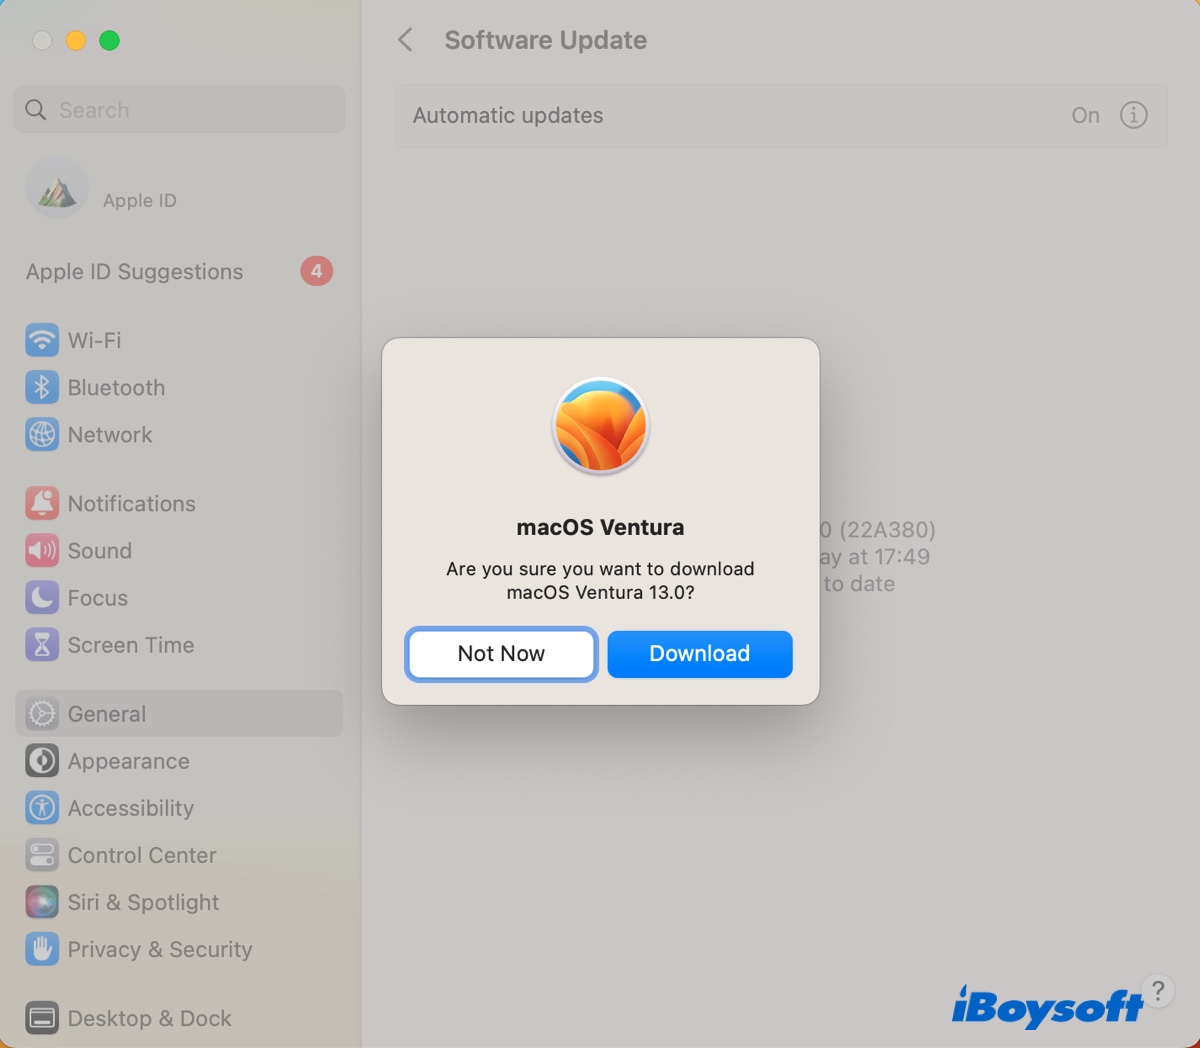
- Wait for the macOS Ventura installer to be downloaded.
If you can't find the macOS Ventura installer with the steps above, you can click this link to download macOS Ventura.
Step 3: Install macOS Ventura to a separate partition
Now that everything is ready, you can keep your Mac plugged into power and install macOS Ventura to a separate partition with the steps below. If you want to install macOS on an external drive, don't forget to connect the external drive to Mac.
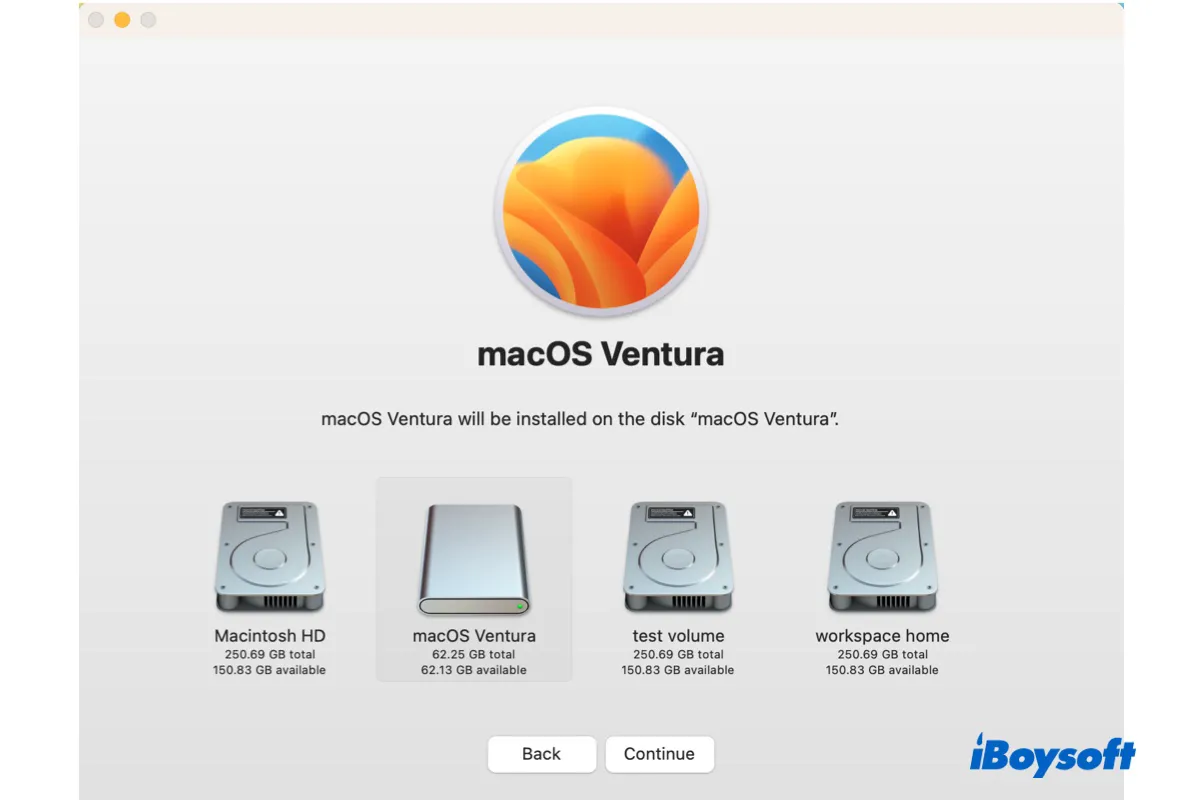
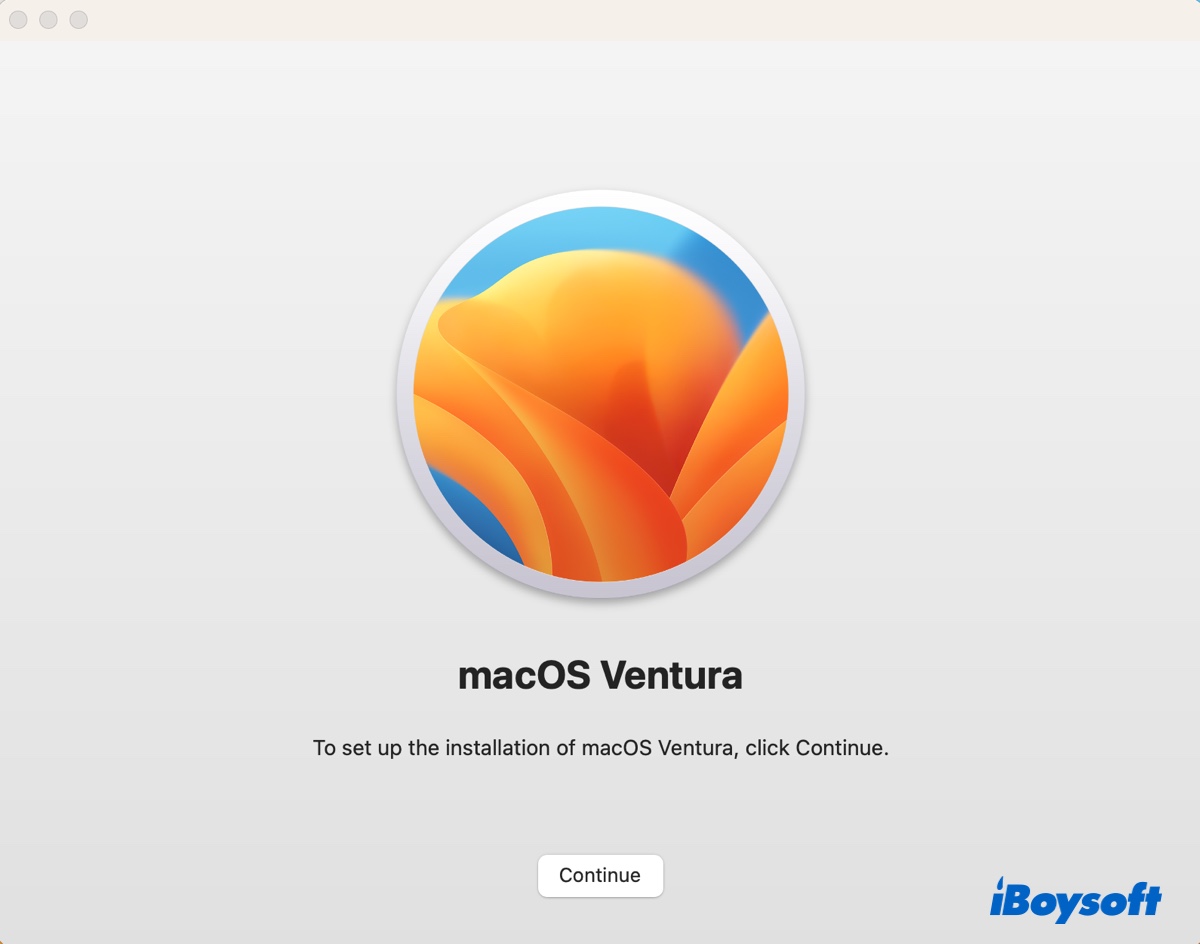
- Open the macOS installer from the Applications folder.
- Click Continue and agree with the agreement.
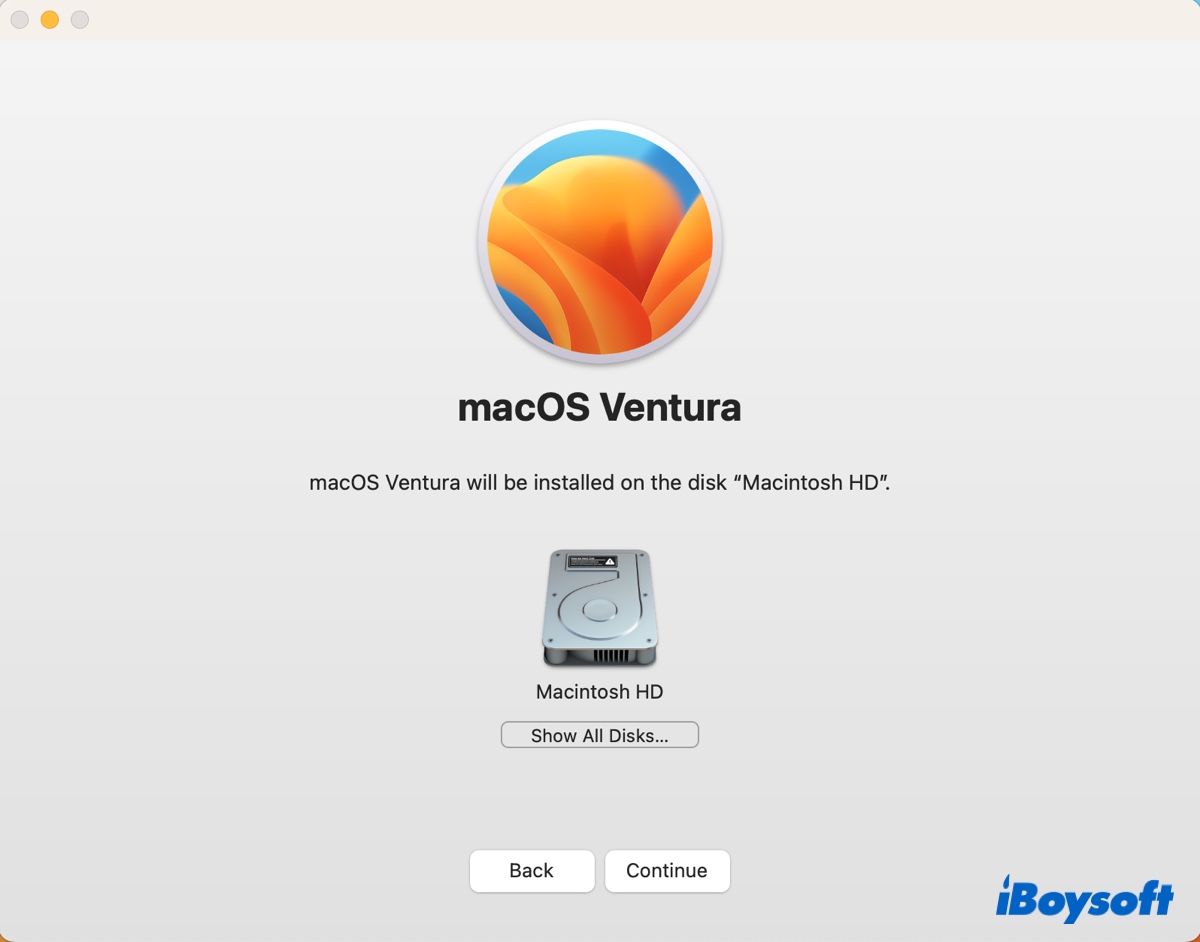
- Click "Show All Disks" beneath your startup volume.
- Select the partition you created for macOS Ventura and click Continue.
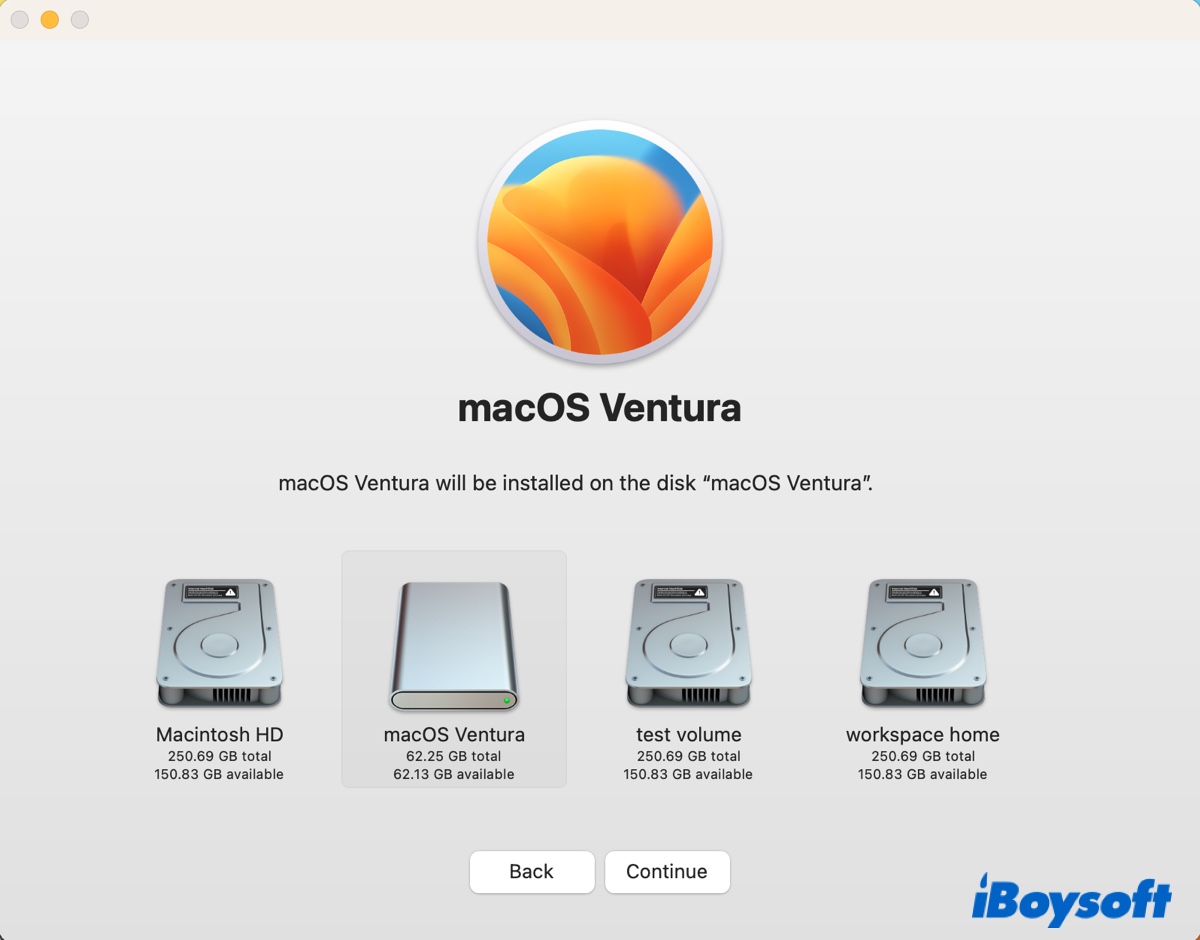
- After the installer is installed on the partition, follow the on-screen instructions to set it up.
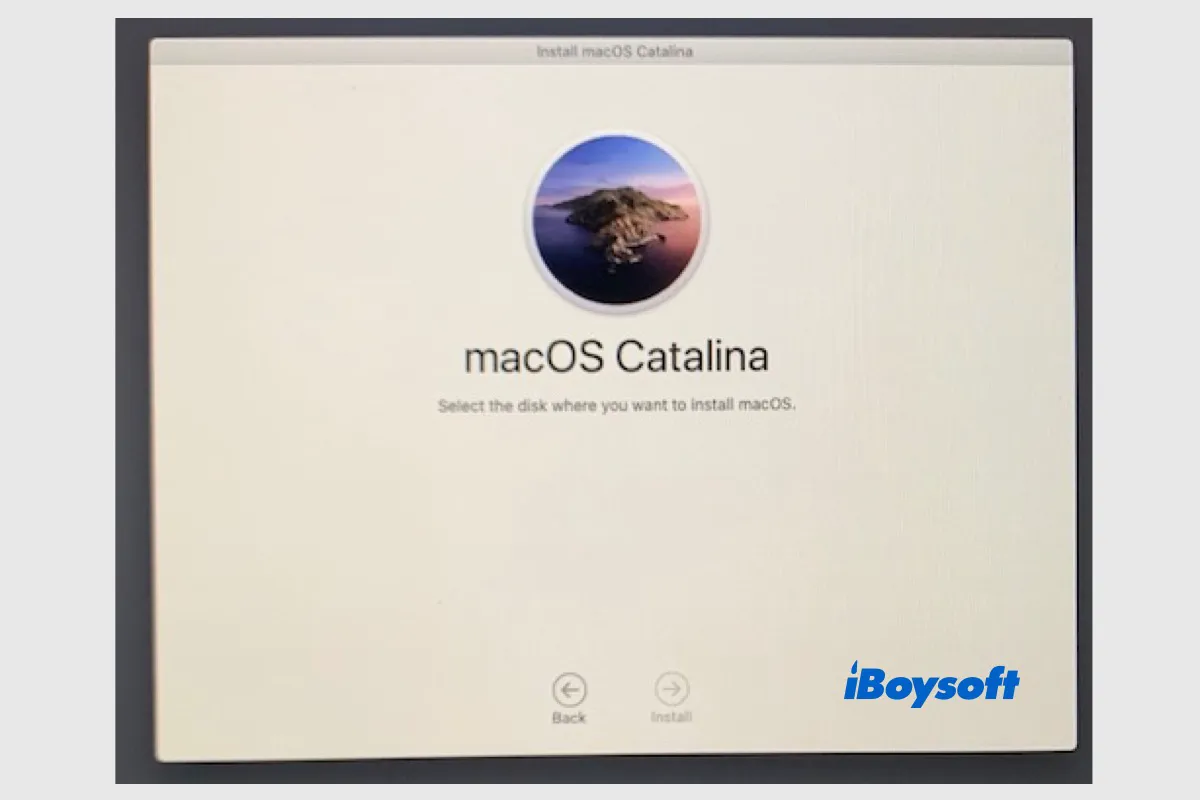
You are asked to select the disk where to install macOS during the installation process, however, it is blank or not showing. iBoysoft provides proven methods in this post to fix no disk showing to reinstall macOS.
Step 4: Boot your Mac to macOS Ventura
You can now start up your Mac to macOS Ventura by booting into startup options and choosing the created partition as the startup disk. Note that if your Mac has a T2 chip and macOS Ventura is installed on an external drive, you need to configure the Startup Security Utility to allow booting from an external or removable media before you can boot into macOS Ventura.
To start up an Intel-based Mac to macOS Ventura:
- Shut down your Mac.
- Wait for it to turn off completely.
- Press the power button, then immediately hold down the Option key.
- Release the key when you see startup disk options.
- Select the macOS Ventura partition and click the up arrow.
To start up an Apple Silicon Mac to macOS Ventura:
- Shut down your Mac.
- Wait for it to turn off completely.
- Press and hold the power button until "Loading startup options" appears on the screen.
- Select the partition you installed macOS Ventura with and click Continue.
Please share this post to benefit more Mac users.
Troubleshooting issues when installing macOS Ventura on a different partition
1. Can't choose the created partition to install macOS Ventura.
If you can't see the created partition, make sure it's APFS-formatted with a GUID Partition Map, then go back to Disk Utility, select the partition, and click Mount.
2. Installation fails with an error reading, "Unable to verify macOS."
If you can't install macOS Ventura to a different partition on Mac and receive the "Unable to verify macOS" error, try the following fixes.
- Ensure your date and time are correctly configured.
- Turn off Content Caching in Sharing.
- Erase the partition and retry the installation.
- Turn off the VPN.
Other errors you may encounter:
Installation cannot proceed because the installer is damaged.
Conclusion
If you've followed the above steps correctly, you should have installed macOS Ventura on a different partition. If, in rare cases, you somehow lost data after installing macOS Ventura, you can free download iBoysoft Data Recovery for Mac to get them back. It's safe and risk-free, allowing unlimited free previews before recovery.
Click the button below to find the lost files.
If you find this post useful, kindly share it with your favorite platform.