Creating a USB bootable macOS High Sierra helps you downgrade macOS, run this old version on an unsupported Mac using OpenCore Legacy Patcher (OCLP), or on multiple compatible Macs. Whether you want to create a bootable USB of High Sierra on Windows or macOS Monterey, Sequoia, Sonoma, Ventura, Big Sur, Catalina, or Mojave, follow our step-by-step guide.
Our post covers downloading the macOS High Sierra full installer, connecting the USB drive, and creating a bootable macOS High Sierra USB drive.
How to create a bootable High Sierra USB on a Mac
There are two ways to create a bootable High Sierra USB on a Mac. One is to use the third-party tool, which only requires a few clicks; the other is to use the built-in utility - Terminal, which is complex and error-prone. You can choose the way you prefer.
Way 1: Use iBoysoft DiskGeeker to create a bootable High Sierra USB on Mac
If you are a tech newbie and don't want to invest much time and effort in creating the bootable High Sierra USB installer with the common way, you can switch to using a professional tool to help you do this complicated job.
iBoysoft DiskGeeker for Mac can assist you in creating a bootable USB installer of High Sierra via simple clicks. This tool greatly improves the success of and reduces the difficulty of the creation.
- Download, install, and open iBoysoft DiskGeeker on your Mac and connect an empty USB drive.
- Select a volume on the USB drive on the app's main interface and click Create boot disk > Continue.
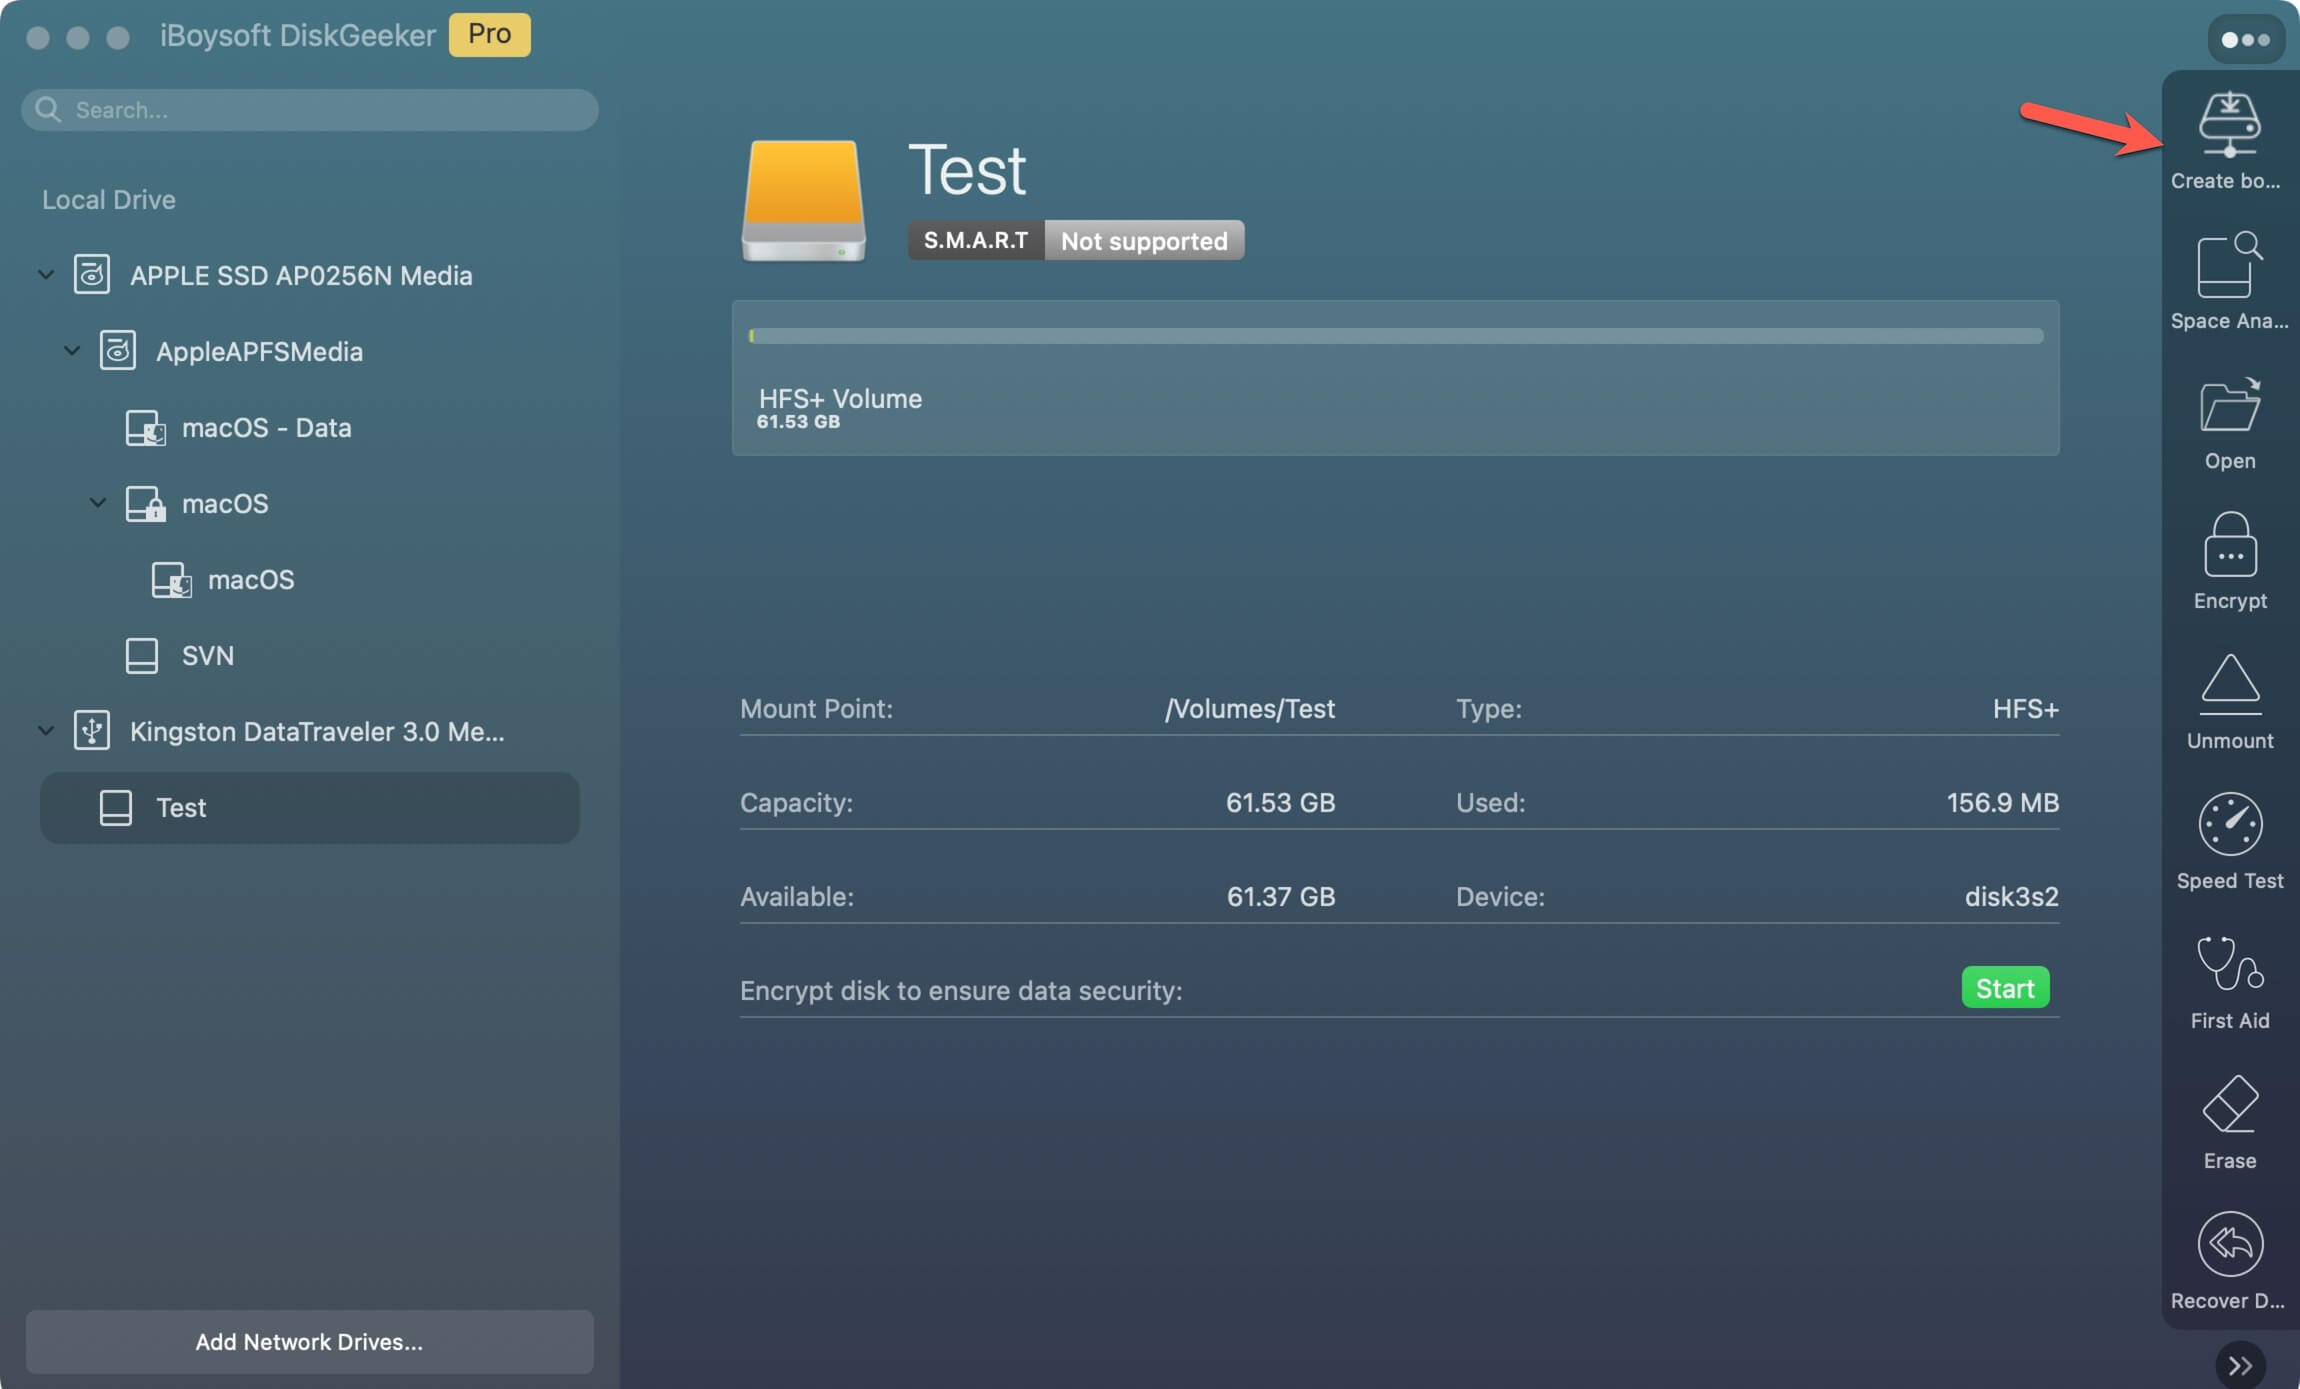
- Choose macOS High Sierra and click Create boot disk > OK to download the macOS High Sierra DMG file.
- Once the download process finishes, click OK on the pop-up that asks you whether to create a bootable USB installer.
Wait for the creation process to complete. This process takes a shorter time when compared with the traditional way.
Share the quick steps with more people to create a macOS High Sierra bootable installer.
Way 2: Use Terminal to create a bootable High Sierra USB on Mac
The conventional way to create a bootable High Sierra USB installer on a Mac requires running Terminal, which is error-prone. You should follow each step carefully. Or, you can try DiskMaker X (an open-source tool).
Of course, you can follow an intuitive video to create a bootable macOS High Sierra USB from a DMG on a Mac. Here it is.

Step 1: Complete the necessary Preparations
To ensure the success of the bootable USB creation, you need to make these preparations.
1. A clean 64 GB USB flash drive formatted with Mac OS Extended (Journaled) or APFS
Although the Apple support team thinks a 32 GB USB flash drive is enough, we find that the larger the capacity of the USB, the less likely it is to fail to boot and experience sluggish performance.
The system runs on USB, and cache files will be produced. So, we suggest you better prepare a 64 GB USB.
Moreover, the USB drive should be reformatted to Mac OS Extended (Journaled), GUID Partition Map in Disk Utility. If you are preparing to use the High Sierra bootable drive on Apple Silicon Macs, you should choose APFS.
2. Release more space on your Mac
macOS High Sierra full installer is about 4.9 GB, and the bootable USB creation process will also exhaust disk space and resources. If you don't want to face macOS High Sierra downloading failure and sluggish creation process due to insufficient space, like we experienced before, free up more space on your Mac.
Share this easy-to-use Mac or Windows cleaner with your friends.
Step 2: Download the macOS High Sierra full installer
Before starting to download the macOS installer, ensure your network connection is well. We have experienced downloading failure caused by the unstable Wi-Fi.
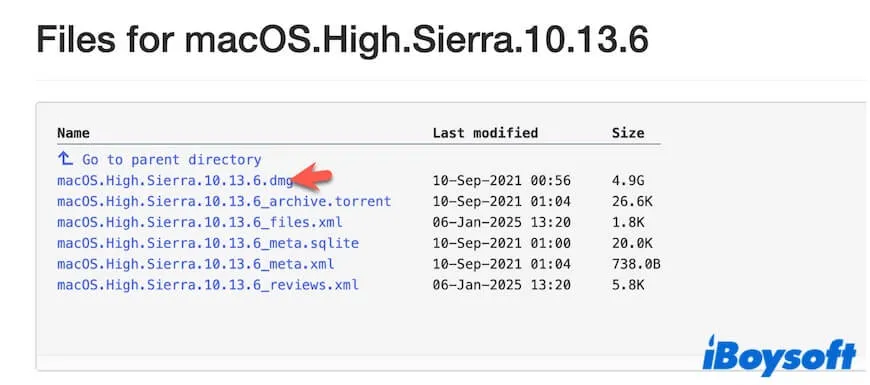
Click the link below to download the macOS High Sierra DMG file on your Mac.
macOS High Sierra DMG download (from archive.org, macOS 10.13.6, 4.9 GB, free)
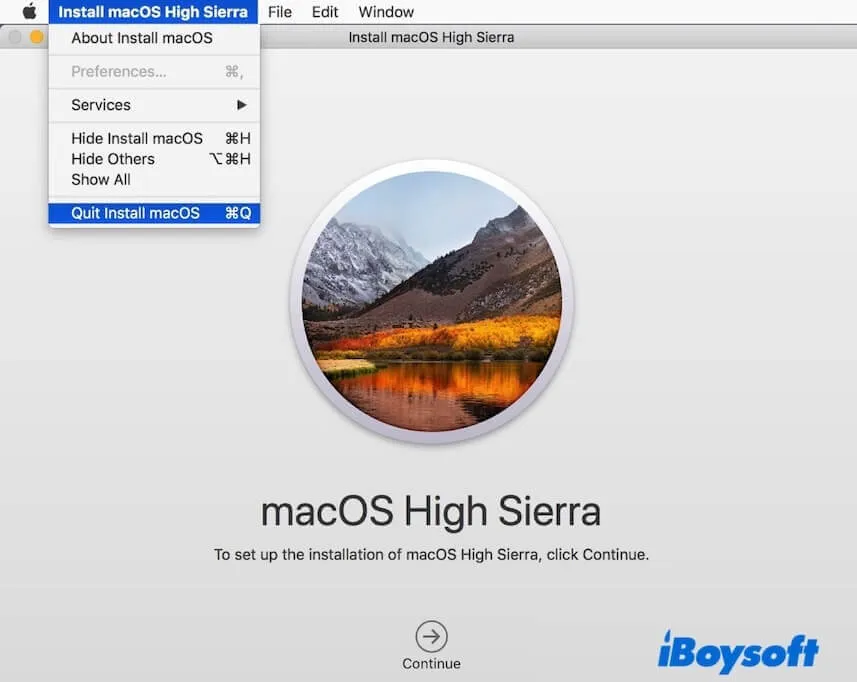
Note: After downloading macOS High Sierra on a Mac, we found it would automatically switch to the installation course. Don't click Continue, or else High Sierra will install on this Mac. Go to click Install macOS High Sierra on the Apple menu bar > Quit Install macOS to stop the installation.
Step 3: Create a bootable High Sierra USB on a Mac
After preparing the USB drive, ensuring enough free space on the computer, and the macOS High Sierra full installer, we can now get down to creating a bootable High Sierra USB for Mac.
Follow the steps below to create a bootable High Sierra installer on Ventura, create a bootable USB of High Sierra on macOS Monterey, create a bootable High Sierra USB from Mojave, etc.
- Connect the USB drive to your Mac.
- Open Terminal.
- Enter the command below to create a bootable macOS High Sierra USB installer. Replace MyVolume with the name of your USB drive. sudo /Applications/Install\ macOS\ High\ Sierra.app/Contents/Resources/createinstallmedia --volume /Volumes/MyVolume
- Enter your admin password and press Enter to allow the operation.
- Wait for the creation process to complete.
- Quit Terminal.
Note: It may be unable to create a macOS bootable USB installer using the createinstallmedia command in Terminal. Here are the common issues you may encounter:
⚠️ Terminal is stuck on "Making disk bootable."
⚠️ Get the error "The bless of the installer disk failed"
Now, the macOS High Sierra bootable USB is created. You can use it to boot your unbootable Mac or various compatible Mac models.
Reference: How to boot your Mac from a USB?
How to create a High Sierra bootable USB from Windows
Three steps are enough to create a macOS High Sierra bootable USB from Windows.
Step 1. Prepare the necessities
1. A clean USB drive
The USB should be at least 16 GB, formatted with Mac OS Extended (Journaled) and in GUID Partition Map.
2. Download and install TransMac on your Windows PC
TransMac allows us to write and transfer files to and from macOS-compatible drives(APFS, HFS+, and HFS file systems) and is commonly used to create macOS bootable USB drives from a Windows device.
Follow this link to get TransMac: TransMac download
3. Release more free space on your Windows computer
Similar to creating a macOS High Sierra bootable USB on a Mac, having enough free space is one of the key points for the success of creation.
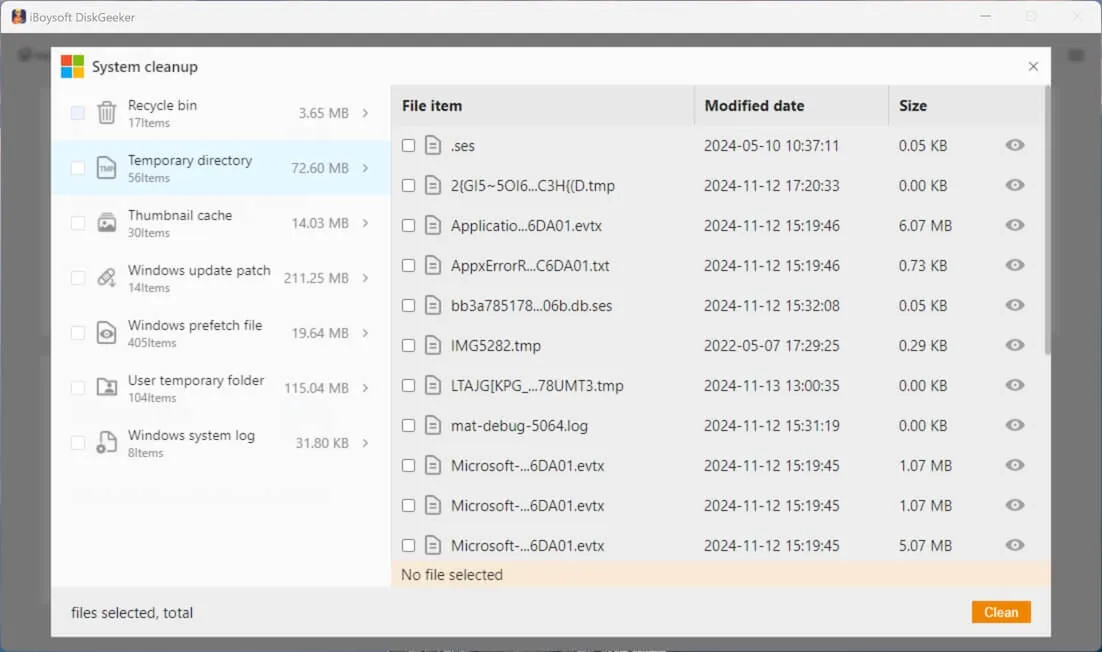
Manually cleaning up junk files on the PC for more space is time-consuming and irritating. You can use iBoysoft DiskGeeker for Windows to help you.
Here's how:
- Download, install, and open iBoysoft DiskGeeker for Windows on your Windows PC.
- Wait for the scanning process to finish.
- Select the junk files you want to remove and click Clean.
Step 2. Download the macOS High Sierra DMG file on your computer
Click the direct link to get the High Sierra full installer. Ensure your network condition is good, or else, the downloaded file may be corrupted.
macOS High Sierra DMG download (from archive.org, macOS 10.13.6, 4.9 GB, free)
Step 3. Create a bootable High Sierra USB from Windows
Now, follow the steps below to create a High Sierra bootable USB from Windows:
- Right-click on the TransMac application and choose Run as administrator > Yes to allow this tool to make changes on this computer.
- Wait for a moment and click Run.
- Click the File button > Open Disk Image.
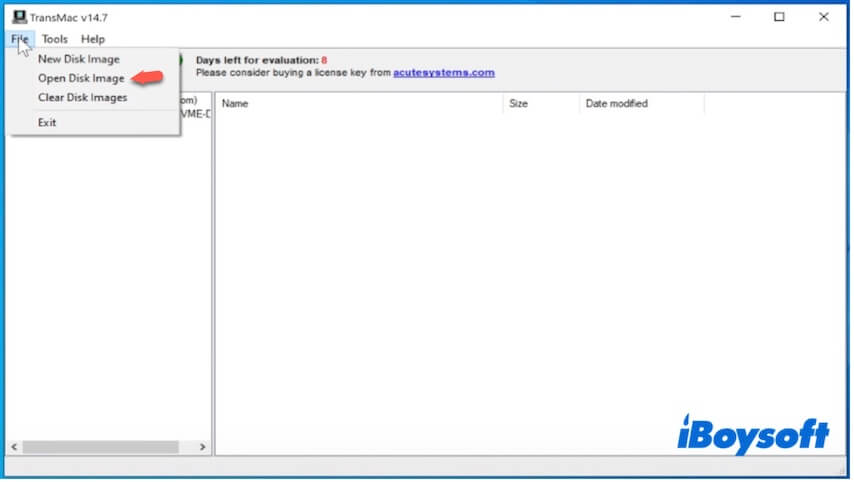
- Select the macOS High Sierra .dmg file and click Open.
- Click InstallOS.dmg on the sidebar > the Install macOS folder.
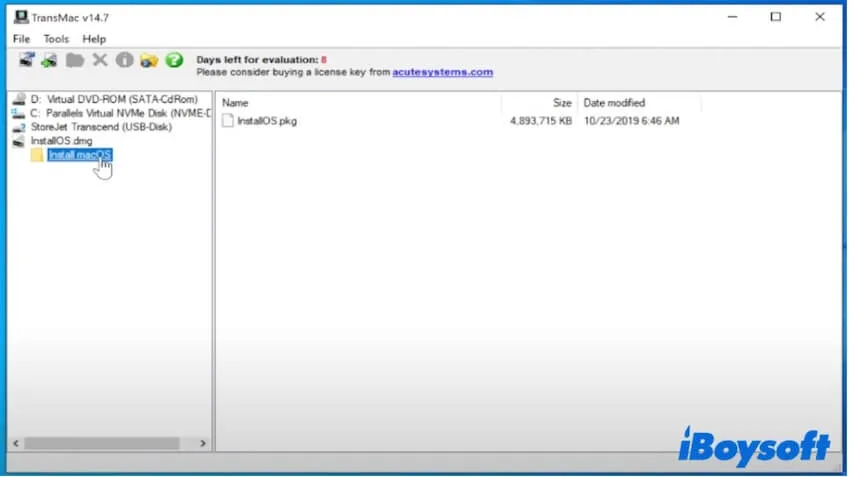
- Drag and drop the InstallOS.pkg file to your desktop.
- Click the File button again > Open Disk Image.
- Select the InstallOS.pkg file that you've just dropped to your desktop and click Open.
- Click the Tools button > Settings.
- Select Show hidden and system files (use with caution) and click OK.
- Click the InstallOS.pkg file.
- Click OS X Install ESD from the sidebar.
- Find and select BaseSystem.dmg and drag and drop it to the desktop.

- Keep TransMac opening.
- Connect the USB drive to your Windows computer.
- Right-click the USB and choose Format Disk for Mac > Yes.
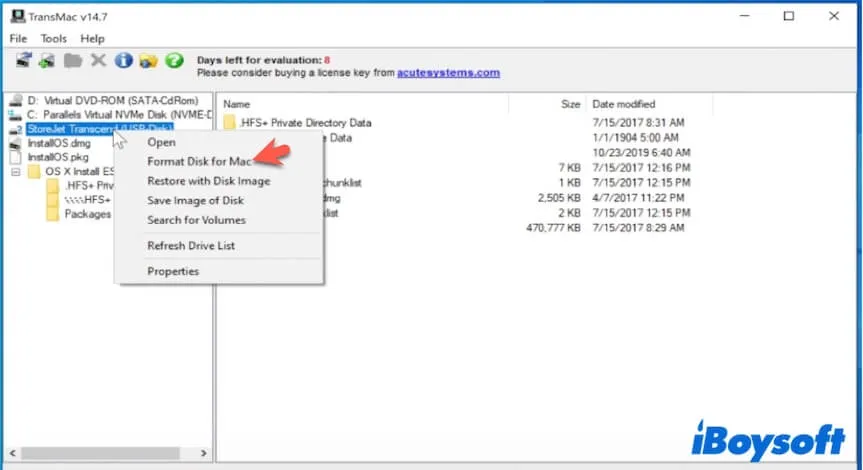
- Name the USB and wait for the drive to be formatted.
- Right-click the USB and choose Restore with Disk Image.
- Choose BaseSystem.dmg and click Open.
- Click OK > Yes to start the restore process.
After that, you get a macOS High Sierra bootable USB on Windows. If you want to get more details, follow: How to create a macOS bootable USB from Windows 10/11?
If you think this guide about how to create a USB bootable macOS High Sierra is readable and helpful, why not share it with others?