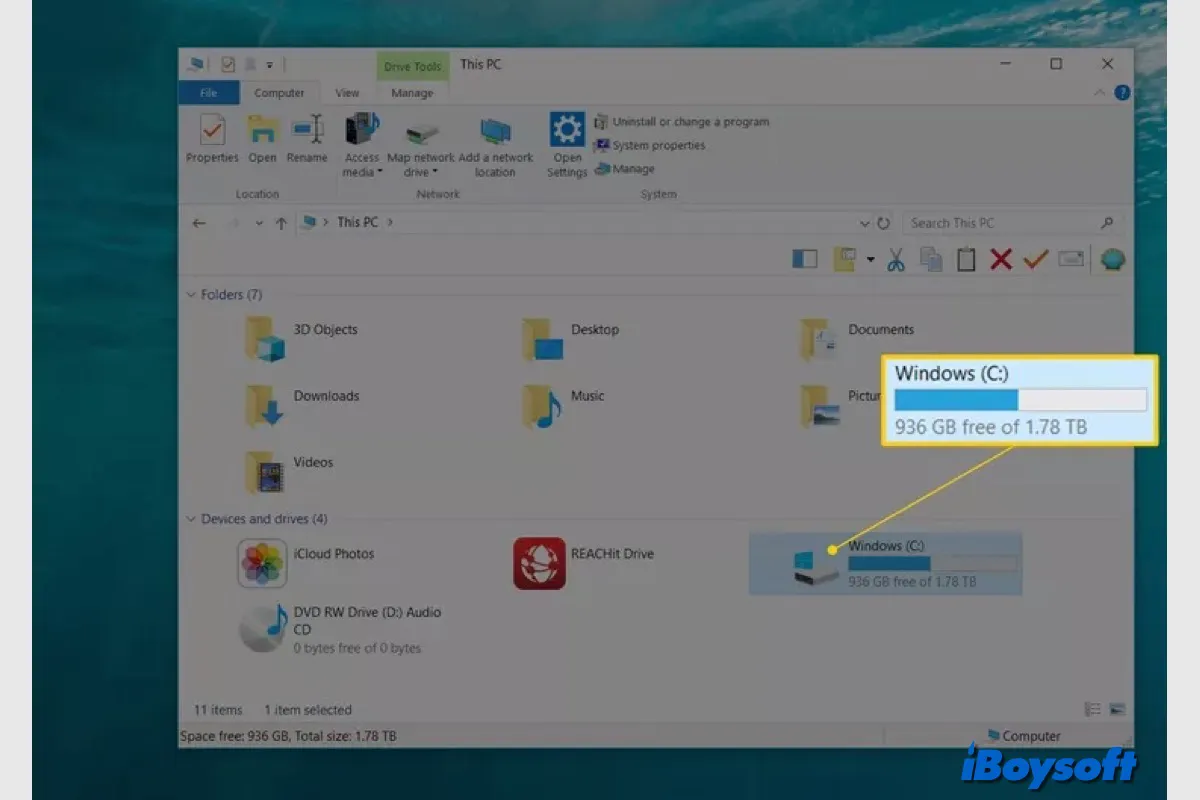
On Windows 10/11, you can check free hard drive space from File Explorer > This PC, where all storage devices are listed in the Devices and drives area. However, quite a lot of people reported that the hard drive not showing full capacity there, it occurs to both the internal hard drive and the external disk, such as:
- Seagate hard drive not showing full capacity.
- Lacie hard drive not showing full capacity.
- Western Digital hard drive not showing full capacity.
- Sandisk hard drive not showing full capacity.
- …
The hard drive showing less capacity than the actual might happen to HDD, SSD, USB flash drive, SD card, etc on Windows 10 and 11. In this post, we will discuss the possible reasons and solutions. Keep reading to know more.
Tips: When was the last time you updated Windows? Download the Windows 11 Update (Latest & Old) or the Windows 10 update ISO file to update your PC.
Why does the hard drive not show full capacity
There are multiple possible causes for the hard drive not showing full capacity on Windows. When it shows less space than the hard drive should have, it also shrinks the available free space. Here, we conclude some common reasons that lead to the hard drive showing the wrong capacity:
- Outdated hard drive driver.
- Incomplete formatting process.
- Configuration error in the partition table.
- Corrupted partition table.
- Bad sectors on the hard drive.
- Wrong file system.
- Damaged hard drive.
Let others know these possible reasons for the external hard drive not showing full capacity!
How to fix hard drive showing wrong capacity
In most cases, the internal or external hard drive not showing full capacity issue can be solved on your Windows computers. There are some proven methods you can try to restore a hard drive to its full capacity. Just follow the detailed steps below.
Update hard drive driver
If the external hard drive's capacity is incorrect on your system, there's a good chance that its driver is outdated. In that scenario, updating the external hard drive driver can fix the issue.
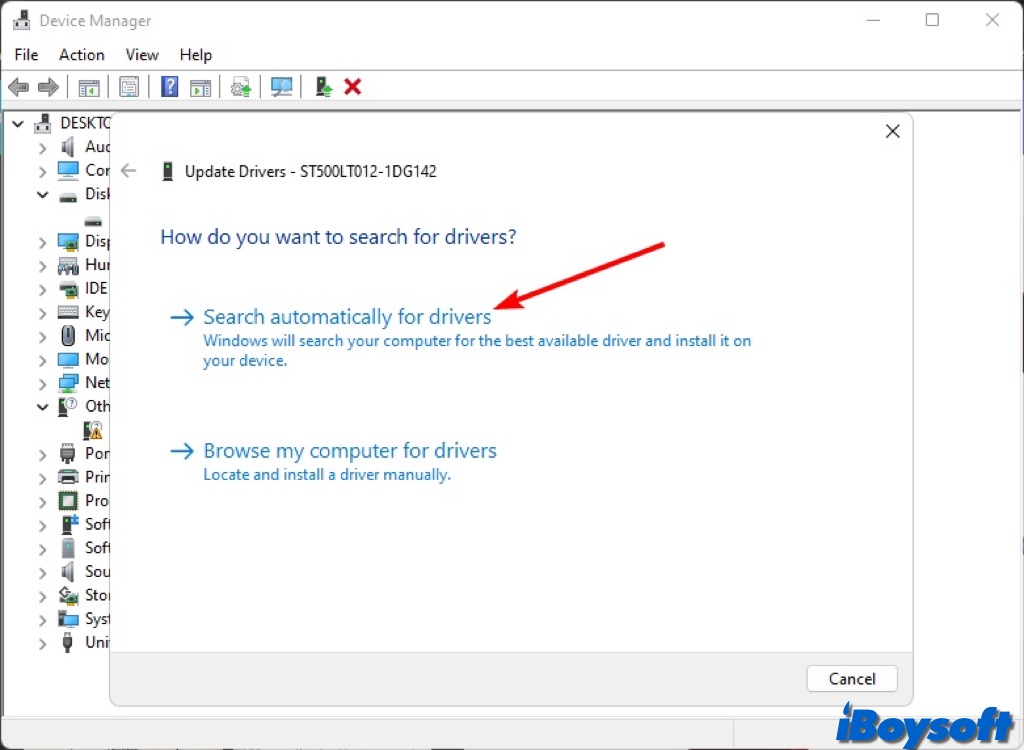
- Click Start, type Device Manager in the search box, and press Enter.
- Click and expand Disk drives. Right-click the hard drive showing the wrong capacity and choose Update driver.
- Tick Search automatically for updated driver software.
You can attempt to uninstall and reinstall the hard drive driver if it is the most recent version and the issue persists.
Update the external drive's firmware
To fix the hard drive space showing as less than actual, check the firmware version of your drive and, if it's outdated, update it with the most recent and compatible version. Here's how:
- Connect the external hard drive to your computer, right-click the Windows icon, and choose Device Manager.
- Select Disk Drivers and double-click it, then locate and right-click on the malfunctioning external hard drive, and select Properties.
- Click Details and then select Hardware IDs. Check the manufacturer and firmware version information in the Value box.
- Check the firmware update from the manufacturer's website, and download the available firmware update of your external hard drive.
- Save the firmware ISO of the external hard drive to the portable USB, and right-click the ISO file, then select Burn Disk Image.
- Insert a USB to your PC, select the optical drive from the Drive Burner, and click Burn.
- Restart your device with the burned disk or USB drive, and press F2, F10, F12, or Esc to access BIOS.
- Select your optical or USB drive via the arrow keys and hit Enter.
- Follow the firmware upgrade instructions to complete the upgrade process.
Convert MBR to GPT
Most of the time, your hard drive doesn't appear to be at full capacity because it was initialized with the incorrect partition table. As far as we know, disk volume space larger than 2TB cannot be supported by the MBR (Master Boot Record) partition table. Because of this, some 4TB and 3TB hard drives show less than actual on Windows 10/11. You can easily fix it by converting MBR to GPT (GUID Partition Table).
Bear in mind that this will delete all hard drive contents if you want to convert MBR to GPT without losing data, you should back up the drive and recover deleted/lost data from it first. iBoysoft Data Recovery for Windows is what we recommend to recover data from internal/external hard drives on Windows. Try it for free!
Then, you can proceed to convert MBR to GPT on Windows:
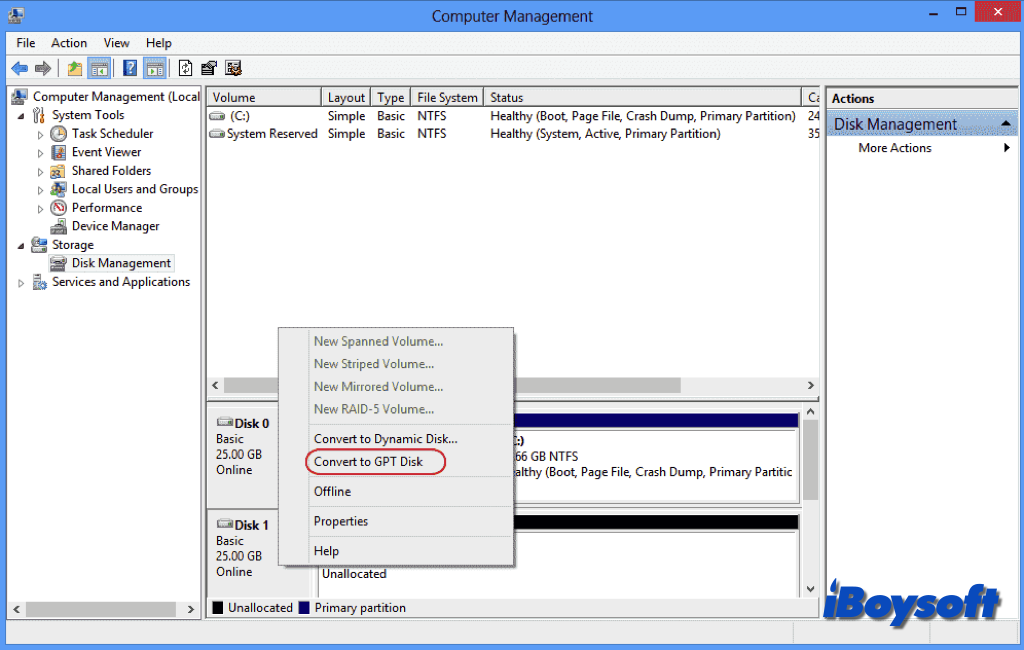
- Click Start, type diskmgmt.msc in the Start search box.
- Right-click diskmgmt.msc and choose Run as Administrator.
- Delete all partitions and volumes on the MBR disk: select and hold each item, and select Delete Partition or Delete Volume.
- Right-click the MBR disk, and select Convert to GPT Disk.
- The process notifies you when the conversion finishes.
Initialize/format the hard drive
Before a hard drive can be used, the operating system must initialize it. Setting the partition style is a step in the hard drive initialization process. This determines how the hard drive will store the partition information, allowing the operating system to determine which partition is bootable and which sectors belong to each partition. But sometimes, a drive in use may become uninitialized. When the hard drive not showing full capacity, initializing the drive could fix the issue.
Besides, you can also reformat the hard drive to fix logical errors like corrupted files system, it may work to make your hard drive show the correct capacity on Windows again. Either initializing or formatting external hard drive on Windows will erase all data, make sure you have backed up important files and recover deleted/lost items with iBoysoft Data Recovery for Windows.
Check for bad sectors
Excessive numbers of bad sectors can cause the disk to display the incorrect capacity and impair proper reading and writing. Consequently, to solve the issue, you can run CHKDSK to repair hard drive errors in Command Prompt. In extreme cases, where your hard drive has many physically damaged sectors, you may need to replace it after making a backup of your data.
Share these helpful methods to fix the external hard drive not showing full capacity!