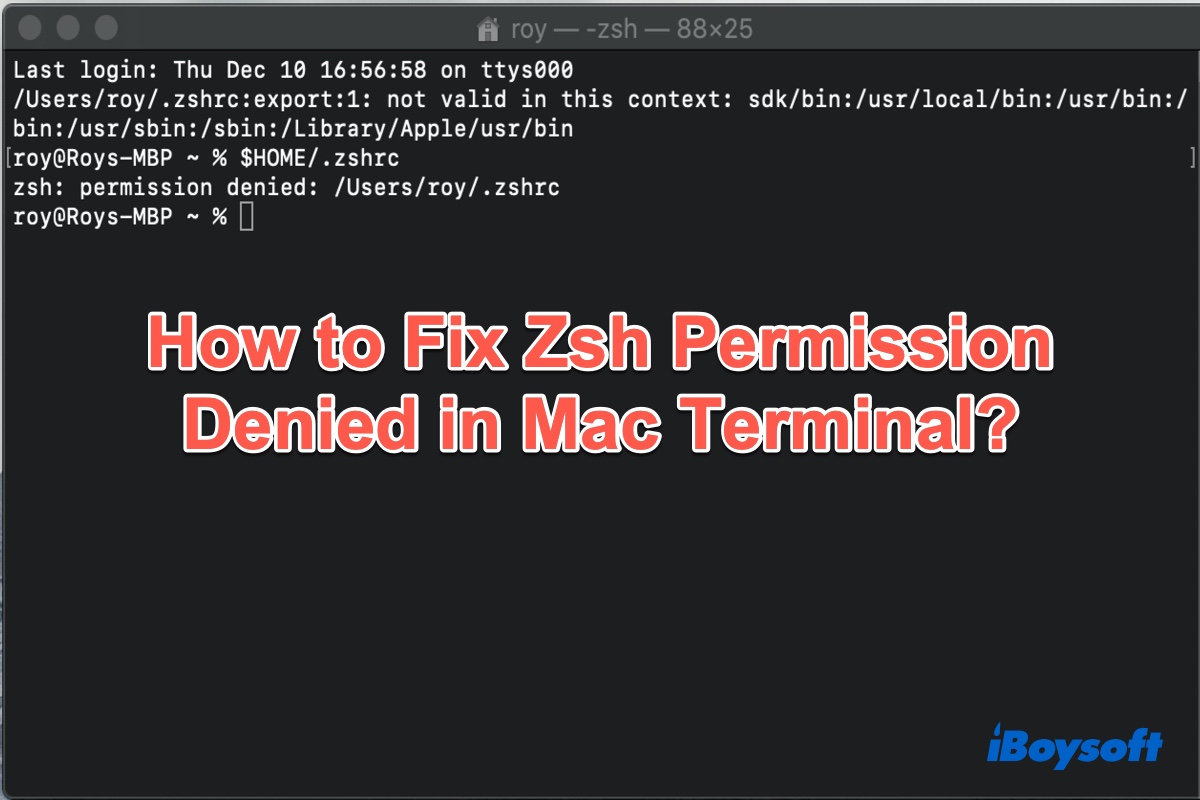
When you open a file or folder in macOS Terminal and then input a command to modify it, a pop-up shows up labeled with "zsh: permission denied" or "zsh: command not found". Is it a Mac Terminal not working issue? Are you facing this problem now? If yes, then this post should be helpful cause it tells how to fix the "Zsh permission denied" error on Mac in detail.
Share with people who are trapped in this question too!
What is Zsh?
The Z shell or Zsh is a Unix shell that can be used as an interactive login shell and as a command interpreter for shell scripting. It is designed and built on top of bash - macOS' default shell and it covers some features of ksh and tcsh. (How to change zsh to bash on Mac?)
Zsh is so much easier to use when configuring plugins and themes. Also, its themes look more beautiful and neat. Most importantly, it doesn't require strict user permissions.
Bash Profile Mac: What Is it and How it Differs from Bashrc?
This post will tell you what is Bash and What is bash profile on Mac. It also lists how to create, edit, and delete bash profile on Mac. Read more >>
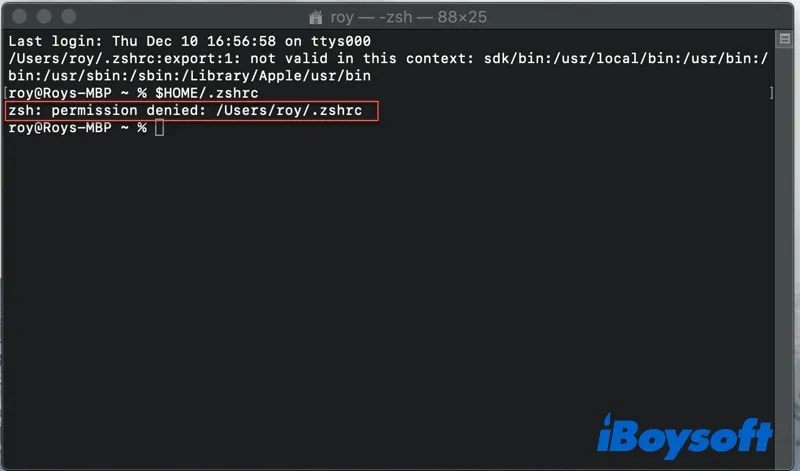
What is Zsh: permission denied in macOS Terminal?
Just like the error name indicates, it is a permission error that prevents Mac users from opening a file using commands. It can occur with the sudo commands or even bash commands. According to several reports, the "Zsh: Permission denied" error can also happen even when the file is being opened in the root.
Most of the reports say that the error appears when they are trying to open the file installer via Terminal. Or when the file is dragged to the Terminal window, the "permission denied" error pops up. However, this can also happen with any other file.
Why you're getting the permission denied error in Terminal?
There are many possible reasons why you're getting the Zsh permission denied error on your Mac. The most common ones are as follows:
The file is locked
When you are trying to install a program or modify a file that is locked, you will most likely encounter the permission denied error. It could be because you do not have administrator privileges or because the creator of the file used chmod to lock the file. The permission error is an indication that your command is attempting to write to a directory that your user account does not own.
Incorrect chmod X or system command
Another reason why you are getting this error is that you probably entered an incorrect chmod x or other system commands. Make sure you're using the right command. If you're trying to run an application, make sure that the program command is valid and installed on your computer.
How to fix Zsh permission denied error on Mac?
Before fixing the Zsh permission denied error in Mac, make copies of any relevant files you have. You might need a backup file later in case anything goes wrong. After all, when you try to force a command to work, there are potential downsides that could mess up your system and result in more problems. It's better that you come prepared.
Also, you need to optimize your Mac to prevent other issues from popping up. It would also clean up your system to make your processes run smoothly. Once done, restart your Mac and check out the below troubleshooting guide.
Step 1: Check your permissions.
- Launch Terminal from Mac Dock or Utilities.
- Type the following command, and add a space after the final character. Do not press Enter now.ls -l
- Drag the file you want to open and drop it into the Terminal window. This will automatically append the file's location to the existing command. However, this will not truly move the file.
- Now click on the Terminal window and press Enter.
This will show you whether you have permission to write or modify the file.
Step 2: Change the ownership of the directory.
To change the ownership of the directory, you can use the chown command. Enter this command in Terminal, then press the Enter key:
chown -R $USER:$USER /path/to/directory
Change $USER with the currently logged-in user and /path/to/directory with the path to where you want to write to.
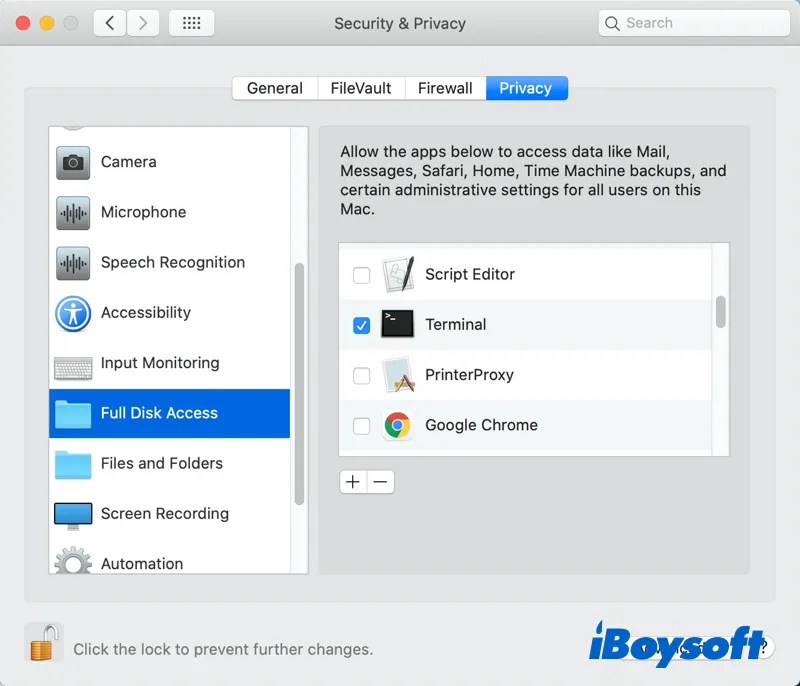
Step 3: Give Terminal full access to the disk.
It is also possible that the Terminal does not complete access to the disk, which is why macOS terminal permission is denied. Ungranted full disk access may cause the Terminal error “Operation not permitted” as well. To fix this, go to System Preferences > Security & Privacy > Privacy panel, then add Terminal to the list of Full Disk Access.
Step 4: Use sudo commands.
Sudo command is simple but powerful enough to allow you to execute almost any command from the Terminal. So, if you have encountered the Mac permission denied problem, then use sudo commands in Terminal. To do this, simply add sudo before the original command. Here are sample commands:
sudo chmod 755 /dvtcolorconvert.rb
sudo chmod 755 ~/Themes/ObsidianCode.xccolortheme
You will be prompted to enter your password if this is your first time using the sudo command. But after that, you won't have to enter it every time you use a sudo command.
Now, check if the Zsh permission denied on Mac problem has been resolved. If not, try to download the Oh My Zsh app to deal with it. Oh My Zsh is an open-source framework that can be used to manage Zsh configurations on macOS and Linux.
Problem solved? Let's share the happiness with others.
How to avoid permission denied error on your Mac?
To avoid the macOS Terminal permission denied errors in the future, you can change the permission settings on Mac to define who can view and alter files. Below are some ways to do so:
Method 1: Assign permissions to users and groups
- On your Mac, select a disk, folder, or file, then choose File > Get Info.
- Click the lock icon to unlock it.
- Enter an administrator name and password.
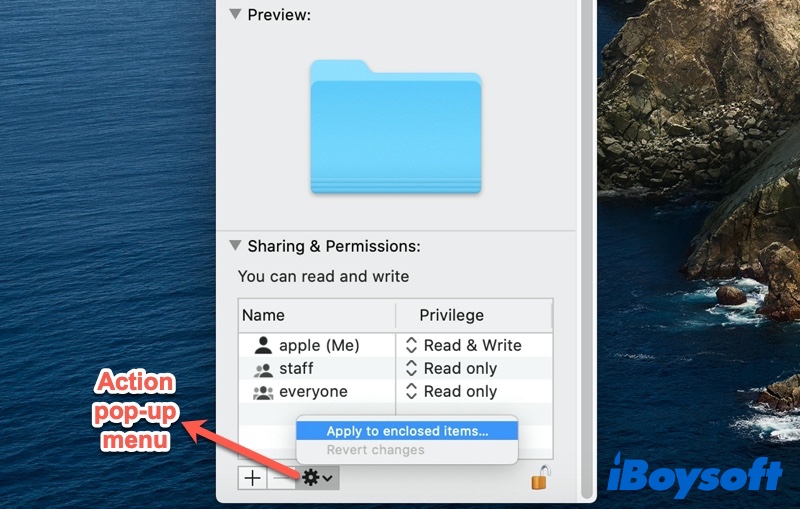
- Click a user or group in the Name column, then choose a privileged setting from the pop-up menu.
Read & Write: Allows a user to open the item and change it.
Read Only: Allows a user to open the item but not change its contents.
Write Only: Makes a folder into a Drop Box. Users can copy items to the Drop Box, but can't open it. Only the owner of the Drop Box can open it.

Method 2: Apply permissions to all items in a folder or a disk
- On your Mac, select a folder or disk, then choose File > Get Info.
- Click the lock icon to unlock it.
- Enter an administrator name and password.
- Click the Action pop-up menu, then choose "Apply to enclosed items".
Method 3: Add or remove a user or group in the Name column
- On your Mac, select an item, then choose File > Get Info.
- Click the padlock icon to unlock it.
- Enter an administrator name and password.
- In the Sharing & Permissions section, do any of the following:
Add a user or group: Click the Add (+) button below the list, select a user or group, then click Select.
Remove a user or group: Select the user or group, then click the Remove (-) button below the list.
How to Access Usr Folder on Mac: A Step By Step Guide
This article explains what is Mac usr folder and why it is hidden from users. Also, it tells you how to access usr folder on Mac. Read more >>
Share with more people about this helpful guide!
FAQs about Zsh permission denied on Mac
- QIs Zsh default on Mac?
-
A
Starting with macOS Catalina, Macs began to use Zsh as the default login shell and interactive shell across the operating system.
- QWhy does my Mac Terminal say permission denied?
-
A
The reason why you encounter a permission denied error is that you're not an administrator, or because the owner of the file used chmod to lock the file.