
macOS Monterey is the 18th major release of the Mac operating system, it contains many notable new features aiming to improve the experience, including a new Shortcuts app, Universal Control, Live text, redesigned Safari, Power Mode, FaceTime, etc.
Tips: Want to run the latest macOS Tahoe 26 on your PC? You can install macOS Tahoe on VMware Workstation on a Windows PC.
For computer users who want to run macOS Monterey on Windows 10/11 PCs, a virtual machine like VMware is necessary. This post is a step-by-step guide, it tells how to install macOS Monterey on VMware on Windows.
Note: To run macOS Monterey on Windows 10/11, you'll need at least 8 GB of RAM and 80 GB of available disk space. Before moving the specific steps, you should check to ensure your Windows PC meets the requirements.
Steps to install macOS Monterey on VMware on a Windows PC:
- Step 1: Download the macOS Monterey ISO
- Step 2: Download and Install VMware on Windows
- Step 3: Download and Install Unlocker for VMware
- Step 4: Create a macOS Monterey virtual machine
- Step 5: Modify the macOS Monterey .vmx file
- Step 6: Format the virtual hard drive for macOS Monterey
- Step 7: Install macOS Monterey on VMware
- Step 8: Install VMware Tools
Step 1: Download the macOS Monterey ISO
In the first step, you should have the macOS Monterey ISO file to install macOS Monterey on VMware on Mac. It is a disk image, an exact copy of the macOS Monterey.
There are two ways to get a macOS Monterey ISO: create it on Mac with the full installer or directly click the link below to download the ISO file on your Windows PC.
macOS Monterey ISO download link (File Size: 12.22GB)
Step 2: Download and Install VMware on Windows
Then, you need to download and install VMware on your Windows PC. VMware Workstation provides free VMware Workstation Player or the paid VMware Workstation Pro for you to choose from. Besides, since May 2024, the free version of the more advanced VMware Workstation Pro for personal is available.
VMware Workstation 17 Player for Windows
During the installation, ensure that you select "Install Windows Hypervisor Platform (WHP) automatically" and enable "Enhanced Keyboard Driver" and "Add VMware workstation console tools into the system path" if available.
Step 3: Download and Install Unlocker for VMware
Now, it's time to install the auto-unlocker tool for macOS virtual machines. It can bypass the restrictions that hinder macOS virtual machines from running on non-Apple hardware. Here's how:
- Get the Unlocker from Github.
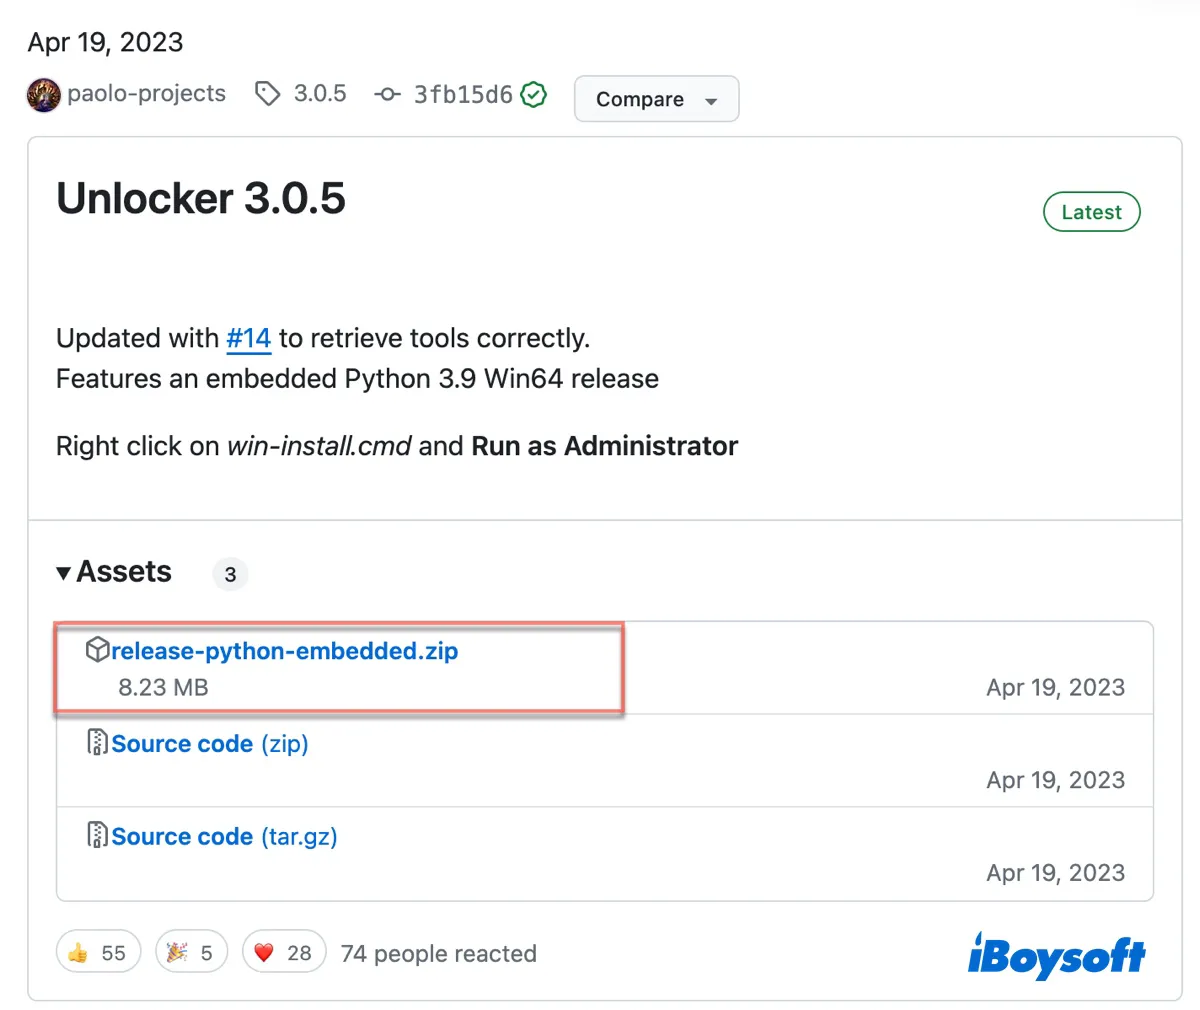
- Unzip the downloaded files and open the extracted folders.
- Right-click on win-install and choose "Run as administrator."
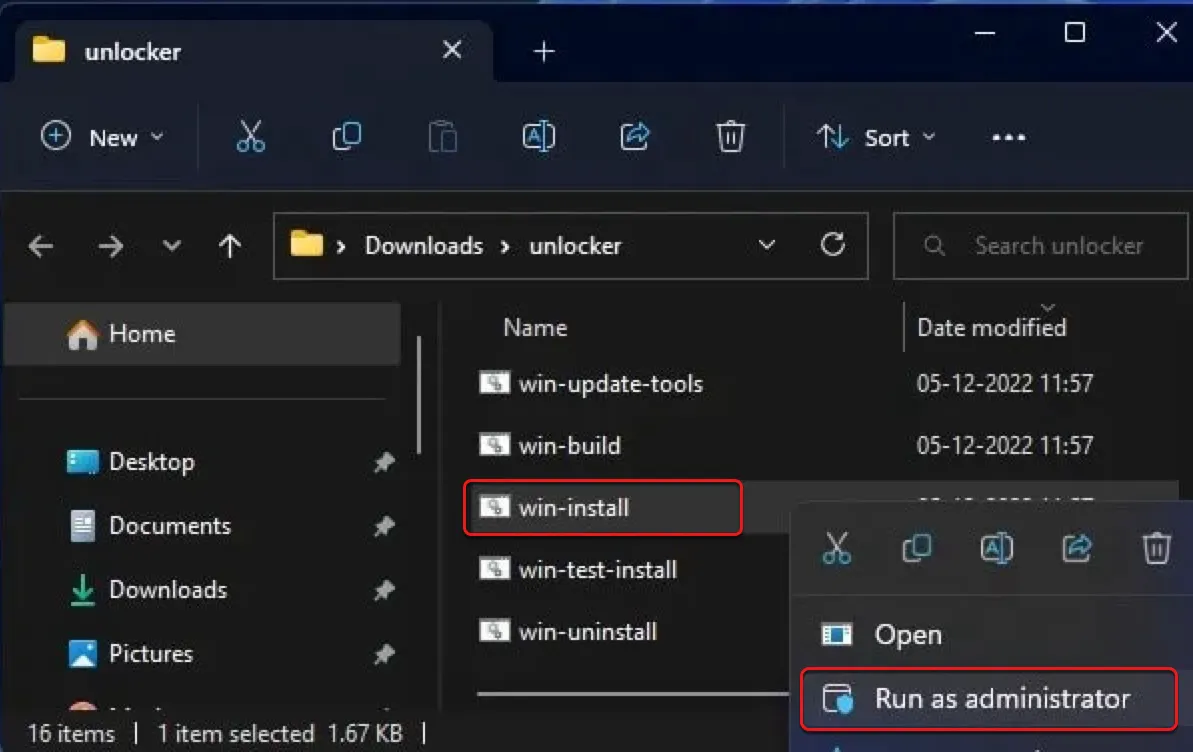
- Click Yes, then it automatically closes after installing.
Step 4: Create a macOS Monterey virtual machine
After downloading and installing all the necessary files, you can proceed to create the virtual machine for macOS Monterey, just follow the steps below:
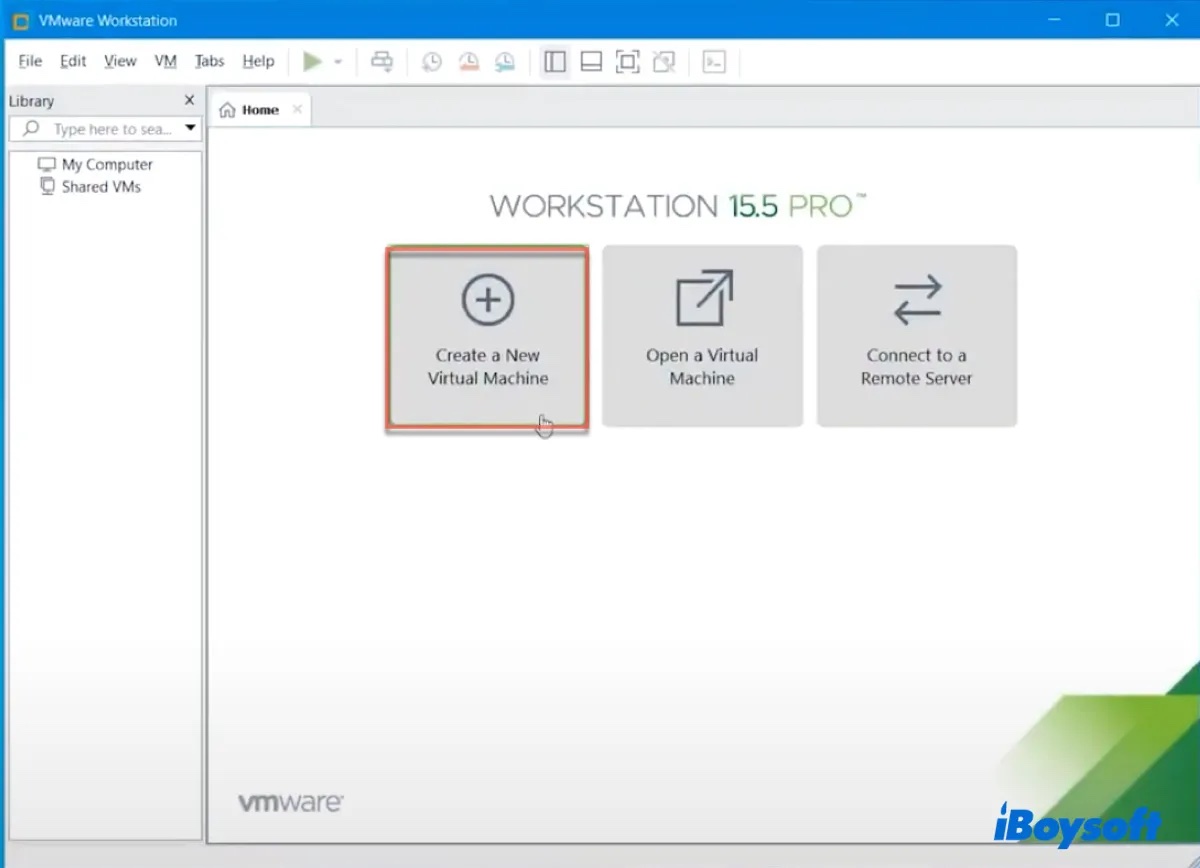
- Launch VMware Workstation and click "Create a New Virtual Machine."
- Select "I will install the operating system later" and click Next.
- Choose "Apple Mac OS X" as the guest operating system and select macOS 12, then click Next.
- Name the virtual machine, choose a location, and click Next.
- Specify the maximum disk size as 80 GB or above (e.g.120 GB)
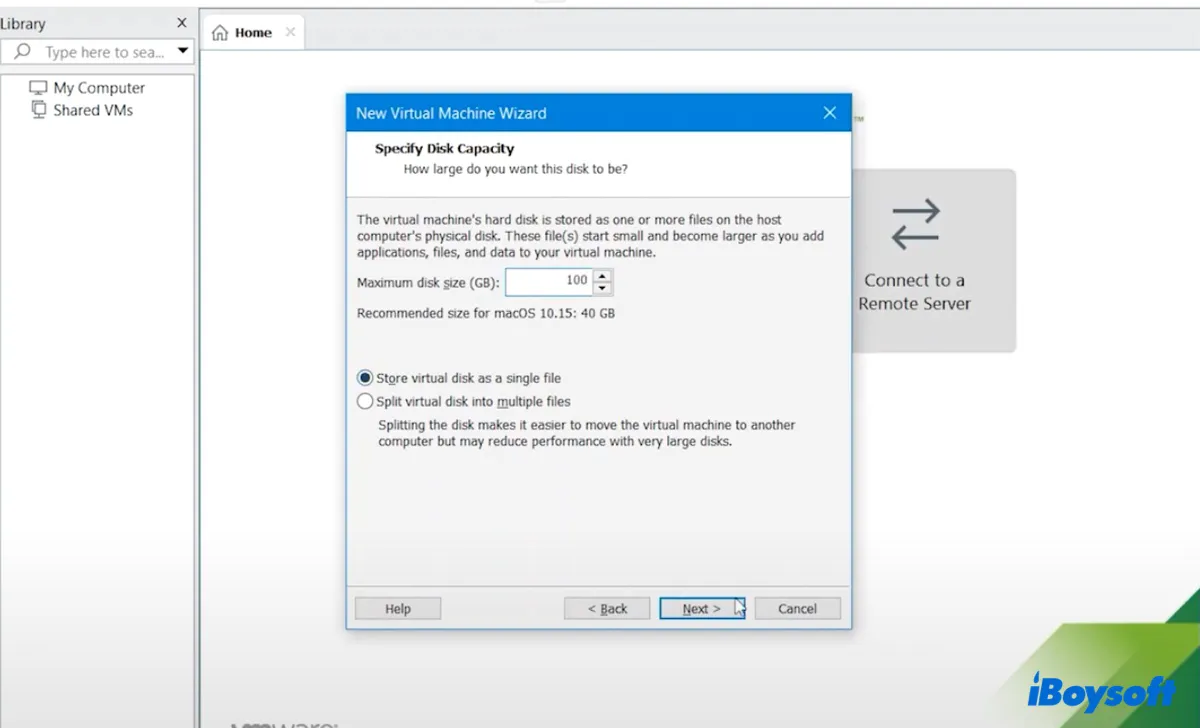
- Select "Store virtual disk as a single file" and click Next.
- Click Finish.
- Back to the main interface, select "Edit virtual machine settings."
- In the Memory tab, allocate 50% of your system's memory.
- Tap on Next again and click Finish.
- Choose the Processors tab and allocate 50 - 80% of your system's processor.
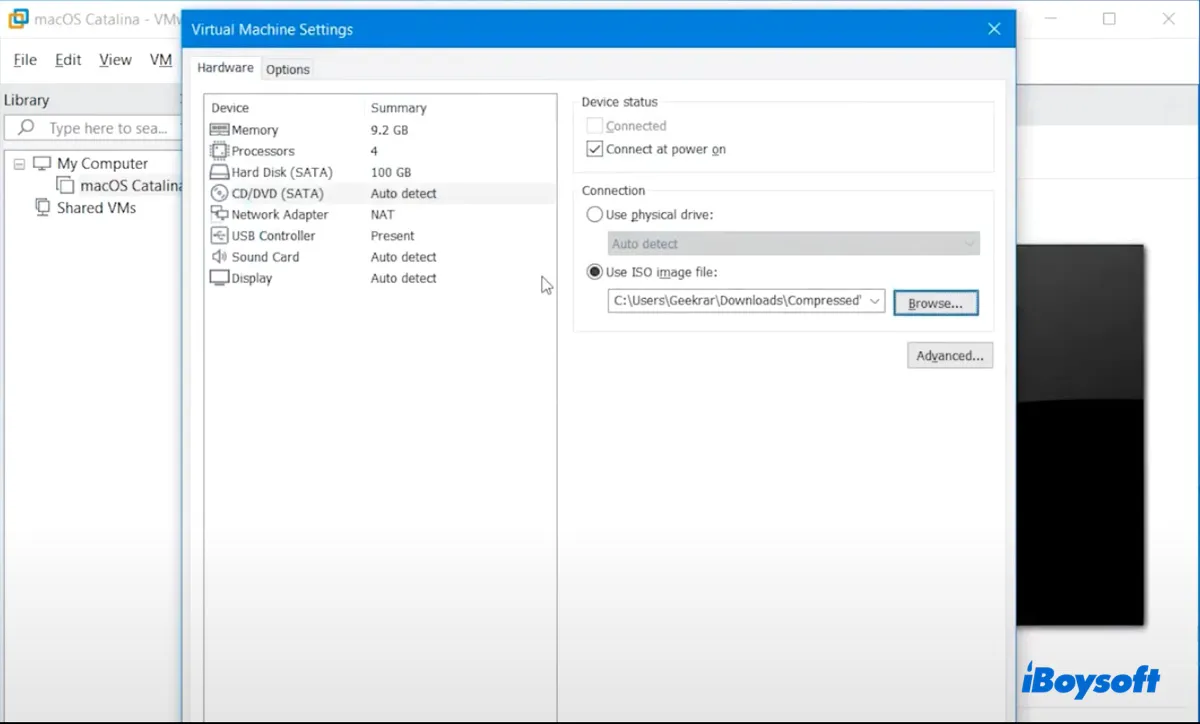
- Choose the "CD/DVD (SATA)" tab, select "Use ISO image file," and add the macOS Monterey ISO file.
- In "USB Controller," choose USB 3.0 for USB compatibility.
- Click OK and close VMware.
Step 5: Modify the macOS Monterey .vmx file
After creating the virtual machine for macOS Monterey, you need to edit its vmx file to make it compatible with VMware. Here are detailed steps:
- Head to the directory where the virtual machine is saved.
- Right-click the "macOS Monterey.vmx" file and open it with Notepad.
- Scroll down to the bottom of the text and type smc.version = "0".
- Save the file and close the window.
Step 6: Format the virtual hard drive for macOS Monterey
It requires to format the virtual hard drive for the later macOS Monterey installation on VMware.
- Launch VMware Workstation.
- Select "macOS Monterey" and tap "Power on this virtual machine."
- Wait for the system to boot up.
- Select your preferred language and click Continue.
- In macOS Utilities, click Disk Utility > Continue.
- Select VMware Virtual SATA Hard Drive Media and click Erase.
- Name the drive, select Mac OS Extended (Journaled) as the format, and choose the GUID Partition Map.
- Click Erase again.
- Click Done and quit Disk Utility.
Step 7: Install macOS Monterey on VMware
Once you have formatted the virtual hard drive, you can now install macOS Monterey on VMware on Windows.
- In macOS Utilities, choose "Install macOS" and click Continue.
- Select the formatted virtual hard drive as the destination and click Continue.
- Follow the on-screen instructions to install macOS Monterey on the virtual hard disk.
- Set up your macOS Monterey virtual machine.
Step 8: Install VMware Tools
So far, you have successfully installed macOS Monterey on your Windows PC. There is one more step which is to install VMware tools to avoid full-screen mode issues, graphic issues, etc., it improves the VMware experience.
- Click the Apple logo at the top-left corner of the screen and choose "Shut Down".
- Then click "Edit virtual machine settings."
- Choose "CD/DVD (SATA)" and click "Use physical drive" > OK.
- Click "Power on this virtual machine" and log in to your account.
- In the menu bar, click VM and select Install VMware Tools.
- Open "Install VMware Tools."
- Follow the instructions to install the tools.
- On the "System Extension Blocked" window, click "Open Security Preferences."
- Tap the padlock and enter your password to unlock the preference.
- Click Allow to unblock software from VMware.Inc.
- Click Restart.
Read also:
Share this post with people who want to install macOS Monterey on VMware on Windows!