Why do you need to crop photos on Mac/MacBook? Maybe you want to crop something in the background, crop someone who obscures the scenery in your photos, or crop the redundant photos.
Cropping photos on Mac/MacBook will be easier than cropping photos on a little screen like an iPhone. Now, keep reading and learn how to crop a photo on Mac/MacBook.
Share this tutorial with your friends to learn more about how to crop a photo on Mac/MacBook.
Crop photos on Mac/MacBook
You can crop a photo to improve its composition or eliminate unwanted partitions. Note that you can crop a photo to a preset or custom aspect ratio, and you can constrain the photo to its original aspect ratio.
Here will introduce four solutions for how to crop photos on Mac/MacBook.
Crop photos with a smart right-click tool
For the three ways we talked about later, there is no original photo after you crop it, and it's cumbersome to recover the first image with the Command + Z.
Here we have a more thoughtful tool iBoysoft MagicMenu, which can crop photos on Mac while saving the original one and choosing another place at the same time. With this tool, you can also clean duplicate photos on Mac, create a new file, uninstall unwanted apps…
Here are the steps to crop photos on Mac:
- Free download, install, and open iBoysoft MagicMenu.
- Open the image on your Mac, right-click anywhere on the desktop or inside the open folder.
- Choose Screen Capture > Screen Recording, and crop the photo.
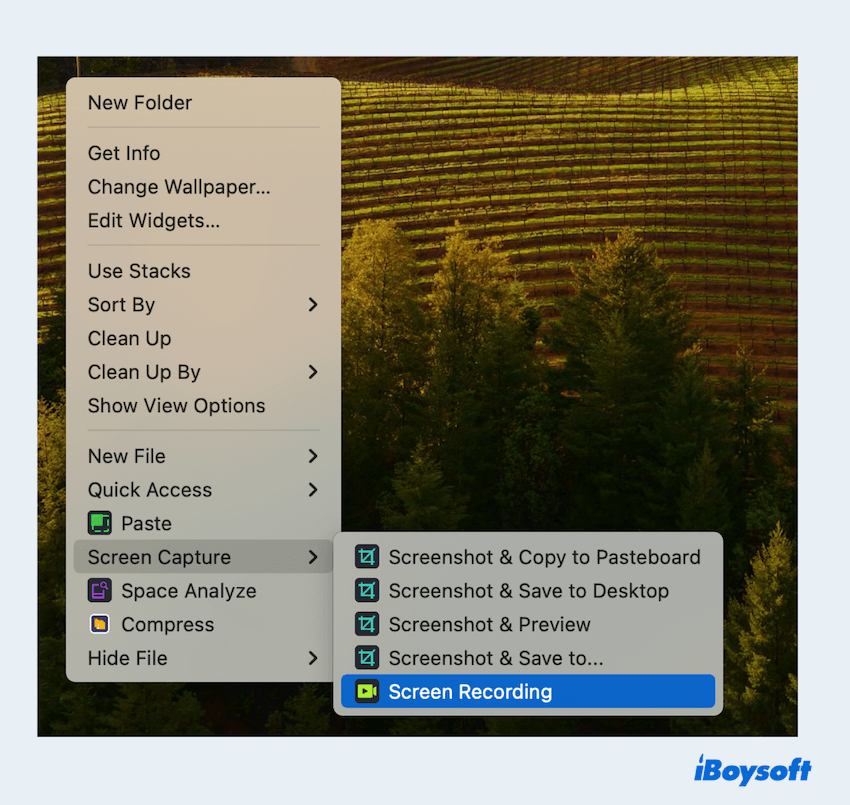
- Select the Options for the saving place and click Capture.
So easy for both remaining the original photo and choosing a different saving place, right? No longer to worry about losing the original one after cropping photos on Mac~ Have a try.
Crop photos with the Preview app
Preview is a default application to preview the photos on Mac/MacBook. So, you can use it to edit photos on Mac/MacBook, which certainly includes cropping photos on Mac:
How to crop a photo in Preview on Mac/MacBook:
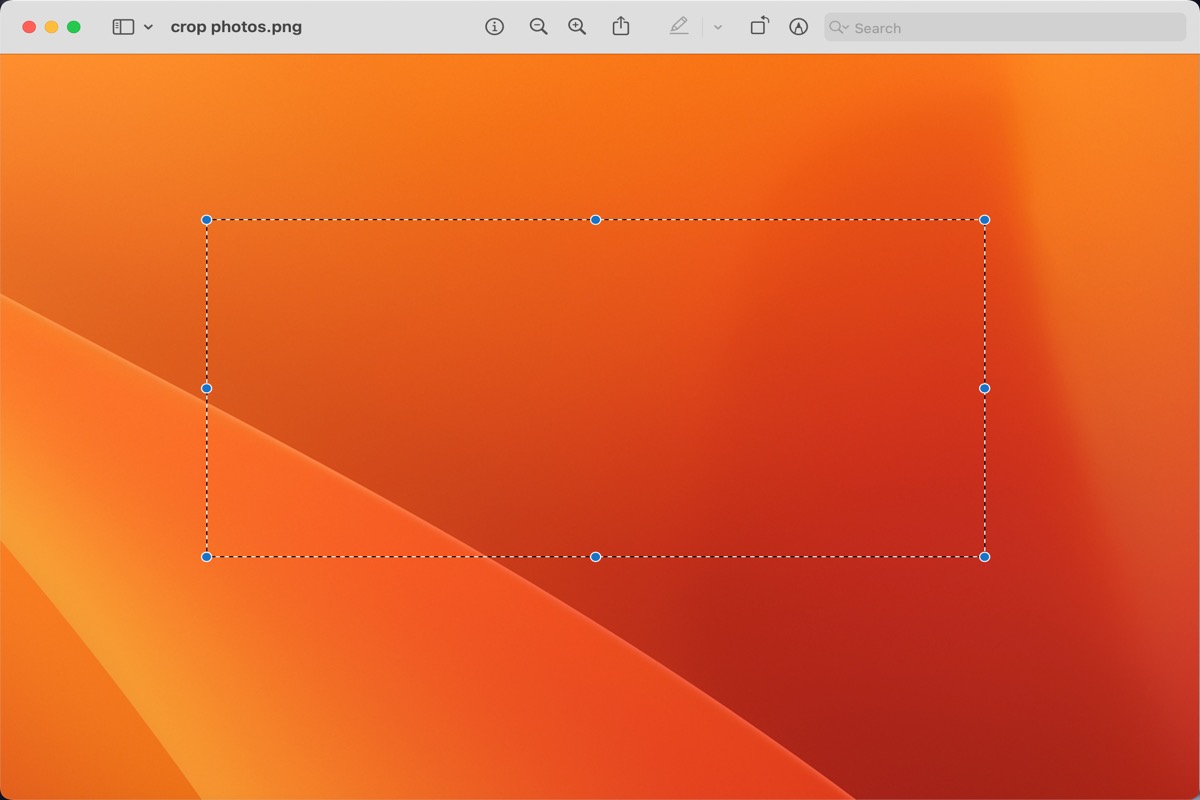
- Open the photo in Preview.
- Click and drag the mouse to select a section that you want to crop.
- Click Tools in the menu at the left-upper of the screen.
- Choose Crop.
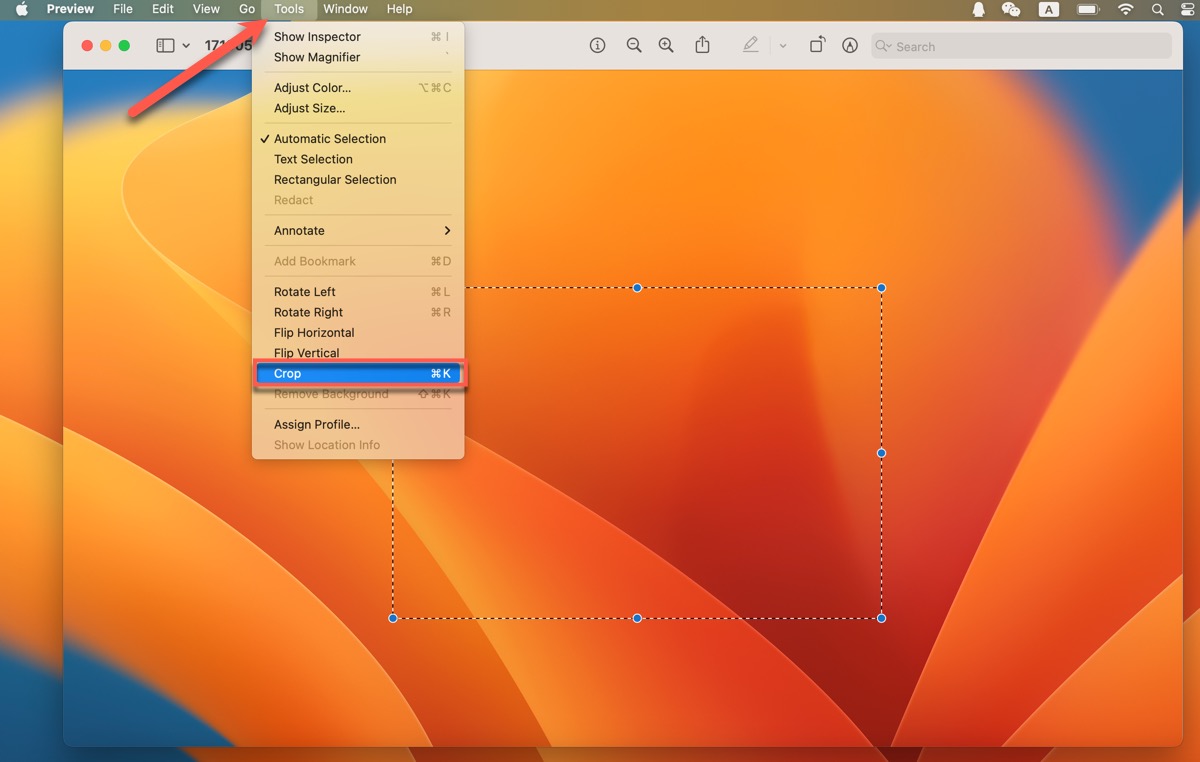
Or you can press Command + K after you select the section you want to crop.
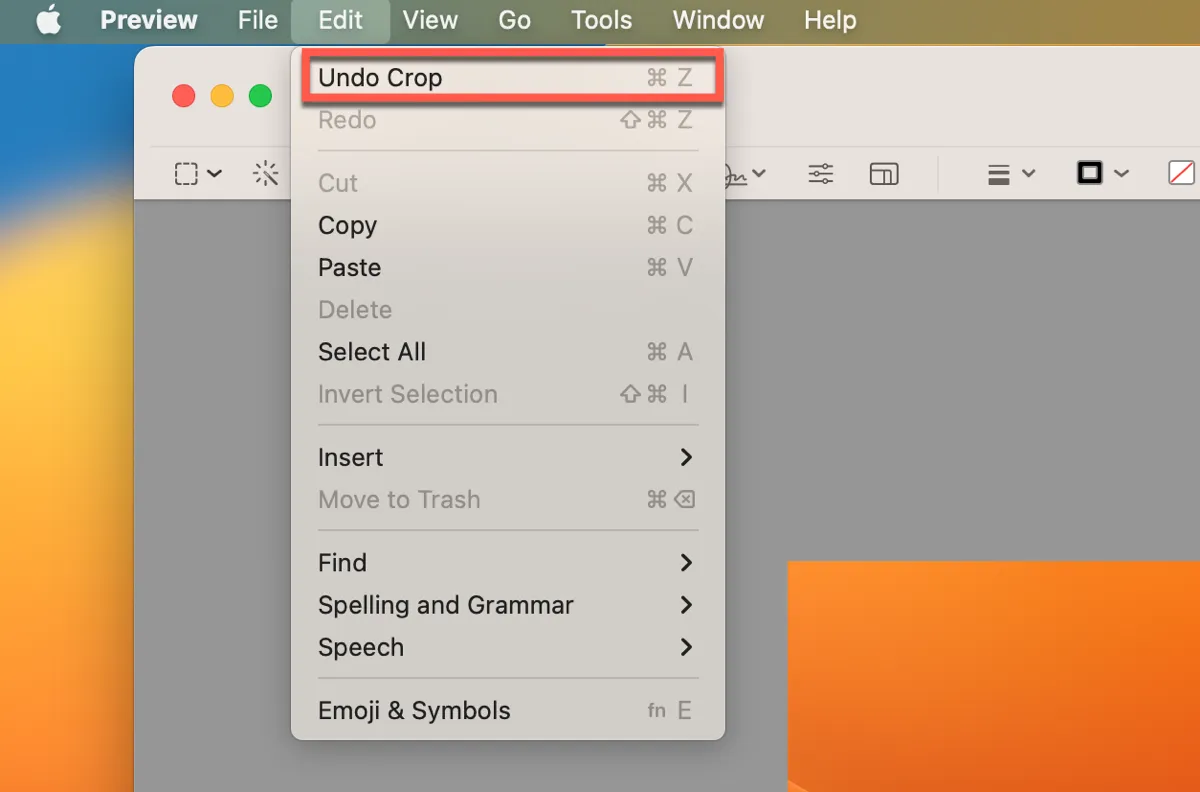
If you don't satisfy with the cropped photo, click Edit in the menu at the left-upper of the screen, then click Undo Crop, and you can crop the photo again.
If the above way helps you a lot, share it to let more people know.
Crop photos with the Photos app
If you want to crop photos from other devices and use iCloud to share the cropped photos with all devices, you can use Photos to crop photos.
How to crop a photo in Photo on Mac/MacBook:
- Open Photos and double-click the photo.
- Click Edit at the right corner of the window.
- Click Crop in the upper menu.
- Drag the frame to crop the photo. (Or you can customize the size in the right sidebar.)
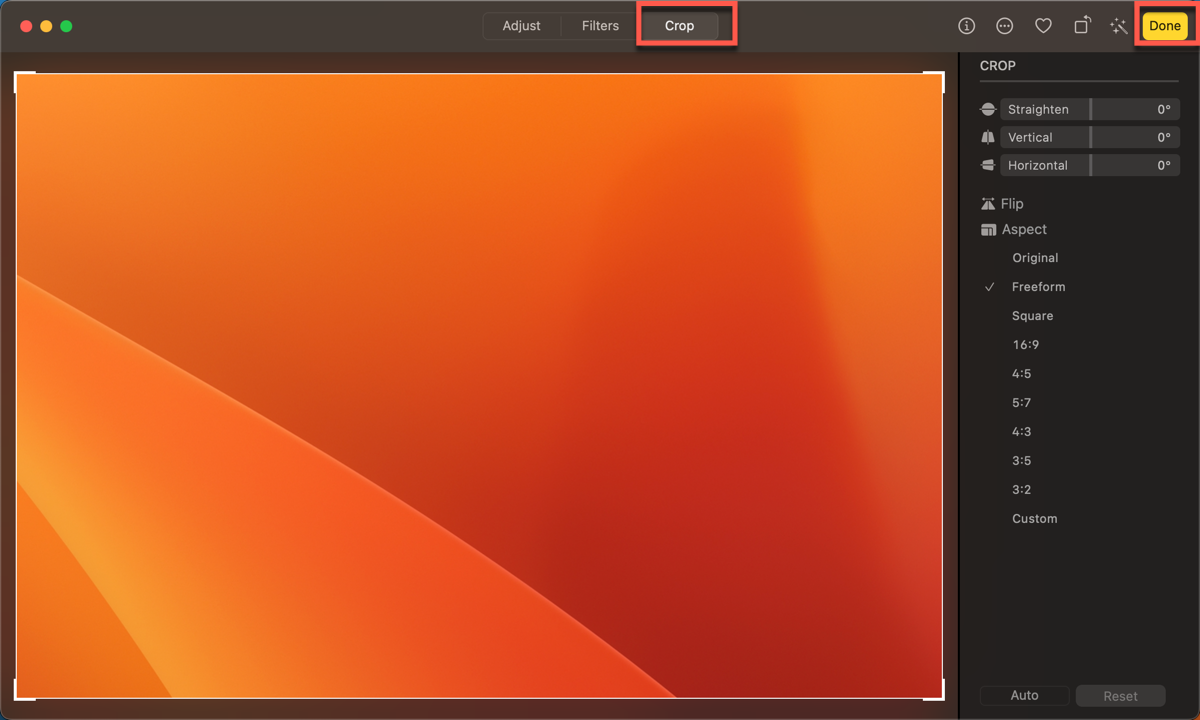
If you want to save the cropped photo, click Done at the right corner of the window. Or else, if you don't want to save anything you changed, click Revert to Orginal at the left corner of the window.
Crop photos with the Quick Look app
Quick Look, released with Mac OS X 10.5 Leopard, enables you to preview files, photos, and other items. Like Preview and you can follow the below steps to crop photos on Mac/MacBook.
- Right-click the photo and choose Quick Look in the pop-up menu.
- Click Crop in the upper toolbar.
- Drag the frame to select the section you want to crop.
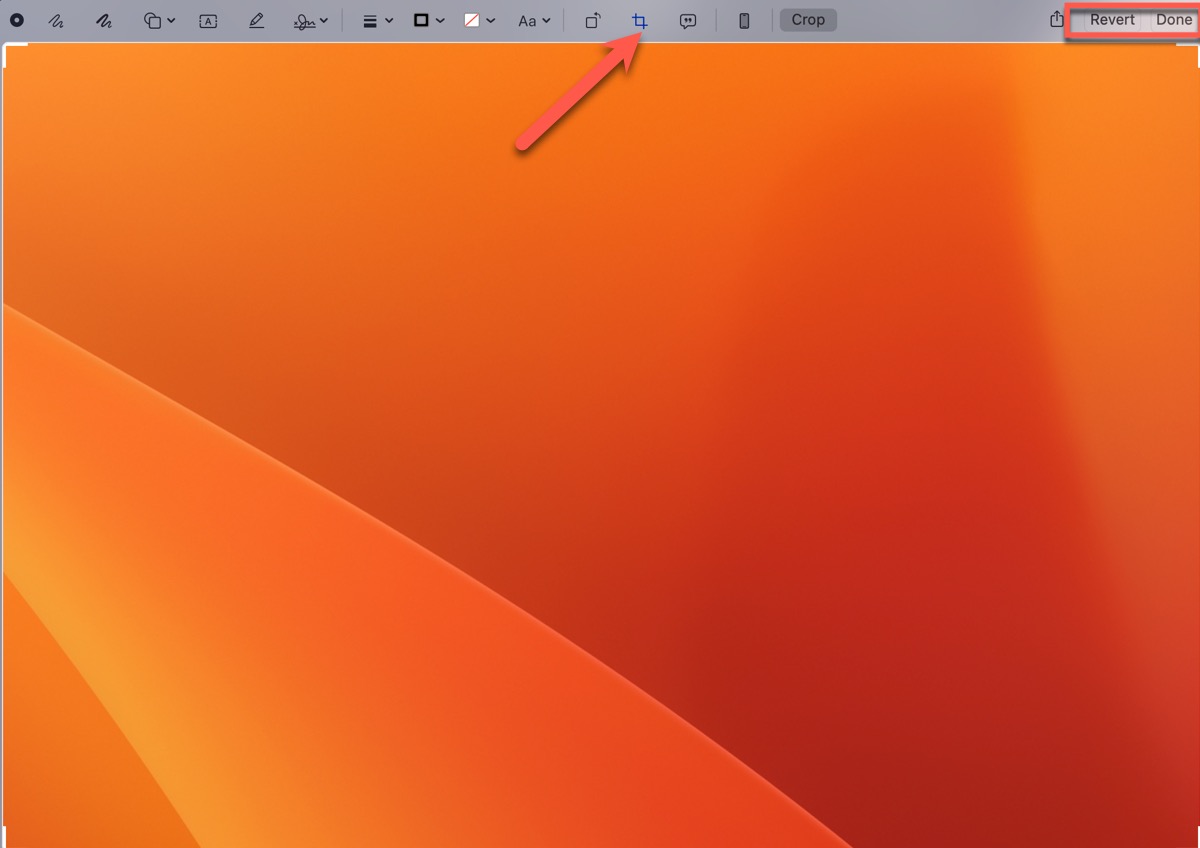
If you are satisfied with the cropped photo, click Done; if not, click Revert which won't save anything you changed.
Think it's helpful? Share with more people who need how to crop photos on Mac! Or you think this way is too troublesome, let's try iBoysoft MagicMenu now~
- QWhere is the crop tool in Preview Mac?
-
A
It's in the left upper menu. Click Tools in it, and you'll see Crop in the pop-up menu.
- QWhy can't I crop my Photos on Mac?
-
A
The Crop menu item is grayed out unless you have made a selection to which you can crop.