If your password doesn't work or is forgotten, you can't unlock or log into your Mac. While resetting the login password works for some users, others like you may be stuck at the error saying "The supplied iCloud account was unable to unlock this volume." after entering your Apple ID credentials.
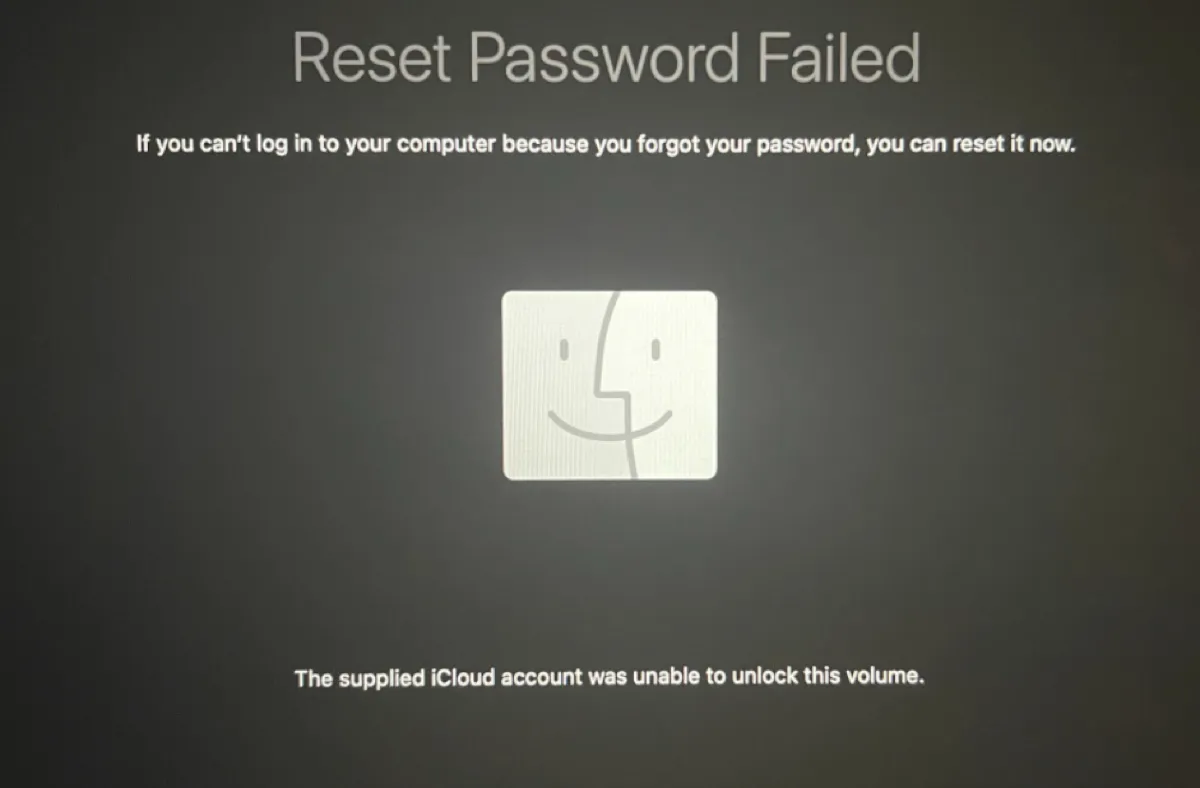
The same pop-up could also appear when trying to enter macOS Recovery Mode after restarting to a folder with a question mark, resulting from a stalled macOS update. Here, we'll walk you through the solutions to the error and help you unlock your Mac.
Fix 1: Try some quick fixes
Here are some quick fixes to try if you can't reset your password but receive the message, "The supplied iCloud account was unable to unlock this volume."
- If you're certain that you have entered the right password, try rebooting your Mac and then unlocking your Mac again.
- Ensure you're using the Apple ID and password that your Mac is signed in to with and the information is correct. If you have more than one Apple ID, try a different one.
- Test if your Apple ID can sign in to iCloud.
- Use a different WiFi network or ethernet connection.
- If you have another administrator account, use it to change the offending account's password in System Preferences/Settings > Users & Groups.
- Reset the NVRAM.
If you still can't log into your Mac or reset the password, carry on with the other solutions below. Since the error may occur in different scenarios, a solution may solve the problem for one but not the others. You should choose those that suit your needs.
Fix 2: Reset your password at the login window
If you type any password up to three times at login, you'll see the password hint (if available) and a notification that allows you to reset your password. Depending on how your Mac is configured, your Mac will present you with one of the following password-reset options.
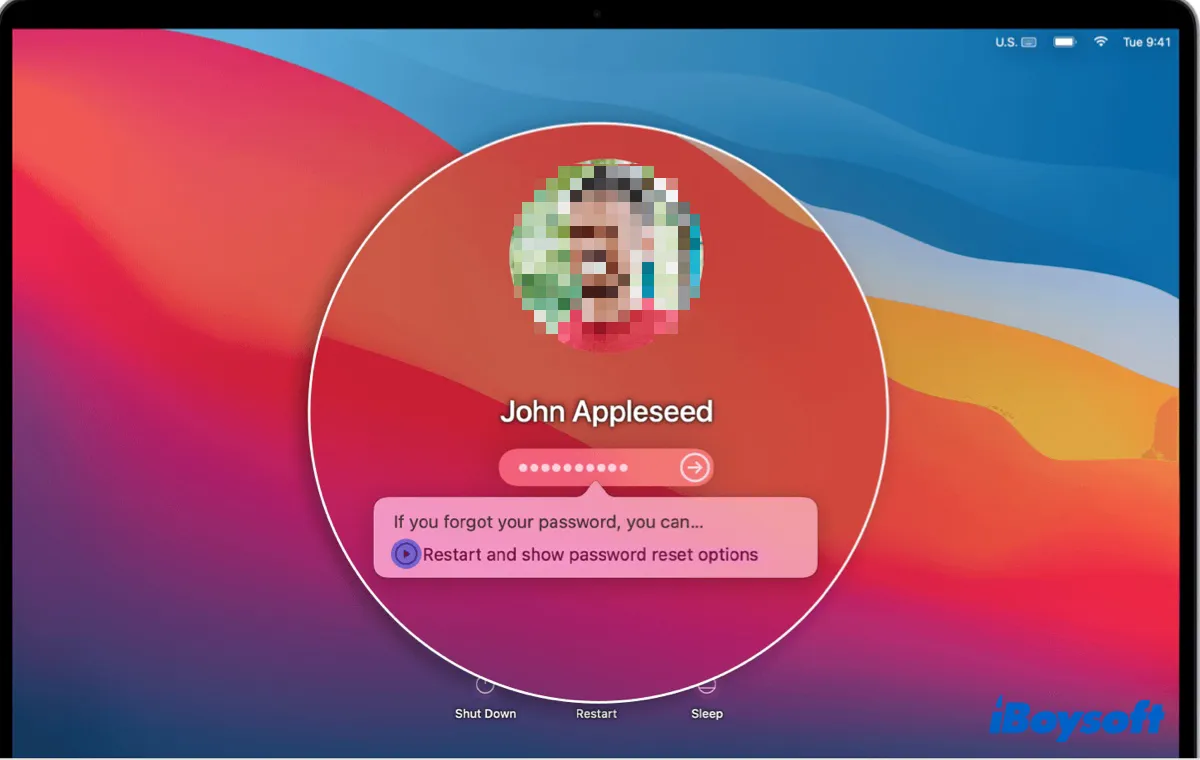
- Restart and show reset options
- Reset it using your Apple ID
- Reset it using your Recovery Key
You can then create a new password based on the onscreen instructions or Apple's guide. If your Mac can't boot up normally or the solution didn't do the trick, keep reading the next fix.
Fix 3: Reset your password from macOS Recovery
Alternatively, you can reset your password from macOS Recovery. If you didn't enable FileVault or Find My Mac on your Mac, jump to Fix 4. Otherwise, continue with the steps below.
Here's how to boot your Mac into Recovery Mode:
On an Intel-based Mac:
- Shut down your Mac.
- Hit the power button, then immediately press and hold the Command + R keys.
- Release the keys when you see the Apple logo.
On an Apple Silicon (M1& M2) Mac:
- Turn off your Mac.
- Press and hold the power button until seeing "Loading startup options."
- Click Options > Continue.
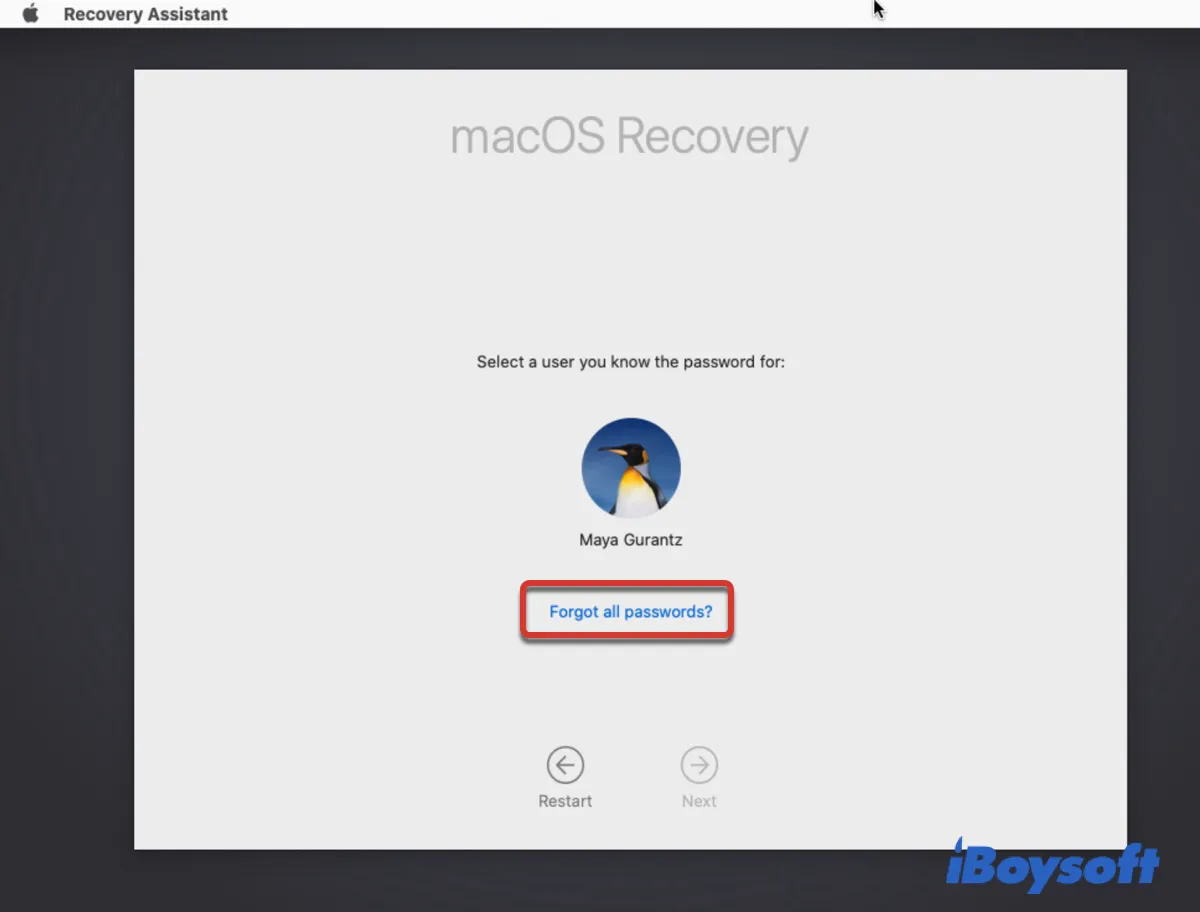
After entering macOS Recovery, you'll be asked to select a user and enter the login password that no longer works or you have forgotten. To reset the password, click "Forget all passwords?" Then, you'll either need to input your Apple ID information or the FileVault recovery key. Enter what's required to create a new password.
If you still see "The supplied iCloud account was unable to unlock this volume." on macOS Recovery, move on with Fix 5.
Fix 4: Use the Reset Password Assistant
If FileVault or Find My Mac isn't turned on on your Mac, you won't be asked to select a user and enter the password when booting into macOS Recovery. Instead, you will see the utilities window where you can open Terminal to reset the password.
Follow the steps in fix 3 to restart your Mac into Recovery Mode, then go through the following:
- Click Utilities > Terminal on the menu bar.
- Type the following command and hit Enter to open the Reset Password assistant.resetpassword
- Close the Terminal window.
You will now see one of the following scenarios:
- If your Mac has multiple accounts, you will be asked to select an admin user that you know the password for. In this case, click "Forgot all passwords?" > Set password next to the account whose password doesn't work.
- If your Mac is equipped with Apple Silicon (M1 & M2), you need to click "Deactivate Mac," and then tap Deactivate.
- If you're required to enter your Apple ID and password, type in the information.
Then, you'll be prompted to fill in the new password. Follow the onscreen instruction to set up the new password.
Fix 5: Change your Apple ID password
On the occasion that resetting the login password keeps returning the error that reads "The supplied iCloud account was unable to unlock this volume," you can change the Apple ID password, and then repeat what you were doing with it.
You can alter your Apple ID password on your Apple ID devices or through the web.
To reset your Apple ID password on your iPhone, iPad, iPod Touch, or Apple Watch:
- Click Settings > your name > Password & Security.
- Tap Change Password.
- Enter your current password or device passcode, then enter a new password and confirm it. (Forgot your Apple ID password?)
- Click Change or Change Password.
To reset your Apple ID password on the web:
- Sign in to appleid.apple.com.
- Select Password in the Sign-In and Security section.
- Type your current password, then enter a new password and confirm it.
- Select Change Password.
Fix 6: Restore from Time Machine
If you find your Mac refusing to accept the correct password after it gets stuck on a macOS update, you can roll back your Mac to the state before the update is applied. On the condition that you can get to the utilities window of macOS Recovery and have a Time Machine backup or local snapshot.
Suppose you didn't manually back up your Mac before the update; there's still a chance that you have a local APFS snapshot of your startup disk to restore to if you have configured Time Machine to back up to an external drive and back up your Mac automatically.
- Boot into Mac Recovery Mode.
- Click "Restore from Time Machine" > Continue.
- Select your Time Machine backup disk or startup disk (Macintosh HD).
- Select a backup or snapshot and click Continue.
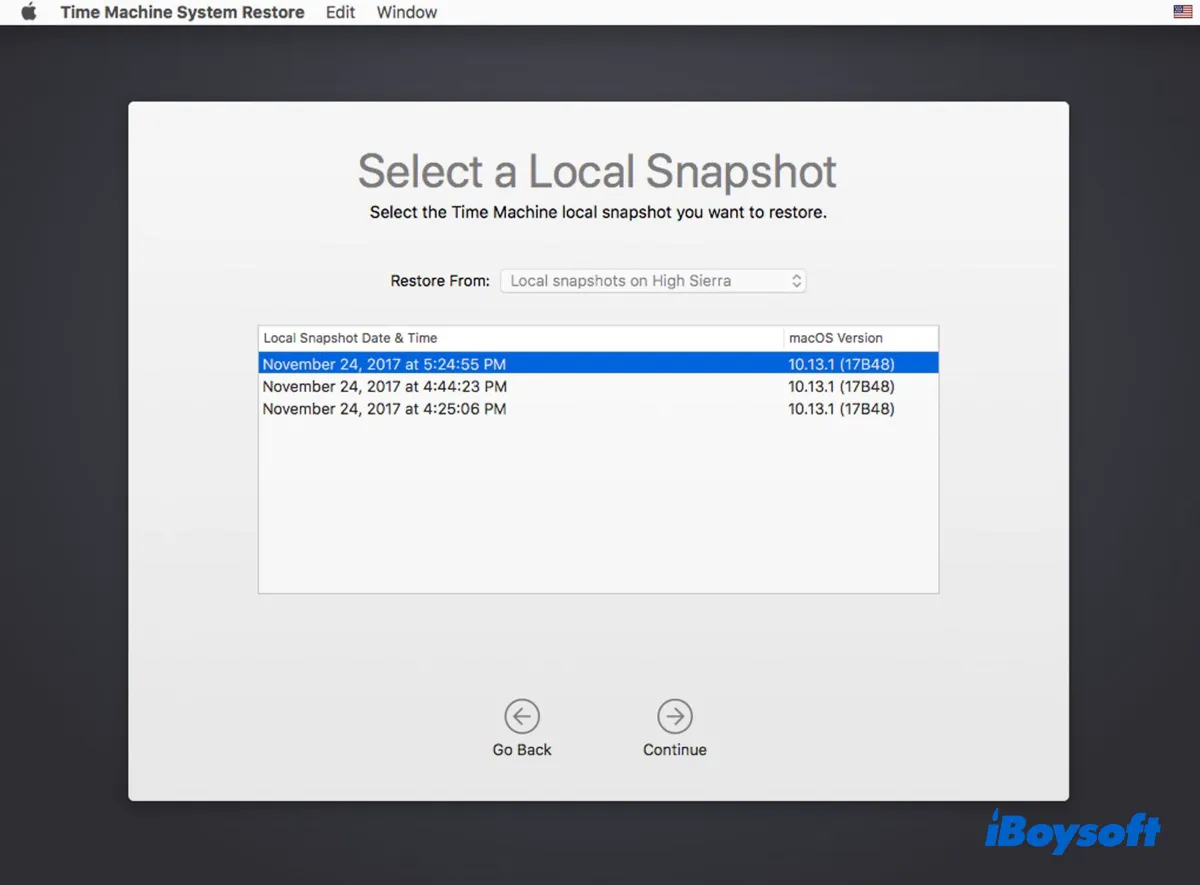
- Choose your startup disk and click Restore.
Still having no luck? Try reinstalling macOS without formatting your startup disk. This way, your data is still intact.
Fix 7: Erase your Mac
If none of the above solutions is successful, you can erase your Mac, which will also delete everything on your hard drive. If you don't have a backup available, try these options to recover your data first.
- Connect to another working Mac via Target Disk Mode
- Boot from a bootable USB and create a disk image of your startup disk in Disk Utility
- Use iBoysoft Data Recovery in Recovery Mode
Once the essential data is secured, you can take the following steps to erase your Mac:
- Shut down your Mac.
- Restart it in macOS Recovery.
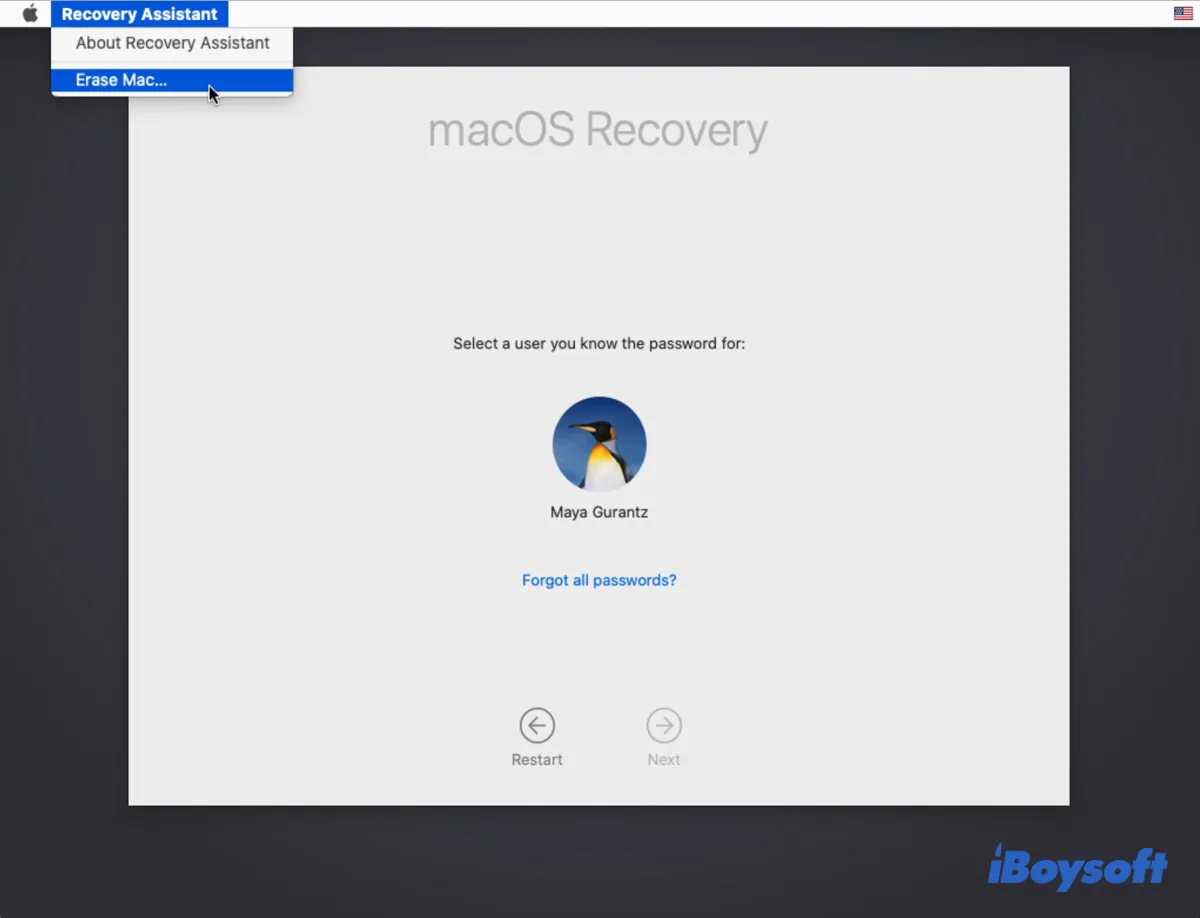
- When asked to select an admin user and enter its password, click the "Recovery Assistant" menu in the menu bar and select "Erase Mac."
- Start up from macOS Recovery again and reinstall macOS.
Share this post if you're no longer bothered with "The supplied iCloud account was unable to unlock this volume."