Scanners or printers have become an integral part of our digital workflow, but encountering issues with their functionality on Mac can be frustrating. Whether your scanner is HP, Canon, Epson, or others, you may wonder, "Why my scanner is not working on Mac?" "What to do the scanner is not showing up on Mac" "Why is there no scan option on my Mac" or refusing to connect.
Please continue reading and this guide from iBoysoft will explore effective solutions below to help you address these problems.
Why is the scanner not working/showing up/connecting on Mac?
Scanner issues like the scanner not working/showing up/connecting on Mac can occur due to a variety of reasons, ranging from hardware issues to software conflicts. Here are some common reasons why scanner problems may happen on Mac:
- Physical connection problems: Faulty or loose cables, USB ports, or power sources can disrupt the scanner's connection.
- Networking issues: An unstable or incomplete network environment may affect the connection between the scanner and Mac.
- Outdated drivers: Incompatibility between scanner drivers and the macOS version can lead to malfunctions.
- Software conflicts: Multiple scanner applications or outdated software can cause conflicts and hinder proper functionality.
- Corrupted preference or settings: These related files store information about the scanner's configuration, which will affect the proper functioning of the scanner.
- Hardware malfunctions: Regular wear and tear or manufacturing defects can contribute to hardware-related scanner issues.
Share why my scanner is not working on Mac to let others know the reasons.
How to fix scanner issues on Mac?
Not seeing the connected scanner on your Mac or finding your scanning can't work well makes everything annoying. It slows down your progress and efficiency to wait and check for mistakes. Therefore, when you meet, don't wait, you can apply these methods to solve the scanner not working on Mac.
- 1. Check scanner connection
- 2. Restart the Mac and scanner
- 3. Reset PARM and NVRAM
- 4. Re-add the scanners
- 5. Reset the printing settings
- 6. Check for updates
- 7. Check third-party firewall software settings
- 8. Reinstall the scanner app
#1 Check scanner connection
Ensuring that the scanner is properly connected to your Mac is always the first step. You can inspect cables, USB ports, and power sources to rule out any physical connectivity issues.
- Ensure that the scanner is connected to a power source and switched on and verify that its cables are firmly attached.
- Check your scanner is appearing in Apple > System Settings > Printers & Scanners.
- Check the network on Mac and the scanner,
- If there is a connectivity problem, the lights on the device may blink as an indicator or the app on your Mac will show you a reminder.
#2 Restart Mac and scanner
This serves as a swift solution for minor problems on your Mac like the scanner not showing up on Mac. Initiating a restart on your Mac will cease all ongoing processes, power down the device, and initiate a fresh start.
- For Mac, Apple > Restart. (Or Apple > Shut down > Press power button.)
- For the scanner/printer, press the power, unplug it, then reconnect the power supply then open it again.
#3 Reset PARM and NVRAM
PARM and NVRAM reset can be useful to fix many minor issues. Pay attention you can only reset the on Intel-based Macs. (If you have an Apple M1 Mac, its startup will auto-reset your Mac.)
- Turn off the Mac completely.
- Press the power button, then when the screen lights, immediately press and hold the keys option, command, P, R for about 20 seconds.
- Release the keys and allow your MacBook to boot up normally.
#4 Re-add the scanners
Deleting the scanner and adding it again will set up the related preferences again, which can do some help with there is no scan option on Mac.
- Apple > System Settings > Printers & Scanners.
- Check whether the Default printer is your needed scanner or not.
- Click the arrow in Printers then choose Remove Printer.

- Click Add Printer, Scanner, or Fax and find your needed one, then click Add.
- The scanner will have a green dot after it is ready to scan.
#5 Reset the printing settings
The settings of the scanner or printer are also related to the fine connection. Adjusting it may reconnect the computer and scanner, so just reset the settings in the following steps.
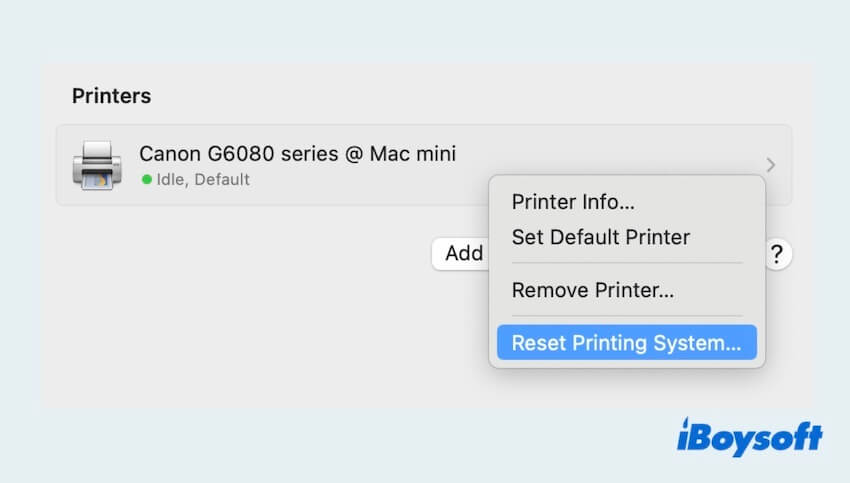
- Apple > System Settings > Printers & Scanners.
- Find your scanners in the list, and right-click anywhere on it.
- Select Reset Printing System, and click Reset.
- Click the Add to add it again like Fix4.
If this can't work normally, try the next step.
#6 Check for updates
The operating system or the scanner's application should be compatible with your Mac and the scanner, some outdated versions may lead to the scanner not showing up on Mac.
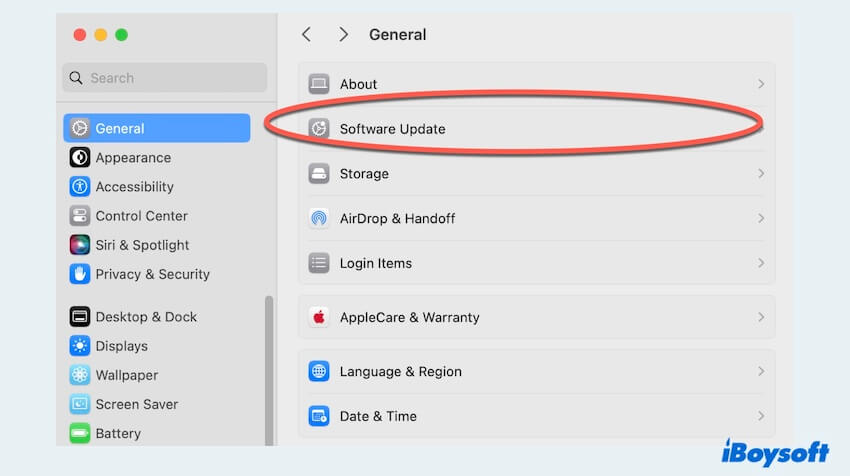
- For macOS, check Apple > System Settings > General > Software Update.
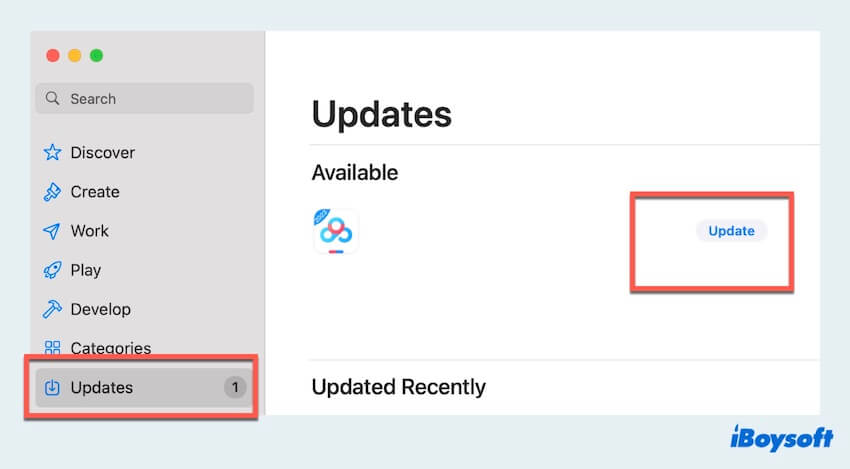
- For the application(if you downloaded the scanner software before), check Finder > Applications > App Store > Updates > Available > Update.
(Or you can browse the website of your scanner manufacturer, and use your device's model number to search. If there is a relevant update available, proceed to download it and follow the installation instructions step by step.)
#7 Check third-party firewall software settings
If you have installed a third-party firewall on your Mac, it might be the reason for communication issues during scanning. It's important to note that the built-in macOS and OS X firewall do not affect scan communications.
Verify the accuracy of the following port information within your third-party firewall. To check ports, refer to the support documentation provided for your specific firewall software.
SOAP-based scan: TCP ports (8289, 8989)
LEDM-based scan: TCP port 8080
ORBLite-based scan: TCP port 9500
HDT-based scan: TCP ports (9290, 8290), and for PML/SNMP TCP ports (161, 162)
AirScan (uscan): TCP port 8080
Secure AirScan (uscans): TCP port 443
IPP (AirScan Scanner uses IPP as well): TCP port 631
Bonjour Discovery: UDP ports (5350, 5351, 5353)
#8 Reinstall the scanner app
Certain scanning devices, like those from HP, come with a dedicated scanning application. Navigate to your Mac's folder and remove any scanning apps currently installed may help to fix the scanner not working on Mac.
- Finder > Applications.
- Find and right-click the app then choose Move to Trash.
- Finder > Go to Folder > Type ~/Library/.> Application Support.
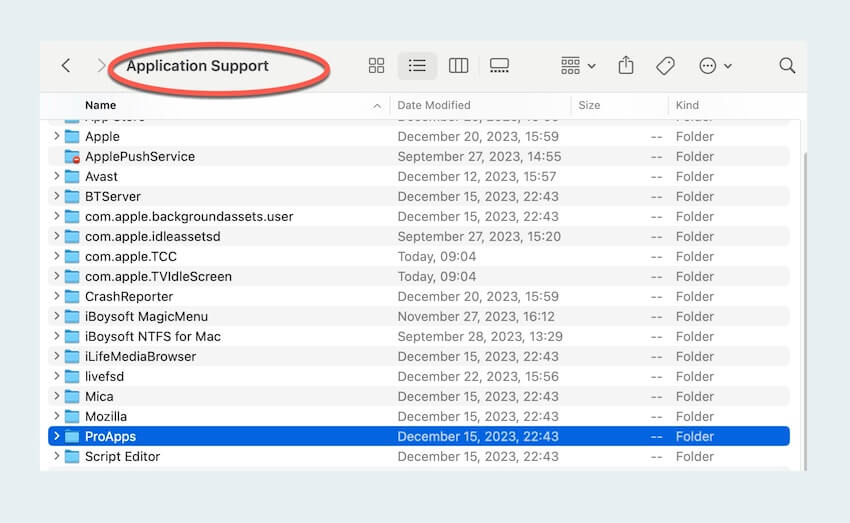
- Find the name of the app then right-click and select Move to Trash.
- Move to the App Store to install it again.
Hope you can solve the scanner not working on Mac. If you like this post, share it with more people. And if you wanna know the scan process on Mac, read How to Scan on Mac.