Boot Camp Assistant is a handy tool that can help you install Windows on Mac. However, like other apps, it's not immune to errors. While preparing the drive, you may encounter various errors, for instance, "The installer disc could not be found," Boot Camp stuck on "Partitioning disk" for hours, or Boot Camp stuck on "Roll back partitions."
When installing or removing Windows on Mac, you may come across another error reading, "The startup disk cannot be partitioned or restored to a single partition." Here, we will address these errors in detail.
How long does Boot Camp take to partition a disk?
If your Boot Camp Assistant has been stalled on "Partitioning disk" for quite some time, you likely wonder how long should Boot Camp partition take. It turns out the time needed for Boot Camp to partition a disk varies depending on your internet speed, disk condition, storage medium, etc.
Some users managed to get Windows running on Mac in 20-30 minutes, but others took 2-3 hours to complete the process. Generally speaking, it takes about 10 minutes for Boot Camp to partition a healthy disk running the latest available macOS and fast WiFi. The exact time your Mac needs may be more extended but should be less than 3 hours.
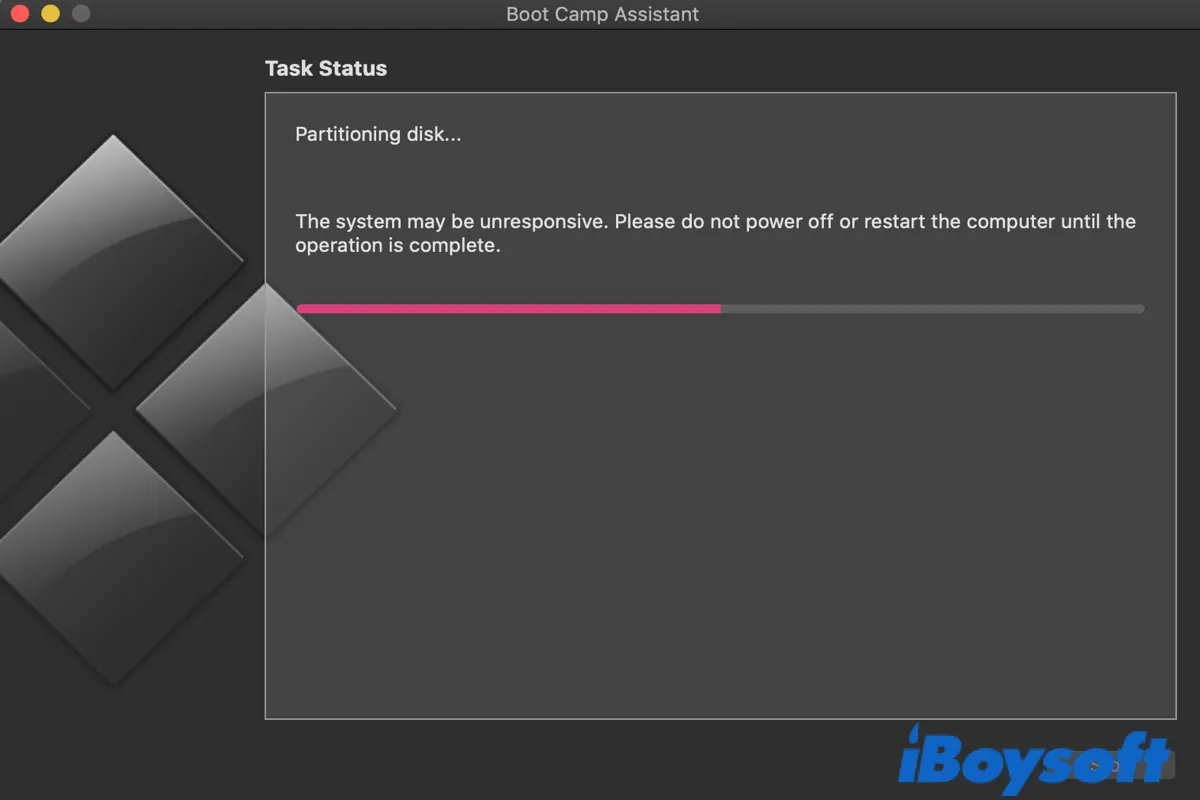
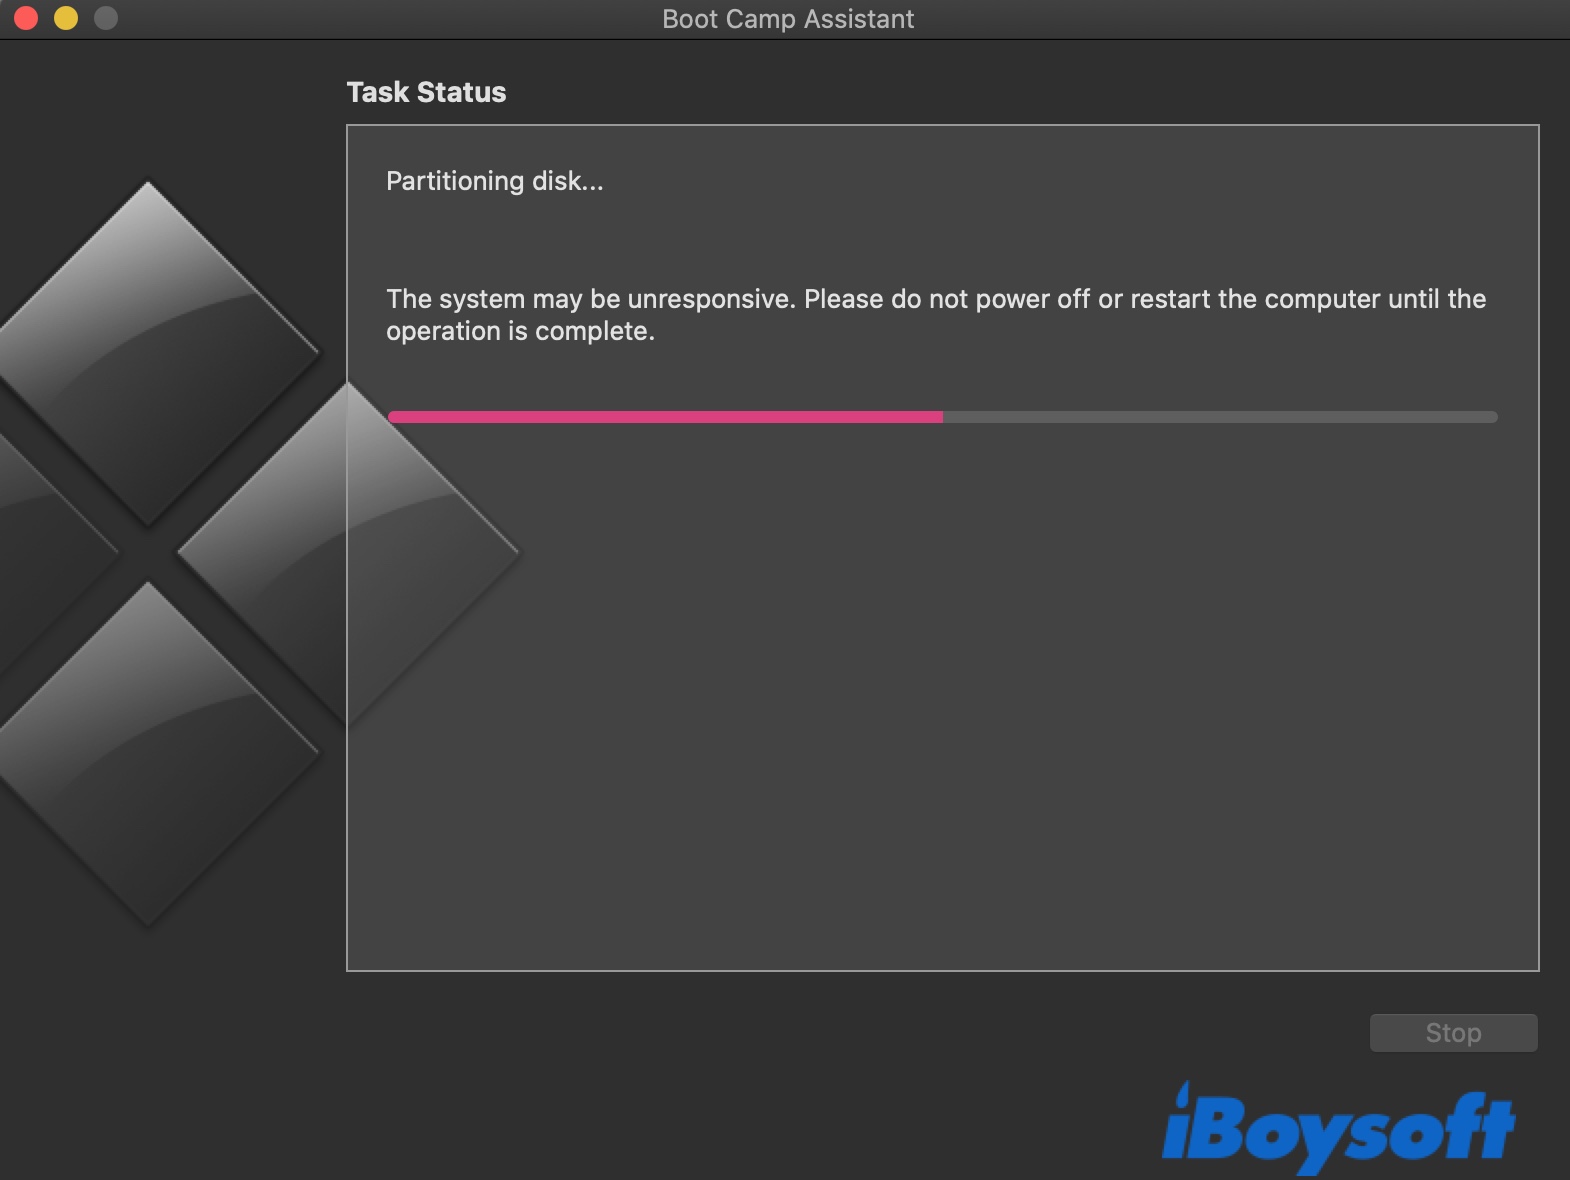
If you find your Boot Camp stuck on "Partitioning disk" for more than 3 hours with a message saying "The system may be unresponsive. Please do not power off or restart the computer until the operation is complete.", it is likely experiencing issues that can't be fixed by waiting.
8 Ways to Fix 'Your disk could not be partitioned' on Boot Camp
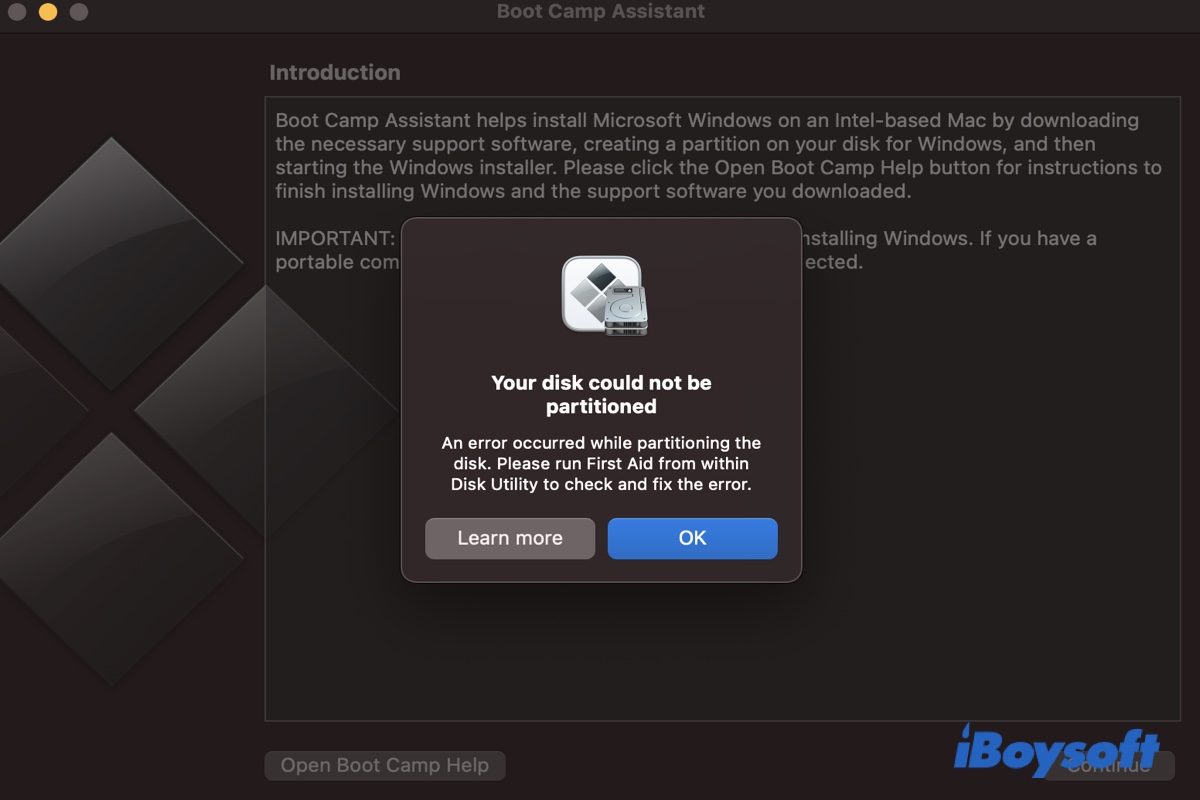
If you encounter the error reading, "Your disk could not be partitioned." when using Boot Camp to install Windows on Mac, here are the best solutions to get it fixed. Read more >>
How to fix Boot Camp stuck on Partitioning disk?
Here is how to fix Boot Camp on Mac when it halts on "Partitioning disk":
- 1. Quit Boot Camp Assistant.
- 2. Check your Mac hard drive to see if it has file system issues.
- 3. Check whether the Boot Camp partition is created.
- 4. Remove the incomplete Windows partition and reinstall Windows
- 5. Install Windows on Mac using an external bootable installer
Share these steps with your favorite platform by clicking the button below.
1. Quit Boot Camp Assistant.
If you find Boot Camp "Partitioning disk" taking forever, you likely can't terminate the process the normal way as the Stop button or any other buttons that allow you to close the window are often greyed out.
In which case, you can press Command + Q to exit Boot Camp Assistant. If it doesn't quit as expected, hold down Command + Option + Esc, then select Boot Camp to force quit it.
2. Check your Mac hard drive to see if it has file system issues.
The next thing you should do is check whether your Mac hard drive has problems stopping Boot Camp Assistant from partitioning it correctly. You can do this with either Disk Utility First Aid or running the FSCK(file system consistency check) command in Terminal.
Here, we will demonstrate how to check file system errors on Mac using the FSCK command as it's quicker.
- Open Finder > Applications > Utilities, then launch Terminal.
- Copy and paste the command below to Terminal and hit Enter.sudo fsck_apfs -n -l /dev/rdisk1
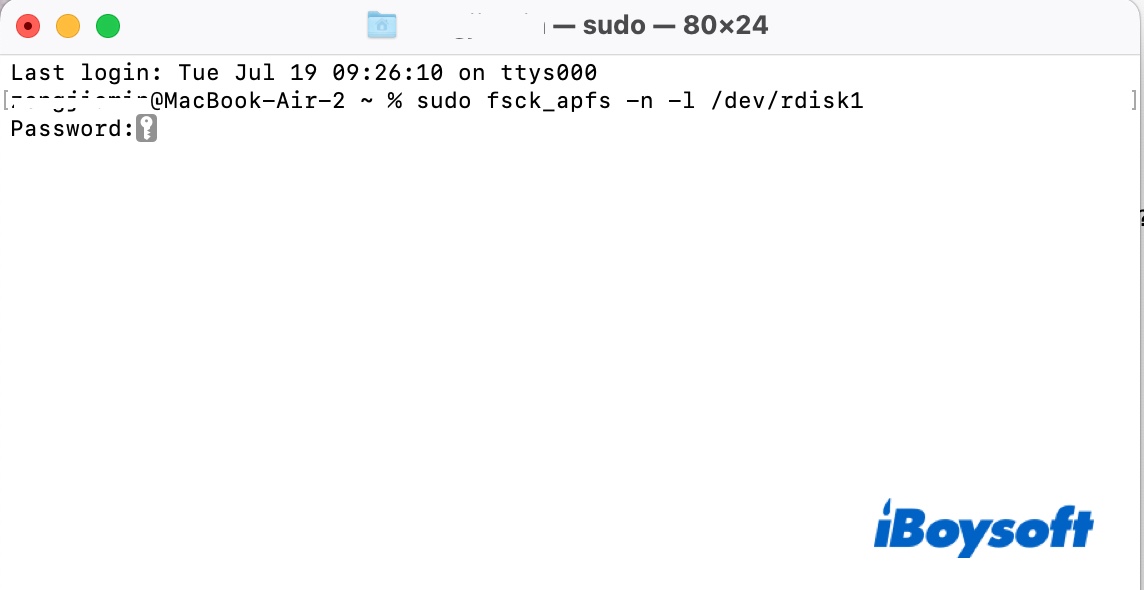
- Type in your password and press Enter again.
FSCK will check every volume of your startup disk for file system inconsistency so that it may take a few minutes. If it reports, "The volume /dev/rdisk1 appears to be OK.", it means that your internal hard drive doesn't have file system issues, and you can carry on with the next step.
If it shows "File system was modified.", you need first to repair them with the steps below:
Note: Running FSCK to repair file system errors requires the disk or partition to be unmounted. Therefore, you can't run FSCK to fix your Mac hard drive from inside the operating system. Instead, you need to reboot into Single User mode.
- Turn off your Mac.
- Press the power button, then immediately press Command + S.
- Keep holding the keys until you see white text on a black background.
- When the white texts stop scrolling, you will notice a command prompt at the bottom of the screen named root#. Press Enter if you don't see it.
- Type in the command below after #root and hit Enter./sbin/fsck -fy
- Wait for the process to complete.
- When you see "File system was modified.", repeat step 2 until "The volume appears to be OK." shows up.
- Type "reboot" and hit Enter to exit.
Be reminded that if you are using a T2 Mac, you can't boot into Single User mode unless you change the security policy in Startup Security Utility to No Security.
3. Check whether the Boot Camp partition is created.
Chances are that Boot Camp Assistant has created some new partitions on your Mac, but the installer didn't start. If so, you must remove these partitions before installing Windows on Mac. To find out, go through the steps below:
Tips: The steps below are also the proven solution to issues like Boot Camp stuck on "Roll back partitions." or "The startup disk cannot be partitioned or restored to a single partition."
- Open Finder > Applications > Utilities, then launch Terminal.
- Copy and paste the following command and hit Enter to list all mounted drives and partitions on your Mac.diskutil list
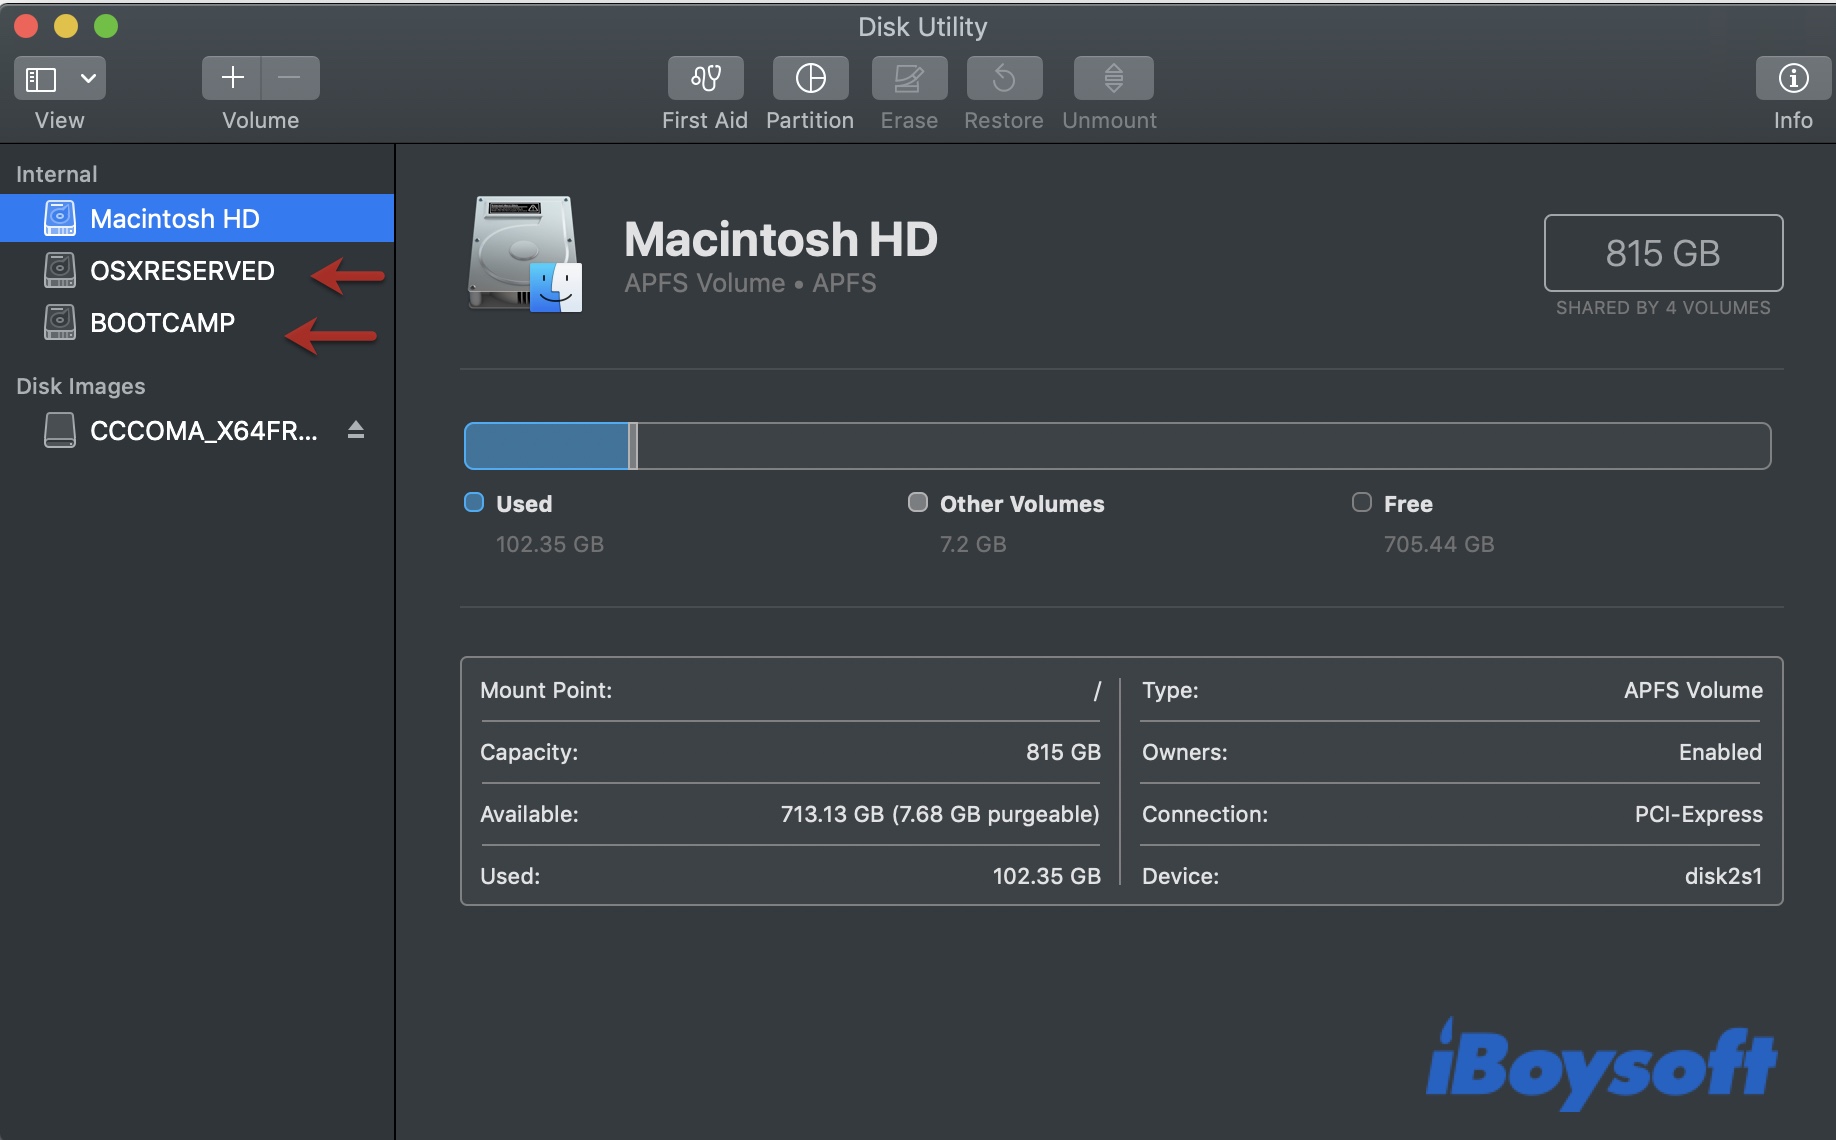
Alternatively, you can launch Disk Utility to check if the Boot Camp partitions exist.
If you find only one Windows partition, continue with the next step to remove the partition.
If you find no Windows partition, update your Mac, ensure you have enough free space, then try installing Windows again.
If you see two or more Windows partitions, such as OSXRESERVED and BOOTCAMP, you need to merge them and reformat the combined partition again with the steps below:
- Note down the disk identifier of the Windows partitions, such as disk0s3.
- Execute the following command in Terminal to erase one Windows partition (e.g., disk0s3):diskutil eraseVolume jhfs+ BC1 disk0s3
- Run the same command in Terminal to erase another Windows partition (e.g., disk0s4):diskutil eraseVolume jhfs+ BC2 disk0s4
- Repeat the same step but change the name and disk identifier until you erase all Windows partitions. (e.g., you have a third partition - disk0s5)diskutil eraseVolume jhfs+ BC3 disk0s5
- Merge the Windows partitions into one.
If you have two Windows partitions (e.g., disk0s3 & disk0s4), run the command below in Terminal:diskutil mergePartitions jhfs+ BCMP disk0s3 disk0s4If you have more than two Windows partitions (e.g., disk0s3, disk0s4 & disk0s5), execute the following command:diskutil mergePartitions jhfs+ BCMP disk0s3 disk0s5 - Check if only one Windows partition is left with the following command and write down its disk identifier:diskutil list
- Format the merged partition to FAT32 (Suppose the remaining partition is disk0s3).diskutil eraseVolume fat32 BOOTCAMP disk0s3
Note: Be reminded to replace the disk identifier in the example with yours.
4. Remove the incomplete Windows partition and reinstall Windows
Here is how to delete the failed Windows partition from your Mac and restart the installation process:
- Quit all open apps and log out of any other users.
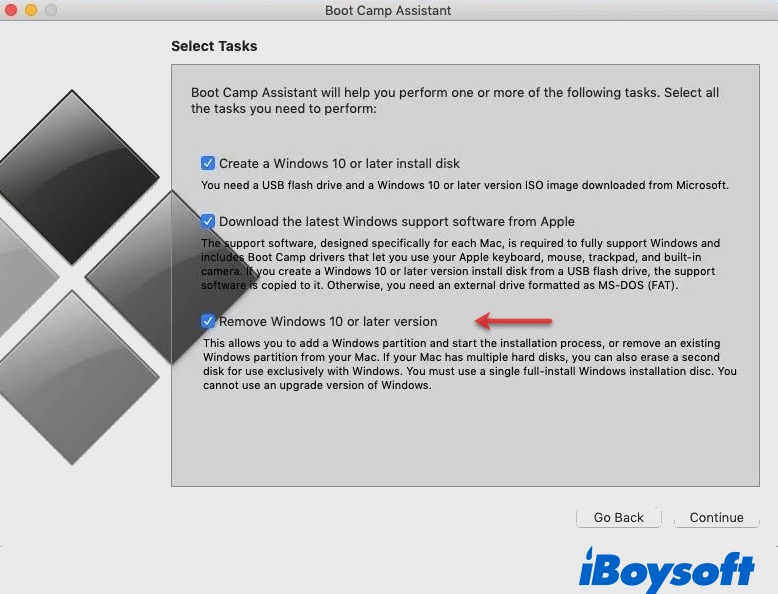
- Launch Boot Camp Assistant and click Continue.
- Select "Remove Windows 10 or later version" and click Continue.
- Click Restore.
- Type in your admin username and password, then click OK.
Before installing Windows with Boot Camp Assistant, ensure you have the following checked.
- You have updated to the latest macOS.
- Your Mac has at least 64 GB for the Windows installation, preferably at least 128GB for maximum experience.
- You have an external USB flash drive with 16 GB or more space if you are using an iMac Pro, a MacBook/MacBook Pro/iMac produced before 2015, a MacBook Air introduced before 2017, or a Mac Pro released prior to 2013.
- If you have an iMac Pro or Mac Pro with 128GB of memory or more, your Mac's free space needs to be at least the same amount as your memory.
- If you have changed the default Secure Boot setting from Full Security to No Security, switch it back.
When you are ready, you can install Windows again. If the "Boot Camp stuck on Partitioning disk" persists, you can back up all data on your Mac with Time Machine, iCloud, or other preferred utilities, erase your startup disk, reinstall macOS, and restore your data. After the clean macOS reinstallation, you should be able to install Windows via Boot Camp Assistant.
5. Install Windows on Mac using an external bootable installer
Suppose Boot Camp cannot partition disk with the abovementioned steps; consider installing Windows on Mac from an external bootable USB drive. This way, you can bypass the errors you would otherwise encounter with Boot Camp. Before getting started, prepare a USB stick with 8GB or larger storage space.
How to install Windows on Mac with a bootable USB drive:
Step 1: Create a Windows bootable installer on Mac.
- Download Windows 10 ISO to your Mac.
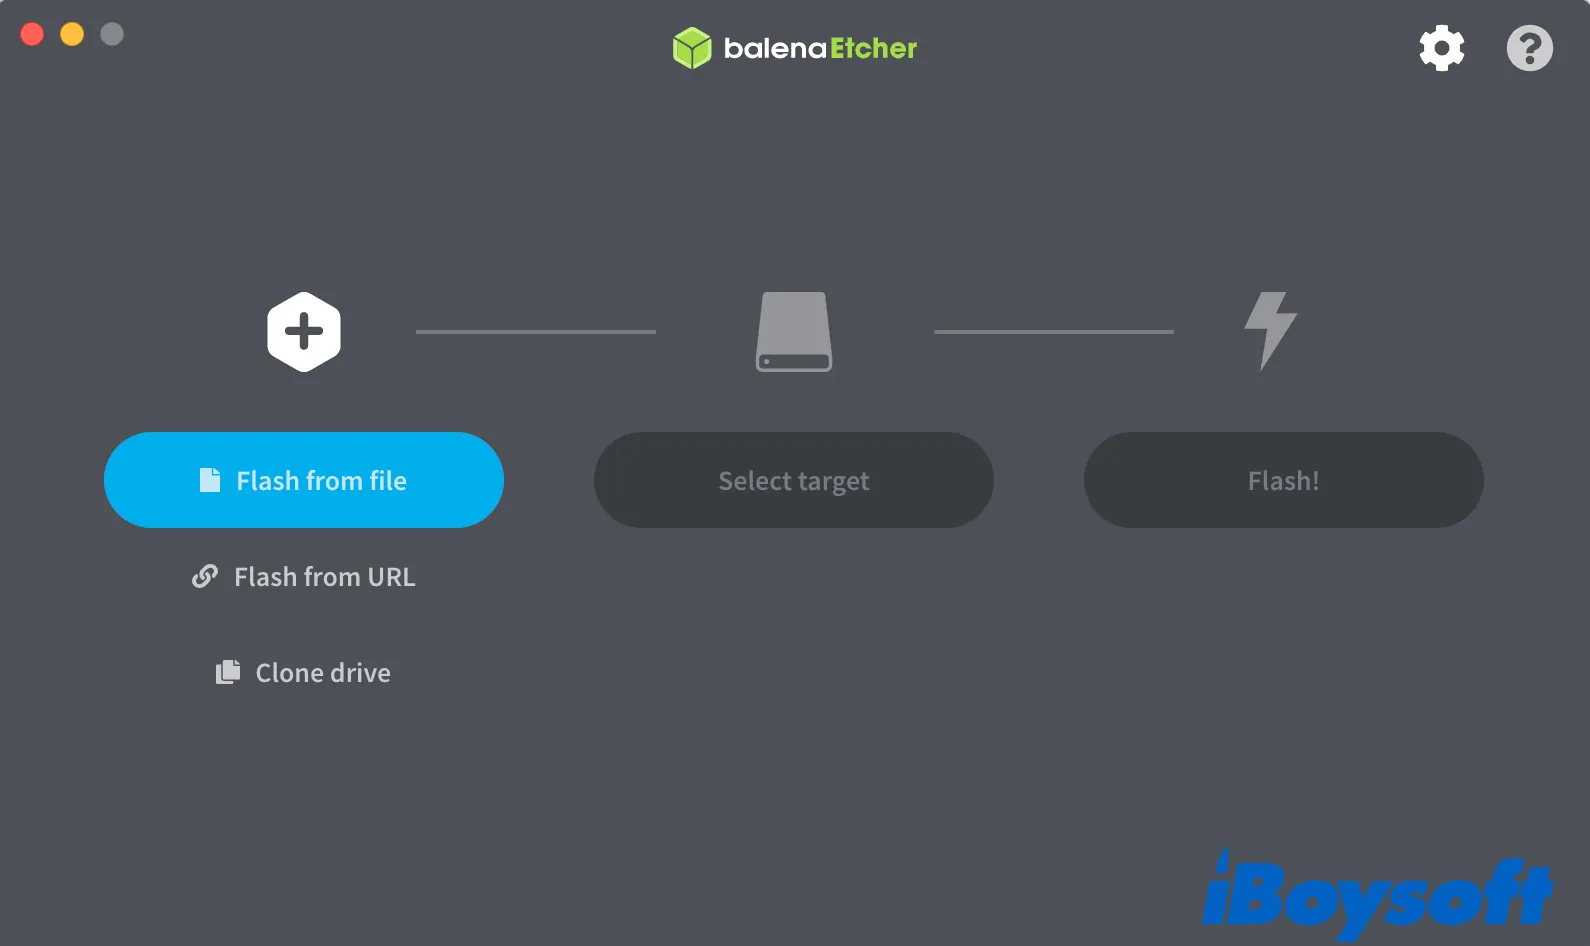
- Download the free balenaEtcher to your Mac, which you will need for creating a bootable USB.
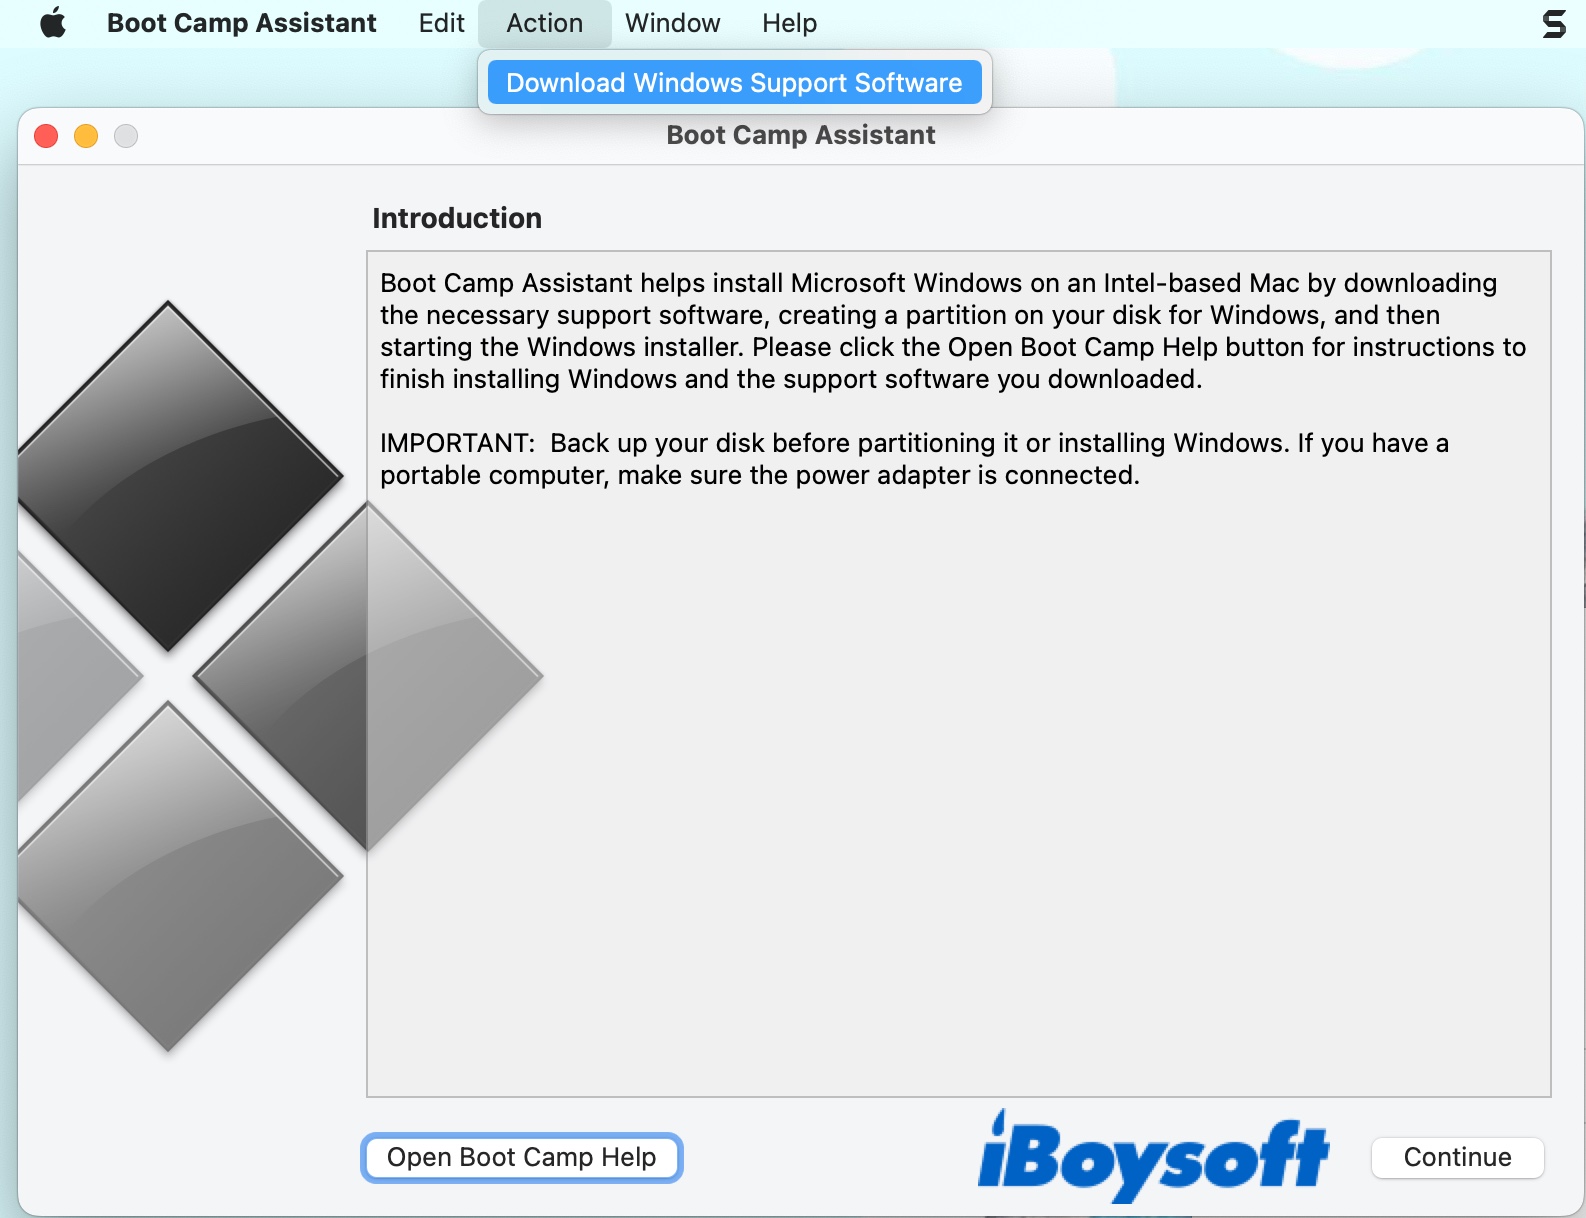
- Press Command + Space, type in "boot camp," then click Boot Camp Assistant to launch it.
- Click Action > Download Windows Support Software from the top menu bar, then save it to your Mac.
- Press Command + Space, type in "disk utility," then click Disk Utility to open it.
- Select your external USB stick from the left side and click Erase to format the drive.
- Name the drive, choose ExFAT as Format, and GUID Partition Map as Scheme.
- Click Erase > Done.
- Open balenaEtcher, select the Windows ISO image you downloaded, and your external USB drive to create a bootable Windows drive.
- Copy the downloaded Windows Support Software folder to your USB drive.
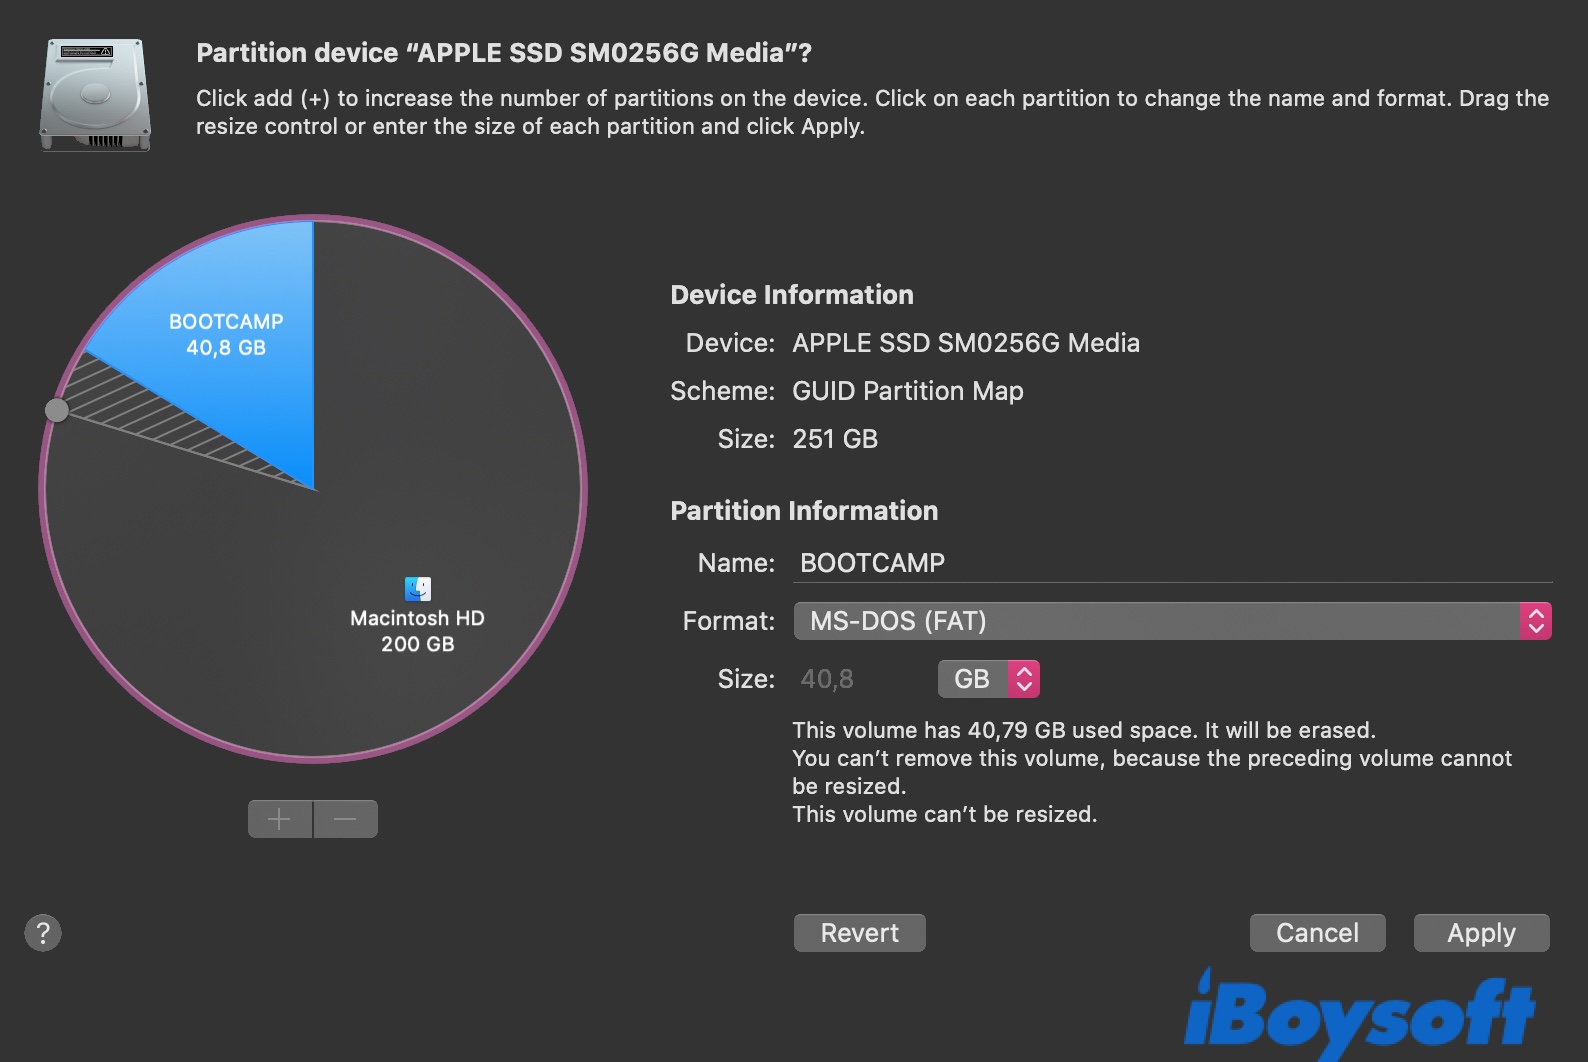
Step 2: Repartition your Mac hard drive.
- Open Disk Utility.
- Select your Mac hard disk, then click the Partition button.
- Tap on the (+) button and choose "Add Partition."
- Name the partition, select MS-DOS (FAT), enter a size for the Windows partition, then click Apply.
Step 3: Install Windows on Mac with the bootable USB.
- Insert the bootable USB into your Mac. (If you have other external drives plugged in, disconnect them.)
- Restart your Mac while holding down the Option key.
- Select your USB drive to start.
- Follow the on-screen instructions to set up Windows.
- When asked where you want to install Windows, select the partition created in Step 2.
- Click Format to format the partition to NTFS, then tap Next.
- Finish the setup to get to the Windows desktop.
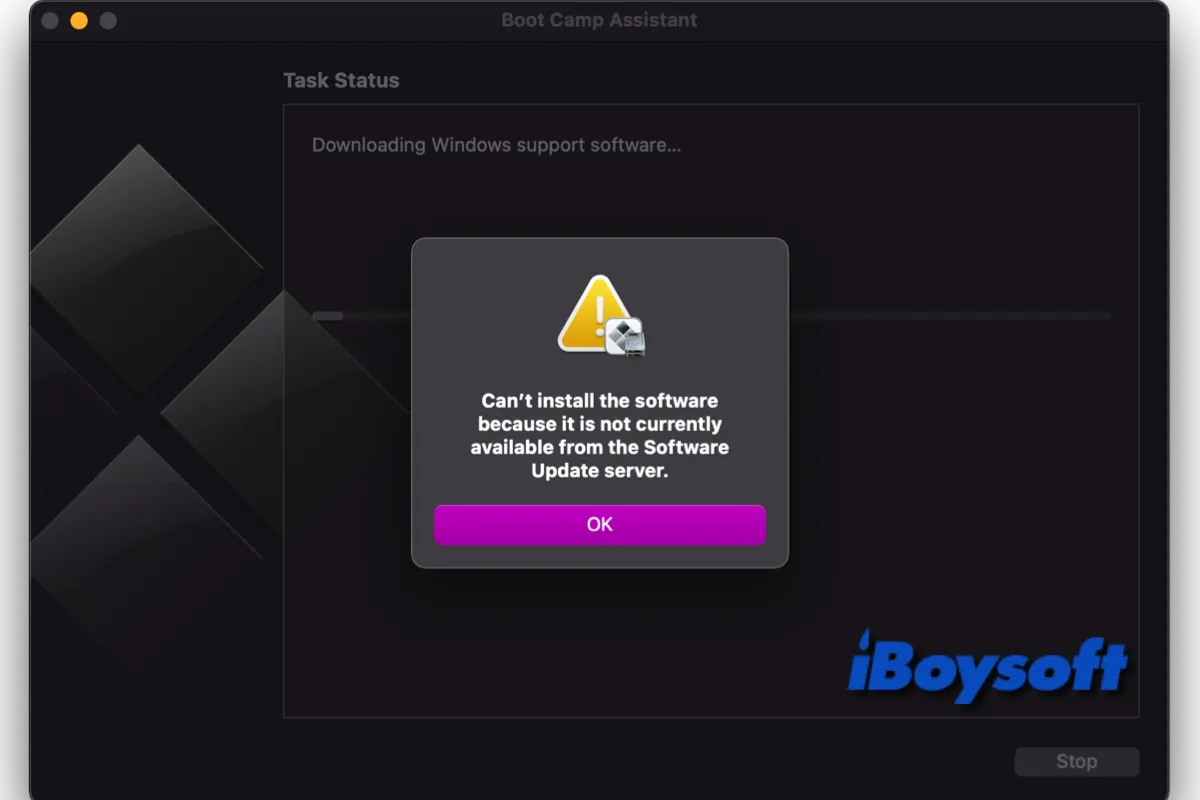
If you encounter the problem that Boot Camp can't install Windows Support Software while installing Windows on Mac, you can read this post for possible solutions provided by iBoysoft.
Please share this post if you find it helpful!
FAQ about Boot Camp stuck on Partitioning disk
- QHow do I unpartition a hard drive in Boot Camp?
-
A
You can reclaim the space taken by the Boot Camp partition with the steps below:
1. Back up important data on the Windows partition.
2. Open Applications > Utilities and launch Boot Camp Assistant.
3. Select "Remove Windows 10 or later version" and click Continue.
4. Click Restore.
5. Type in your admin username and password, then click OK.
- QHow do you resolve the Startup Disk Cannot be partitioned or restored to a single partition in macOS?
-
A
The 'The startup disk cannot be partitioned or restored to a single partition.' error is likely caused by Boot Camp creating more than one partition. You can fix it by following the steps in this post to merge the partitions, remove the merged one, then retry installing Windows.
- QHow do I repair Boot Camp partition?
-
A
There are two ways to repair a Boot Camp partition:
1. Open Computer, right-click on your C drive, select Properties > Tools > Check > choose both fields, then hit Start.
2. Download iBoysoft Diskgeeker to check and repair corrupted volumes.