On Intel-based Mac, Boot Camp Assistant is Apple's solution to install Windows on Mac. During the process, it automatically opens the Boot Camp installer to install the latest Windows support software. Even after the installation and upgrading of Windows on Mac, you may need to download and install the latest Windows support software from Apple.
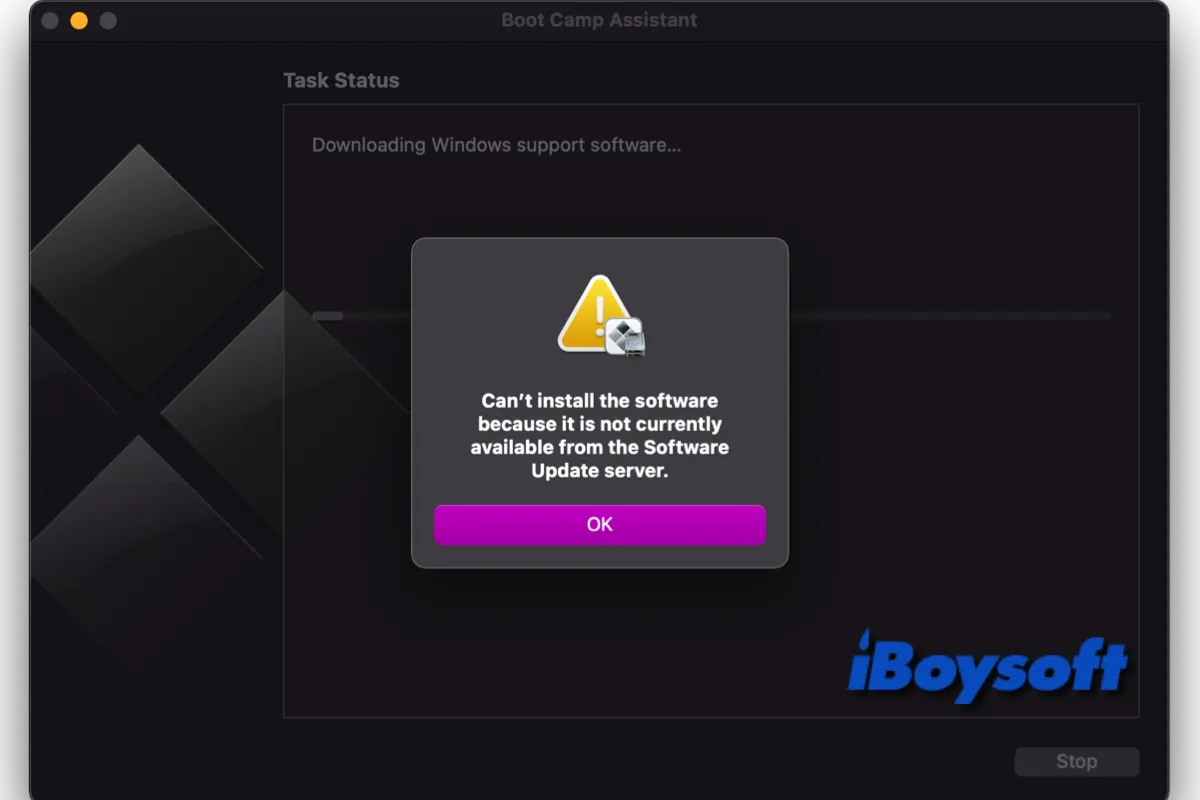
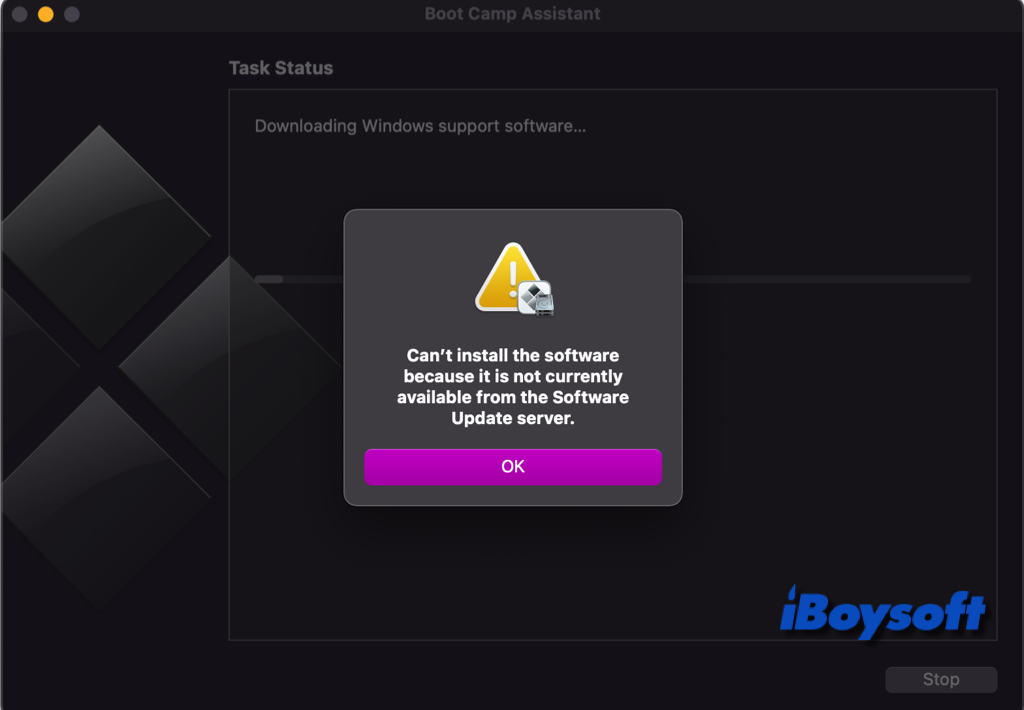
Unexpectedly, you may encounter problems while using Boot Camp Assistant to install Windows support software. Perhaps the Boot Camp installer doesn't open or prompts the error message "can't install the software because it is not currently available from the software update server," etc. When the Boot Camp can't install Windows support software, you can try the solutions below.
| Proven Methods | Specific Steps |
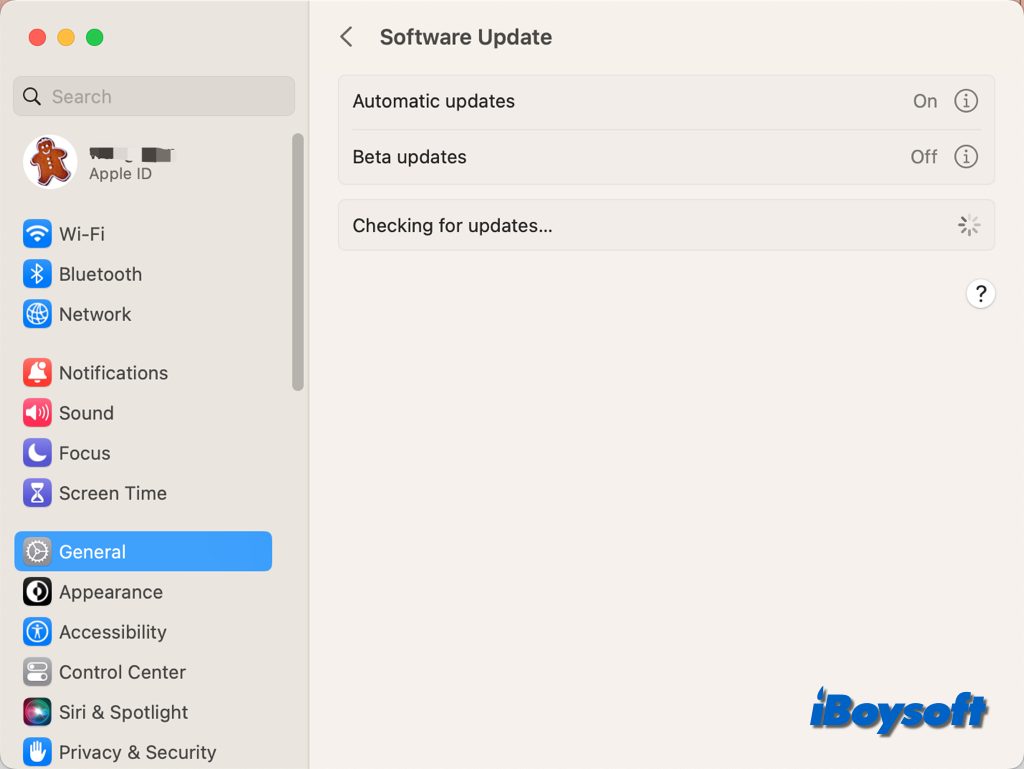
| Update macOS | Head to the Apple menu > System Settings, click General and choose Software Update. It automatically checks for available updates. Click the Install/Update Now button and follow the on-screen guide, |
| Check the USB flash drive | Launch Disk Utility and click the connected USB flash drive on the left side, then check the drive's file format and free space on the right pane. |
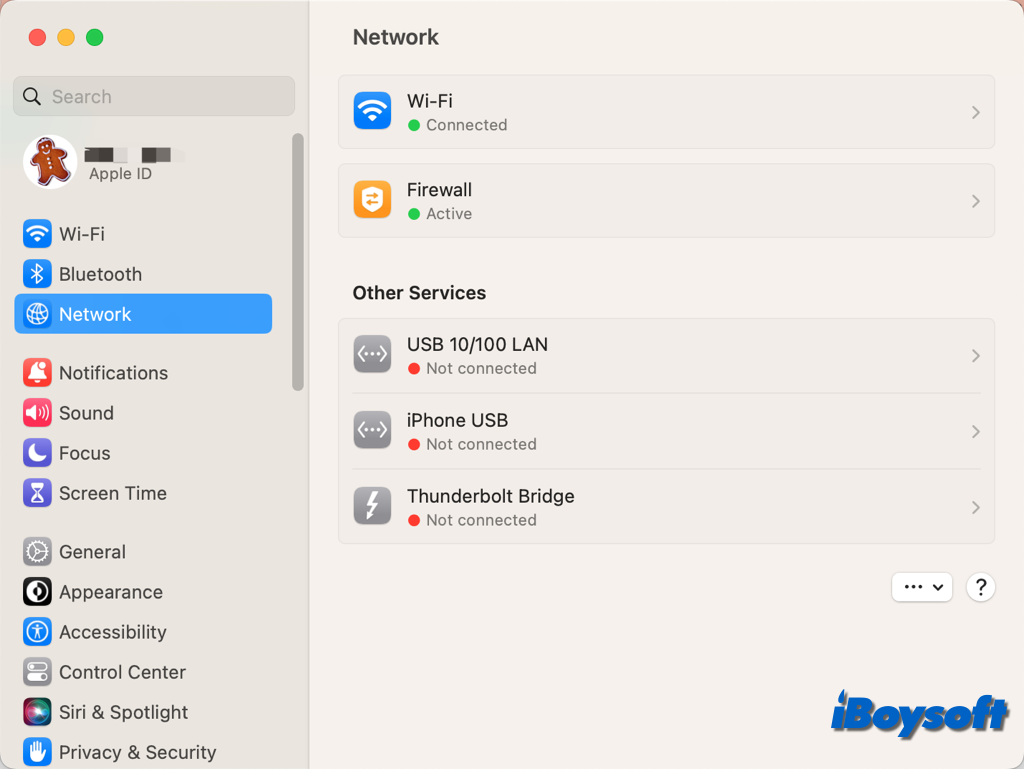
| Ensure a stable network | Check the status of the network from System Settings > Network. |
| Check the USB connection | Disconnect the USB flash drive and reconnect it, make sure it is connected to a working USB port. |
| Disconnect unnecessary peripherals | Unplug all accessories except the USB flash drive from your Mac. |
| Disable FileVault | Go to System Settings > Privacy & Security, scroll down to Security, and click the Turn off button next to FileVault. |
Possible causes for Boot Camp can't install Windows support software
The Windows support software/driver is a must to run Windows on Mac running macOS Sonoma/Ventura and earlier, it is included in the Boot Camp installer when you install Windows 10 on Mac via the Boot Camp Assistant for the first time. It is necessary to download and install the latest Windows support software to ensure the operation of Windows on Mac.
If Boot Camp can't install Windows support software in macOS Sonoma the possible causes could be the outdated macOS, the incorrect file format of the USB flash drive, network problems, USB connection issues, incompatible Mac models, etc.
In addition, if you want to install Windows 11 on a Mac using Boot Camp Assistant, you may encounter this error message, you need to restart the Mac and manually download Windows Support Software.
Share this informative post to help solve Boot Camp can't install Windows support software.
How to fix Boot Camp can't install Windows support software
When you encounter the problem that Boot Camp can't install the latest Windows support software from Apple after using Boot Camp Assistant to install or upgrade Microsoft Windows on your Mac, you can apply the following solutions one by one to troubleshoot it.
Update macOS
If you need to use outdated applications or your hardware is incapable of supporting the current OS, you may need to run an older version of macOS. However, you should generally update macOS(the latest is macOS Sonoma) if you use a Mac frequently and save sensitive data on it, and such an update can include updates to Boot Camp.
To update macOS, go to the Apple menu > System Settings > General > Software Update. However, Apple hasn't updated the macOS to support Windows 11, therefore, you can't use Boot Camp Assistant to install Windows 11 on a compatible Mac by default.
Check the USB flash drive
An MS-DOS (FAT)-formatted USB flash drive of 16GB or more is required to install the most recent Windows support software. Thus, incorrect file format and insufficient disk space could result in the Boot Camp not being able to install Windows support software. You can check the drive info in Disk Utility.
- Open Disk Utility from Finder > Applications > Utilities.
- Click the View button and choose Show All Devices.
- Click the connected USB flash drive on the left sidebar.
- View the drive format and free space on the right.
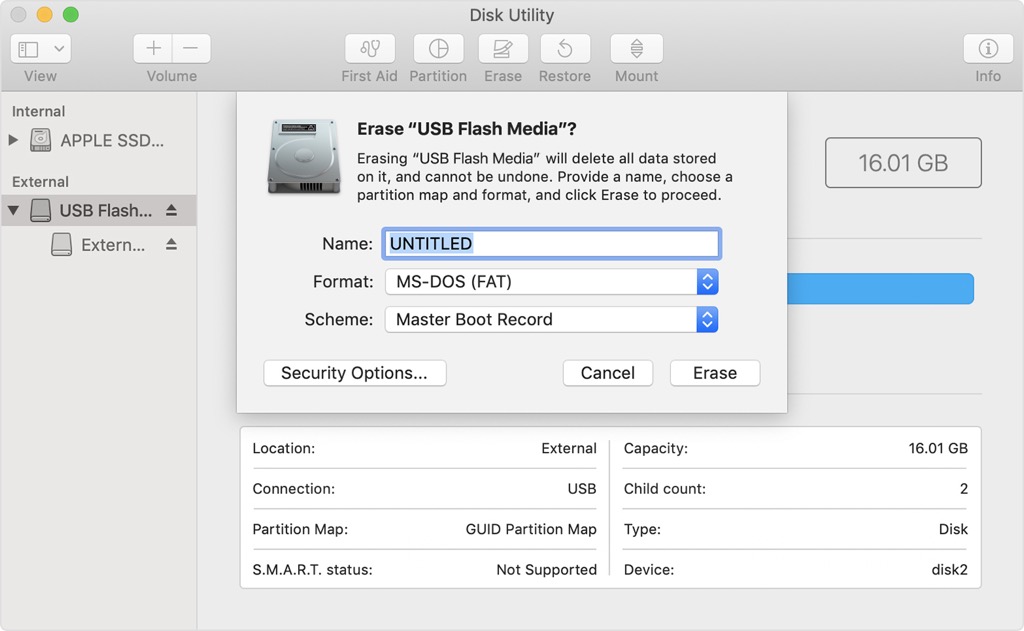
If the drive is not FAT-formatted, you may need to format it in Disk Utility by clicking the Erase button or use another drive with 16GB or more free space.
Ensure a stable network
It requires a stable and quality network connection to download Windows support software from Apple with the Boot Camp Assistant, therefore you should make sure the Mac is connected to the working internet. Otherwise, you may receive a message that "can't install the software because it is not currently available from the software update server."
- Select Apple menu > System Settings on your Mac, then click Network in the sidebar.
- On the right, you can see the network connection's status.
The connection's status is shown by a status indicator adjacent to it:
- Green: The service is active (turned on) and connected.
- Yellow: It's active but not connected.
- Red: The service has not been set up.
Check the USB connection
If the Boot Camp Assistant doesn't show the USB flash driver with the downloaded Windows support software, you should check whether there is a connection issue. Click Go Back and ensure that the drive is attached solely to the Mac's USB port and not to a keyboard, hub, or display. Then, disconnect the USB flash drive reconnect it, and click Continue.
Disconnect unnecessary peripherals
Perhaps one of the connected peripherals prevents Boot Camp Assistant from installing Windows support software. You can unplug all unnecessary peripherals except the connected USB flash drive and try to install Windows support software again.
Disable FileVault
Some Mac users found that disabling FileVault could be a fix when the Boot Camp Assistant can't install Windows support software. You can temporarily turn off FileVault and turn it on for the security of the data on your Mac hard drive. Here's how:
- Click the Apple logo and click System Settings.
- Choose Privacy & Security on the left sidebar.
- Scroll down on the right to locate FileVault under the Security section.
- Click the Turn Off button and enter your password to unlock it.
- Tap the Turn Off Encryption button to disable FileVault.
If any method in this post helps when Boot Camp can't install Windows support software, share it!