Window tiling is a new feature introduced on macOS Sequoia, the latest macOS version. It enables you to easily arrange open windows on the screen into a preferred layout. There are multiple ways you can choose to tile windows on Mac, alternatively, you can use the macOS Sequoia window tiling keyboard shortcuts.
Move and resize the active window with keyboard shortcuts
Check the following options to use keyboard shortcuts to manage the single active window on macOS Sequoia and later.
- Fn-Control-F: Make the active window to fill the entire desktop.
- Fn-Control-C: Place the active window in the center of the desktop.
- Fn-Control-Left Arrow: Shift the active window to the desktop's left half.
- Fn-Control-Right Arrow: Shift the active window to the desktop's right half.
- Fn-Control-Up Arrow: Move the active window to the top half of the desktop.
- Fn-Control-Down Arrow: Move the active window to the bottom half of the desktop.
- Fn-Control-R: Return the active window to its pre-tiling size.

Move and arrange multiple windows with keyboard shortcuts
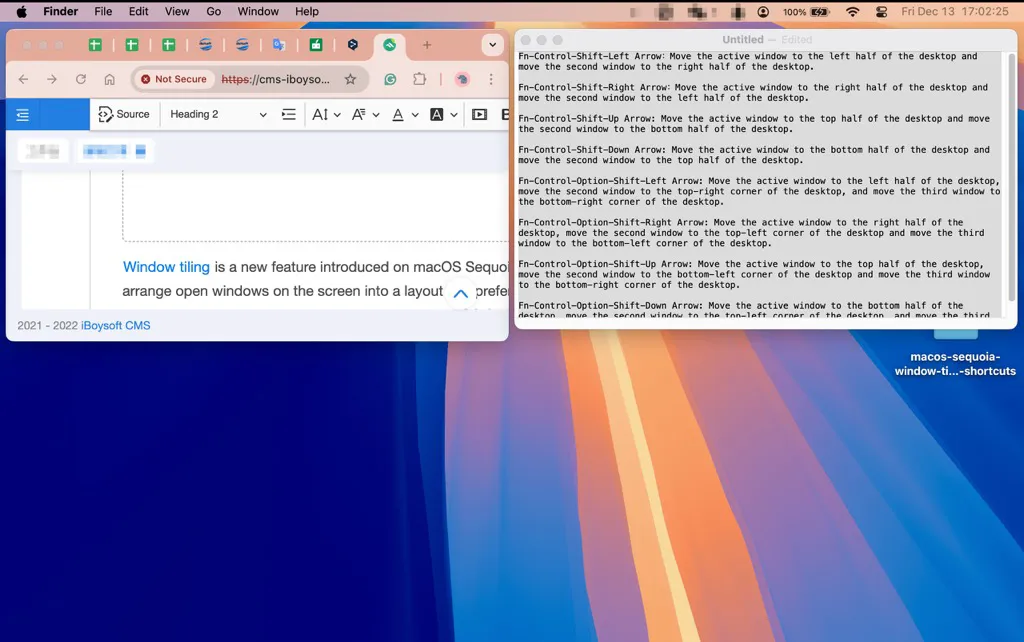
In addition, you can also move and arrange the layout of multiple windows on your Mac with the following keyboard shortcuts.
- Fn-Control-Shift-Left Arrow: Place the active window in the left half of the desktop and the second window in the right half.
- Fn-Control-Shift-Right Arrow: Place the active window in the right half of the desktop and the second window in the left half.
- Fn-Control-Shift-Up Arrow: Move the active window to the top half of the desktop and move the second window to the bottom half of the desktop.
- Fn-Control-Shift-Down Arrow: Move the active window to the bottom half of the desktop and move the second window to the top half of the desktop.
- Fn-Control-Option-Shift-Left Arrow: Place the active window on the left half of the desktop, the second window in the upper-right corner, and the third window in the lower-right corner.
- Fn-Control-Option-Shift-Right Arrow: Place the active window on the right half of the desktop, the second window in the upper-left corner, and the third window in the lower-left corner.
- Fn-Control-Option-Shift-Up Arrow: Move the active window to the top half of the desktop, move the second window to the bottom-left corner of the desktop, and move the third window to the bottom-right corner of the desktop.
- Fn-Control-Option-Shift-Down Arrow: Move the active window to the bottom half of the desktop, move the second window to the top-left corner of the desktop, and move the third window to the top-right corner of the desktop.

How to change macOS Sequoia window tiling keyboard shortcuts
Alternatively, you can also customize the keyboard shortcuts for tiling windows on your Mac running macOS Sequoia and later. Just follow the steps below:
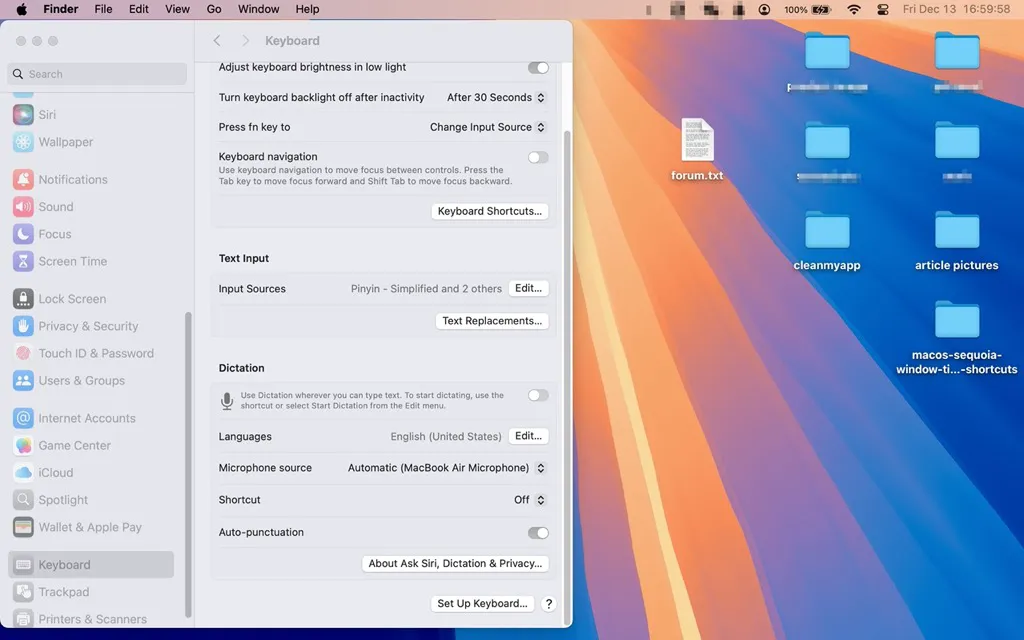
- Open the Apple menu and choose System Settings.
- Scroll down the sidebar and choose Keyboard.
- Tap the Keyboard Shortcuts button.
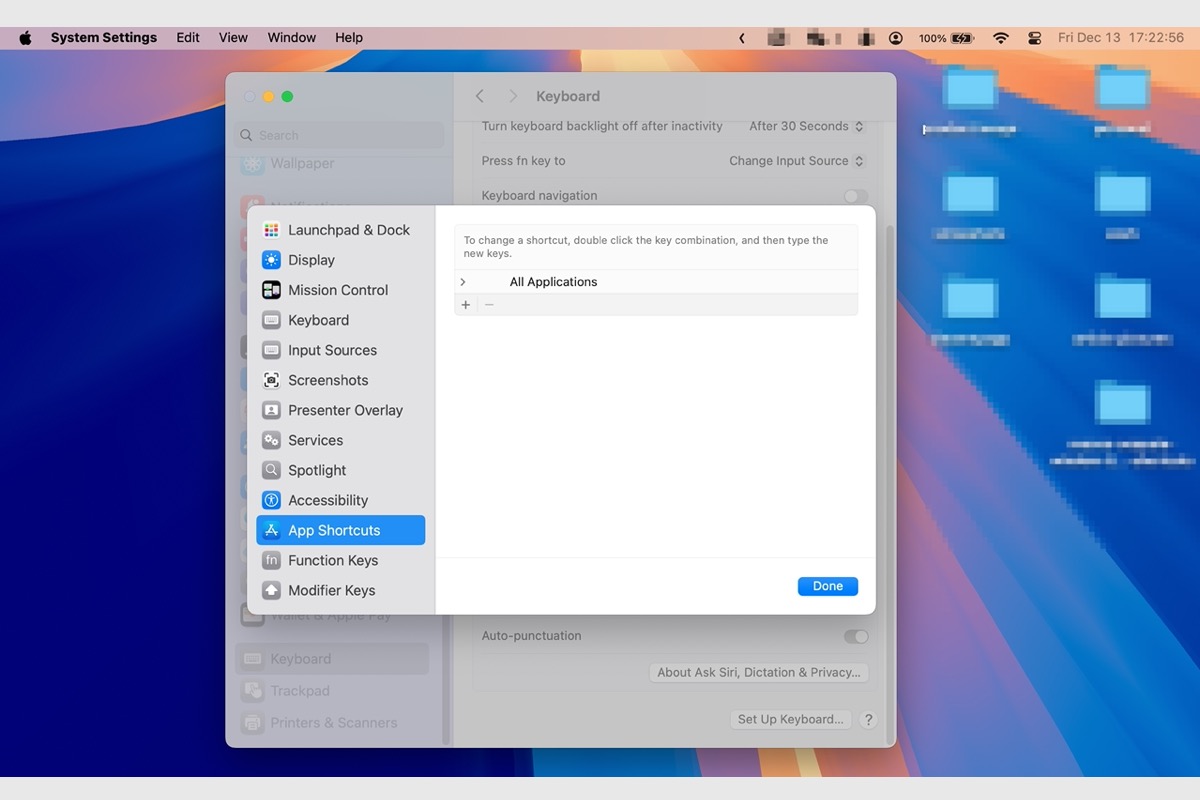
- Click App Shortcuts, then tap the + button.
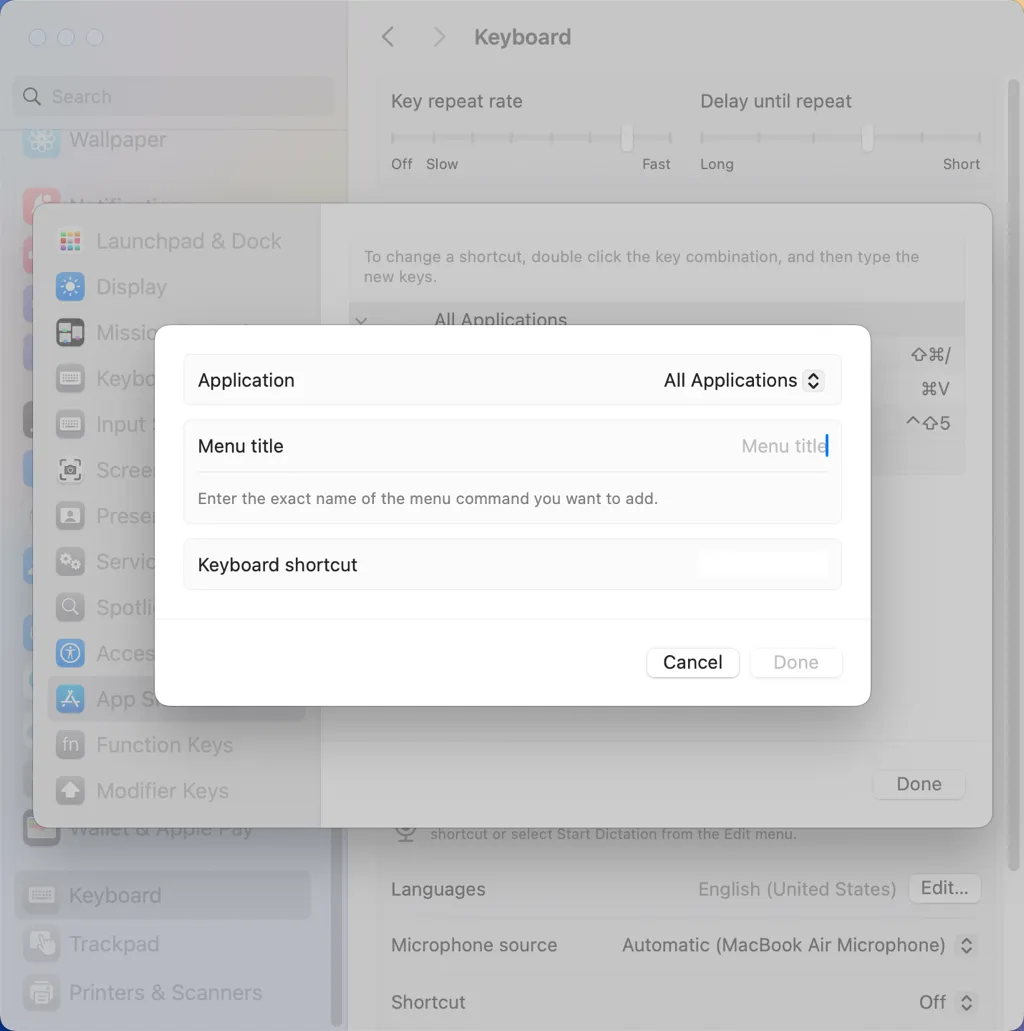
- You can create an app shortcut for all applications or a specific app. Name the shortcut and enter the name in the Menu tile section.
- Tap the blank box next to Keyboard shortcut, and press the keys you combined for the new menu command on the keyboard, it should not conflict with other keyboard shortcuts.
- Then click Done.

Help others use and customize macOS Sequoia window tiling keyboard shortcuts!
