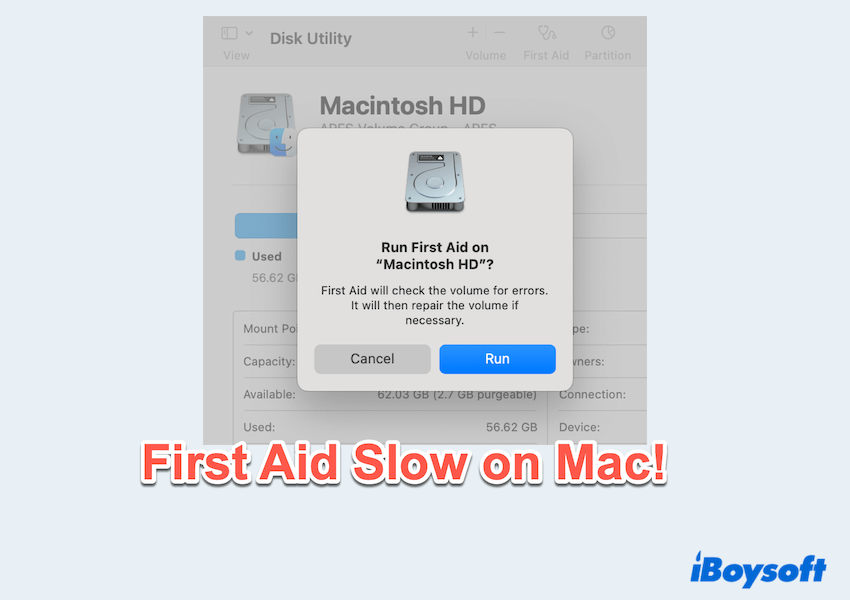
Using First Aid in Disk Utility is a useful solution for fixing disk errors on Mac. However, some users find that the process is painfully slow, seeming stuck, or even unresponsive.
I ran First Aid on my Mac, but the process took too long then it failed. I wanna know what cause this action too slow. -discussion.apple.com
This can be especially frustrating when you are trying to troubleshoot urgent issues. Here, iBoysoft offers several effective methods to speed things up and ensure First Aid completes successfully.
# 1 Try basic fixes
Before diving into advanced troubleshooting, try the following simple steps.
- Restart your Mac: A simple reboot can resolve temporary glitches.
- Be patient: Larger drives or those with many files, especially HDDs, can take longer to scan.
- Close apps: Quit all unnecessary apps before running First Aid to reduce resource contention.
- Free up disk space on Mac: Ensure you have at least 15-20% free space on your drive (low space slows disk operations).
# 2 Run First Aid in Recovery Mode
Running First Aid from macOS Recovery Mode allows the tool to operate without interference from active system processes.
- Restart your Mac.
- Hold the Command and R keys until the Apple logo appears.
- Click Disk Utility.
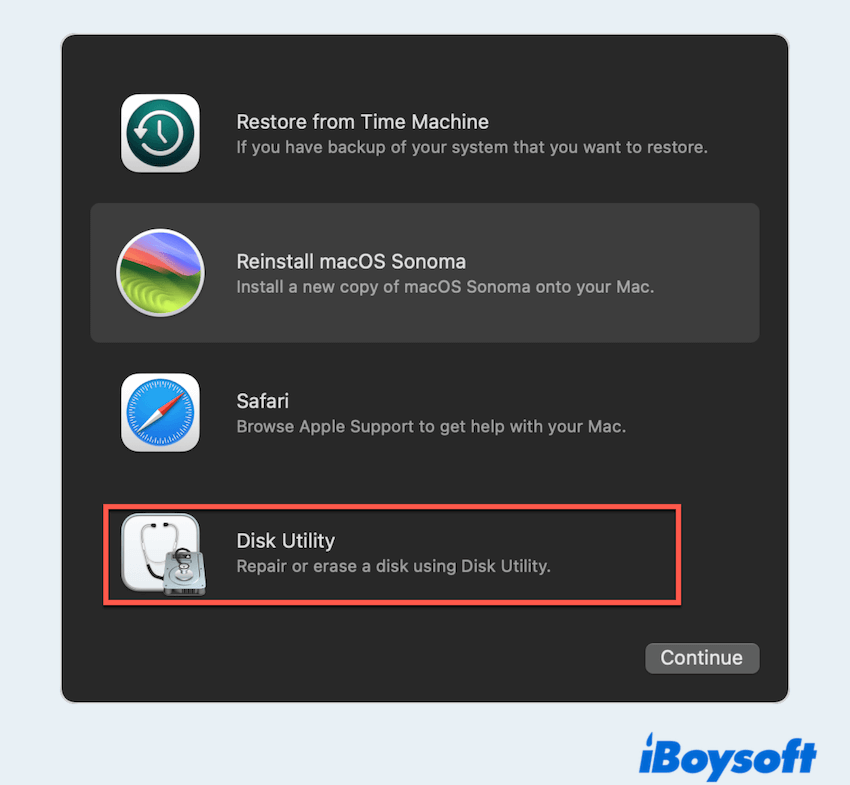
- Choose the disk you want to repair and click First Aid on the top > Run.
This often runs faster and is more effective according to many users, especially for startup disk issues.
# 3 Use Mac Safe Mode
Mac Safe Mode disables third-party extensions and performs basic system checks like Disk Utility First Aid slow, creating a cleaner environment to run First Aid.
- Intel Macs: Restart and hold the Shift key until the login window appears.
- Apple Silicon Macs: Turn off your Mac, then press and hold the power button. Select your startup disk, hold Shift, and click "Continue" in Safe Mode.
After booting into Safe Mode, open Disk Utility and try running First Aid again.
# 4 Check for disk health
Slow running First Aid on Mac might indicate deeper hardware problems, especially with older hard drives.
- Finder > Applications > Utilities > Disk Utility.
- Select your main disk(not just the volume) and check if it says Verified or Failing.
- For more details, open Terminal and type "diskutil verifyDisk disk0".
- If it still fails, back up data immediately and replace the drive.
# 5 Reset NVRAM
Corrupted system settings stored in NVRAM can occasionally cause performance issues with utilities like First Aid.
- Shut down your Mac.
- Turn it on and immediately hold "Option + Command + P + R".
- Keep holding the keys for about 20 seconds, then release.
This reset won't delete any files but may help clear out problematic settings.
# 6 Check for Spotlight conflicts
Spotlight indexing can interfere with disk operations in some cases, especially on newly formatted or heavily used drives.
- Apple menu > System Settings > Spotlight > Search Privacy.
- Click the + button and add the problematic disk, then click Done.
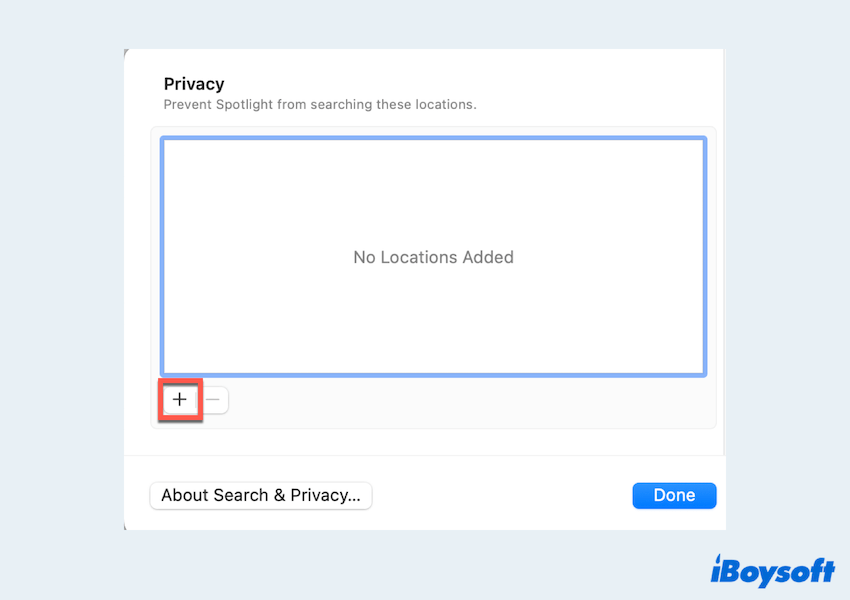
- Run First Aid again.
- Once finished, remove the disk from Spotlight's privacy list to resume normal indexing.
# 7 Backup and replace the drive
If your disk consistently causes First Aid to freeze or take hours to complete, it may be a sign of imminent failure.
- Use Time Machine or another backup method to secure your data.
- Replace the drive, especially if it's an older HDD. Consider upgrading to an SSD for faster and more reliable performance.
Have you fixed the issue slow slow-running First Aid Mac? Please share this post.
First Aid is a powerful tool for keeping your Mac's storage healthy, but when it runs slowly or appears stuck, it can point to underlying issues. By following the steps above, hope you succeed finally.