iBoysoft Cleaner Online Help
Overview
iBoysoft Cleaner is an AI-powered Mac cleaner designed to help you clean up and optimize your Mac in full-scale. It focuses on safe, user-level cleanup and system organization without modifying protected macOS system files.
This tool allows you to:
✅ Remove system junk files such as caches, logs, temporary files, and more
✅ Completely uninstall applications along with related support and cache files
✅ Identify and delete large files, duplicate files, and similar images
✅ Analyze storage usage along with AI recommendations
✅ Manage login items to improve startup control
In addition, it includes several system utilities for memory releasing, secure file shredding, Spotlight re-indexing, and DNS cache refresh.

Supported Operating Systems
• macOS 26 Tahoe
• macOS 15 Sequoia
• macOS 14 Sonoma
• macOS 13 Ventura
• macOS 12 Monterey
• macOS 11 Big Sur
Supported Storage Devices
Macs, including Intel and Apple Silicon Macs.
External storage devices, including hard disk drives (HDDs), solid state drives (SSDs), USB flash drives, SD cards, CF cards, memory cards, memory sticks, etc.
How to Download and Install iBoysoft Cleaner
Step 1: Download iBoysoft Cleaner.
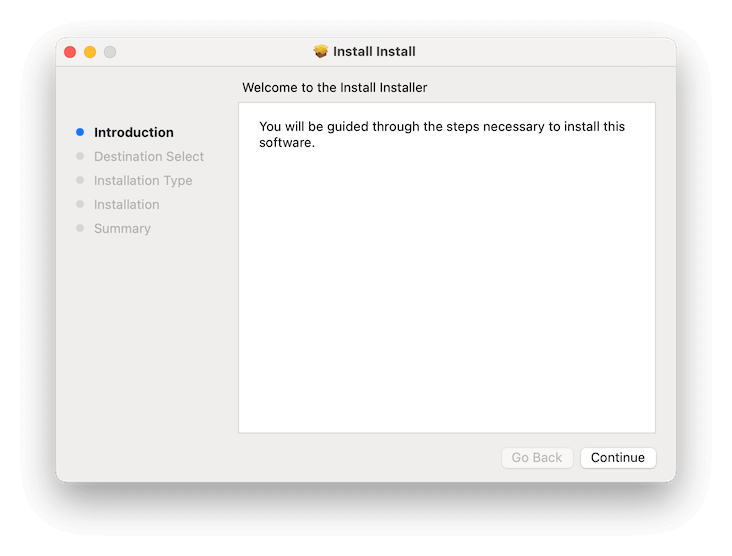
Step 2: Double-click the installation package to open it.
Step 3: Double-click the Install button to start.
Step 4: Click Continue and follow the on-screen instructions to finish installation.
Now, open iBoysoft Cleaner from the Dock.
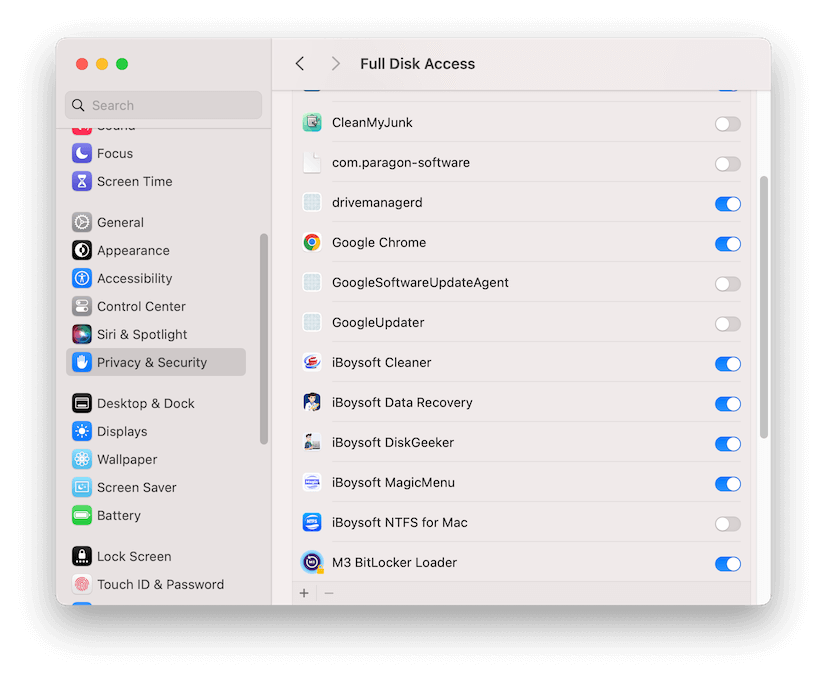
Note: To allow this software to access data on your Mac, you should enable Full Disk Access for it. Go to the Apple menu > System Settings > Privacy & Security, then enable iBoysoft Cleaner from the list.
How to Activate iBoysoft Cleaner
The free trial only lets you scan with all features and includes three instances of AI-powered analyses to help optimize your disk storage usage.
To unlock the one-lick deletion, please purchase a yearly or lifetime subscription through our online store.
Step 1: Copy the license key from your order confirmation email.
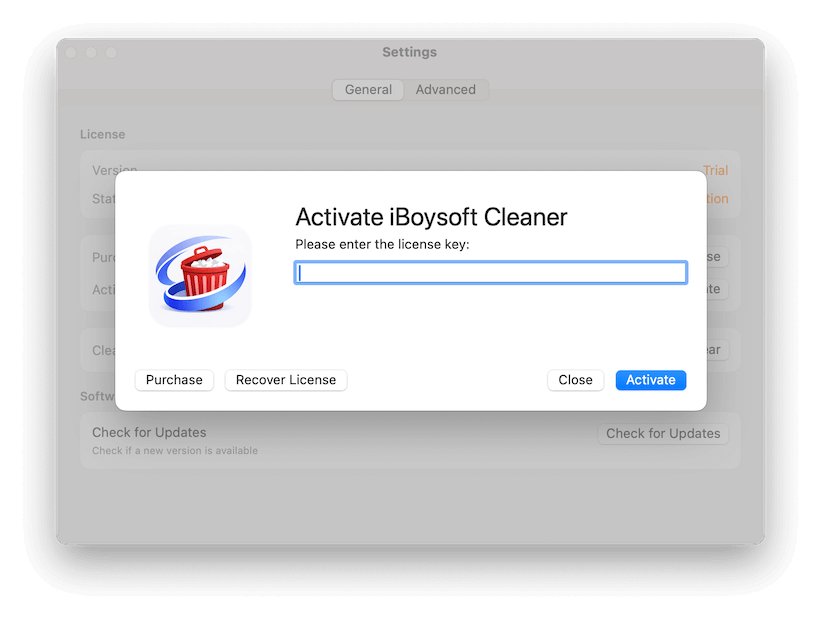
Step 2: Open the software, click iBoysoft Cleaner from the menu bar > Settings.
Step 3: Click Activate.
Step 4: Enter your license key and click Activate.
How to Clean Up System Junk
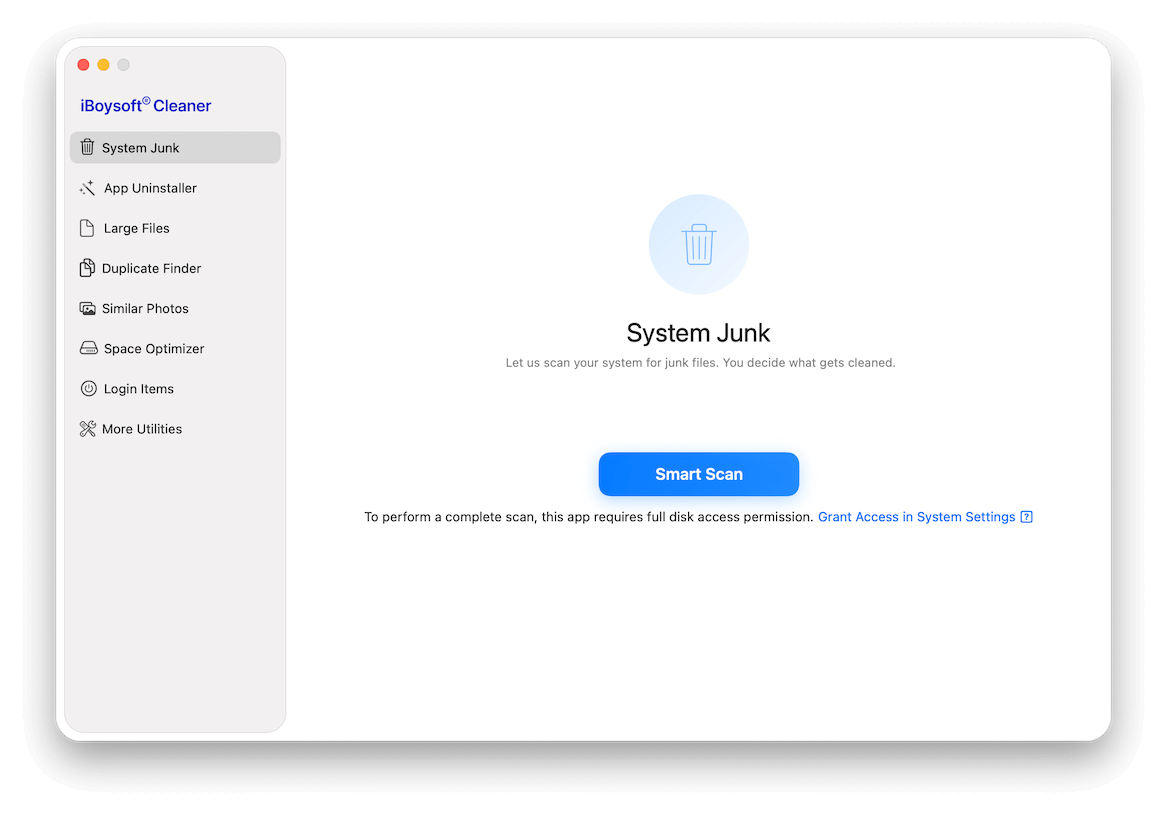
The System Junk feature scans your Mac for unnecessary files, including downloads, chat app cache files, system, browser, and app caches, system logs, Xcode caches, and items in the Trash.
Step 1: Select System Junk.
Step 2: Click Smart Scan.
Step 3: Wait for the scanning process to complete.
Step 4: Check the results by categories.
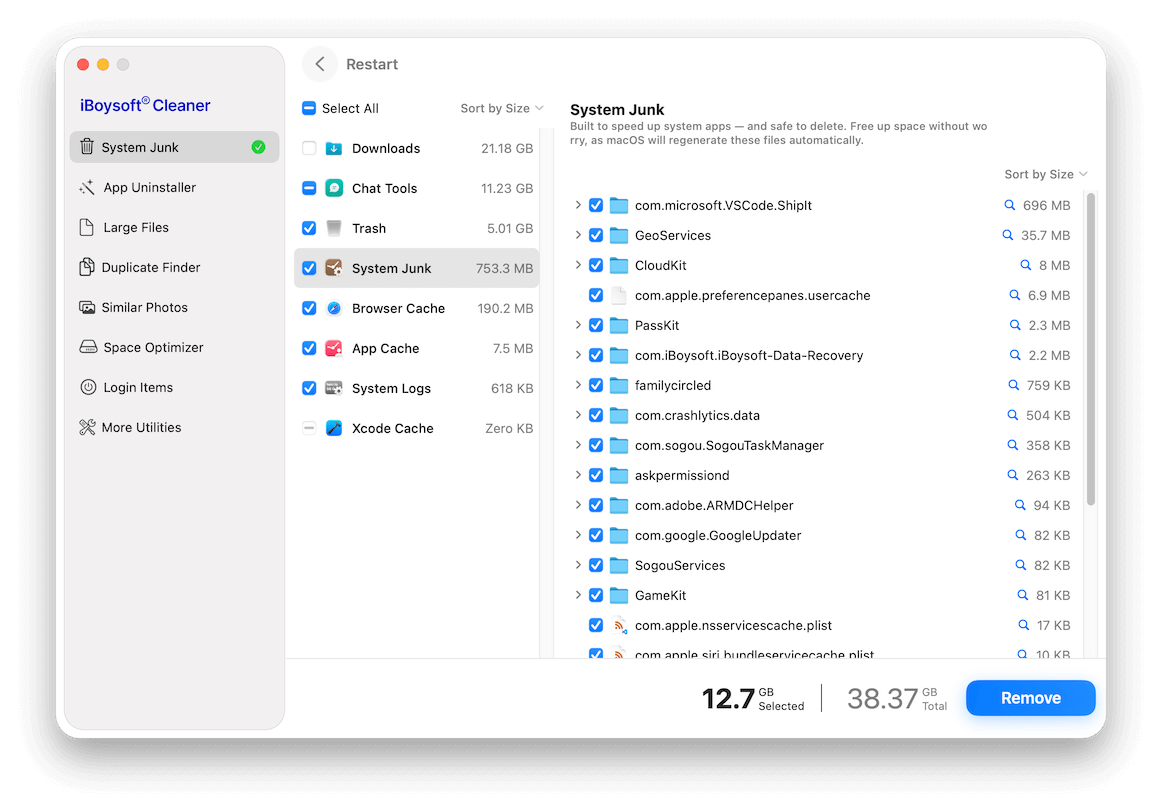
Step 5: Select the files you want to delete and click Remove.
Note: The selected files will be permanently deleted from your Mac and cannot be recovered. Think twice before taking action.
Step 6: Click Confirm on the prompt.
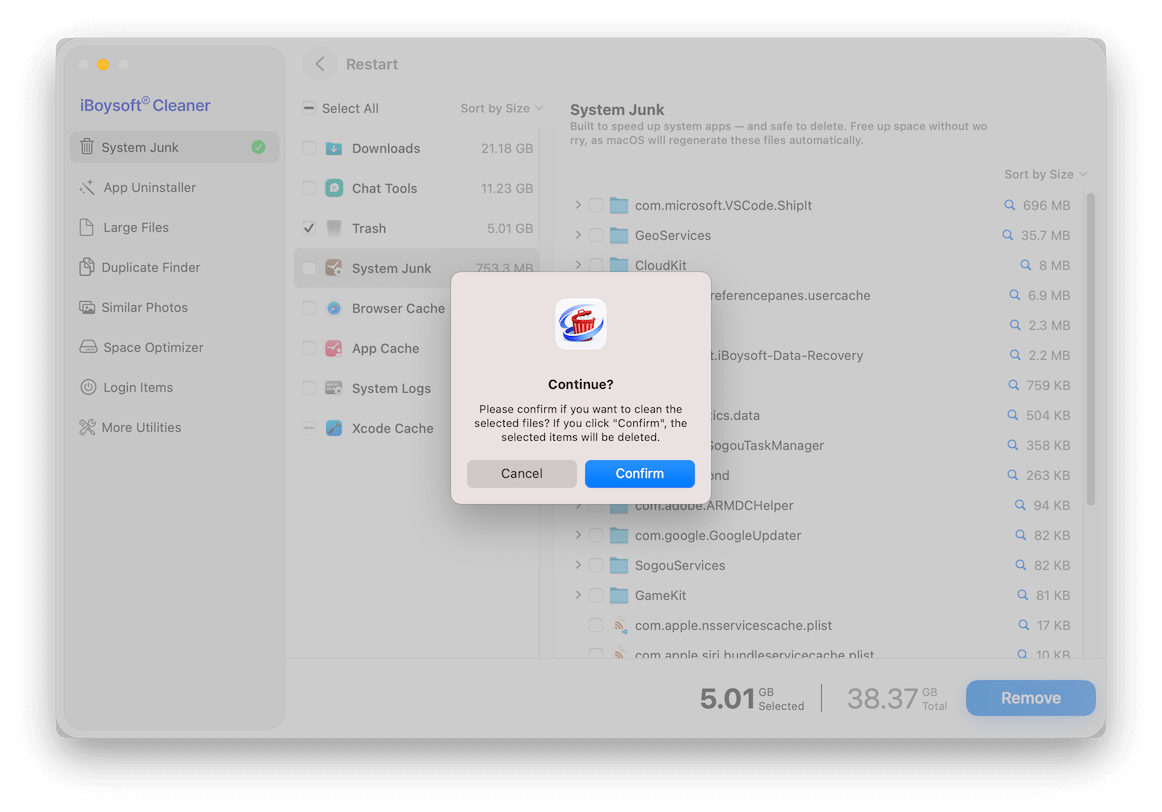
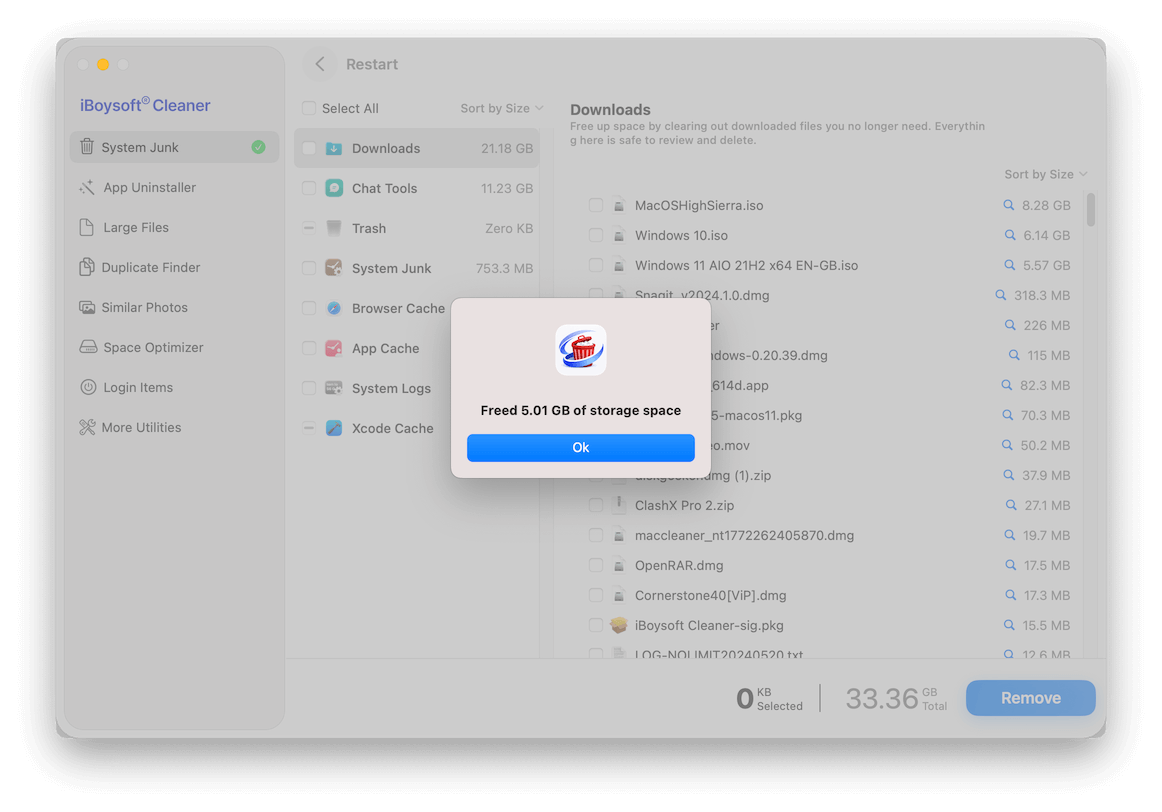
Step 7: Finish deletion.
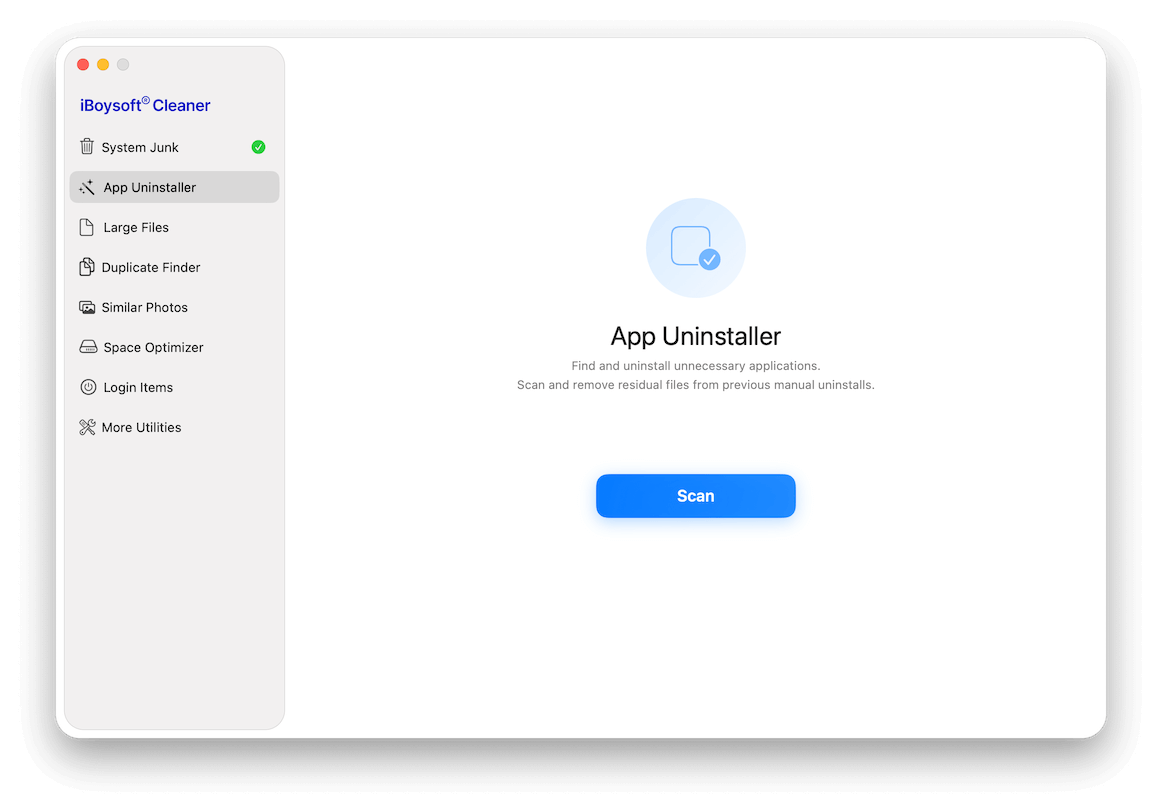
How to Completely Uninstall Apps
The App Uninstaller feature helps you:
• Completely remove third-party apps you no longer need, along with all associated files.
• Find and delete leftover files from apps that were previously uninstalled.
Step 1: Select App Uninstaller.
Step 2: Click Scan.
Step 3: After scanning, check the results by categories.
App Applications: All third-party apps and their associated files. Also, all the leftovers of previously uninstalled apps.
Large: A list of third-party apps larger than 100MB.
Large and Old: A list of third-party apps larger than 100MB that haven't been used in the last 3 months.
Incompatible: Installers of apps incompatible with your Mac.
Uninstalled Residual Apps: Leftover files from apps that were uninstalled on the Mac.
Store: Third-party apps downloaded from the Apple App Store or other sources.
Vendor: Third-party apps developed by Google, Microsoft, or other developers.
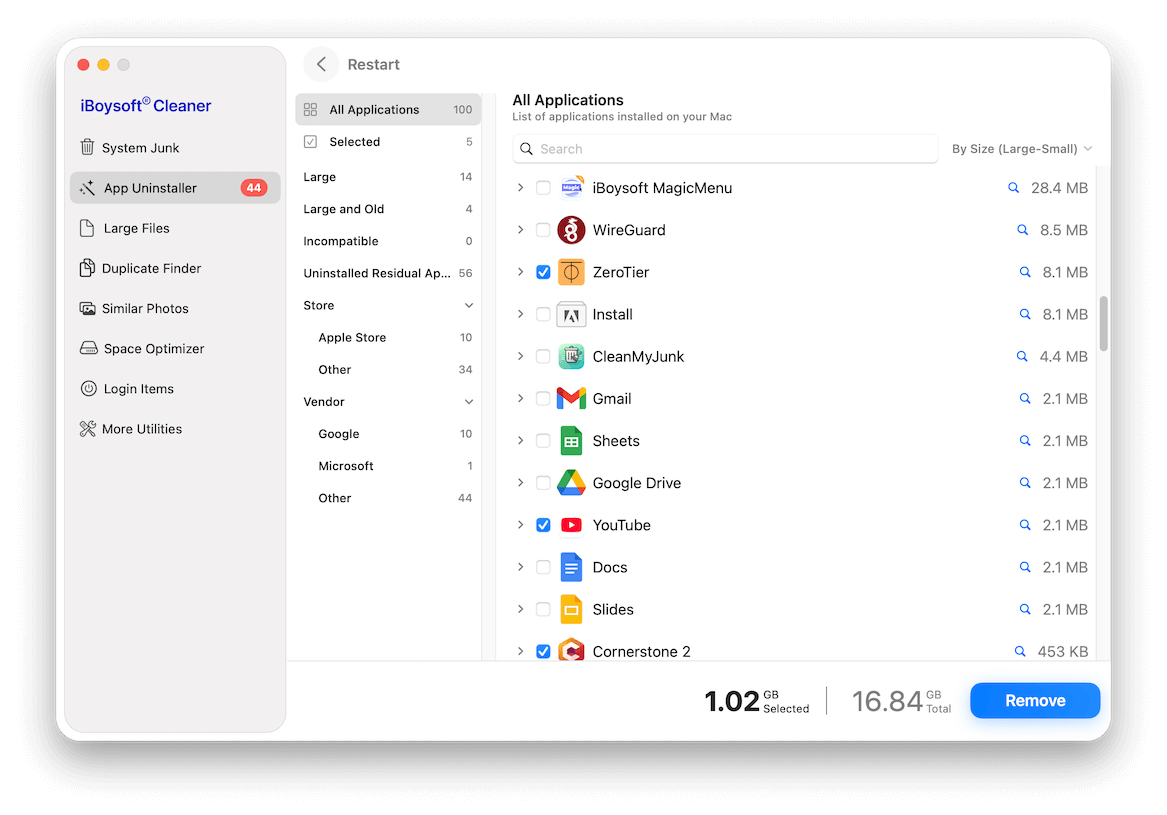
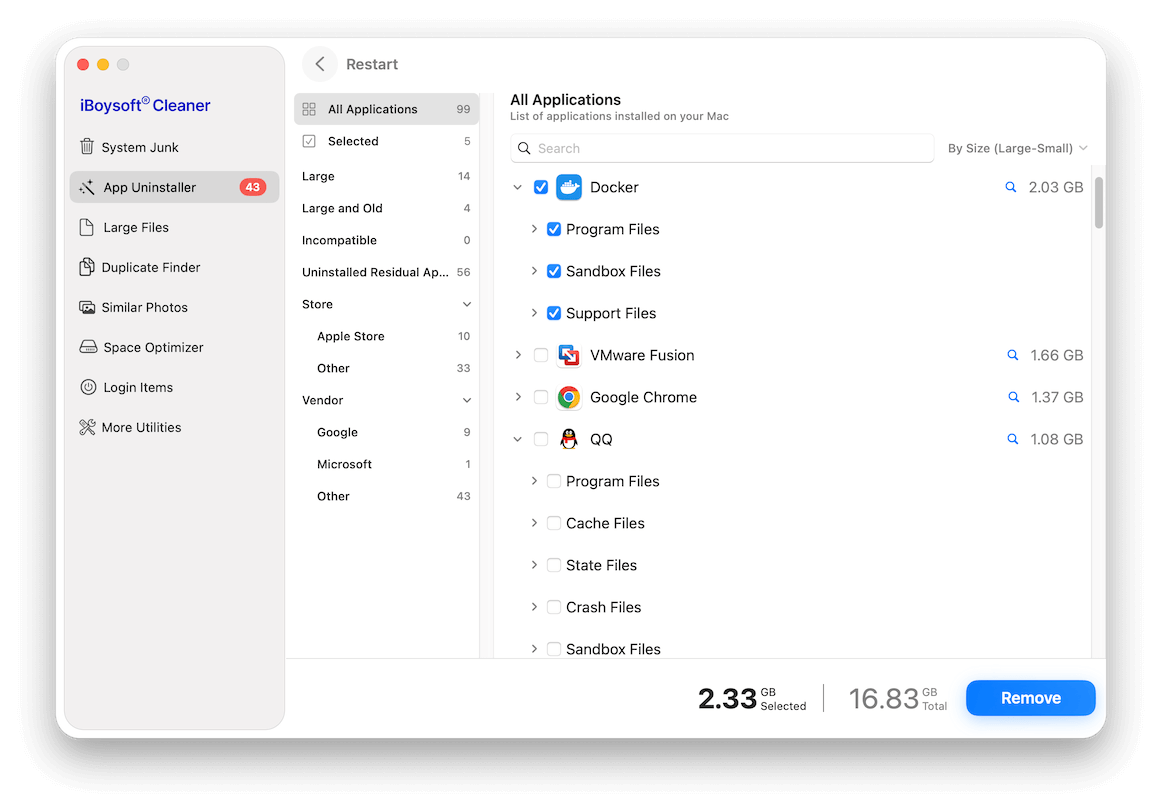
Step 4: Select unwanted apps.
You can click the arrow next to the app to display and check its associated files.
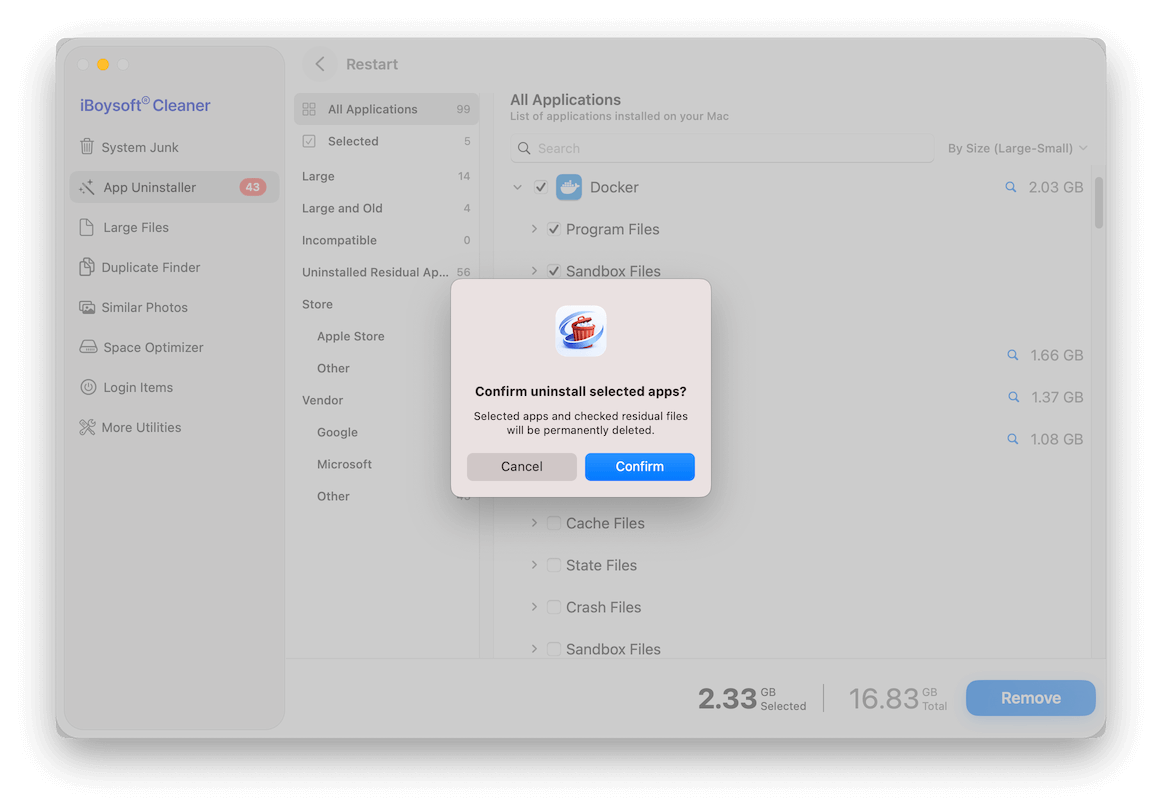
Step 5: Confirm the prompt.
How to Find and Delete Large Files
Step 1: Select Large Files.
Step 2: Make sure the minimum file size you want this software to help you search for.
50 MB is the minimum file size that iBoysoft Cleaner defines. You can customize it to a larger size. This tool will only filter out and list the file with the set size.
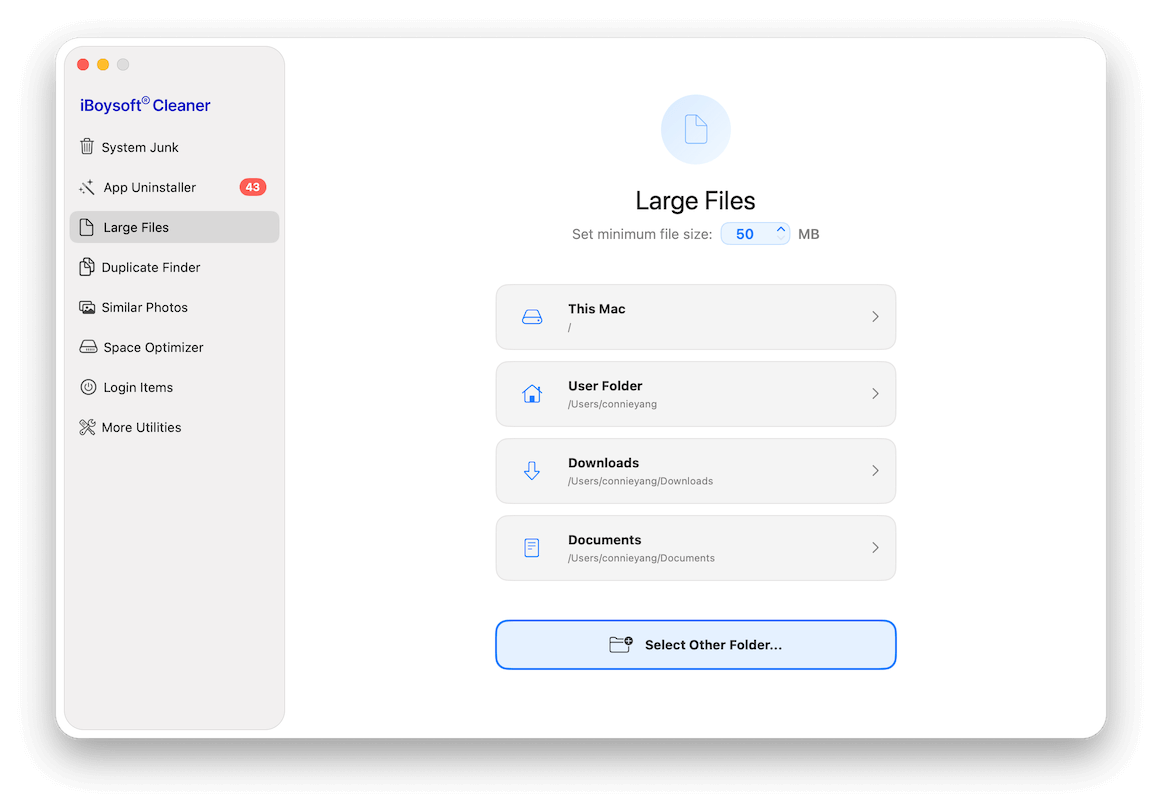
Step 3: Choose where to scan the large files.
You can choose to scan your entire Mac, your user folder, the Downloads folder, and the Documents folder. Also, you can click Select Other Folder to add any other folder you want to check, including folders on external storage devices.
Step 4: Wait for the scanning process to finish.
Step 5: Check the scanning results.
The results are categorized into audio, video, image, document, archive, and other.
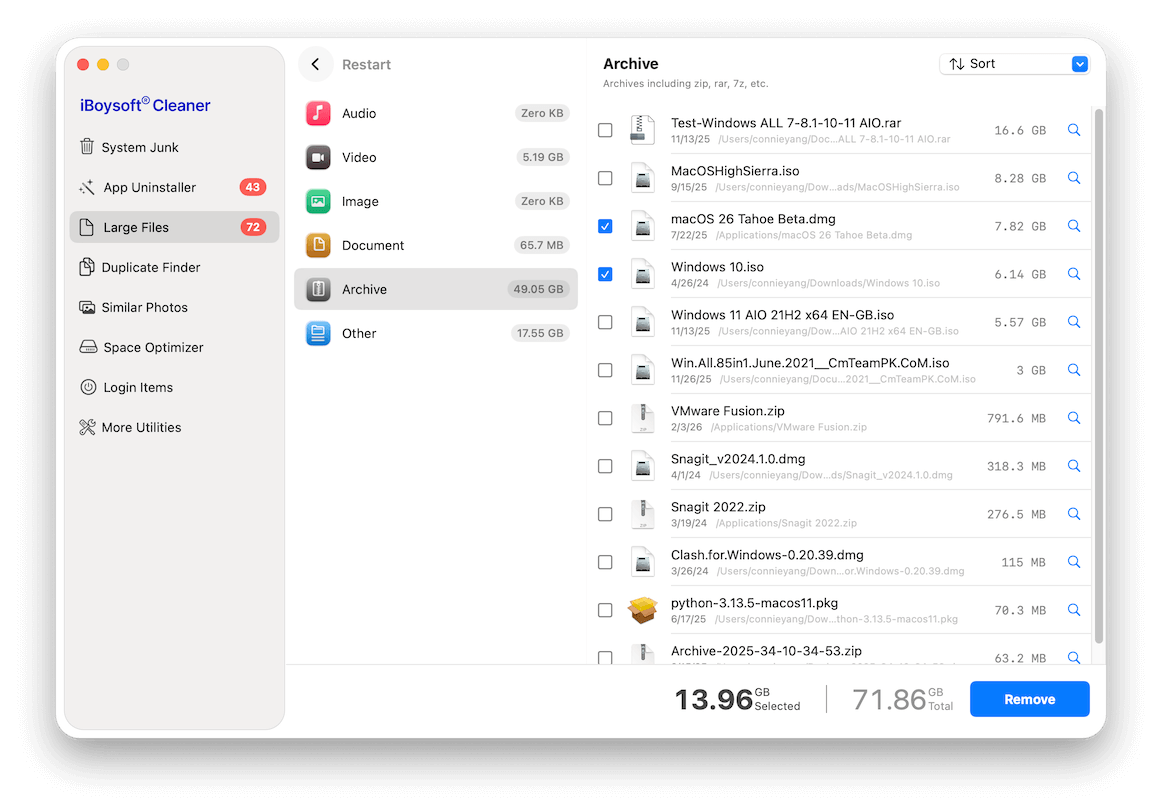
Step 6: Select the large files you want to delete.
Step 7: Click Remove and then confirm it.
How to Find and Remove Duplicate Files
Step 1: Select Duplicate Finder.
Step 2: Choose a suggested folder or any folder you want.
It supports searching for duplicate files on the desktop and in the Downloads, Documents, and any other folder you want, including folders on external drives.
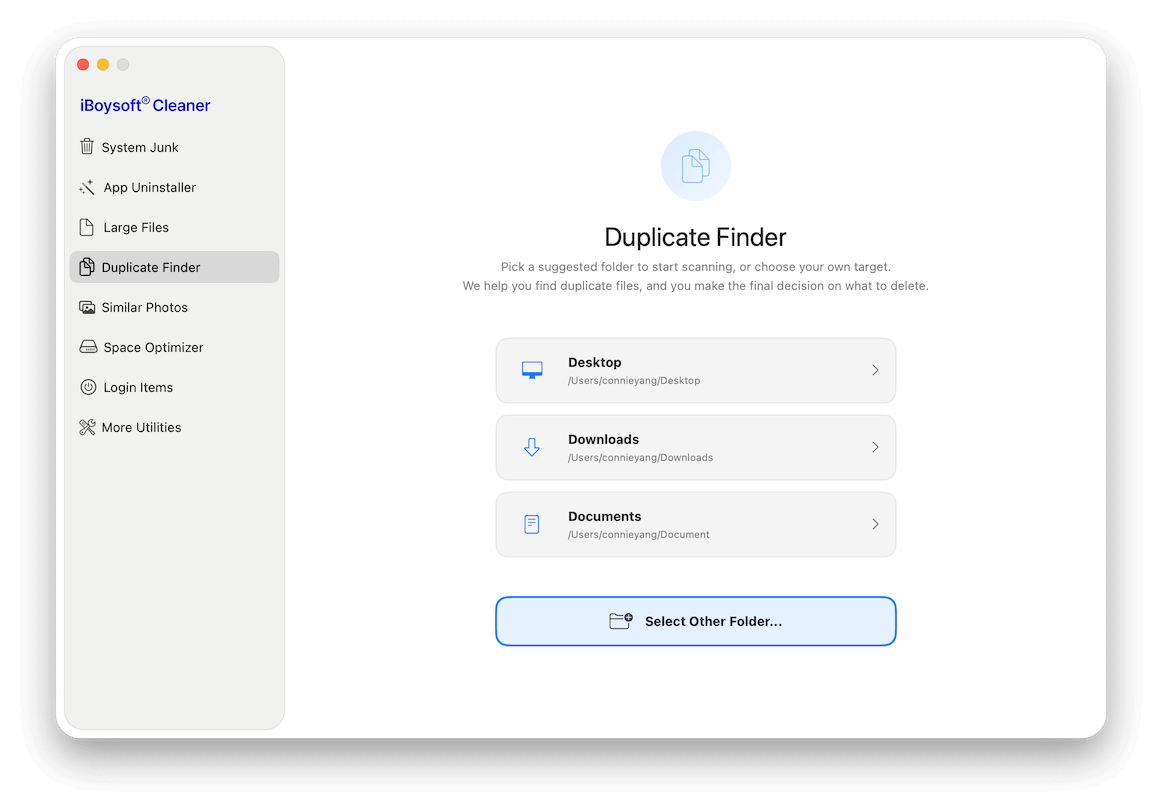
Step 3: Wait while the scan completes.
Step 4: Browse the duplicate files.
By default, this app automatically selects all duplicate files. Make sure to review them carefully before deleting.
If you want to choose manually, click the Auto Select drop-down menu and pick Deselect All. Then select only the files you want to remove.
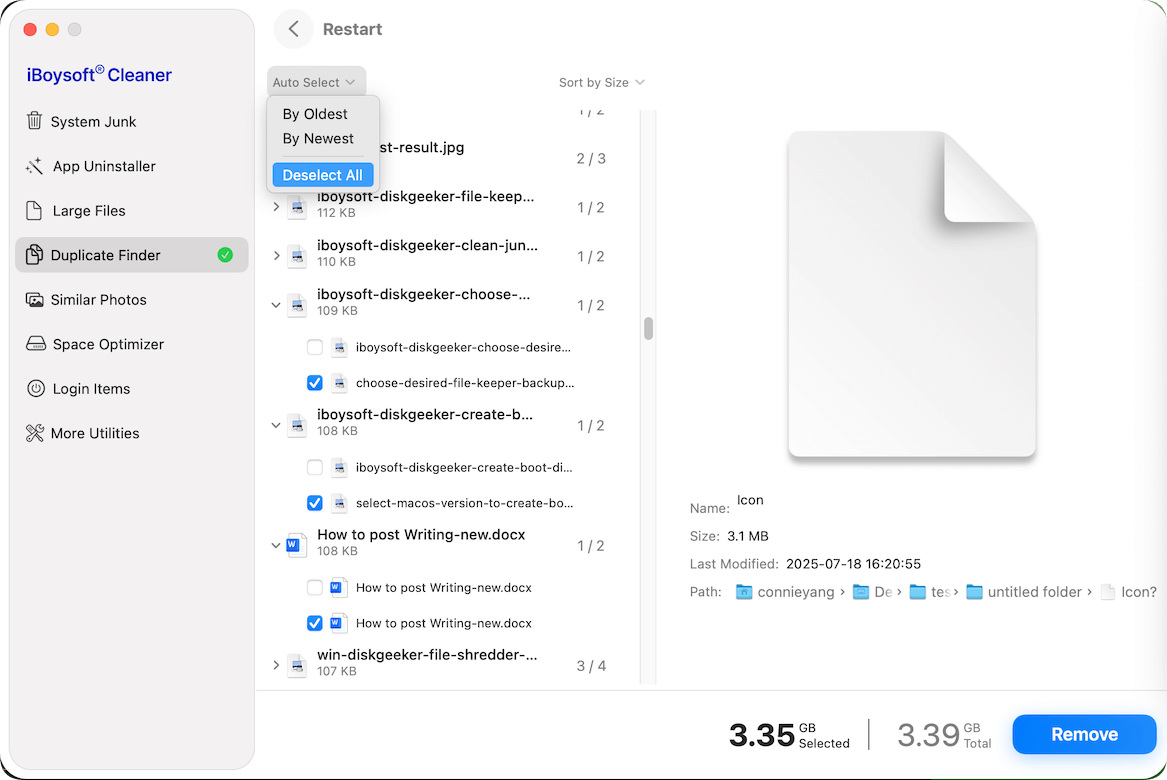
On the right-pane, focus on the Path section. You can click the target file to check its location on your Mac.
Step 5: Click Remove > Confirm.
How to Search for and Delete Similar Photos
Step 1: Choose Similar Photos.
Step 2: Select a suggested folder or any folder you want.
You can choose to scan images on the desktop and in the Downloads, Documents, Pictures, and any other target folder, including folders on external drives.
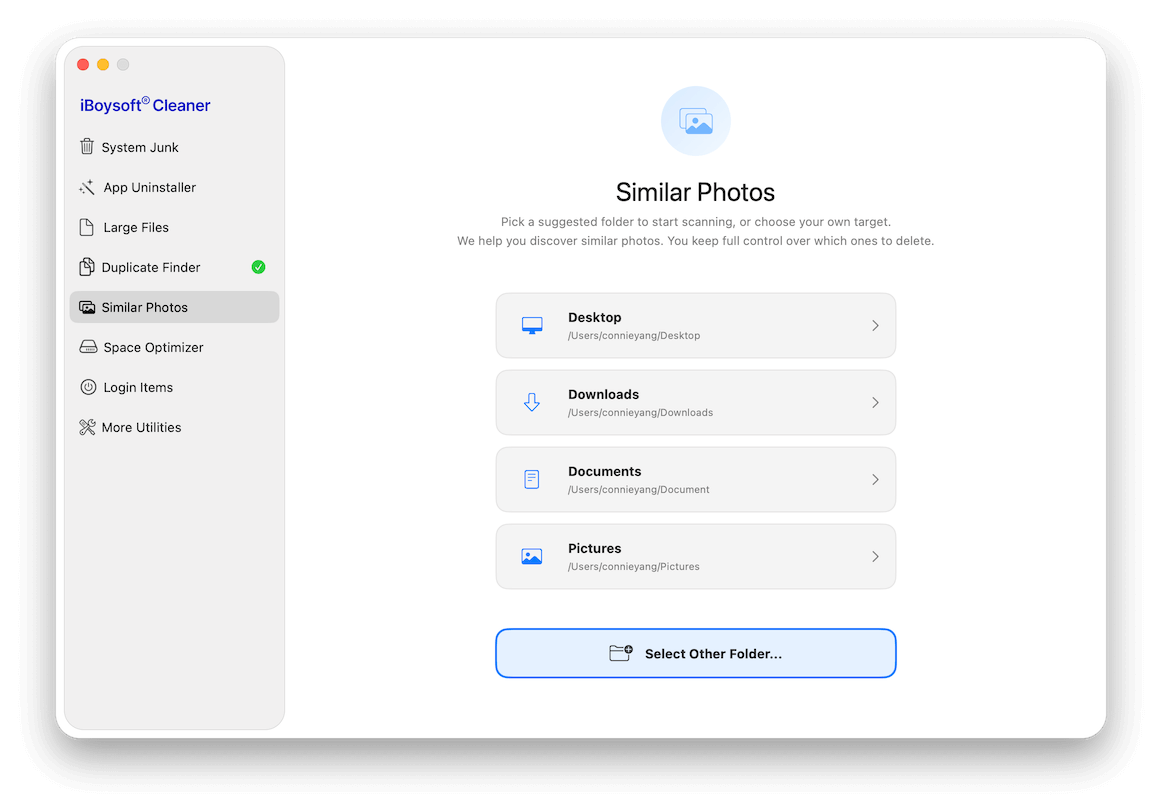
Step 3: Wait for the scanning to complete.
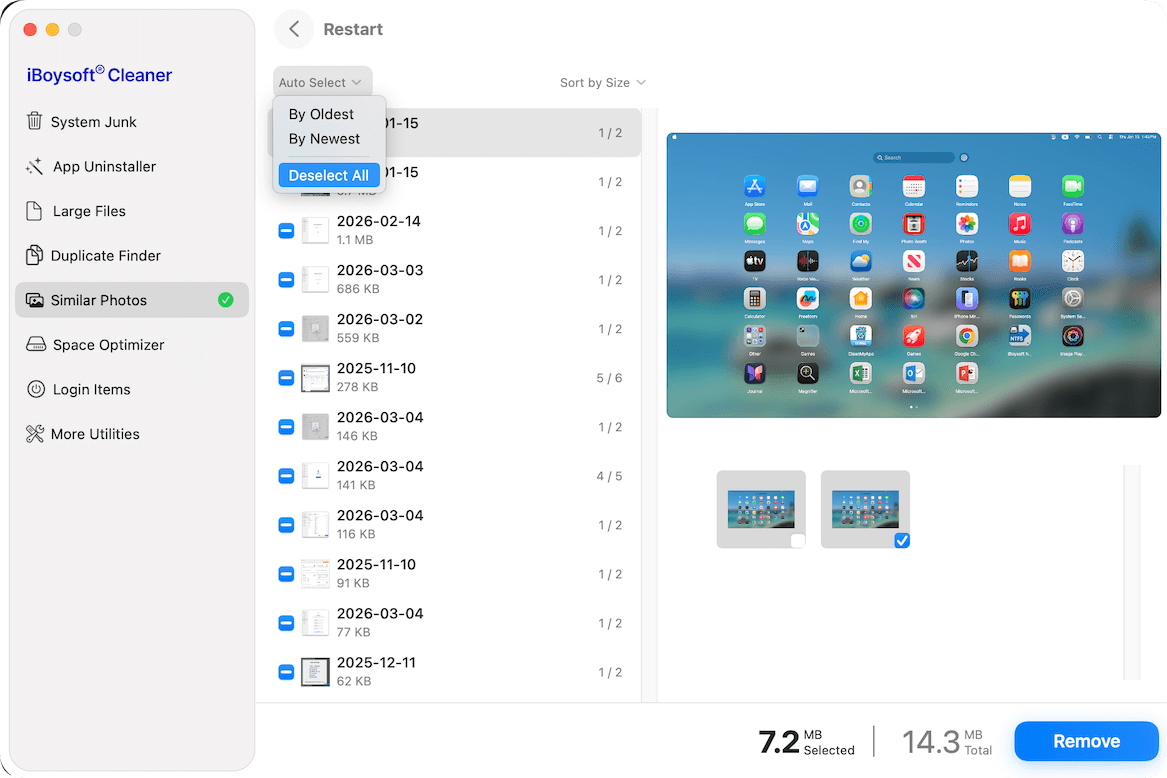
Step 4: Preview the filtered-out similar photos from the results.
It automatically selects all similar images for you. Be sure to double-check the selection before deleting anything.
To pick images yourself, open the Auto Select menu and choose Deselect All, then select the ones you actually want to delete.
Step 5: Click Remove > Confirm.
How to Optimize the Storage Space
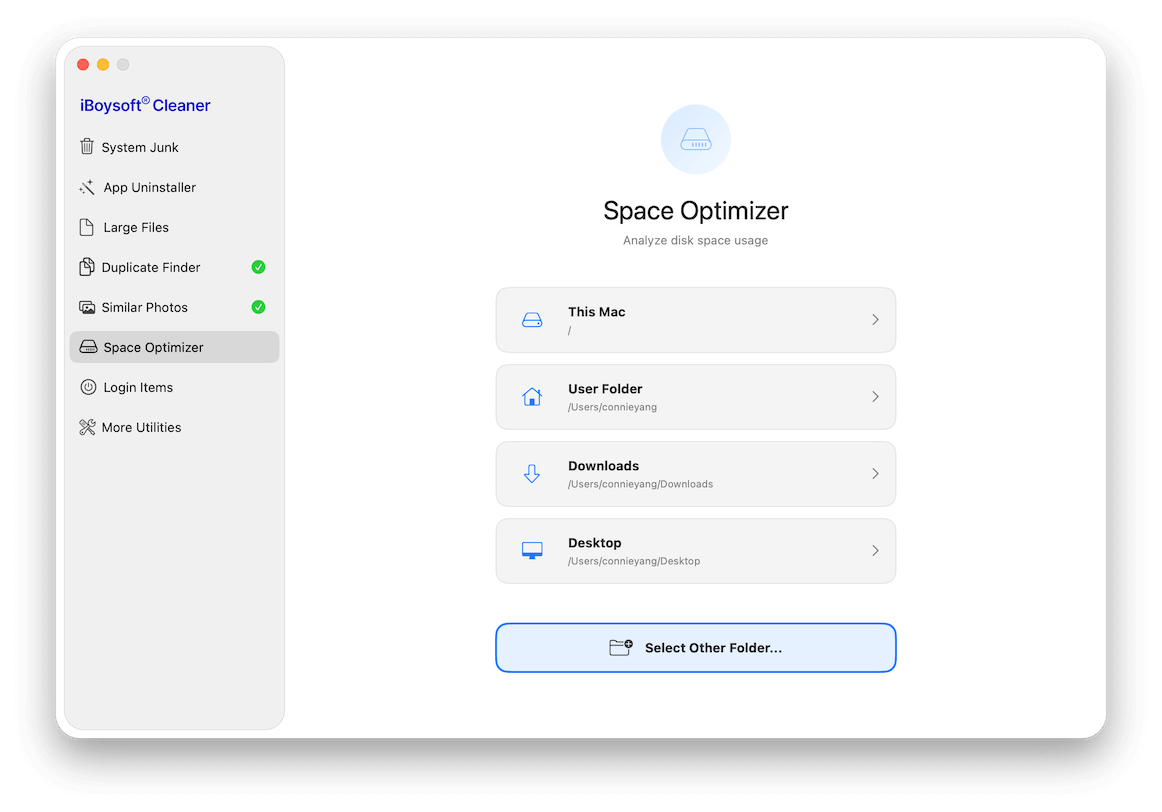
Step 1: Choose Space Optimizer.
Step 2: Select the location where you want to analyze the space usage.
Space Optimizer can help you analyze the storage space usage of your entire Mac, user folder, the Downloads folder, the desktop, and any other folder (including folders on your external drives).
Step 3: Wait out the scanning process.
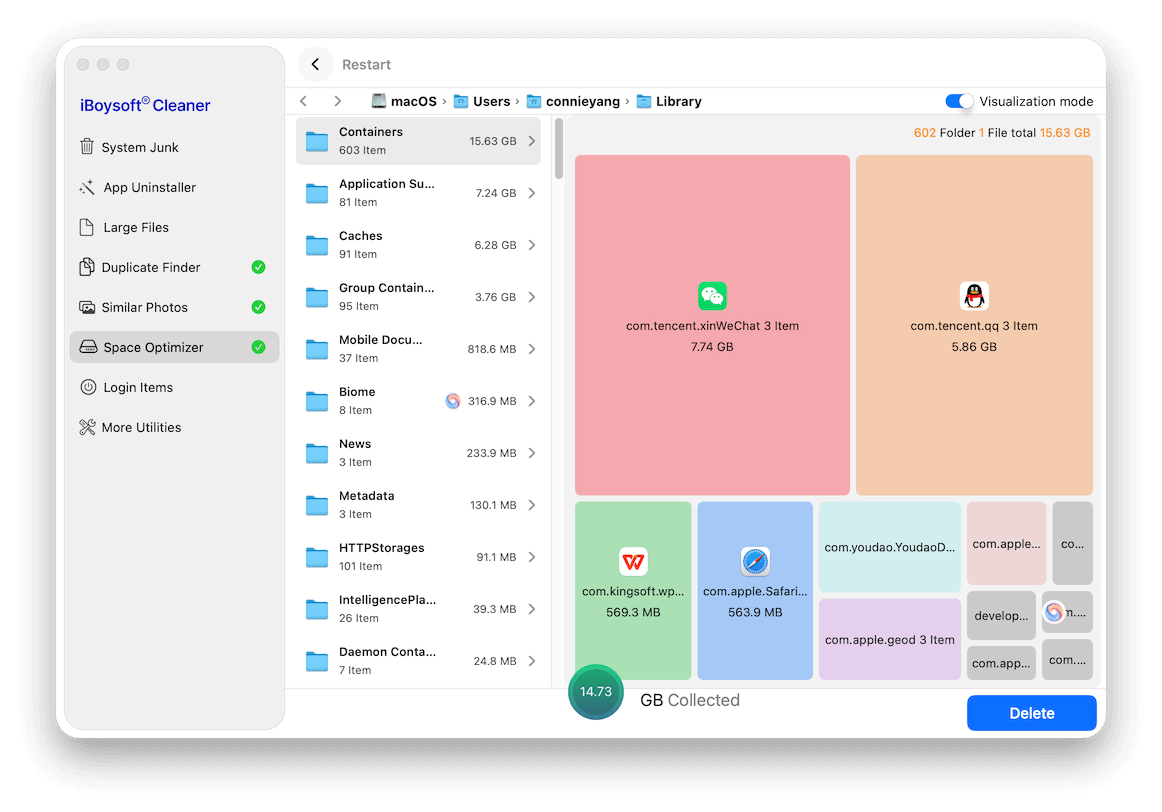
Step 4: Check the results.
This tool uses an AI-driven analyzer to help you decide which files are safe to delete and which ones to keep.
If you're unsure whether you can delete a file or folder, simply hover your cursor over it. When the spinning icon appears, click it to get an AI-generated explanation of what the item is and whether it's safe to remove.

Step 5: Drag and drop the files you want to delete to the bottom collection box.
Or, you can right click the file and select "Move to the delete queue" to add it to the box.
Step 6: Click Delete.
Note: The selected files will be permanently removed from your Mac. Once they are deleted, it is hard to be recovered. Think twice before deleting them.
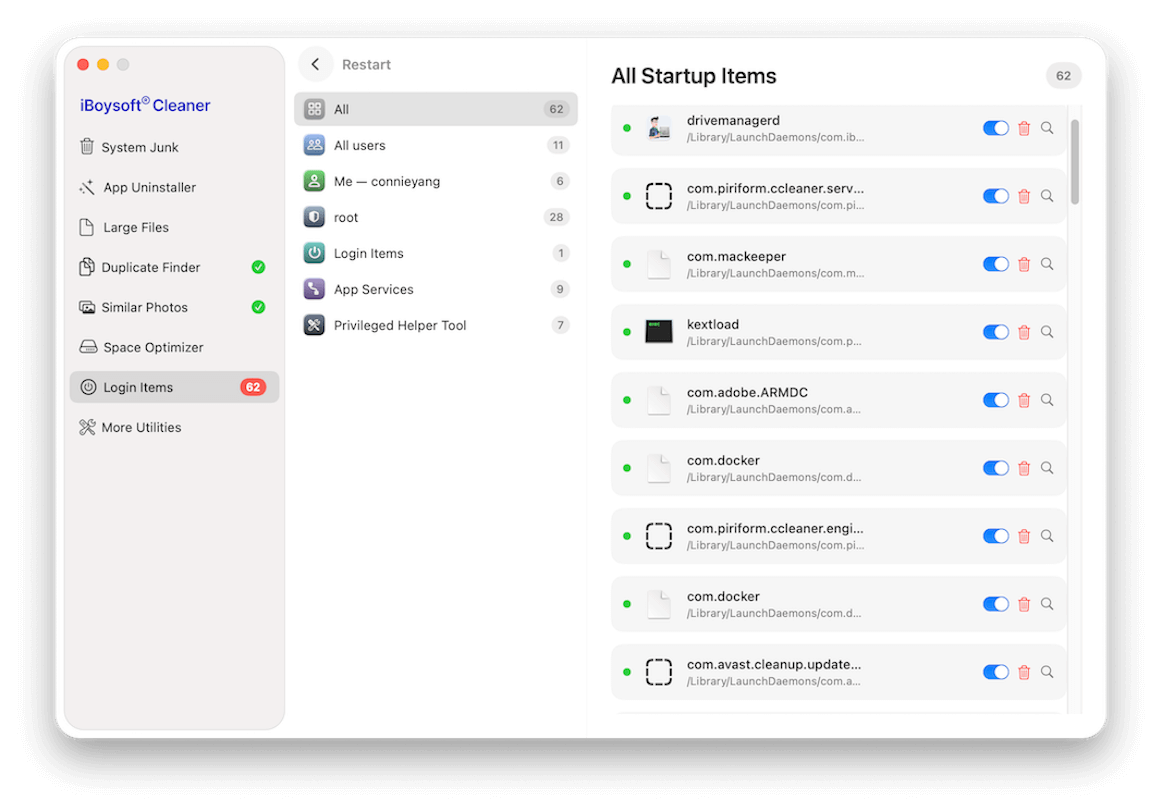
How to Manage Login Items
On a Mac, Login Items are apps, services, or processes that automatically start when you log in, running in the background to get your Mac ready.
However, too many login items can slow down your Mac. Disable or remove unnecessary third-party items to improve performance.
Step 1: Select Login Items.
Step 2: Click Scan.
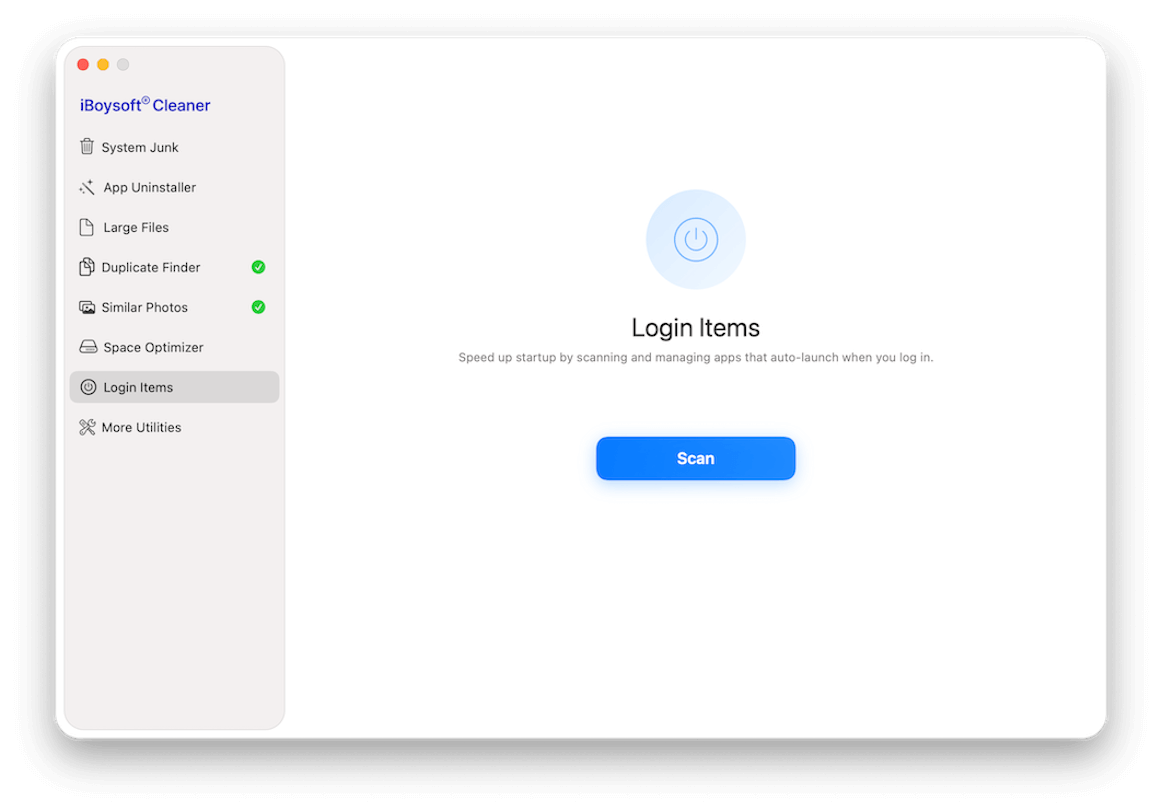
Step 3: Wait for the quick searching to finish.
Step 4: Manage the startup items.
From the list, the scanned third-party startup items on your Mac are classified into:
All: All the third-party startup items on your Mac.
All users: The third-party launch agents are shared by all users other than the current user on this Mac.
Me - user name: The third-party launch agents used by the current user.
root: The third-party launch daemons in the root directory.
Log Items: Third-party apps that automatically launch after logging in to the Mac.
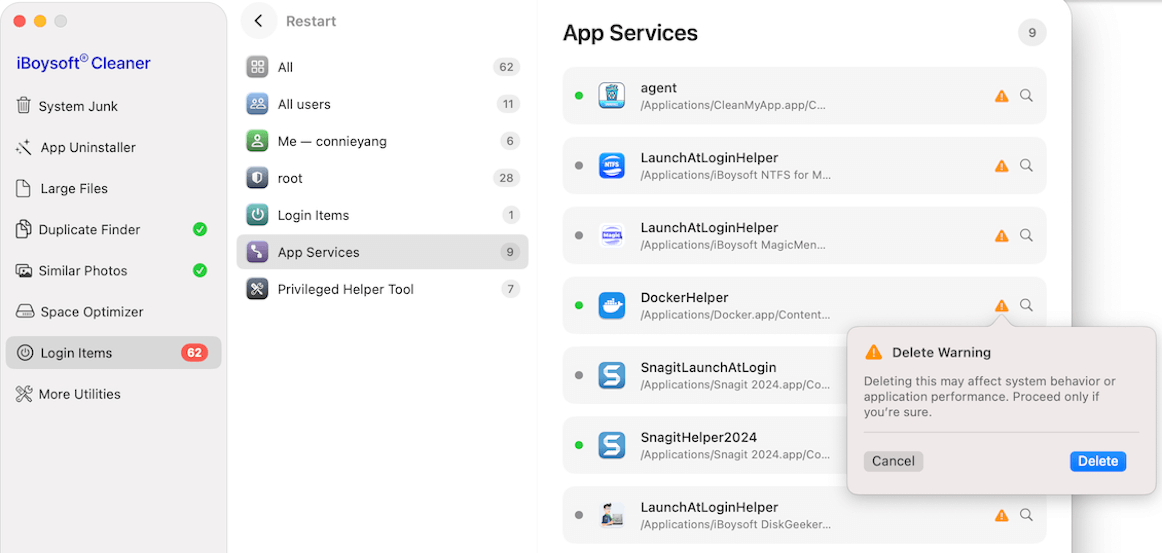
App Services: Third-party app services that can affect system behavior and app performance.
Privileged Helper Tool: Small third-party background programs. They allow an app to perform system-level tasks that require administrator access.
Note:
1. For items that the tool offers both a disable and a removal button, we suggest you disable rather than delete them. Because improper removal may prevent the target apps from working properly.
2. For items on the list only with a warning icon, deleting them may affect system behavior and the target apps' performance. Be cautious before deletion. If you insist on doing so, click the warning icon > Delete.
Other Utilities for Mac Optimization
iBoysoft Cleaner offers extra utilities to accelerate your Mac, including:
✅ Releasing more memory (RAM)
✅ Safely shredding personal useless files
✅ Rebuilding Spotlight Index
✅ Refreshing DNS cache
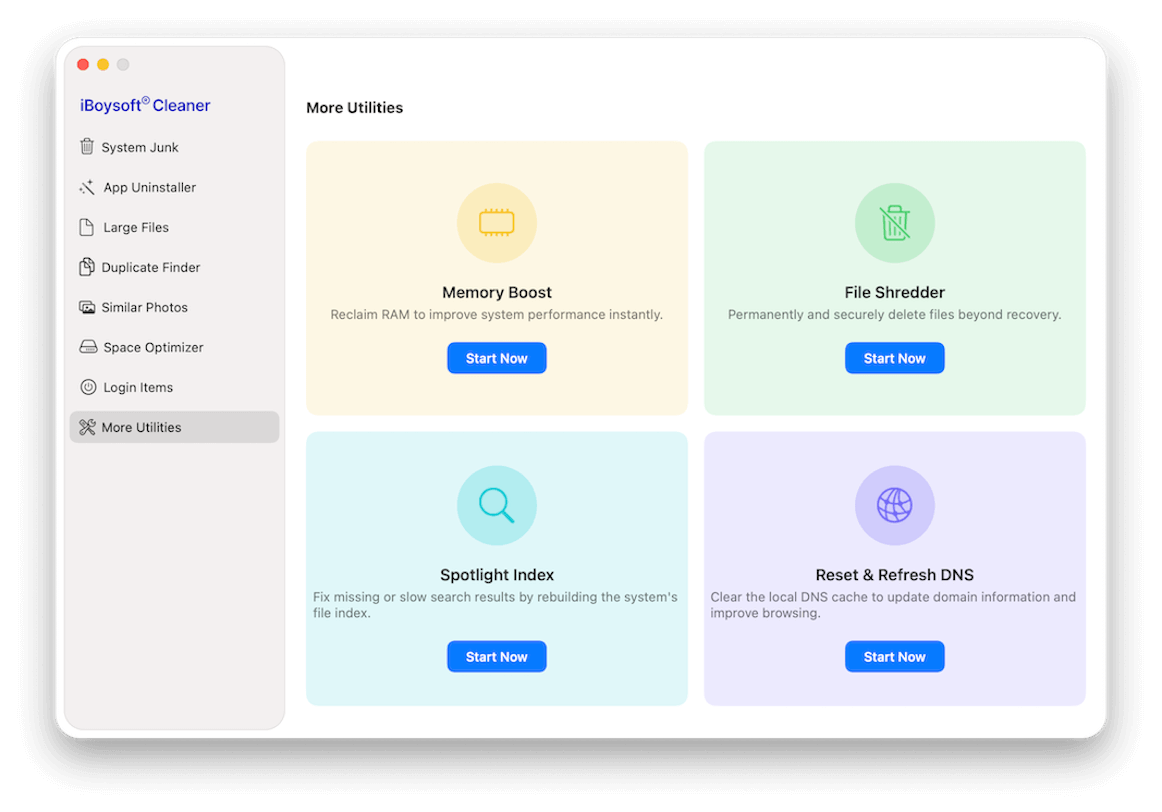
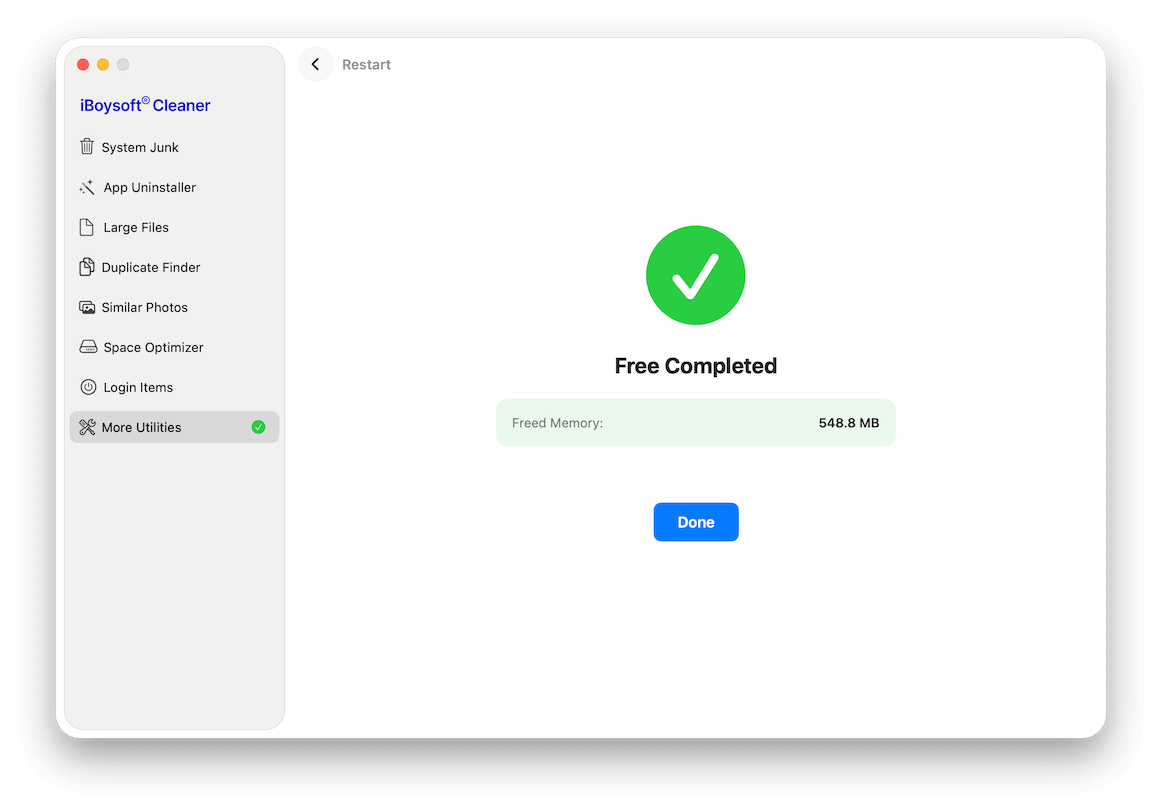
Boost Memory
Step 1: Select More Utilities.
Step 2: Click Start Now under Memory Boost.
Step 3: Click Memory Boost > Done.
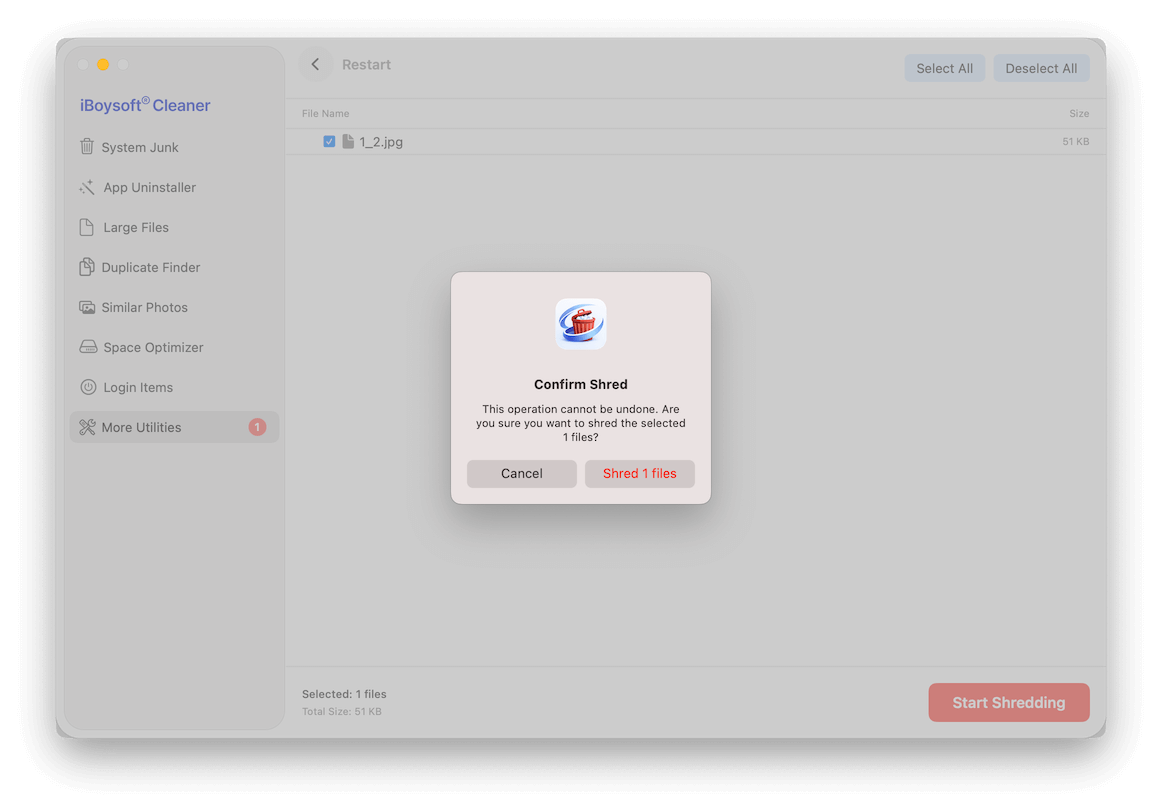
Shred Files
Note: Once you shred the target files, it is impossible to recover them. Ensure the files you want to shred are no longer useful for you.
Step 1: Select More Utilities.
Step 2: Click Start Now under File Shredder.
Step 3: Click Select Files and choose the files you want to shred.

Step 4: Click Start Shredding and confirm on the prompt.
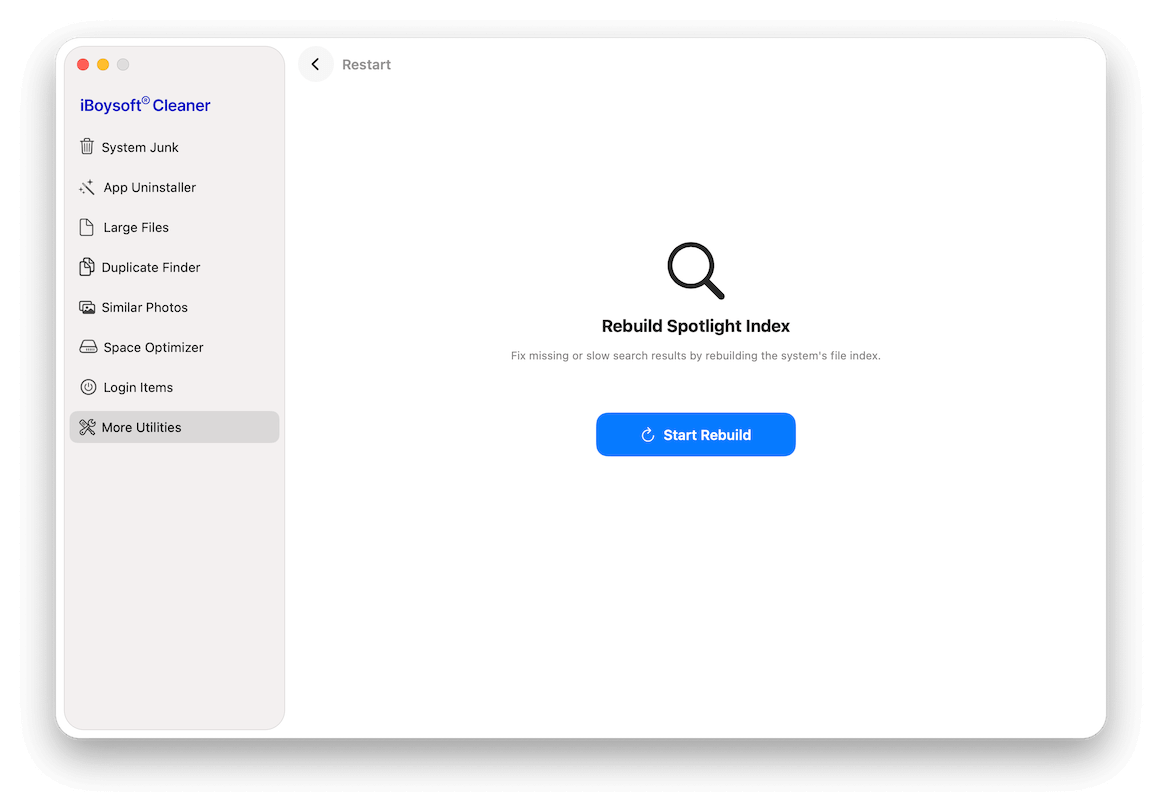
Re-Index Spotlight
Step 1: Select More Utilities.
Step 2: Click Start Now under Spotlight Index.
Step 3: Click Start Rebuild.
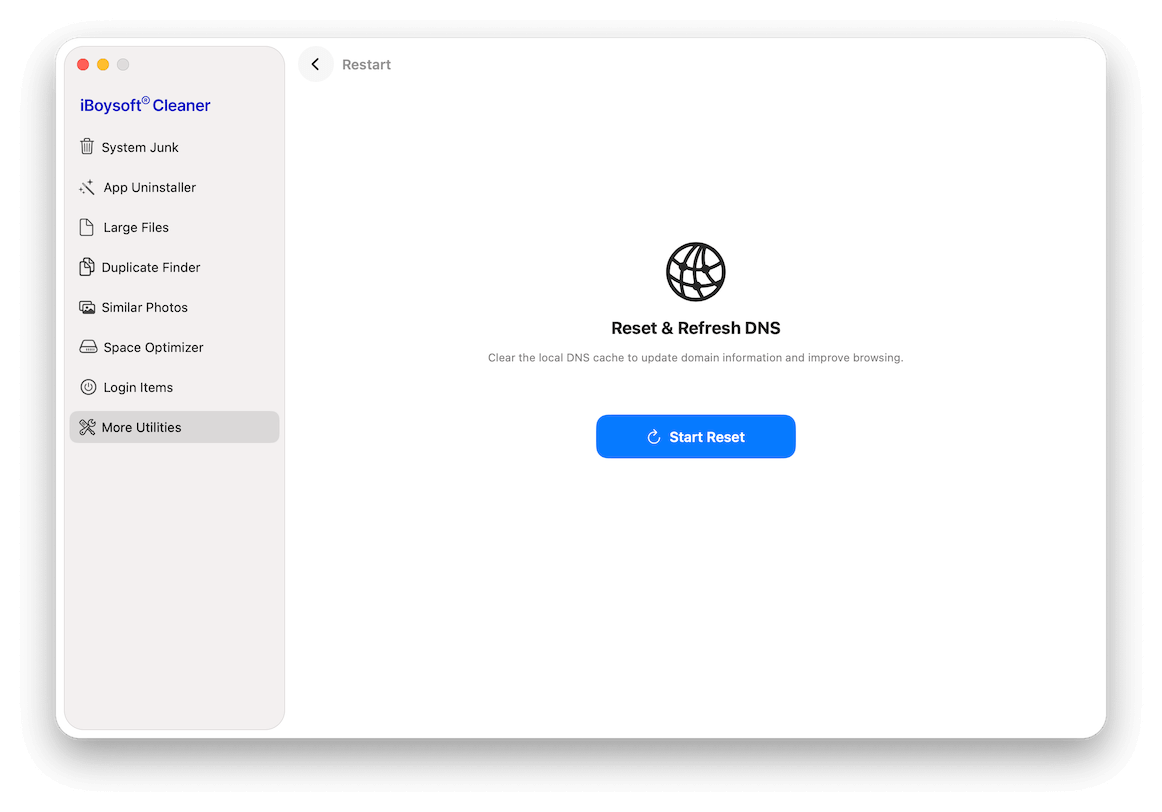
Reset & Refresh DNS
Step 1: Select More Utilities.
Step 2: Click Start Now under Reset & Refresh DNS.
Step 3: Click Start Reset.
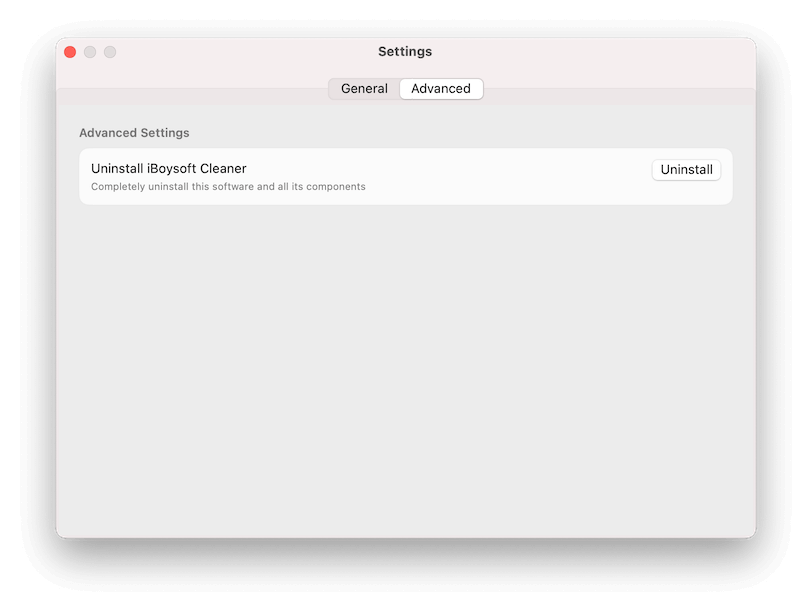
How to Uninstall iBoysoft Cleaner
You can completely delete iBoysoft Cleaner with its built-in uninstaller.
Step 1: Open iBoysoft Cleaner.
Step 2: Navigate to the menu bar, click iBoysoft Cleaner > Settings.
Step 3: Click Advanced > Uninstall.
FAQs
1. What should I do if iBoysoft Cleaner fails to work?
Restart iBoysoft Cleaner or restart your Mac computer to check it again. If it still doesn't work, please send your problem in details to [email protected] for professional analysis.
2. After Space Optimizer finishes analyzing my storage, I click the spinning icon next to a file in the results. Instead of showing an explanation, it displays "Unknown error 1001." Why?
The AI analysis feature requires a stable internet connection to work properly. Please check your connection and try again.
3. How to check if there's an update available for iBoysoft Cleaner?
To check the updates for this software, open iBoysoft Cleaner, click iBoysoft Cleaner on the menu bar > Settings > Check for Updates.
4. Should I pay for software updates after purchasing a subscription?
No, subscribed users enjoy free software updates.