If you're going to download Windows 11 to a USB drive for a fresh installation, starting up a PC that won't boot, reinstalling Windows 11, repairing an existing Windows installation, or installing Windows 11 onto a new PC, don't miss this guide.
It covers various ways for a Windows 11 bootable USB download, and detailed steps are offered.
Windows 11 bootable USB download
Note: Usually, downloading a Windows 11 ISO to a USB drive only saves the ISO file on the drive. It does not make the USB bootable.
If you want to download a Windows 11 bootable USB installer, you must use a dedicated tool, such as iBoysoft DiskGeeker for Windows, Media Creation Tool, or Rufus. These tools help write the ISO to the USB drive. In more detail, this process formats the USB and configures it so a PC can boot from it and install Windows 11.
Use iBoysoft DiskGeeker for Windows
iBoysoft DiskGeeker for Windows is a disk manager that lets you download a Windows 11 bootable USB installer with a few clicks. The prerequisite is to prepare a USB drive.
It is often praised as an easy-to-use Windows bootable USB installer downloader that automatically creates a bootable USB installer after you select your desired Windows version.
Just follow these steps to quickly download a Windows 11 bootable USB installer with iBoysoft DiskGeeker for Windows:
- Connect an erased USB drive with at least 32 GB to your PC.
- Install and open iBoysoft DiskGeeker for Windows.
- In the Download and create boot disk field, click "Windows" > "Create Windows OS USB Installer."

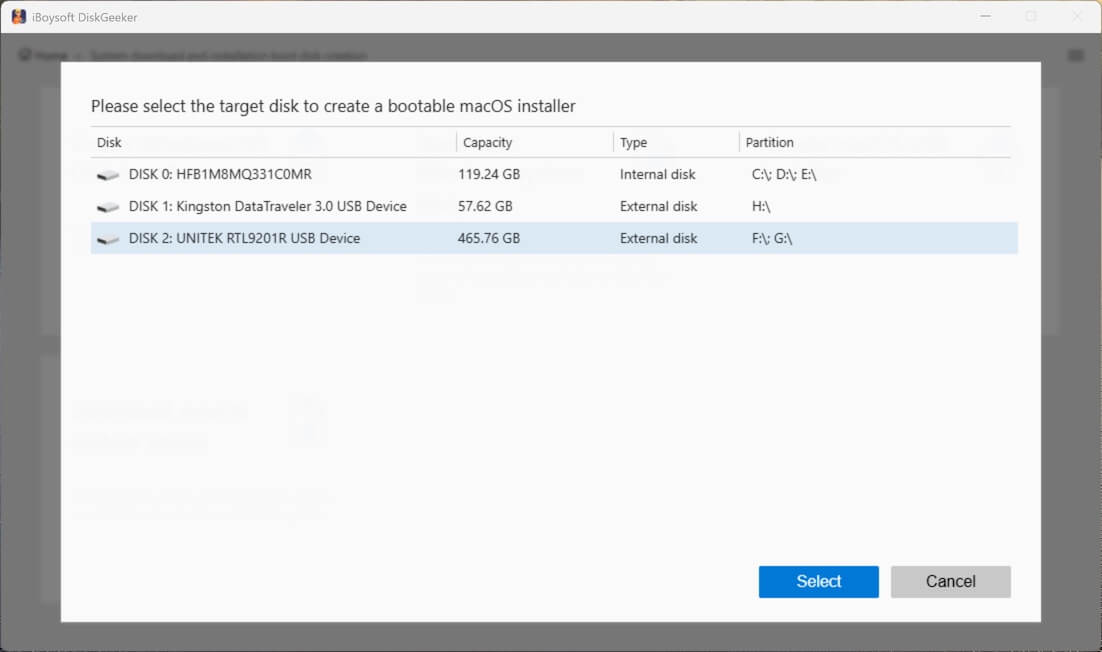
- Select the USB drive as the target disk.
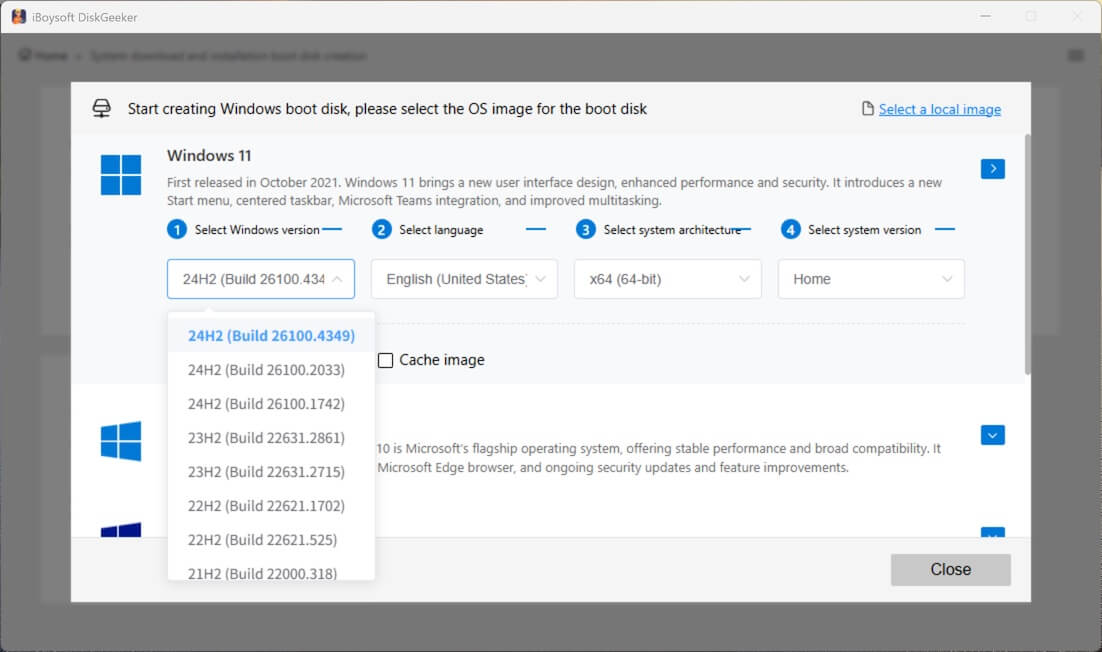
- Click "Windows 11."
- Select the desired update, language, architecture (x64 by default), and edition for Windows 11.
- Click "Start creating boot disk" > "Yes."
Wait for a moment, you'll get a Windows 11 bootable USB installer.
Share this professional tool for Windows 11 bootable USB download with others.
Use Microsoft's Media Creation Tool
Downloading a Windows 11 bootable USB drive is actually to create a bootable USB installer. Microsoft offers you the Media Creation Tool to do this job.
You can follow the steps below to create a Windows 11 bootable USB installer with the Media Creation Tool.
- Visit the Windows 11 download page.
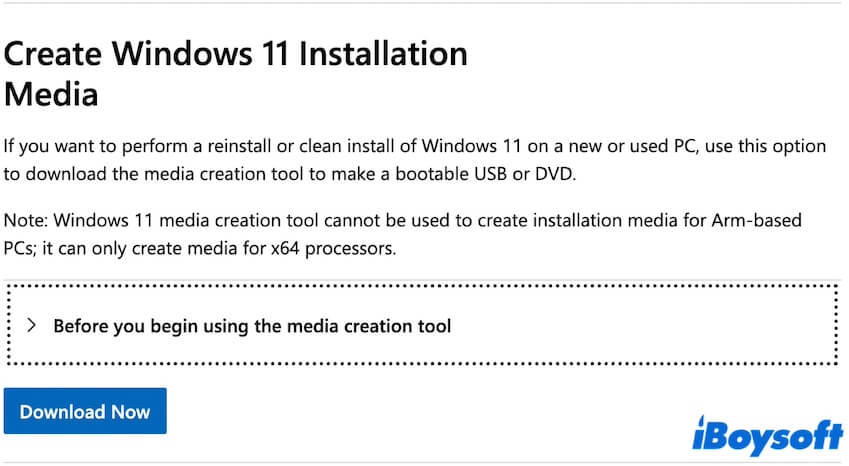
- Focus on the Create Windows 11 Installation Media section.
- Expand "Before you begin using the media creation tool" to learn the notifications.
There are many notes you should pay attention to. Please read them carefully. - Click "Download Now" to download the media creation tool.
- Wait for the tool to be downloaded.
- Right-click the MediaCreationTool.exe file.
- Select "Run as administrator."
- On the prompt, click "Accept" to agree to the license terms.
- Choose "Create installation media for another PC" > "Next."
- Select your desired language, edition, and architecture (64-bit) for Windows 11.
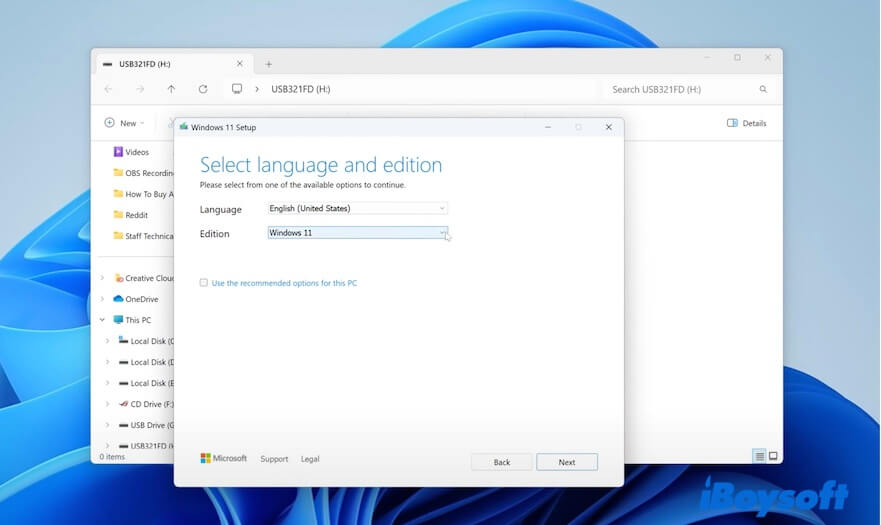
- Select "USB flash drive" as your desired media > "Next."
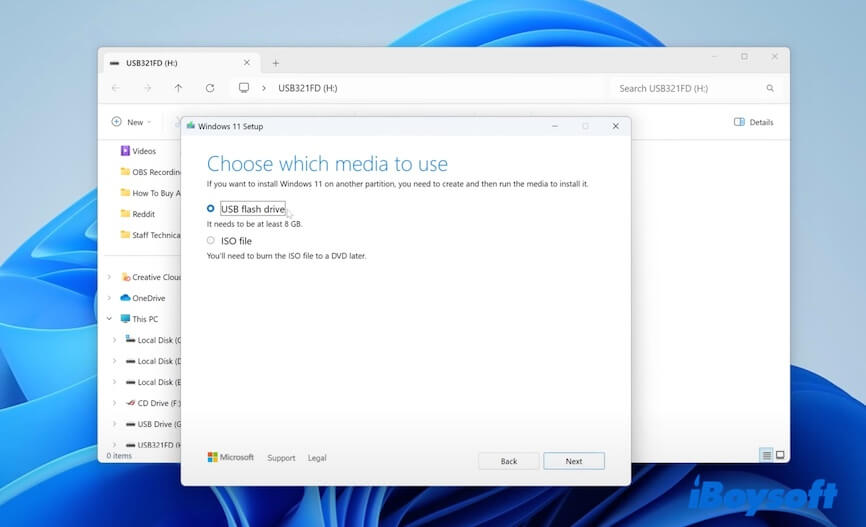
- Plug your empty USB drive with at least 8 GB of free space.
(We suggest the drive has 32 GB or more to ensure the later performance is smooth.) - Select the USB drive from the list.
 "
" - Click "Next."
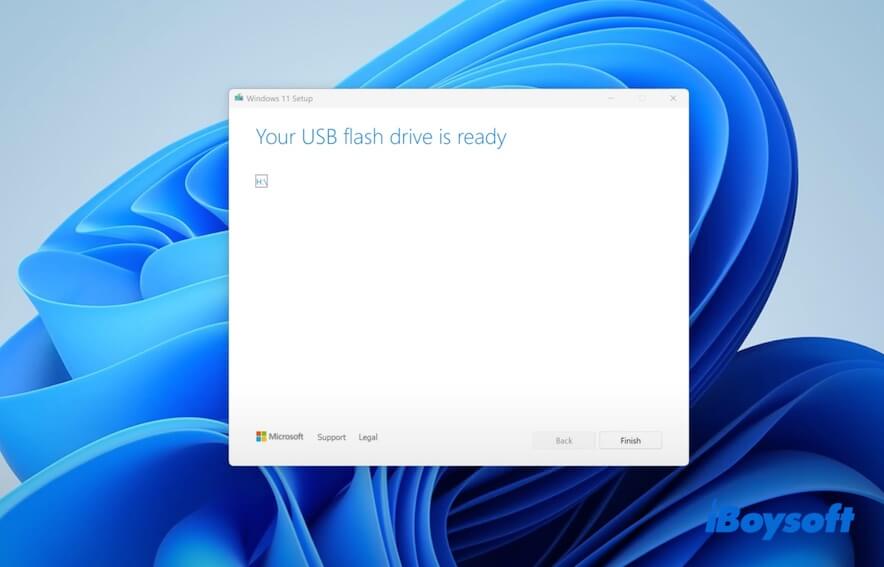
Now, this tool will download Windows 11 ISO, format the USB drive, and copy all the necessary boot files to make a bootable Windows 11 USB installer.
Use Rufus
Rufus is a free utility for creating a Windows bootable USB installer. You can also use it to download the Windows 11 ISO file and make the bootable USB installer.
Here's how:
- Download a Windows 11 ISO file.
- Connect an empty USB drive (8 GB or larger) to your PC.
- Visit the official Rufus website.
- Download Rufus.
- Run rufus.exe.
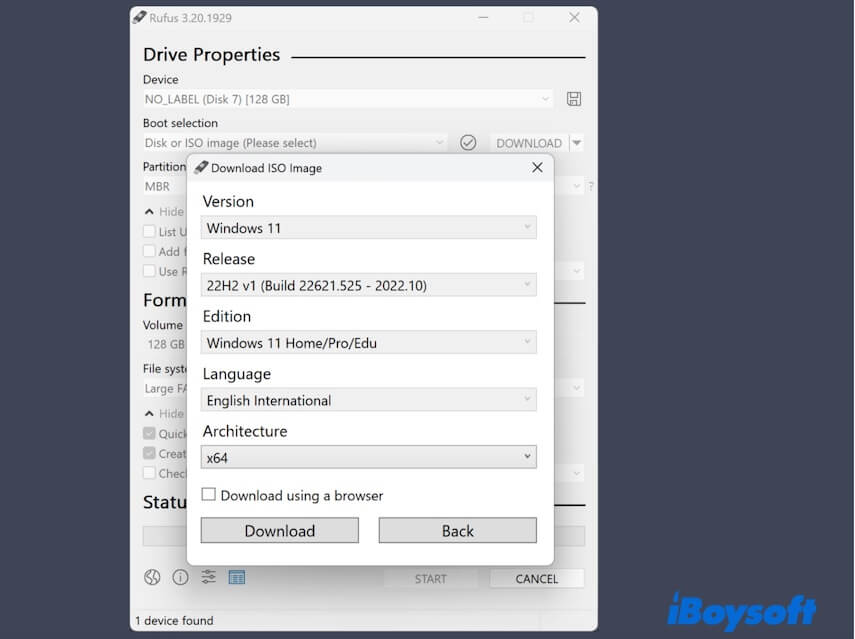
- In the Boot selection dropdown, select "Download" to download the Windows 11 ISO file.
- Connect your USB drive.
- Configure the settings:
Device: Your USB drive
Boot selection: Disk or ISO image
ISO Image: Select Windows 11 ISO
Partition scheme: GPT
Target system: UEFI (non CSM)
File system: NTFS
Cluster size: Default - Click "START."
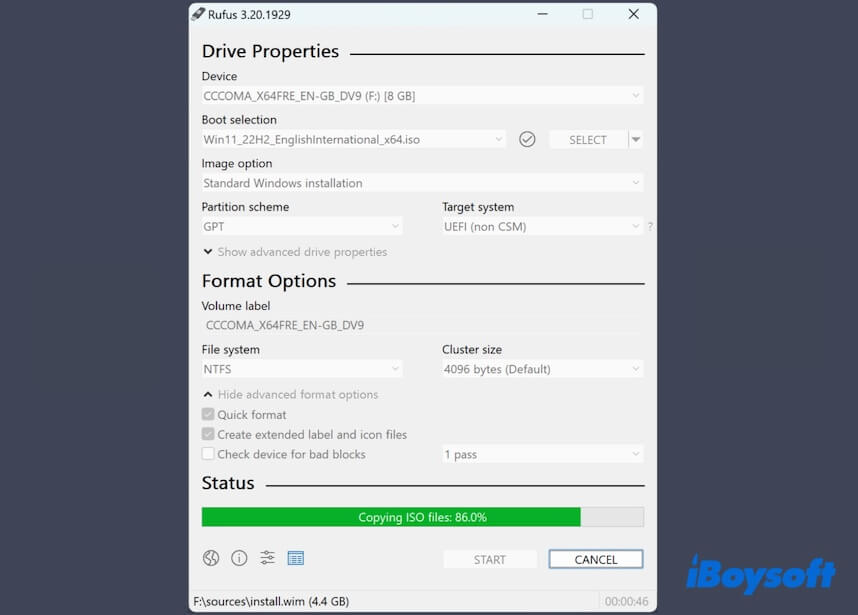
Rufus will begin creating a Windows 11 bootable USB installer.
Share these tools to help others download bootable USB Windows 11 23H2, 22H2, 22H1, etc.
Install Windows 11 with the bootable USB installer
Whether you download a Windows 11 bootable USB installer from iBoysoft DiskGeeker for Windows, the Media Creation Tool, or Rufus, you can follow this way to install Windows 11 with it. Before starting, we suggest you back up data on the target computer in case of data loss.
- Insert the Windows 11 bootable USB installer into the PC.
- Turn on or restart the PC and immediately press and hold the boot menu key.
- Common boot menu keys: F12, F9, Esc, F8, Del.
- Select the USB drive (often labeled UEFI: USB name).
If you don't see the USB drive, you should enter the BIOS and enable UEFI boot, disable fast boot, and temporarily disable secure boot.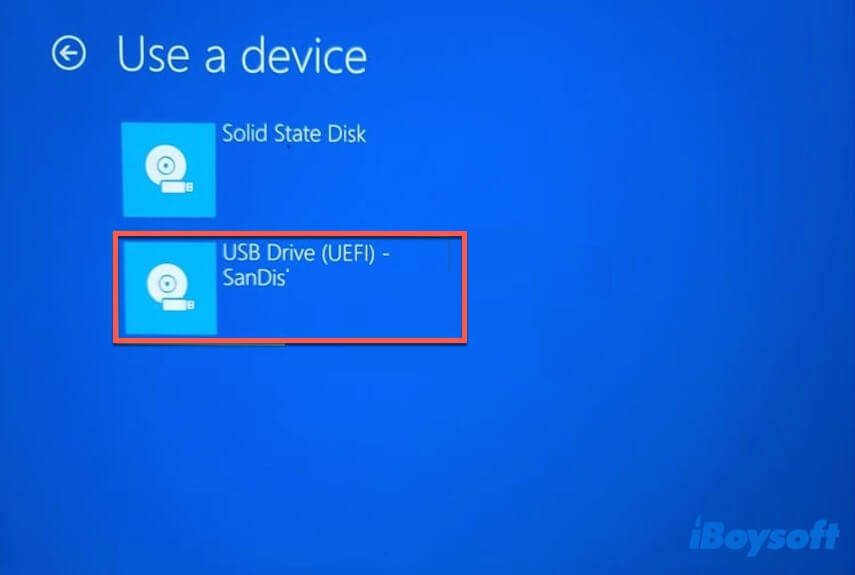
- On the setup screen, select language, time & currency format, and keyboard.
- Click "Next."
- Click "Install now."
- Enter the product key if you have.
- If not, skip this step. Next, you should choose an edition.
- Click "Next."
- Accept the license terms.
- Select "Custom: Install Windows only (advanced)."
- Select "Unallocated space."
- Click "Next."
- Wait for Windows 11 to be installed on the PC.
If this post about the Windows 11 bootable USB download helps you a lot, share it with more people.