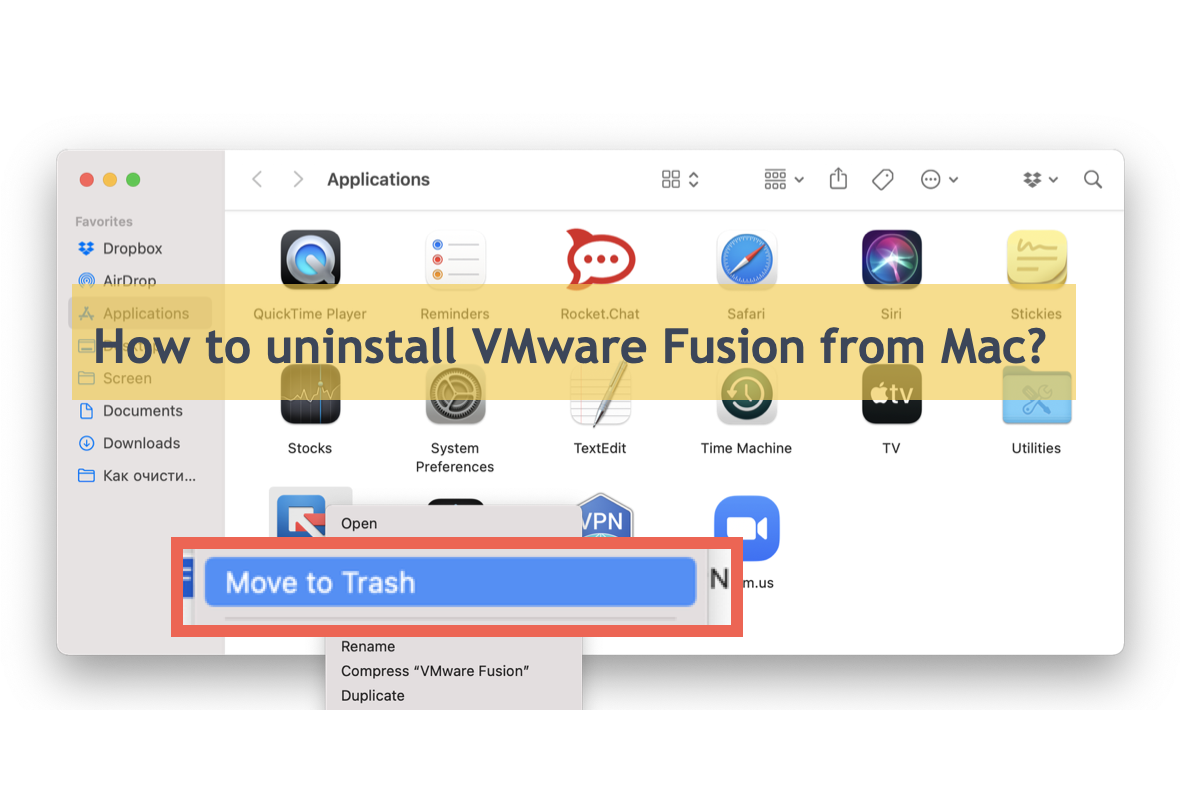
Generally, different operating systems are incompatible with each other, like Windows and macOS, so the specially designed apps or programs are exclusive to the target OS only. However, the release of virtual machines makes it possible to run the proprietary software on an incompatible operating system by building a virtual environment.
On top of that, you can even run some unmaintained operating systems on your machine as long as you successfully install them on the virtual platform. These prominent virtual machines include VMware Fusion, VMware Horizon, VirtualBox, Parallel Desktops, etc.
Yet you may want to uninstall the virtual machines due to certain reasons, and this post meets your demands properly by guiding you to uninstall VMware Fusion from your Mac, which also works fine on removing other virtual machines. Let's get started then!
Why uninstall VMware Fusion from your Mac completely?
The virtual machine perfectly mends the gap of incompatibility in different operating systems, yet with time passing by, its user files and caches accumulate heavily, leaving less available hard drive space for your computer to run and work. Consequently, your Mac gets slow and sluggish, even gets stuck sometimes.
To free up more available Macintosh HD space, it's significant to delete VMware Fusion from Mac once you find it unnecessary anymore.
Besides, a simple select-and-drag in removing VMware Fusion is less recommended as it only takes the app away but leaves all associated files on your Mac still. These remnant files scattered on your computer always attract you to redownload this software, what's worse, having these unhelpful files on your hard drive definitely influences Mac performance badly.
Therefore, it is highly recommended to delete VMware Fusion from your Mac completely for much more hard drive space and smoother performance!
If you find this post informative, please share it with more people!
How to uninstall VMware Fusion from your Mac completely?
This post offers two ways to remove VMware Fusion, VMware Horizon, VirtualBox, Parallel Desktop, etc. from the Mac computer, one is using the professional app uninstaller and the other one is removing the app and its related files manually. You can choose one as you like:
Method 1: Uninstall VMware Fusion from Mac by using a professional app uninstaller
The professional app uninstaller for Mac we introduce is iBoysoft MagicMenu.This professional utility outweighs other uninstallers and workarounds for its one-in-all Uninstall feature.
Specifically, it gathers all associated files of an app before the ultimate uninstall, including user files, caches, preferences, install packages, extensions, root files, junks, etc. Once iBoysoft MagicMenu finishes the file gathering, you can choose what files to delete along with the uninstall once and for all, which greatly saves time and effort in searching for the files scattered in different folders and directories.
Here we'll show you how to uninstall VMware Fusion from your Mac completely:
Step 1: Click the Free Download button below to install iBoysoft MagicMenu on your Mac.
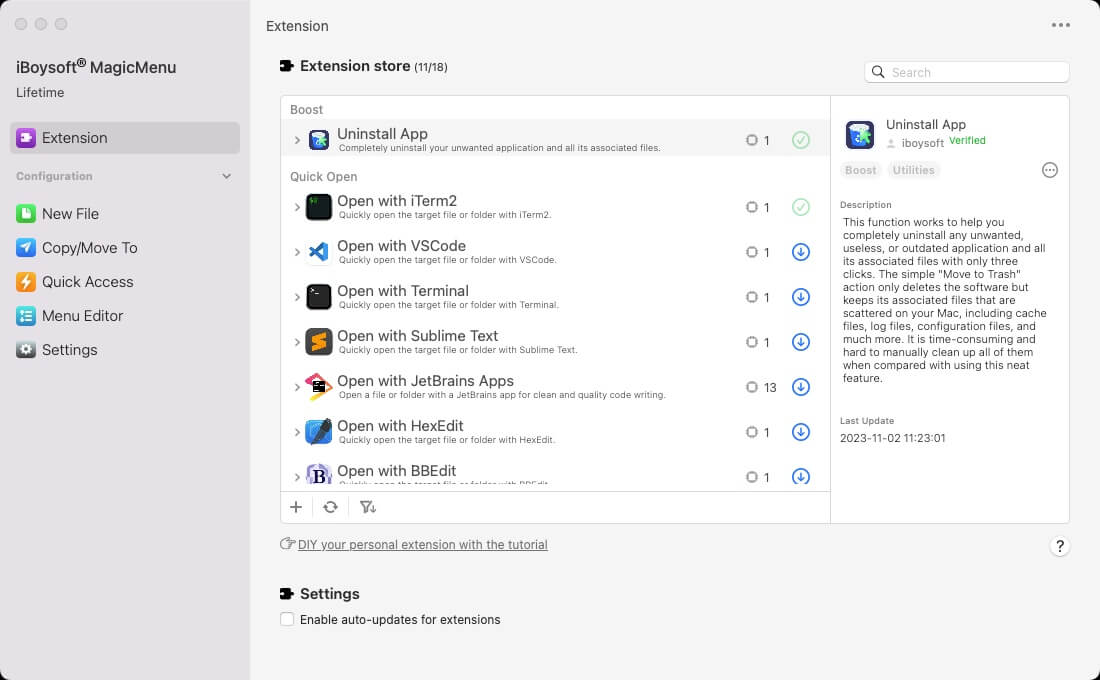
Step 2: Launch this handy app uninstaller and search the Uninstall extension in its main window to download it. Note that iBoysoft MagicMenu only takes a little space and so does the Uninstall function, which nearly does not influence your Mac.
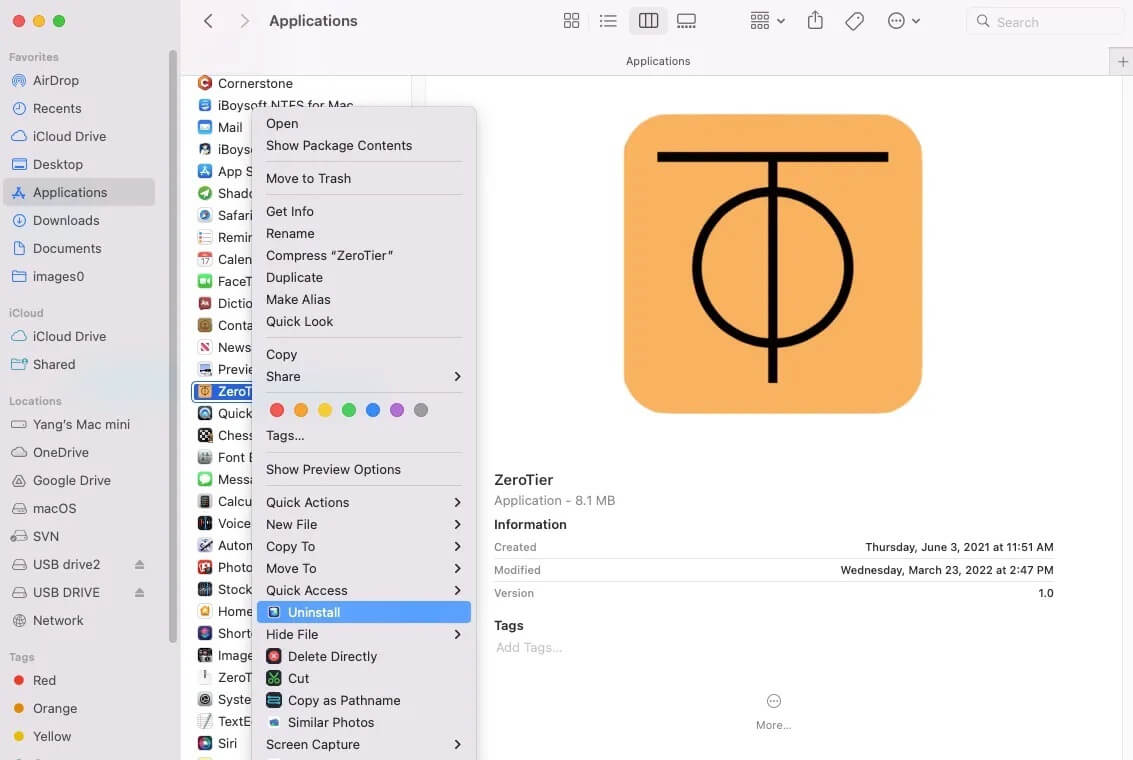
Step 3: Go to Finder > Applications, locate VMware Fusion, then right-click it to select Uninstall from the dropdown menu. (This post takes ZeroTier as an example and the steps to remove VMware Fusion are the same.)
Step 4: Wait for this professional app remover to gather all associated files of the will-be-uninstalled app. Once it finishes, check the useless files to let them be removed along with the app.
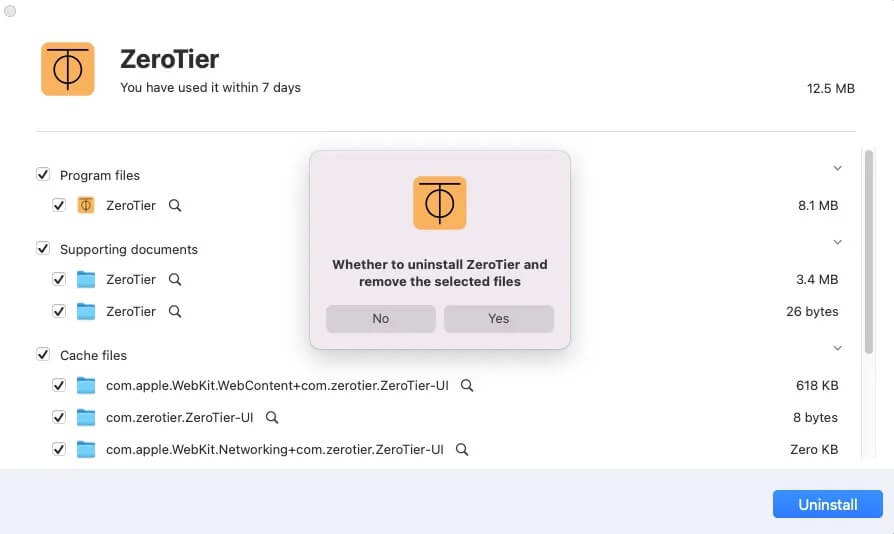
Step 5: Click Uninstall to confirm your actions and initiate the uninstall progress. This progress may take up to several seconds.
You see that? You have completed the VMware Fusion uninstall and associated file removal simultaneously with a few clicks, which is much simpler and easier than the native-built installer on Mac!
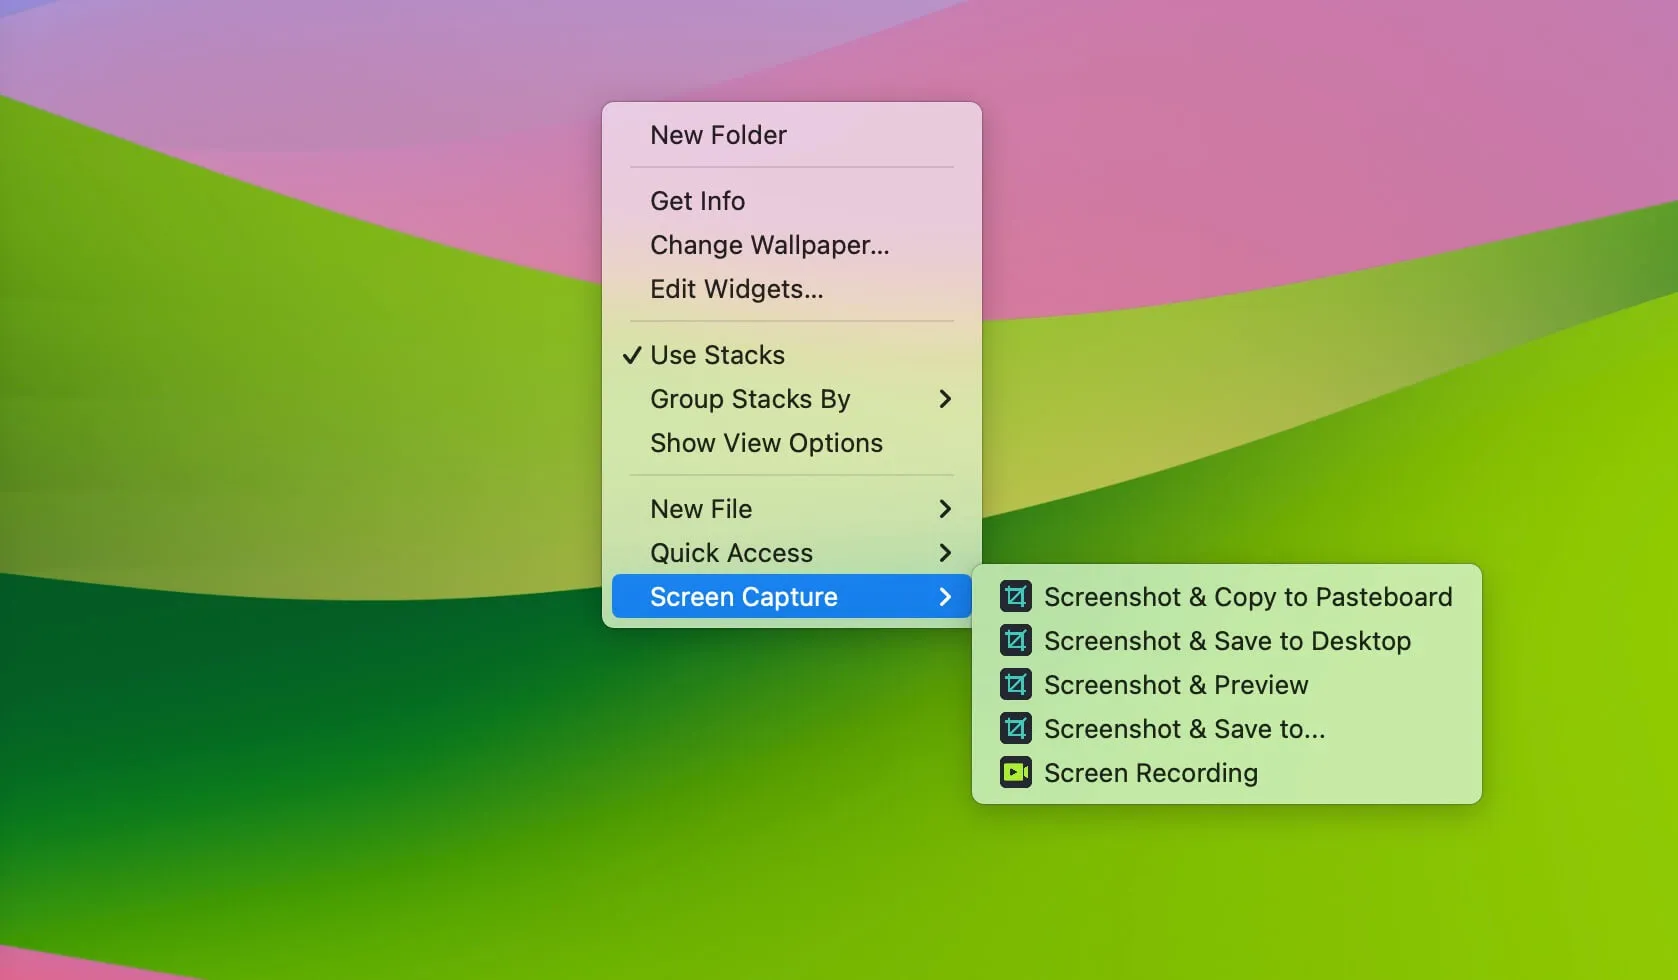
Tips: Apart from its uninstall function, iBoysoft MagicMenu is an excellent Mac right-click enhancer that enables you to quickly access items, cut and paste files, create new files, move/copy to, compress files, identify duplicates, convert images, analyze space, record screen, capture screen, and more with just a few clicks. After using this helpful toolkit on your Mac, we're sure you'll be happy with it!
Method 2: Uninstall VMware Fusion from Mac by manually dragging it to the Mac Trash
If you insist on removing VMware Fusion from your Mac by manual deletion, you can follow this section. Note that a simple app deletion is not enough to remove it from your machine, you have to remove its associated files stored in different folders or directories as well, then VMware Fusion can be removed from your device totally!
Step 1: Quit VMware Fusion if it is running.
Step 2: Go to Finder > Applications, and locate VMware Fusion there, then drag it to the Mac Trash on the Mac Dock.
Step 3: Next, click the Finder icon in the Mac Dock.
Step 4: Click the Go menu and choose Go to Folder.
Step 5: In the text box, type or paste each of the paths below followed by Return one by one. Look for files or folders with VMWare in their name at each location and drag them to the Trash.
- ~/Library/Logs
- ~/Library/Preferences
- ~/Library/Saved Application State
- /Library/Application Support
- /Library/Preferences
Step 6: Empty the Trash. Then VMware Fusion is removed completely from the Mac!
Kindly share this post with more people to let them know how to remove VMware Fusion from Mac effectively!
Final words
VMware Fusion is an excellent virtual machine that allows you to run Windows on a Mac device as well as other apps that are incompatible with Mac, yet it's necessary to remove it from a Mac when unneeded for you.
If you're looking for a tutorial, this post is the very guide.
