
Time Machine is a powerful backup solution on macOS, offering users a seamless way to restore their systems or recover lost files. However, here you may encounter the issue showing that Time Machine detected that your backup cannot be reliably restored. How frustrating!
I got a message that "Time Machine detected that my backups can not be reliably restored". It wants me to erase the backup history and start over. Can I ignore it and still find my backup data? -discussion.apple.com
I set a Synology drive to backup my files with Time Machine, but after about two weeks, it got stuck on the message Time Machine backups cannot be reliably restored. Is there any way to repair this issue? -reddit.com
This warning indicates that something has gone wrong with your backup drive or snapshots, and relying on the affected backups could lead to data loss. Don't worry, we will guide you through how to deal with it without losing any data.
The prior step: Recover your data first
When Time Machine shows the error "your backups cannot be restored", it means the integrity of your backup files is in question, and continuing without securing your data could result in permanent data loss.
Sure, you can recover the data of the Time Machine backup drive in other ways like iCloud, Dropbox, and OneDrive...But what if there is no way to do so? Recovering the data beforehand is essential because attempting to repair or erase Time Machine disk could unintentionally overwrite or destroy valuable files.
To safely get back all your data, we recommend using a reliable tool, iBoysoft Data Recovery for Mac. It can scan and recover files from corrupted or inaccessible Time Machine backups, even the internal drives and the external drives.
Let's recover data from the problematic drive with iBoysoft Data Recovery for Mac:
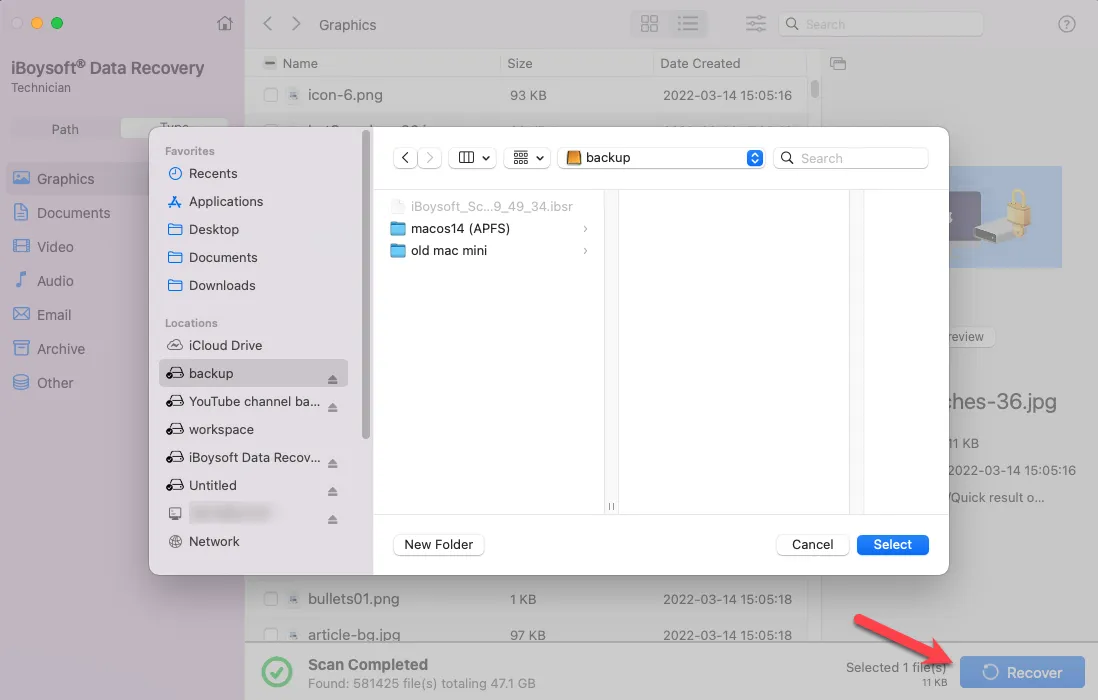
- Free download, install, and open iBoysoft Data Recovery for Mac.
- Select your Time Machine backup drive under Storage Device on the left, then click Search for Lost Data.
- After scanning, preview the files in the results.
- Select your needed files or select all and click Recover at the bottom to save them to a different place.
By recovering your data early, you not only protect your files but also gain peace of mind, allowing you to focus on resolving the error without the fear of losing critical content. Then you can move forward with fixing the issue Time Machine must erase your existing backup history.
How to fix Time Machine backups cannot be restored
After recovering and backing up, let's fix the issue with the solutions one by one.
Fix 1: Try a different restore point
Sometimes, only specific snapshots are corrupted. Instead of restoring from the most recent backup, try choosing an earlier date in Time Machine.
- Finder > Applications > Time Machine.
- Choose the path and navigate to an earlier backup point with the timeline.
- Attempt a restore from that snapshot.
If successful, this confirms the issue lies with a particular backup rather than the entire disk.
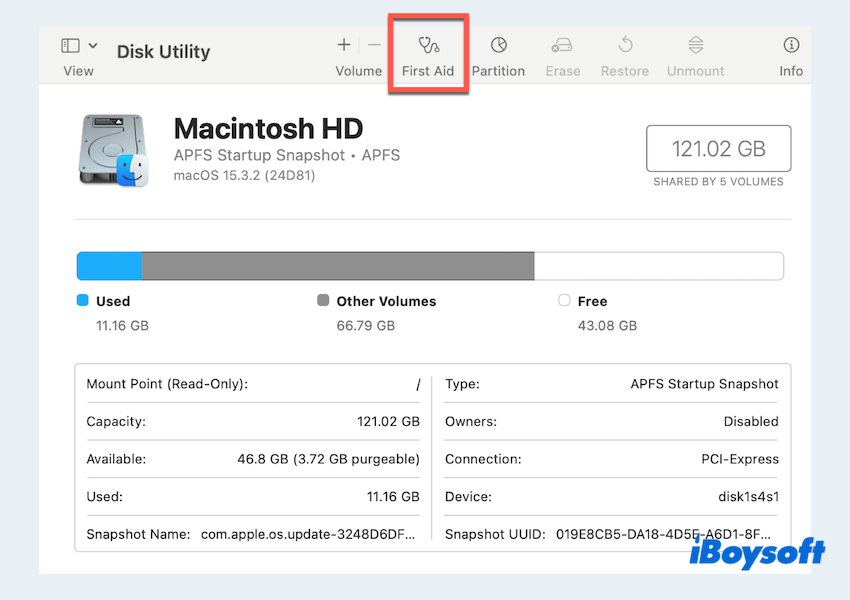
Fix 2: Check and repair the backup disk
Corruption on the Time Machine backup disk can trigger reliability issues. Let's use Disk Utility to verify and repair the disk.
- Finder > Applications > Utilities > Disk Utility.
- Select your Time Machine disk on the right.
- Click First Aid > Run to scan and repair errors.
Fix 3: Delete corrupted backup snapshots
macOS may have created local snapshots that are now corrupted, which may cause Time Machine backups cannot be reliably restored. These can be safely deleted with Terminal.
- Finder > Applications > Utilities > Terminal.
- Type tmutil listlocalsnapshots / and press the Enter key.

- Type sudo tmutil deletelocalsnapshots [snapshot_date].
(This will delete each snapshot.)
This helps clear potential corruption and free up system space on your Mac. Or you can learn how to fix Time Machine not delete old backups. If you resolve this issue here, please share our post.
Fix 4: Verify backup integrity
You can use the Terminal commands can check your backup's health on Mac.
- Finder > Applications > Utilities > Terminal.
- Type tmutil verifychecksums /Volumes/YourBackupDrive/Backups.backupdb and press the Enter key.
(This verifies file integrity within your backups.)
If errors are reported, it indicates the need to reset Time Machine or start fresh.
Fix 5: Reset Time Machine preferences
Corrupted configuration files can prevent reliable backup restoration. Reset Time Machine preferences by following the steps:
- Finder > Go > Go to Folder.
- Type ~/Library/Preferences/ and press the Enter key.
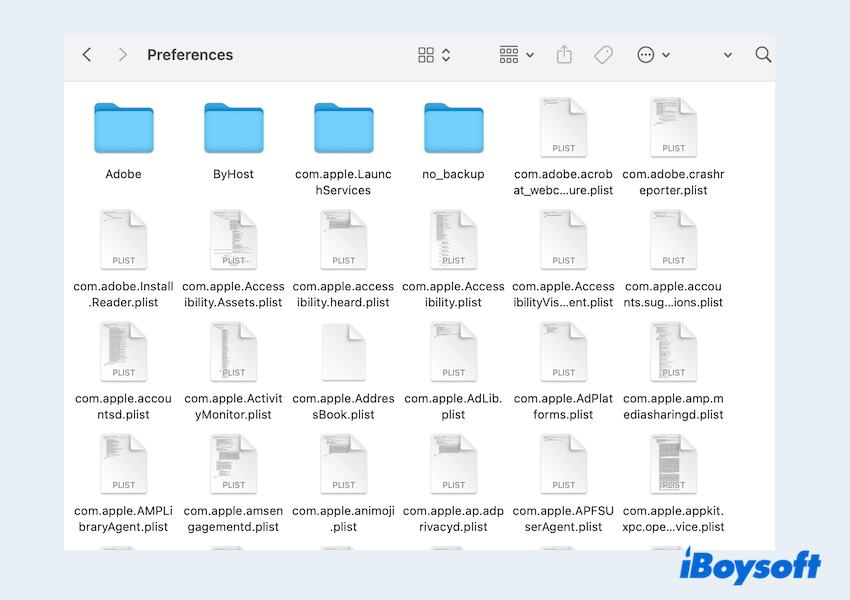
- Locate and delete the following files:
com.apple.TimeMachine.plist
com.apple.timemachine.supported.plist - Open Terminal, and type the commands one by one:
sudo tmutil resetlocalsnapshots
sudo tmutil disable
sudo tmutil enable - Restart your Mac and reconfigure Time Machine.
Fix 6: Start a fresh backup
If none of the above solutions resolve the issue, the final step is to erase the backup disk and create a new backup. Remember to do a recovery and backup before this step.
- Finder > Applications > Utilities > Disk Utility.
- Select your backup drive on the right, then click Erase on the top.
- Choose APFS or Mac OS Extended (Journaled) format.
- Set up Time Machine again from Apple menu > System Settings > General > Time Machine.
Although this deleted your old backups, it ensures future backups are clean and reliable. Why not share these useful fixes?
Final thoughts
The "Time Machine detected that your backups cannot be reliably restored" error can be alarming, but it's not the end of the road. By recovering your data with a trusted tool like iBoysoft Data Recovery for Mac and following the troubleshooting steps above, you can restore your Mac's backup functionality and avoid data loss.
Don't forget to monitor your backups regularly and verify their integrity to prevent similar issues in the future.