
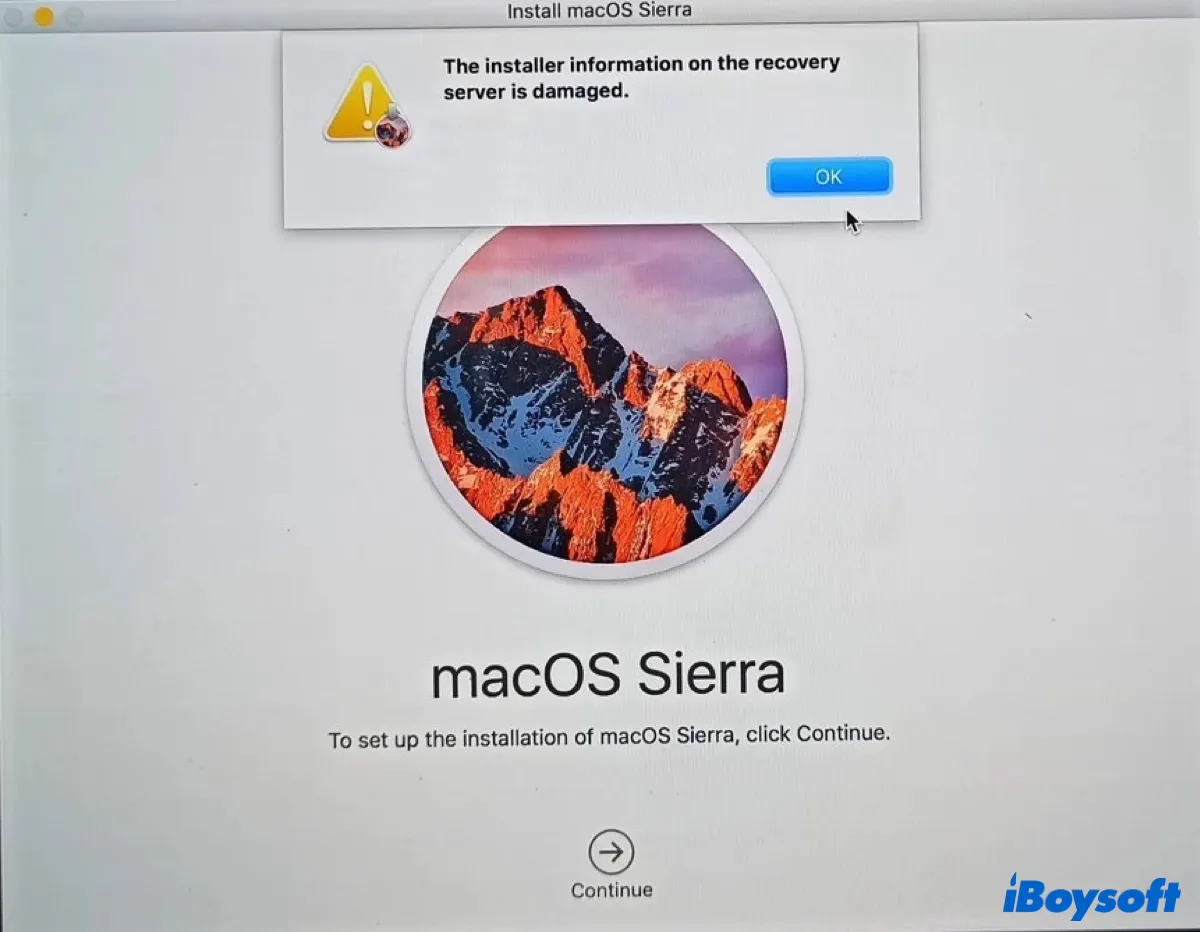
"The installer information on the recovery server is damaged." is an error you may encounter when reinstalling macOS in Recovery Mode, especially an old release like macOS Sierra or macOS High Sierra.
Before the error appears, you likely have seen a message that reads "To download and restore macOS, your computer's eligibility will be verified with Apple" and selected Continue.
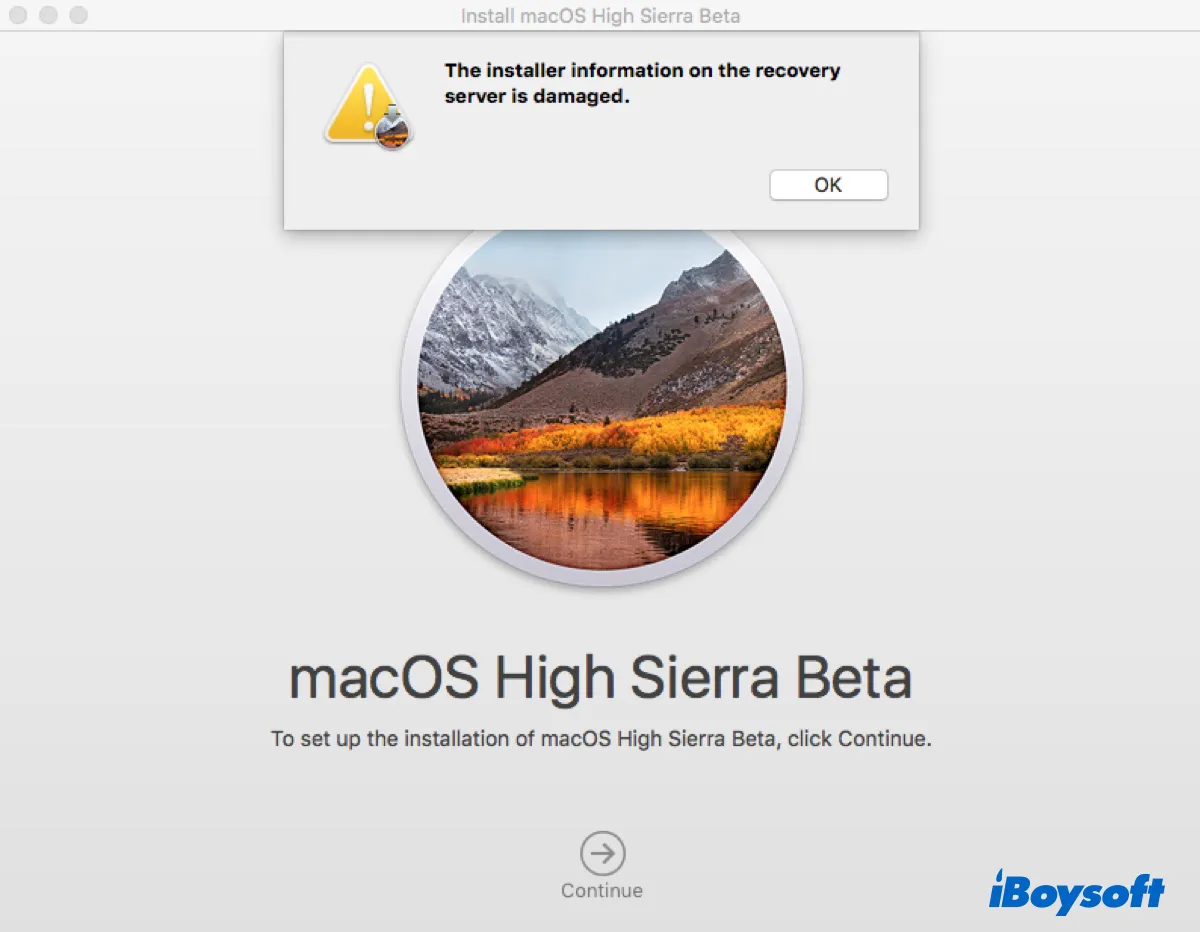
Besides, it may also occur when installing macOS on a regular boot, such as a macOS beta program after launching the installer.
Fortunately, it usually doesn't indicate any serious underlying problems on your Mac and can be quickly fixed with the solutions in this article. Let's take a look at the reasons behind it first.
Why does it say 'The installer information on the recovery server is damaged.'?
There could be different causes why the macOS installation fails with the error, "The installer information on the recovery server is damaged." The most common ones include the following:
- The macOS you wish to install has expired certificates.
- Your startup disk's format is incompatible with the macOS you're trying to install.
- You're installing a beta release without enrolling your Mac with the macOS Public/Developer Beta Access Utility first.
Although you can't pinpoint the culprit yet, you can try the solutions below to resolve the issue.
How to fix 'The installer information on the recovery server is damaged.'?
Here are the proven solutions users have used to fix the error reading "The installer information on the recovery server is damaged." when installing or reinstalling macOS. You can try them one by one until the installation completes.
- Fix 1: Reinstall macOS in Internet Recovery
- Fix 2: Change the date and time in Terminal
- Fix 3: Create a macOS bootable installer
- Fix 4: Erase your Mac
- Fix 5: Install the macOS Public Beta Access Utility
Reinstall macOS in Internet Recovery
The most effective way to eliminate "The installer information on the recovery server is damaged." is to reinstall macOS in Internet Recovery Mode.
There are three keyboard combinations you can use to boot into Recovery Mode on an Intel-based Mac:
- Command + R: Start up your Mac from the local macOS Recovery System and reinstall the latest macOS version that was installed on your Mac.
- Option + Command + R: Start up your Mac from Recovery Mode over the internet and reinstall macOS and upgrade it to the newest version compatible with your Mac.
- Shift + Option + Command + R: Start up your Mac from Recovery Mode over the internet and reinstall the macOS that came with your Mac or the closet version that's still available.
Most cases regarding the error happened in the Local Recovery Mode booted through the Command + R keys. To fix it, you need to ensure your Mac has a strong connection to the internet and is plugged in, then follow the steps below.
- Click the Apple menu > Shut down to turn off your Mac.
- Tap the power button, then immediately press and hold Option + Command + R or Shift + Option + Command + R.
- Release the keys when you see a spinning globe.

- Select an administrator user and enter the password if required.
- Choose a WiFi network if you're not using an ethernet connection. (Internet Recovery needs an internet connection to load the recovery tools from Apple's servers.)
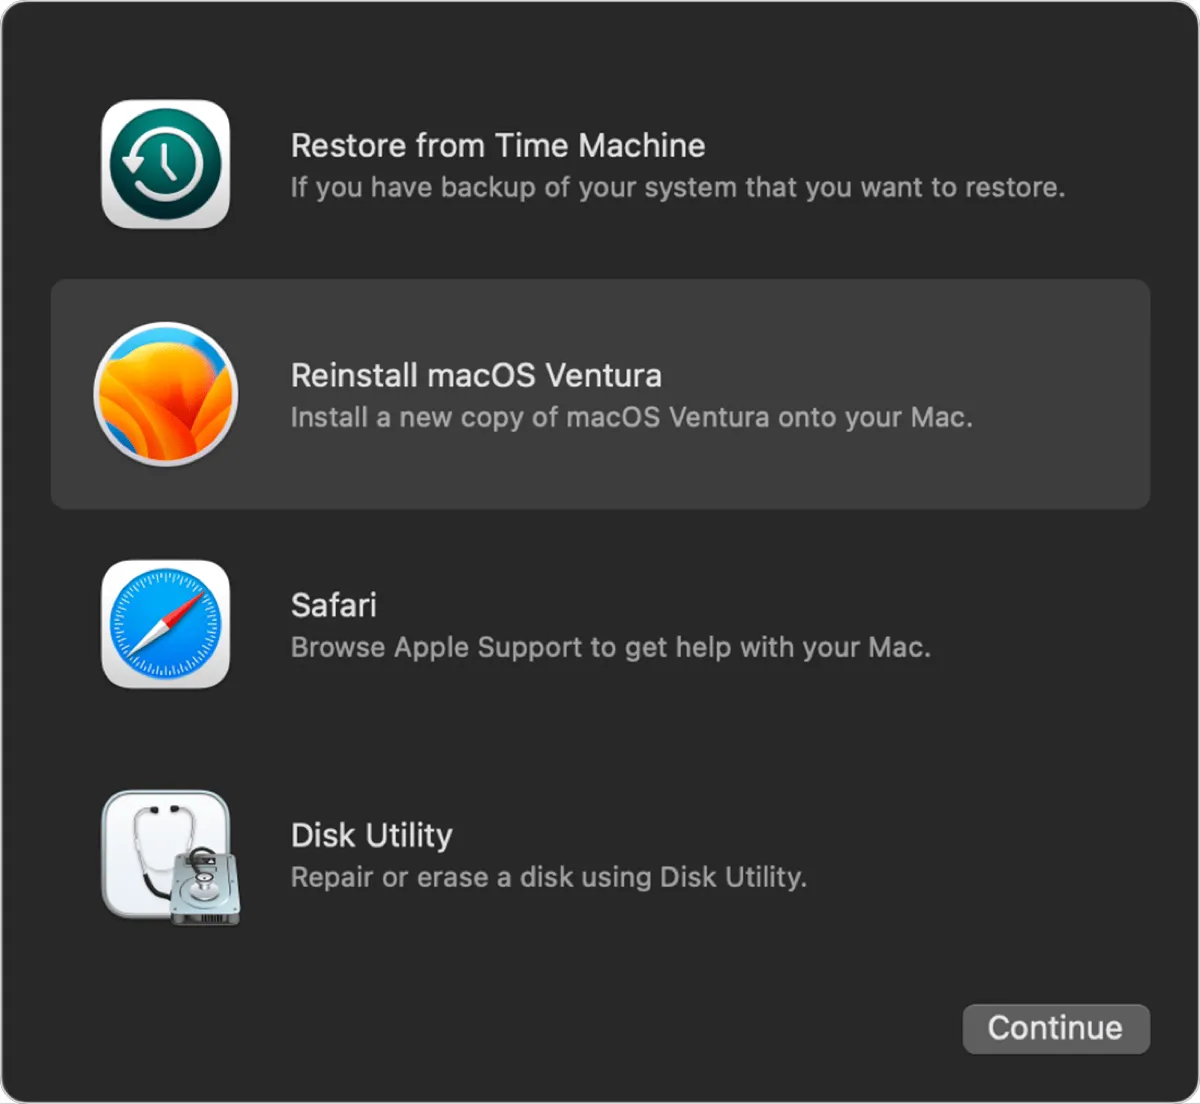
- Click "Reinstall macOS (version)" > Continue.
- Click Continue and Agree twice to agree to the terms.
- Select your startup disk (usually named Macintosh HD) and click Install.
- Follow the onscreen instruction to set up your Mac. (If you want to sell or give away your Mac, you can press Command + Q to cancel the installation so the new user can configure it as he or she likes.)
Note: If you're installing macOS on a notebook Mac, it's best to use the built-in keyboard to enter Internet Recovery, as the keystroke may not be registered on external keyboards.
If you follow the steps carefully, you should now have installed the operating system. Suppose the error recurs or the installation fails with other errors, continue with the next fix.
Change the date and time in Terminal
Chances are that the certificate of the macOS you want to install has expired, yet Apple hasn't updated it on their recovery server with a valid certificate. Nevertheless, you can bypass the issue by setting the date and time on your Mac to a date that's previous to the expiry date of the certificates.
It's preferable to choose a date that's a few months later than the release date of the macOS that was lastly installed on your Mac. For instance, to install macOS Sierra, which is available to the public on September 20, 2016, you can change it to October 20, 2016.
Since WiFi will likely reset the date and time back to today, it's advisable to turn off your WiFi and connect to an ethernet connection. If you have only access to WiFi, try the next solution. If you have switched to a cable connection, take the steps below to resolve "The installer information on the recovery server is damaged." in Recovery Mode.
- Boot into Recovery Mode if you haven't already.
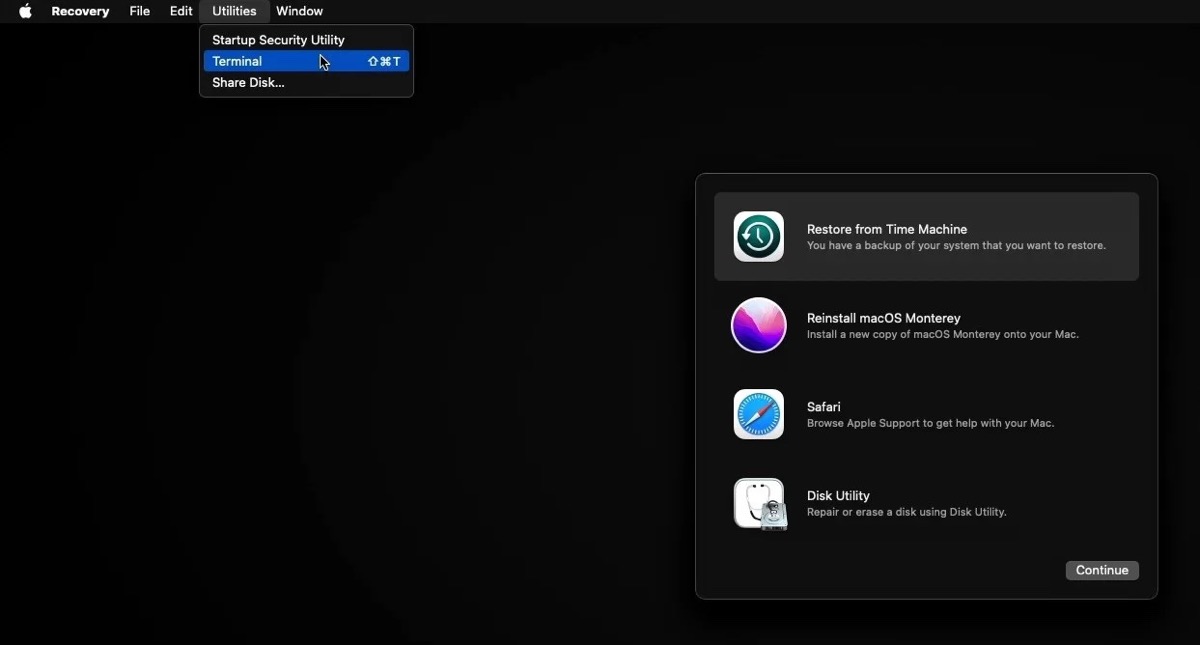
- Select Utilities > Terminal from the menu bar.
- Enter the following command and hit Enter. (e.g., change the date to October 20, 10:30 a.m. 2016.)sudo date -u 092010302016
- Type your administrator password and hit Enter.
- Exit Terminal and click "Reinstall macOS (version)" again to install macOS.
If the Terminal command returns the error "sudo: command not found," try it again without sudo. If you get the error "UNTRUSTED_CERT_TITLE," retry with a different year, such as 2019.
Have you managed to get rid of the error that says "The installer information on the recovery server is damaged?" If not, move on to the next fix.
Create a macOS bootable installer
Alternatively, you can create a macOS bootable installer and boot from it to install macOS. This requires a Mac or Windows PC that can boot up correctly and an external disk like a USB flash drive with 16GB of capacity. Since the external drive needs to be formatted, which deletes all data on it, make sure you have backed up the essential files on it before acting.
(Recommended) If your Mac hasn't been erased or you have a spare Mac, follow this guide to make the bootable installer: Complete Guide on How to Create A Bootable Installer for macOS
If your Mac can't start up now and you have a Windows PC available, use the following steps to create the bootable installer.
Windows doesn't support macOS file systems like APFS or Mac OS Extended (Journaled), so you need a third-party tool to reformat the external USB drive. TransMac has a 15-day free trial and allows you to burn the USB into a bootable installer. Here, we'll use it as an example to create the macOS bootable installer on Windows:
- Download and install TransMac to your PC.
- Download the dmg file of the macOS you want to install from Apple.
- Insert the USB flash drive into your computer.
- Right-click TransMac and select "Run as administrator."
- Click Run and wait for 15 seconds.
- In TransMac, right-click your USB and select "Format Disk for Mac."
- Click Yes.
- Name the drive and click OK.
- Tap Yes.
- Click OK after it finishes formatting.
- Right-click the USB and choose "Restore with Disk Image."
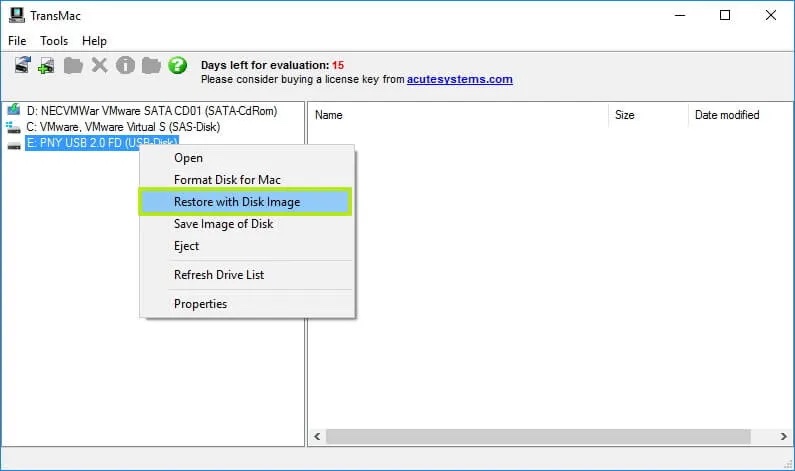
- Click Yes and navigate to the folder where the dmg file is located.
- Select it and confirm adding it to your USB.
- Safely eject the USB from your PC.
Once the bootable installer is created, you can use it to install macOS, as guided below. Note that you need to allow booting from external removable media in Startup Security Utility first if you use a T2 Mac.
- Plug the bootable USB installer into your Mac.
- Shut down the Mac that's experiencing the error.
- Tap the power button, then immediately press and hold the Option (Alt) key.
- Release the key when seeing a dark screen with your bootable volumes.
- Select your bootable installer and click the arrow.
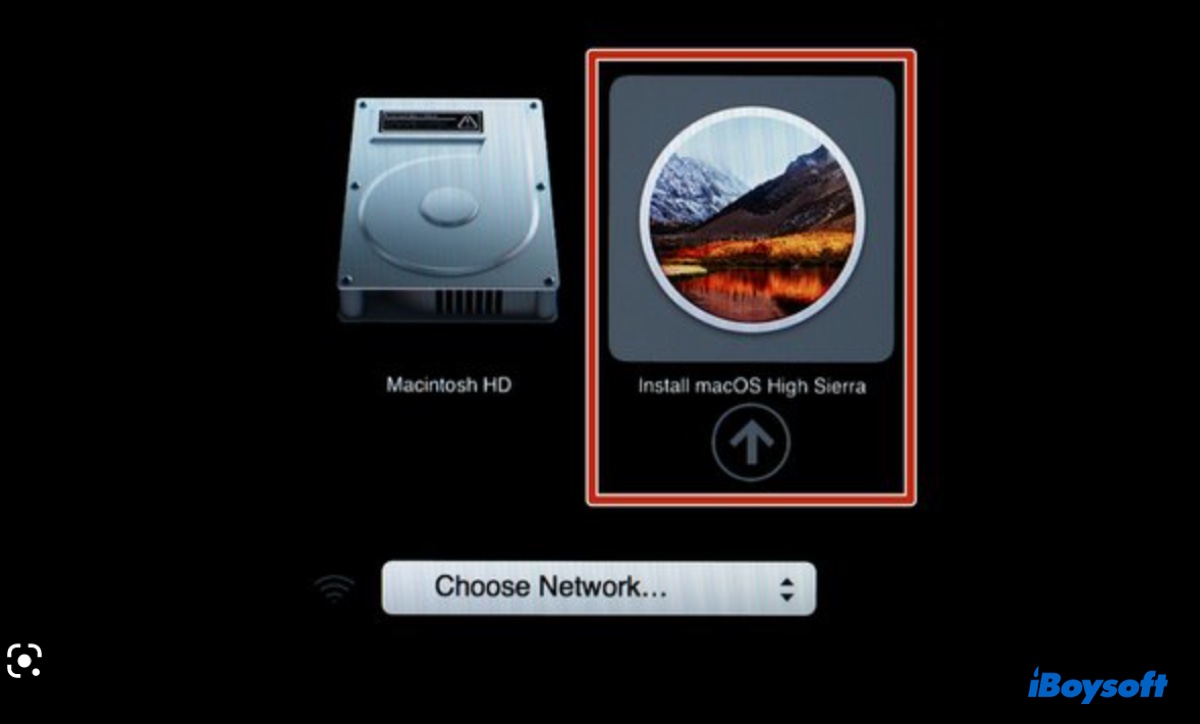
- Choose your language if prompted.
- Select "Install macOS (version) and click Continue.
- Follow the onscreen instruction.
Erase your Mac
If none of the aforementioned solutions did the trick, consider erasing your Mac or erasing it again if you have done it. This will remove all files and settings on your Mac. Therefore, you might need to back up your Mac with Time Machine if you still can. When you're ready, do the following:
- Turn off your Mac.
- Press the power button, then immediately press and hold Option + Command + R.
- Release the keys when you see a spinning globe.
- Select an administrator user and enter the password if required.
- Select a WiFi network if asked.
- Click Disk Utility > Continue.
- Click View > Show All Devices if it's available.
- Select the top-level disk (e.g, Apple SSD) and click Erase.
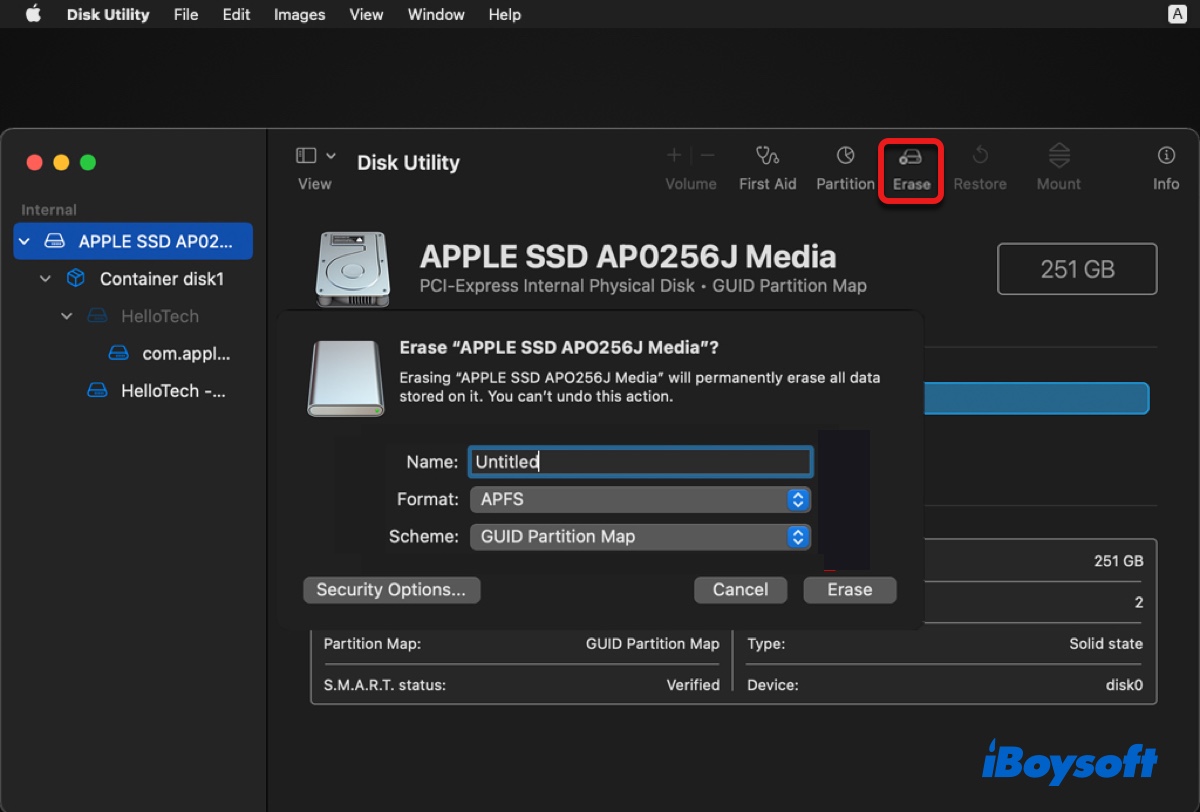
- Rename your startup disk if you want.
- Set the Format to APFS if you're trying to install macOS 10.12.4 Sierra or later. Otherwise, choose Mac OS Extended (Journaled).
- Choose GUID Partition Map as Scheme.
- Confirm that you want to erase your Mac.
- Wait for it to complete.
- Close Disk Utility.
- Tap "Reinstall macOS (version)" to get the macOS installation.
Hopefully, you no longer experience the error and have done what you intend to do. If not, repeat the process in the previous solution to boot from the bootable installer. Then instead of heading straight to reinstall macOS, erase your Mac first.
Install the Beta Access Utility tool
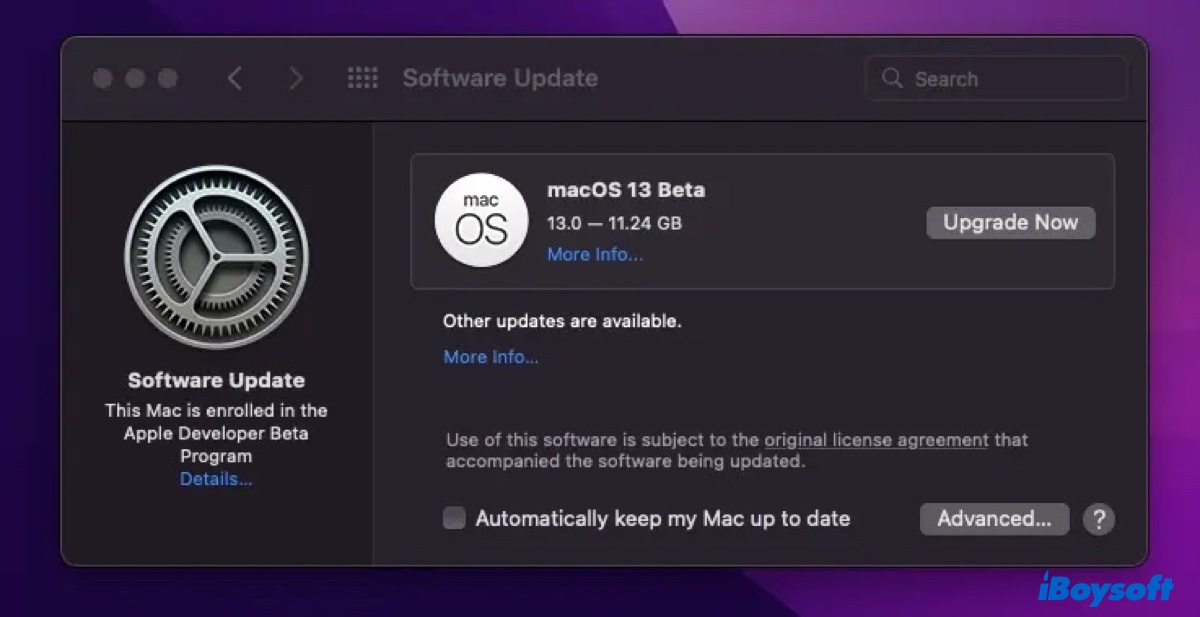
If the error, "The installer information on the recovery server is damaged," pops up when you're trying to install a macOS beta release, you need to enroll your Mac in the Apple Beta Software Update Program by downloading and installing the macOS Public Beta Access Utility or macOS Developer Access Utility. If you have done it, try it again.
After the utility is installed, you need to delete the installer you downloaded before from your Applications folder, then get the beta update from Software Update in System Settings or the App Store.
Also read:
How to Fix 'The recovery server could not be contacted' on Mac?
Share this post to benefit more users!