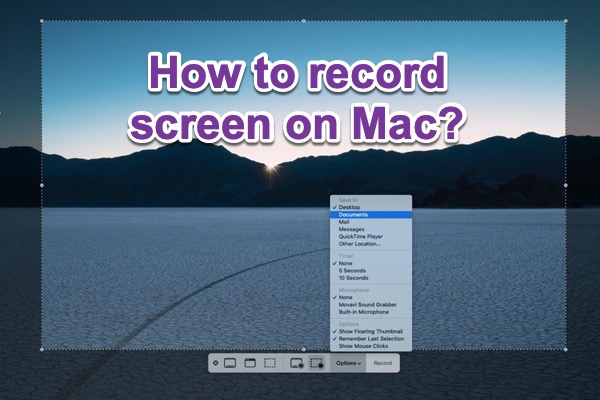
Whether you want to film a tutorial, share what you are looking at with your friends, or want to save a video of what's happening on your screen, recording Mac's screen is an easy way. How to record screen on Mac? You can use Mac's built-in tools including Screenshot and QuickTime Player or screen recorders for Mac of the third-party developers.
Read on to know how to use these two built-in applications to screen record a Mac computer.
Note: This tutorial applies to all Mac models including MacBook Air, MacBook Pro, iMac, iMac Pro, Mac Pro, Mac mini that come with pre-installed QuickTime Player, and Screenshot. On macOS Sequoia, Apple adds weekly permission for screen recording and screenshots, you should allow the desired app to take a screenshot or recording every week and every restart.
Method 1:Record Mac screen with Screenshot toolbar
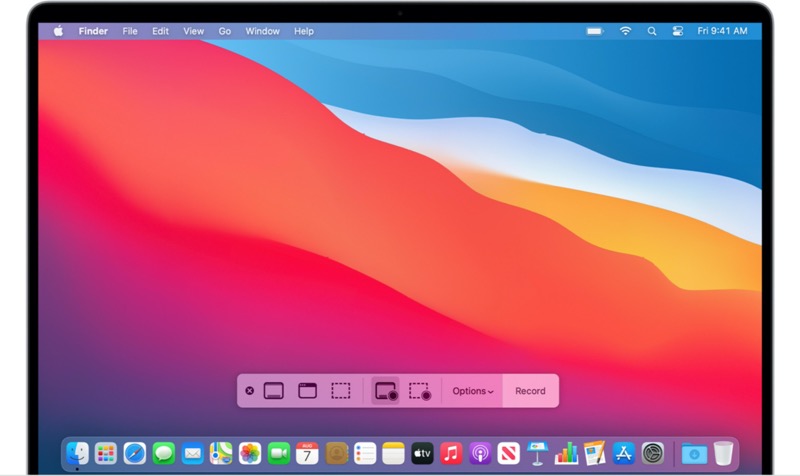
Using the screenshot toolbar, you can make a video recording of the entire screen or just a selected portion of it. To view the screenshot toolbar, press three keys Shift+Command+5 together, then you can see onscreen controls for capturing screen and recording screen:
Now follow the instructions to record your screen:
Change settings
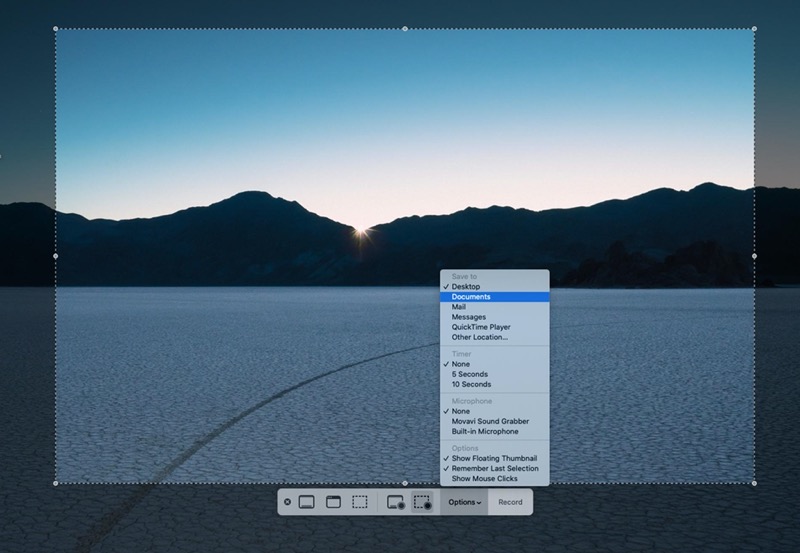
Before you start recording screen, you can click on Options to change these settings.
- Save to: Decide where the recording is saved to, like desktop, documents, or other locations.
- Timer: This option allows you to start recording whether immediately or 5 or 10 seconds later after you click on Record.
- Microphone: If you want to record screen on Mac with audio, then choose a microphone.
- Show Floating Thumbnail: Decide whether to show the thumbnail.
- Remember Last Selection: Choose whether to default to these settings when you use the tool next time.
- Show Mouse Clicks: If you choose this option, there will be a black circle around your pointer when you click in the recording.
After you set these options, you can start recording the screen.
Record the entire or a selected portion of the screen:
Step 1: To record the whole screen, choose Record Entire Screen. You can see your pointer changes to a camera. To record a portion of the screen, click Record Selected Portion.
Step 2:
Record entire screen: Click anywhere on the screen to start recording or click Record on the onscreen controls.
Record selected portion: Your cursor will become an axis and drag the axis to select an area of the screen to record. After choosing your desired area, click Record to start recording.
Step 3: A square stop button appears in the upper right menu bar. Click on it to stop recording or press Command-Control-Esc (Escape) key combination.
Step 4: Once you stop recording, you can see a thumbnail of the video appears on the lower-right corner of your screen. You can swipe the thumbnail to the right or just do nothing, the recording will be saved to the location you set before. If you have not set the storage location, the recording will be saved on the desktop in a movie format by default.
Step 5: If you want to save your recording to another place, drag the thumbnail to the desired folder. To insert it into an email or document, just drag it into the open window.
Method 2:Record Mac screen with QuickTime Player
Except for the screenshot toolbar, you can use QuickTime Player to record your screen.
Step 1: Go to the launchpad, find and open "QuickTime Player".
Step 2: In QuickTime Player, click on the File option at the top left menu.
Step 3: Choose New Screen Recording from the context menu.
If you are using macOS Catalina or later, you can see the screenshot toolbar mentioned above. If you are using macOS Mojave or earlier, you can see the screen recording window described below.
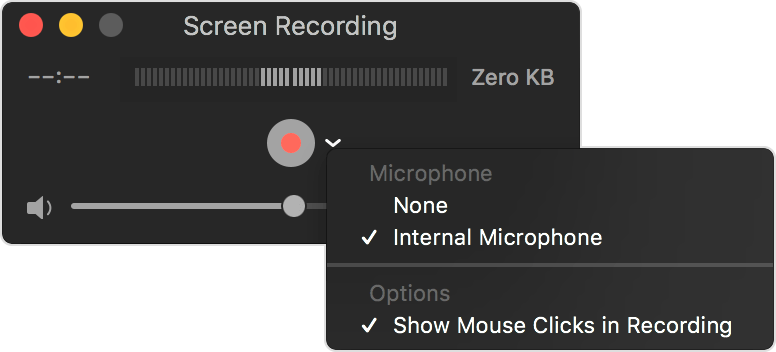
Step 4: Hit the arrow beside the red circle button to change the recording settings.
Step 5: Click on the red circle button to start recording the whole screen or drag your mouse cursor to record a portion of your screen.
Step 6: Stop recording by clicking the Stop icon at the top menu of your screen or pressing the Command-Control-Esc (Escape) key combination. After you stop recording, QuickTime Player automatically opens the video. You can play, share or edit the recording.
If you want to record the screen with internal sound, try the solutions in this guide: 3 Ways to Record System Audio on Mac for Free
Method 3: Record screen with screen recorder
Screenshot and QuickTime Player are convenient screen recording applications. What's important is that they are free. But I have to admit that they are not powerful enough to achieve more advanced operations. For example, you are not able to convert the format of the recording. In such a case, you need to ask a professional screen recorder for help.
If you lock the screen or put it to sleep when you are recording the Mac screen, you will receive the notification 'Your screen is being observed,' don't worry, it disappears when you complete the recording.
Related articles:
• How to set an alarm on Mac easily?