As the successor to macOS Ventura, macOS Sonoma has introduced a number of innovative features, enhancing both productivity and entertainment on Mac.
This new macOS update now features dynamic screen savers, enhanced video conferencing capabilities with Presenter Overlay and augmented reality effects, a dedicated Game Mode, advanced search filters, and new sharing options in Messages, better privacy and security, and many more. (Learn macOS Sonoma 14.7.6 Issues.)
With the macOS Sonoma DMG file, you can easily install macOS Sonoma on your Mac or a virtual machine, such as VMware or VirtualBox, or create a macOS Sonoma bootable USB drive.
Need other versions of DMG files? Get them from: macOS Download.
How to get the macOS Sonoma DMG download safely? The best way to download the macOS Sonoma DMG file is by using iBoysoft DiskGeeker. This tool allows you to download macOS DMG files for macOS Sonoma and other macOS versions, but also enables you to create bootable USB installers for macOS Sonoma and other Mac operating systems.
Here's how to download Sonoma DMG safely:
- Free download and install iBoysoft DiskGeeker.
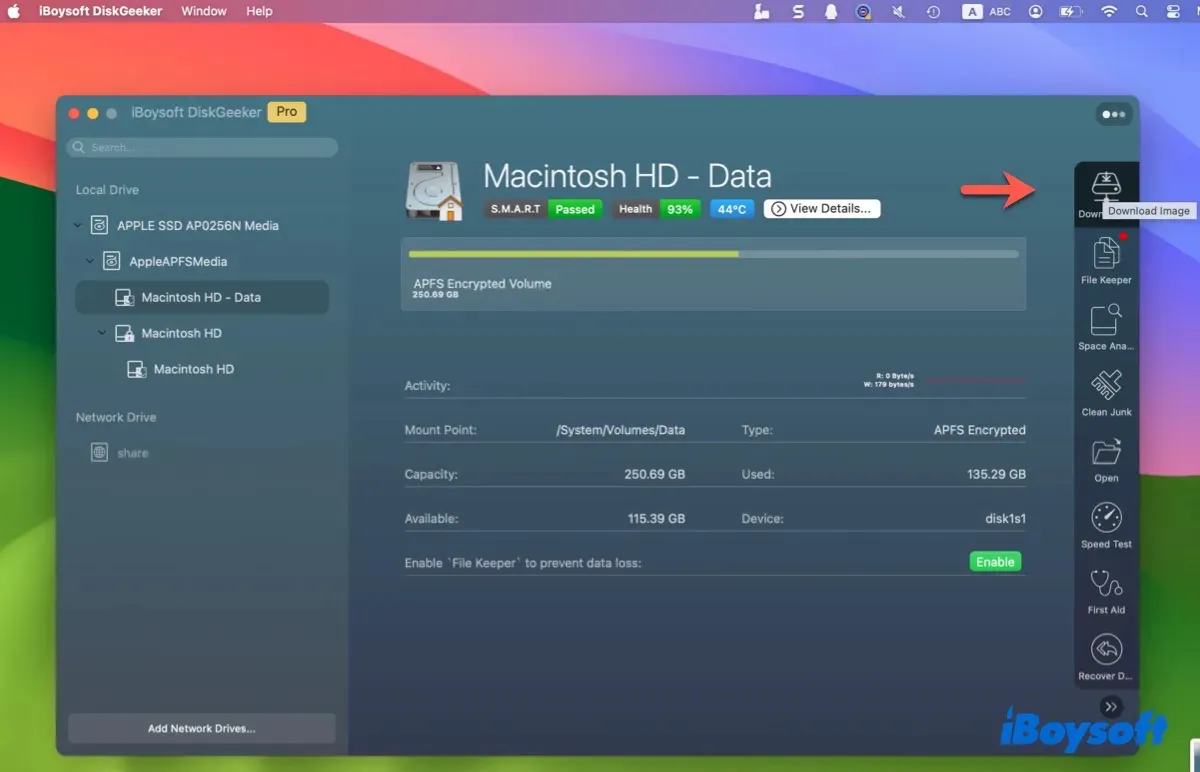
- Launch the app, select an internal partition from the left, and click Download Image from the right side.
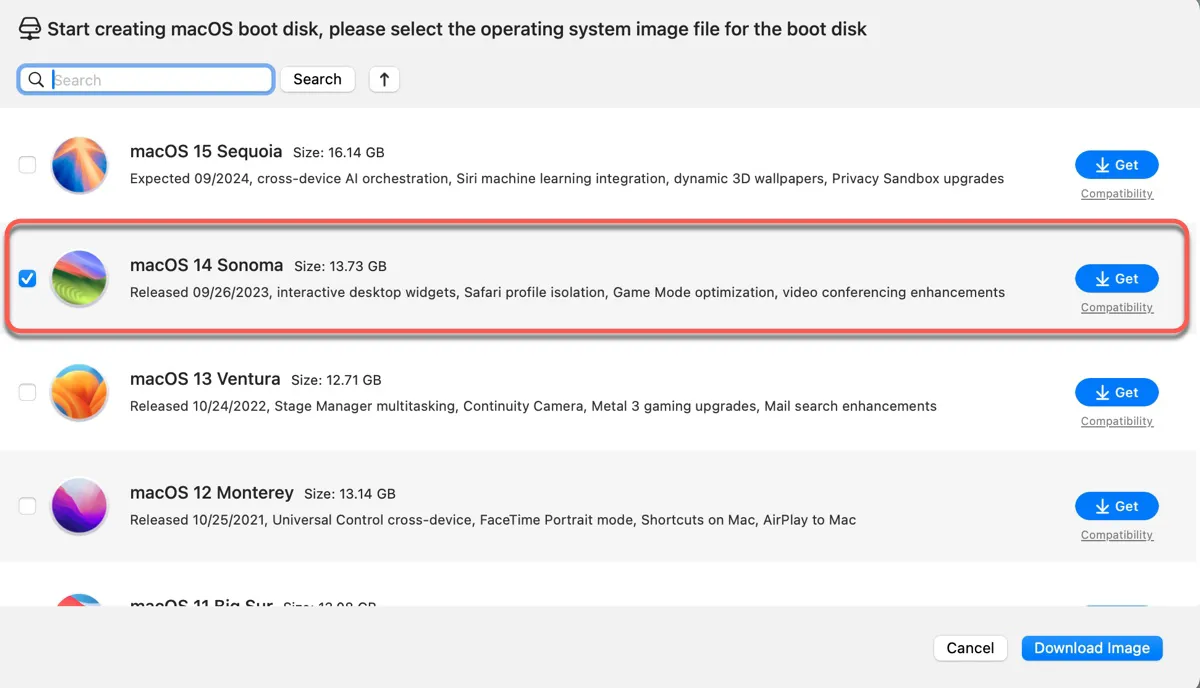
- Select macOS 14 Sonoma and click Get.
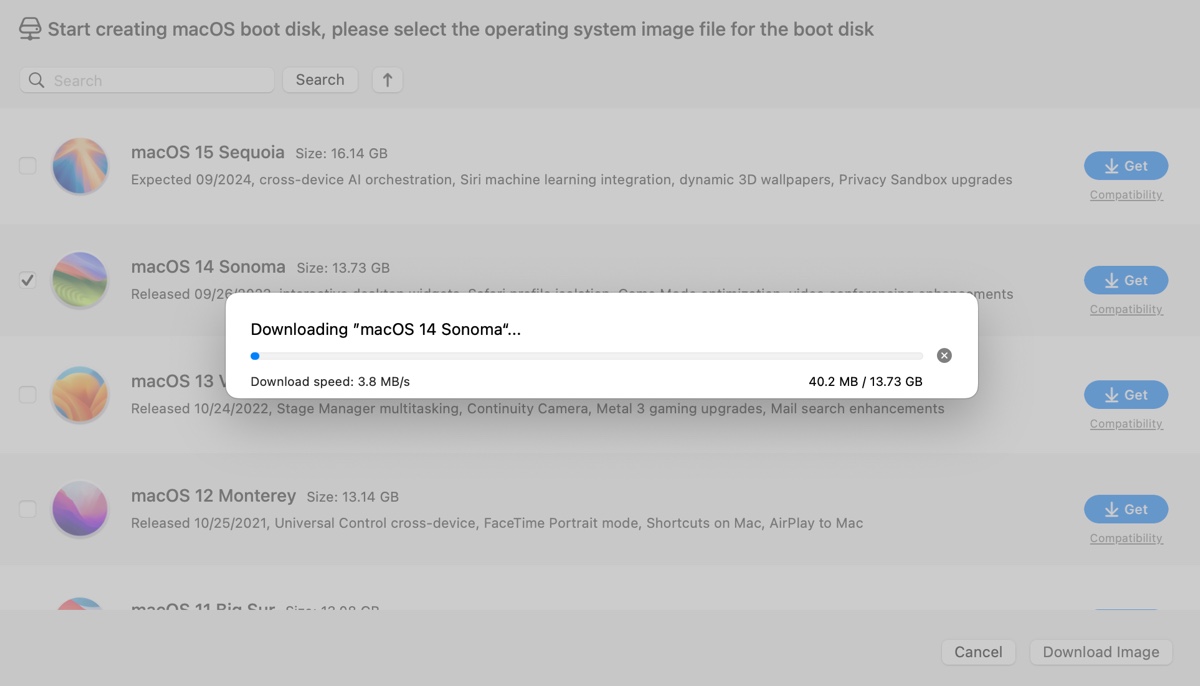
- Choose a location to save the DMG file and click Save.
- Wait for the download to be complete.
💡 If you're downloading the DMG to create a Sonoma bootable USB, you should try the following steps instead.
How to create a macOS Sonoma bootable USB from DMG:
- Insert a USB drive with 15 GB or more space into your Mac. (Make sure the disk is backed up.)
- Select the external partition intended for the boot media and click Create boot disk.
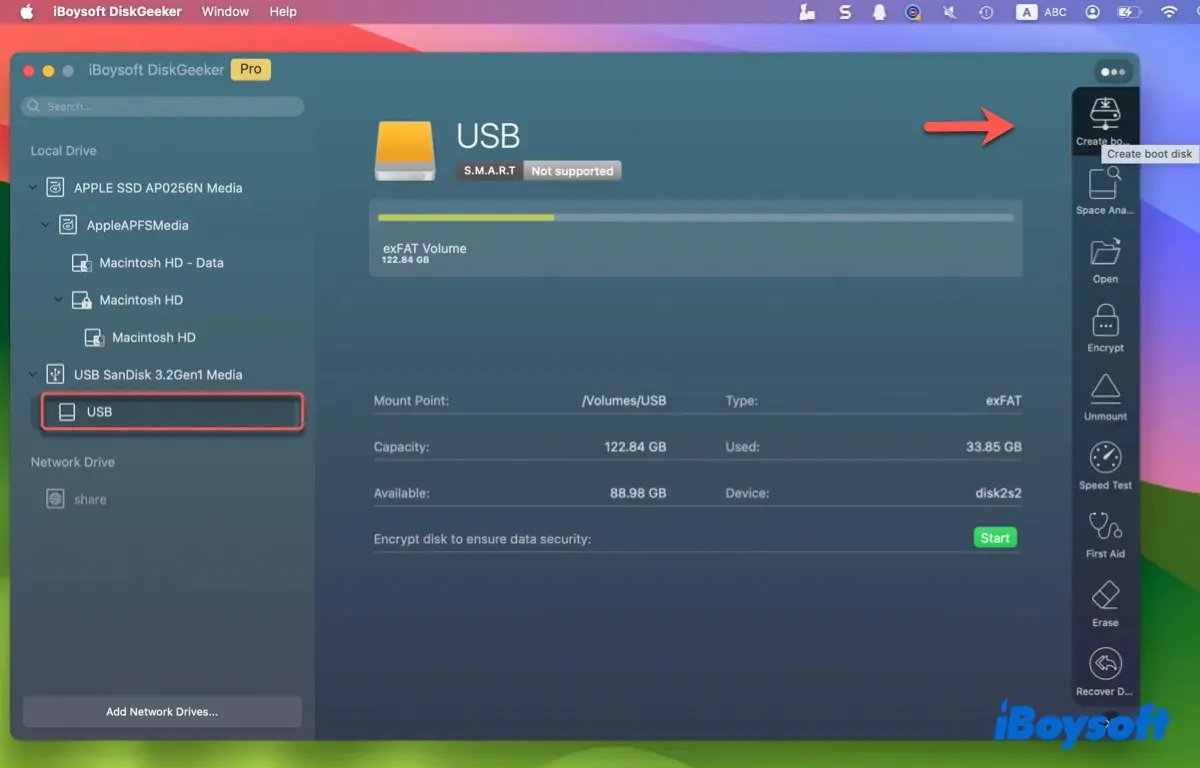
- Follow the instructions on the screen to erase the external drive and create a macOS Sonoma bootable USB drive.
Help others download Sonoma DMG or create macOS Sonoma bootable USB installer by sharing this tool!
Keep reading, as we'll also offer you the direct download link for the macOS Sonoma DMG file and walk you through the steps to create a macOS Sonoma DMG file yourself.
What is a macOS Sonoma DMG file?
A macOS Sonoma DMG file is a disk image containing the entire operating system used to install macOS Sonoma on a computer. Its primary purpose is to serve as an installation medium. DMG stands for disk image, a file format commonly used on macOS.
When you open the macOS Sonoma DMG file, it will mount as a virtual disk on the desktop, allowing you to browse the installer and run the installation program. It's a convenient way to package and distribute large software applications like macOS Sonoma because it can be compressed for speed and encrypted for security.
How to download the macOS Sonoma DMG file directly?
If you're using a Windows PC without Hackintosh, you can download the macOS Sonoma DMG file for a clean install or other purposes by simply clicking the link we provided below. The file was created with the full installer of macOS 14.2.1 Sonoma.
Download the free macOS Sonoma DMG file here
If you prefer a newer version of macOS Sonoma DMG file, download it from iBoysoft DiskGeeker!
Once you have the macOS Sonoma DMG file, you can proceed to install macOS Sonoma or create a bootable installer according to your preferences.
Feel free to share this article to help more users obtain the direct download link for the macOS 14 Sonoma DMG.
How to create a macOS 14 Sonoma DMG file for latest macOS 14.7.6?
Ever since macOS High Sierra, Apple has stopped providing DMG files for new releases. Instead, they offer downloads of application files. If you want to create the macOS Sonoma DMG file yourself, follow the steps we'll discuss below.
Preparation: Download the full installer of macOS Sonoma
The first step for creating the macOS Sonoma DMG file is to download the macOS installer. You can download the official, latest macOS Catalina full installer from either the Mac App Store or a third-party source, depending on whether your Mac is compatible with macOS Sonoma.
Here's the list of Mac models that support macOS Sonoma:
- MacBook Air (2018 or later)
- MacBook Pro (2018 or later)
- iMac (2019 or later)
- Mac Mini (2018 or later)
- iMac Pro (2017)
- Mac Pro (2019 or later)
- Mac Studio (all models)
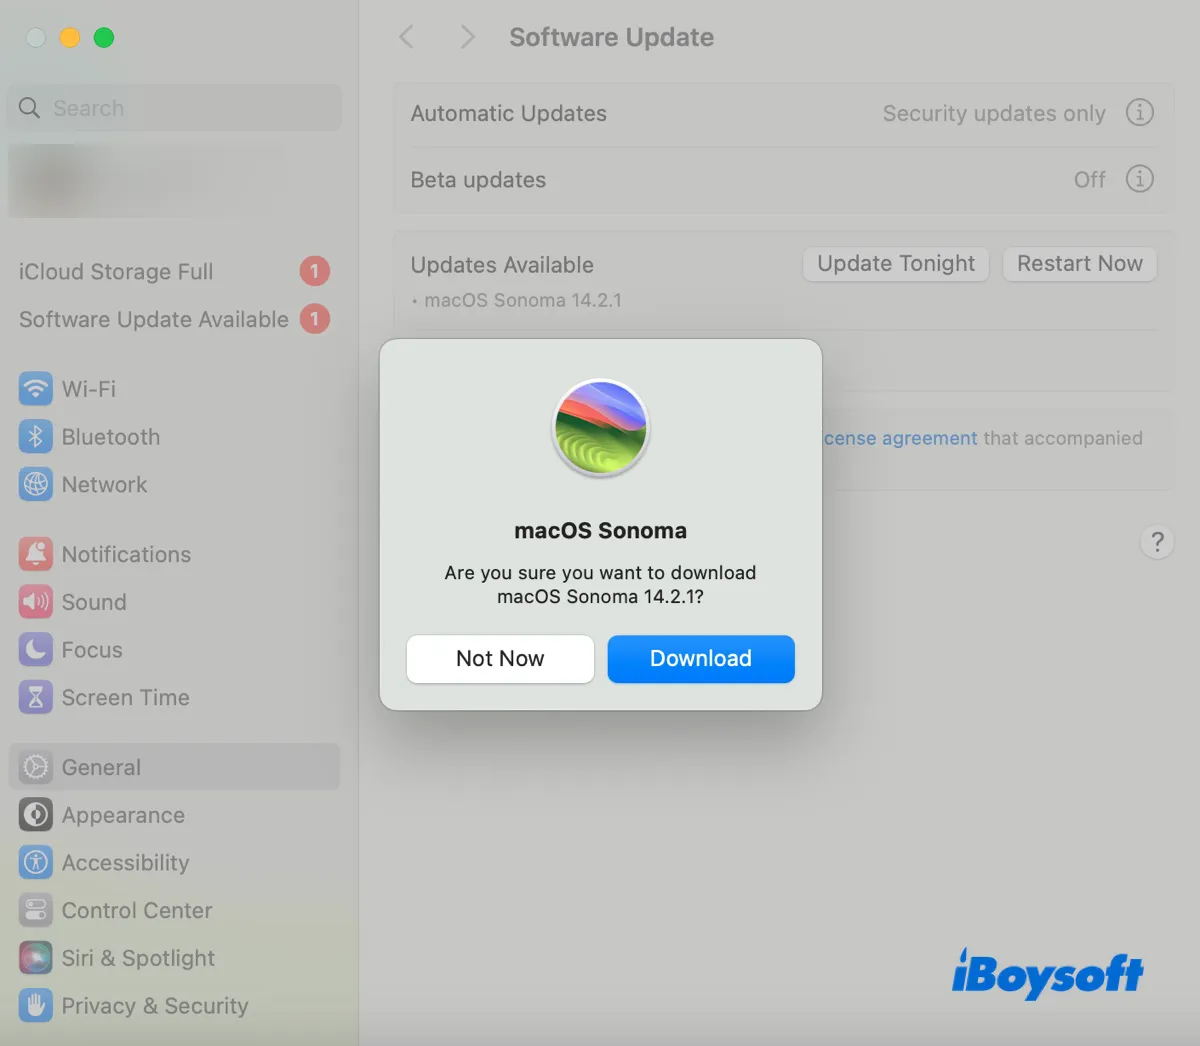
If your Mac falls into one of the categories, you can open the Mac App Store and search for "macOS Sonoma." Then click View > Get and confirm that you want to download macOS Sonoma by clicking the Download button.
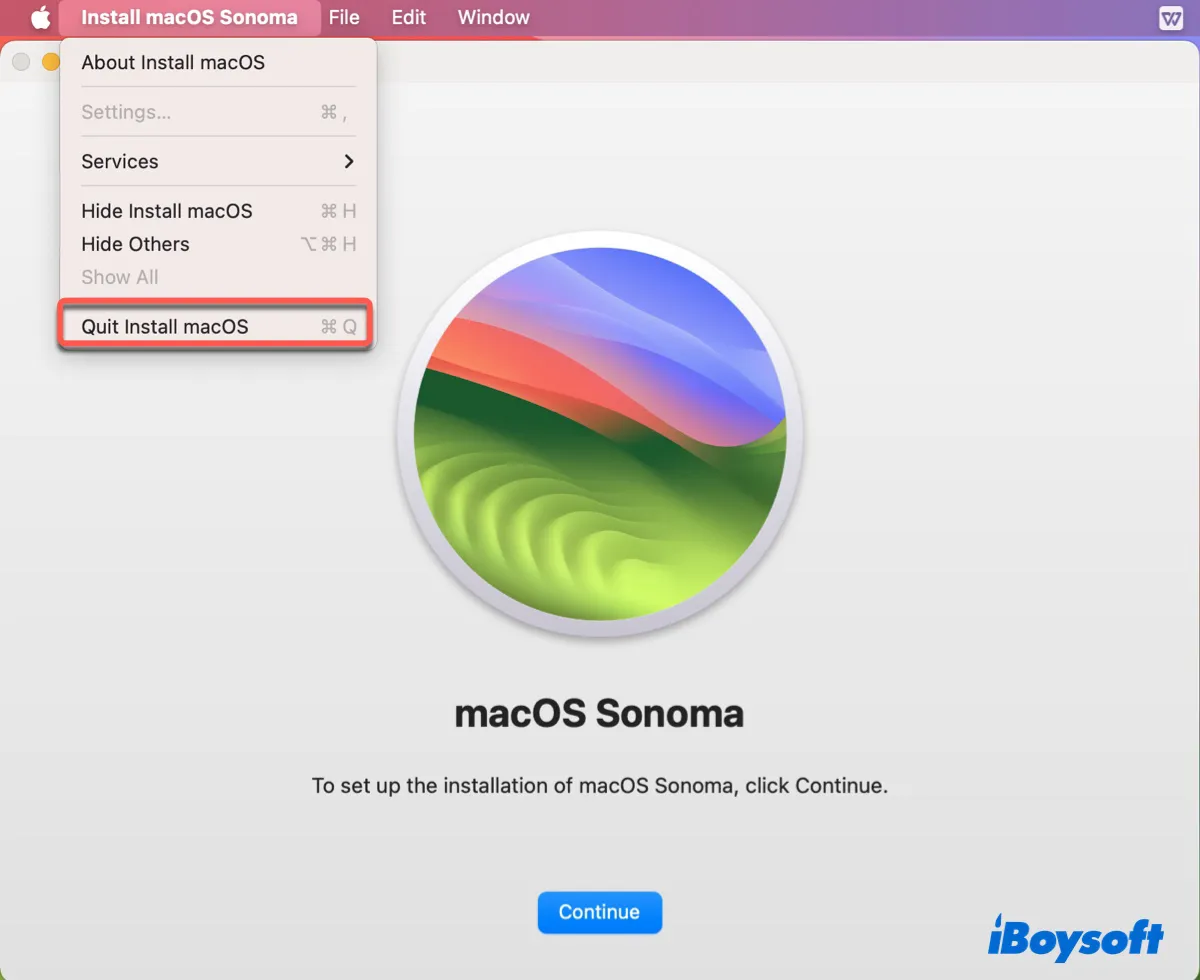
After the download is complete, the installer will open automatically to allow you to set up the installation of macOS Sonoma. You can tap the installer window, then click "Install macOS Sonoma" from the menu bar in the top-left and select "Quit Install macOS," followed by Quit to shut down the installer. The installer will continue to be available in the Applications folder.
If your Mac isn't compatible with macOS Sonoma, you can download the macOS Sonoma package file from Mr. Macintosh and install the pkg file to place the full installer in your Applications folder.
Now that you're prepared, you can create the macOS 14 Sonoma DMG file with Disk Utility or Terminal. Both are built-in tools on your Mac. We'll start with the beginner-friendly Disk Utility first.
Way 1: Create the macOS Sonoma DMG file with Disk Utility
To create the macOS Sonoma DMG file, take the following steps:
- On your desktop, right-click and select "New Folder."
- Rename it Sonoma.
- Open Finder and navigate to the Applications folder.
- Locate the macOS Sonoma installer, right-click it, and select "Copy."

- Open the new folder, right-click on the blank space, and choose "Paste Item."
- Press Command + Space and search for "disk utility."
- Open Disk Utility.
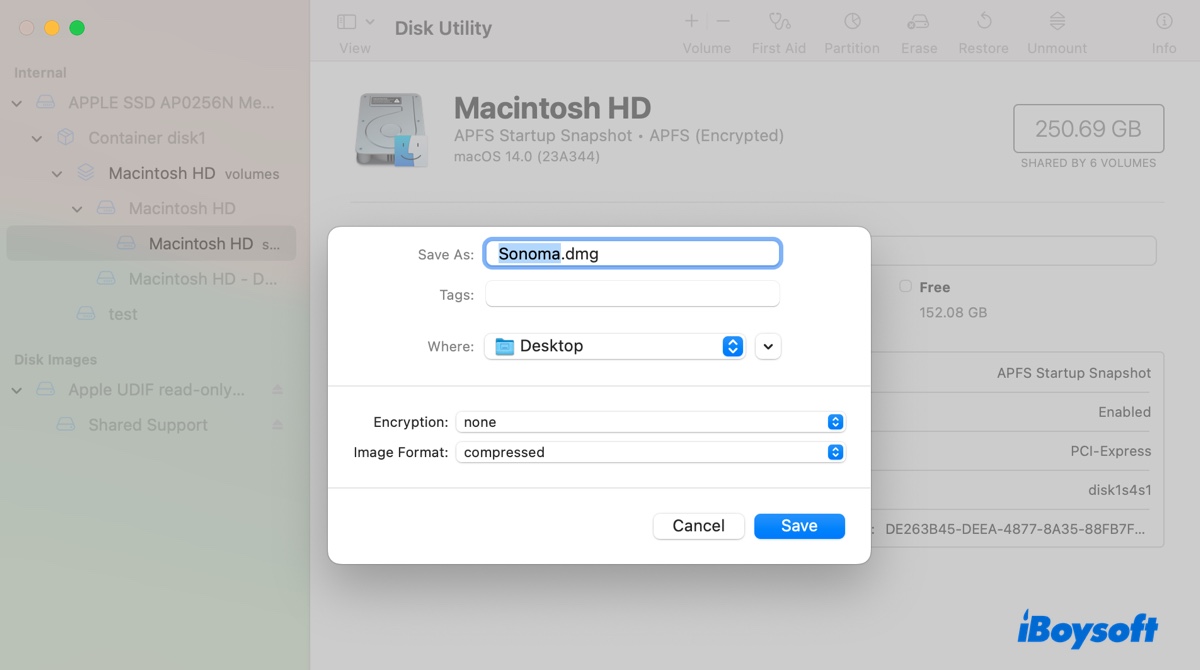
- Choose File > New Image > Image from Folder from the menu bar.
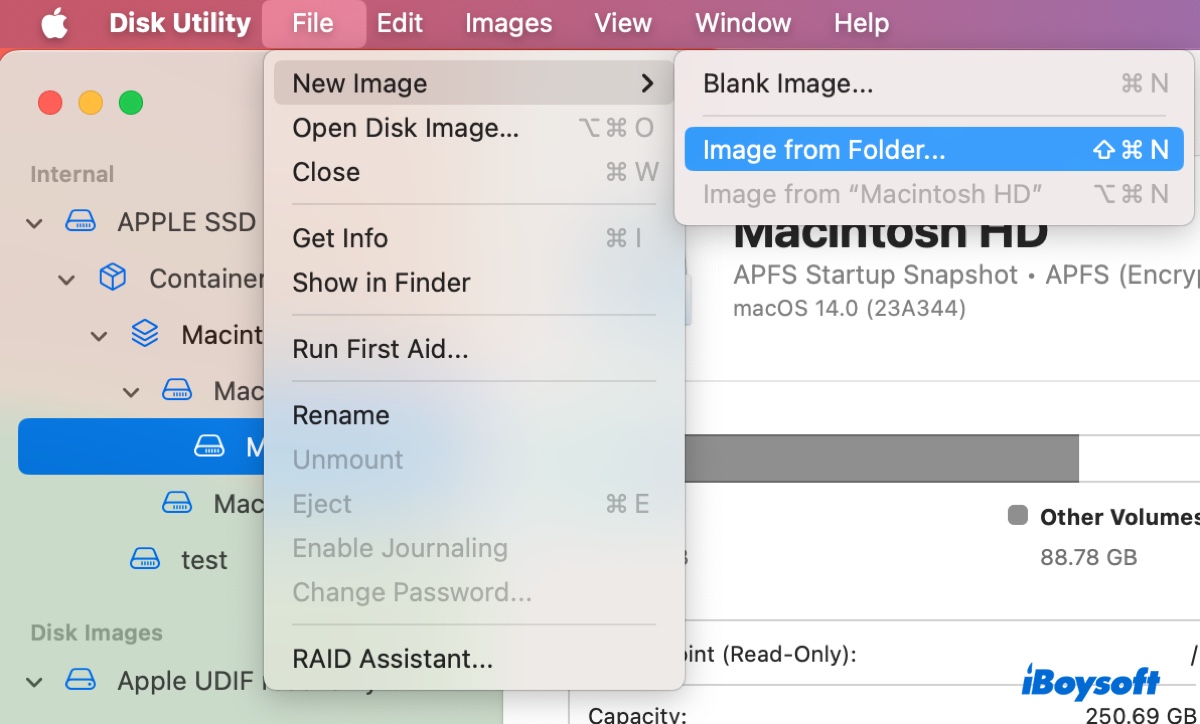
- Browse to the new folder and click Choose.
- Decide where you want to save the DMG file and whether to encrypt it, then click Save.
- Wait for the disk image to be generated.
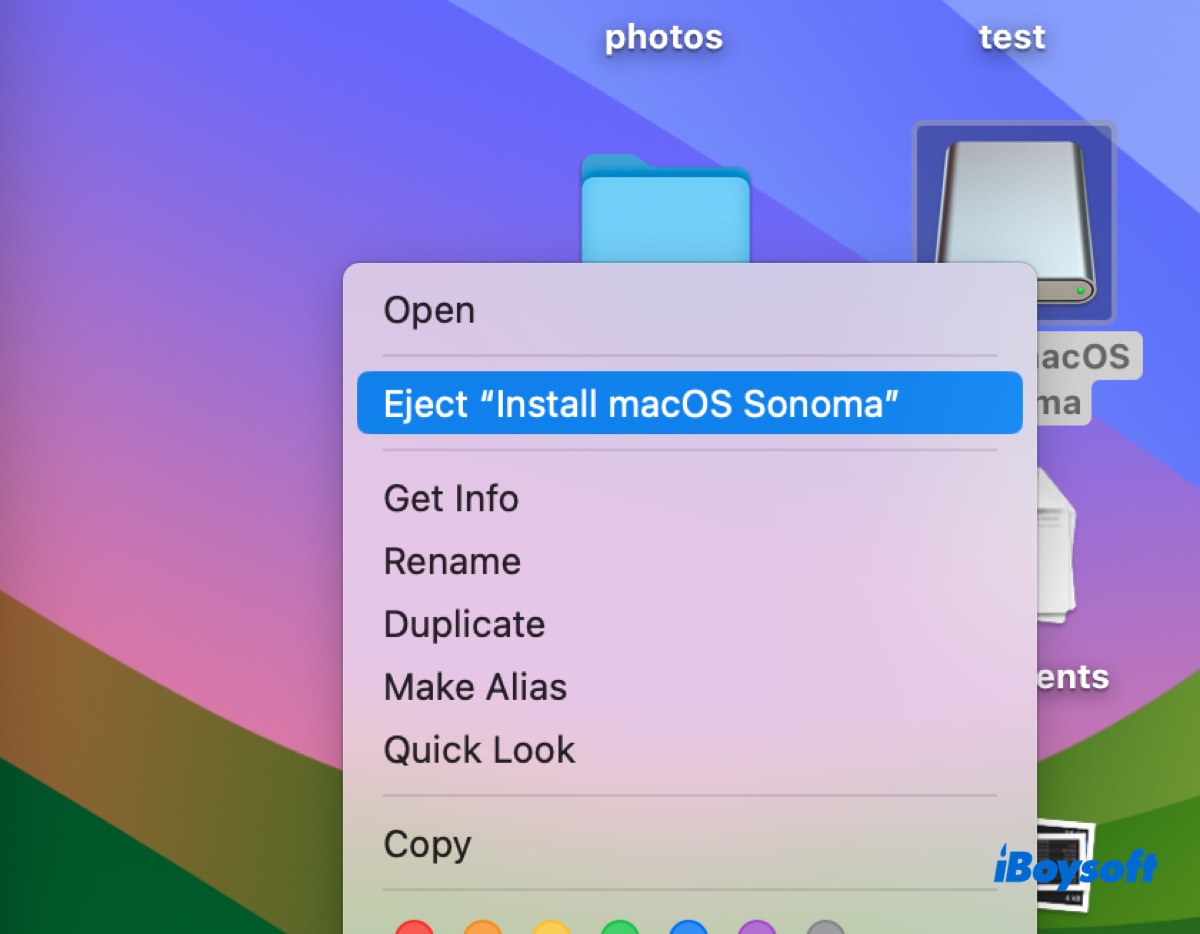
- Eject the DMG file after finishing using it.
Way 2: Create the macOS Sonoma DMG file in Terminal
Sometimes, Disk Utility may fail to create the macOS Sonoma DMG file due to various reasons. In such a case, you can count on Terminal to complete the task for you. It's the text-based interface that allows you to interact with macOS through command lines.
Step 1: Create an empty disk image
Go through the following steps to create a blank disk image to accommodate the macOS Sonoma installer:
- Open Finder, then launch Terminal from the Applications > Utilities folder.
- Type the hdiutil command below and hit Enter.hdiutil create -o Sonoma -size 15000m -volname Sonoma -layout SPUD -fs HFS+J
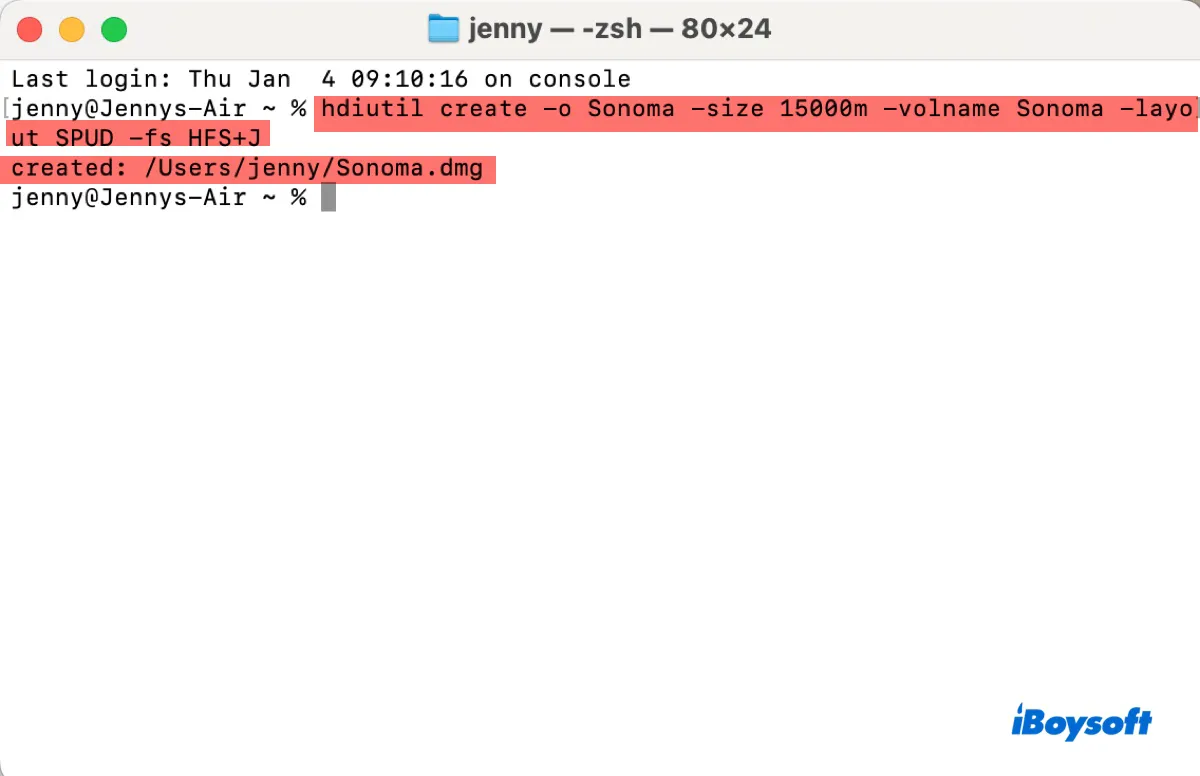
The command creates a new disk image file named "Sonoma" with a size of 15GB, using Mac OS Extended (Journaled) and a single partition layout.
hdiutil: This is the command-line tool for manipulating disk images on macOS.
create: This subcommand is used to create a new disk image.
-o Sonoma: This option specifies the name of the output disk image file, in this case, "Sonoma".
-size 15000m: This option specifies the size of the disk image to be created. In this case, the size is set to 15000 megabytes.
-volname Sonoma: This option sets the volume name of the disk image to "Sonoma".
-layout SPUD: This option specifies the partition layout of the disk image. "SPUD" stands for "Single Partition - Universal Disk".
-fs HFS+J: This option specifies the file system format to be used for the disk image. In this case, "HFS+J" refers to the HFS Plus file system with the Journaled option enabled, also referred to as Mac OS Extended (Journaled). You can change it to APFS if your Mac is running macOS High Sierra or later.
Step 2: Mount the new disk image
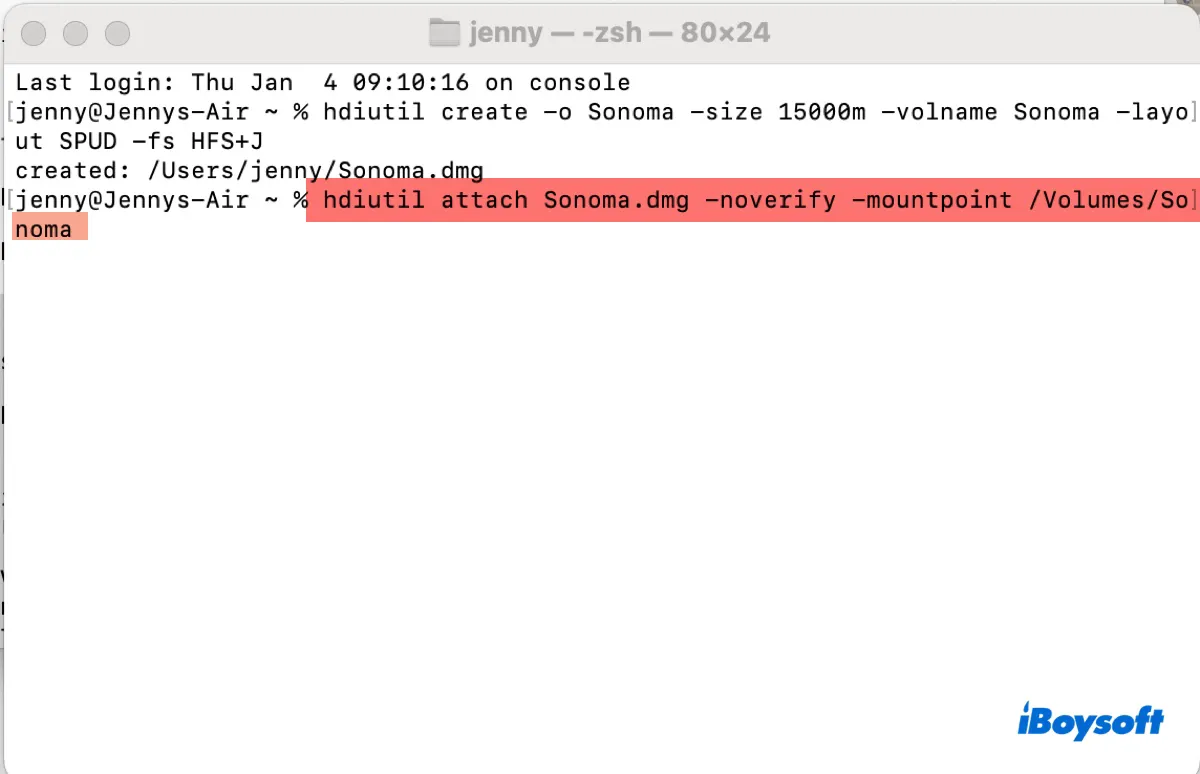
To use the Sonoma.dmg file, you need to execute the following command in Terminal to mount it first.
hdiutil attach Sonoma.dmg -noverify -mountpoint /Volumes/Sonoma
hdiutil: This is the command-line utility used to manipulate disk images in macOS.
attach: This subcommand of hdiutil is used to attach a disk image.
Sonoma.dmg: This is the name of the disk image file that you want to attach. In this case, it's "Sonoma.dmg".
-noverify: This is an option that specifies that the disk image should be attached without performing verification checks. It can speed up the process of attaching the disk image.
-mountpoint /Volumes/Sonoma: This option specifies the mount point where the disk image should be mounted. In this case, it specifies that the disk image should be mounted in the "/Volumes/Sonoma" directory.
Now, the disk image should be mounted on your desktop.
Step 3: Copy the macOS Sonoma installer to the mounted disk image
Ensure you're logged in to your Mac with the administrator account. Then run the command below to create a bootable macOS Sonoma DMG file.
sudo /Applications/Install\ macOS\ Sonoma.app/Contents/Resources/createinstallmedia --volume /Volumes/Sonoma –nointeraction
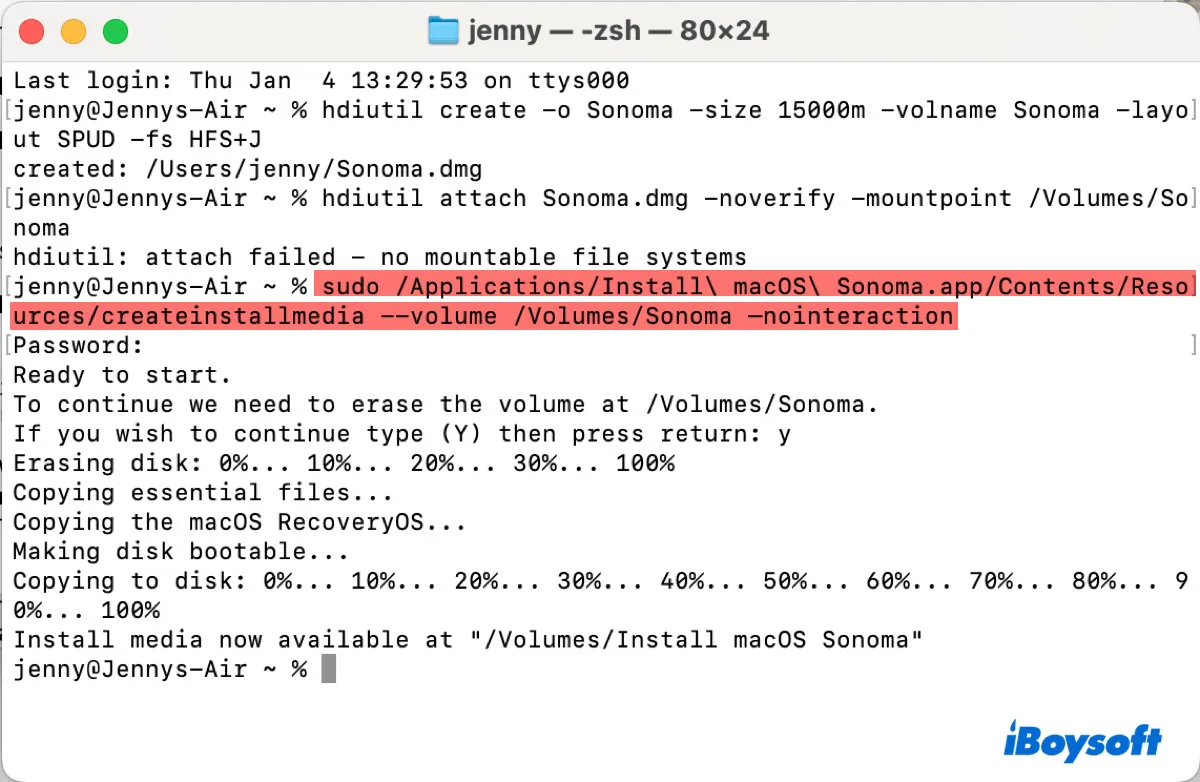
When prompted to enter the password, type in your login password and hit Enter. Note that your password won't echo on the screen.
Step 4: Eject the disk image.
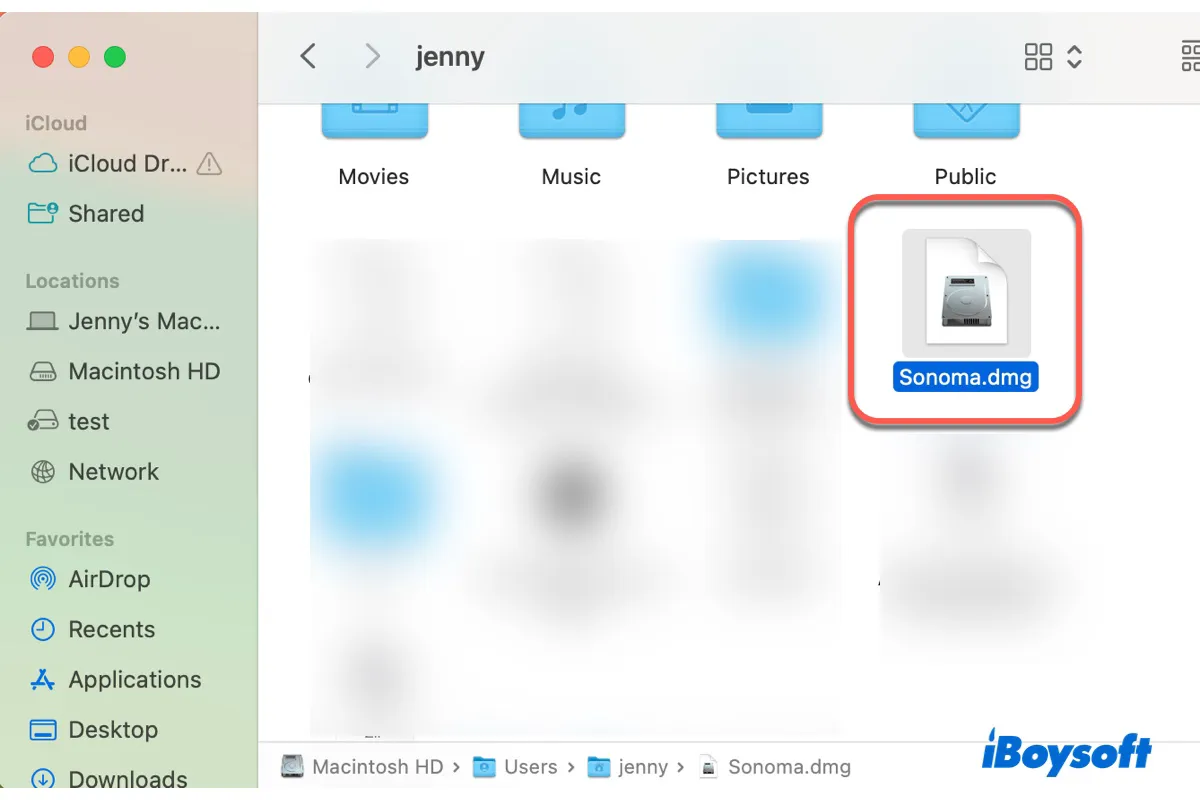
After the install media is created, you can find the Sonoma.dmg file in your user folder. If you want to copy the DMG file to another disk, remember to eject it beforehand.
Please share this post if you find it helpful!
Can't download macOS Sonoma DMG file?
Imagine you're excited to upgrade to macOS Sonoma, only to find that the download fails due to limited disk space on your Mac - a frustratingly common scenario. To avoid this, freeing up space on your Mac before downloading macOS Sonoma is crucial.
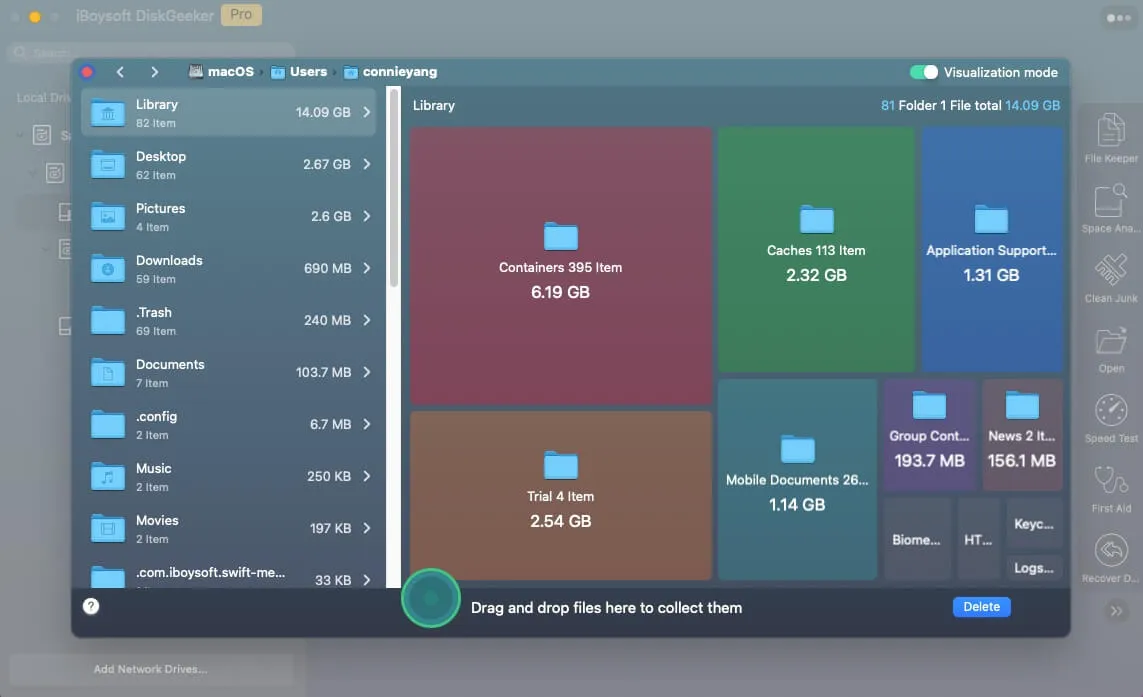
Instead of tediously sifting through folders manually to find unnecessary files, there's a more efficient solution. Use iBoysoft DiskGeeker, a user-friendly disk cleaning tool that effortlessly declutters your Mac.
This handy tool can analyze your internal hard drive and organize files in descending order of size, allowing you to quickly identify and eliminate unnecessary, space-consuming files and folders.
What sets iBoysoft DiskGeeker apart is not just its simplicity but also its thoroughness in ensuring your Mac is in top shape for the new macOS. It's a safe, reliable way to prepare your machine for an update.
Ready to give your Mac a thorough home cleaning? Click the button below to download iBoysoft DiskGeeker and pave the way for a smooth macOS Sonoma installation.
Spread the word by sharing this article!