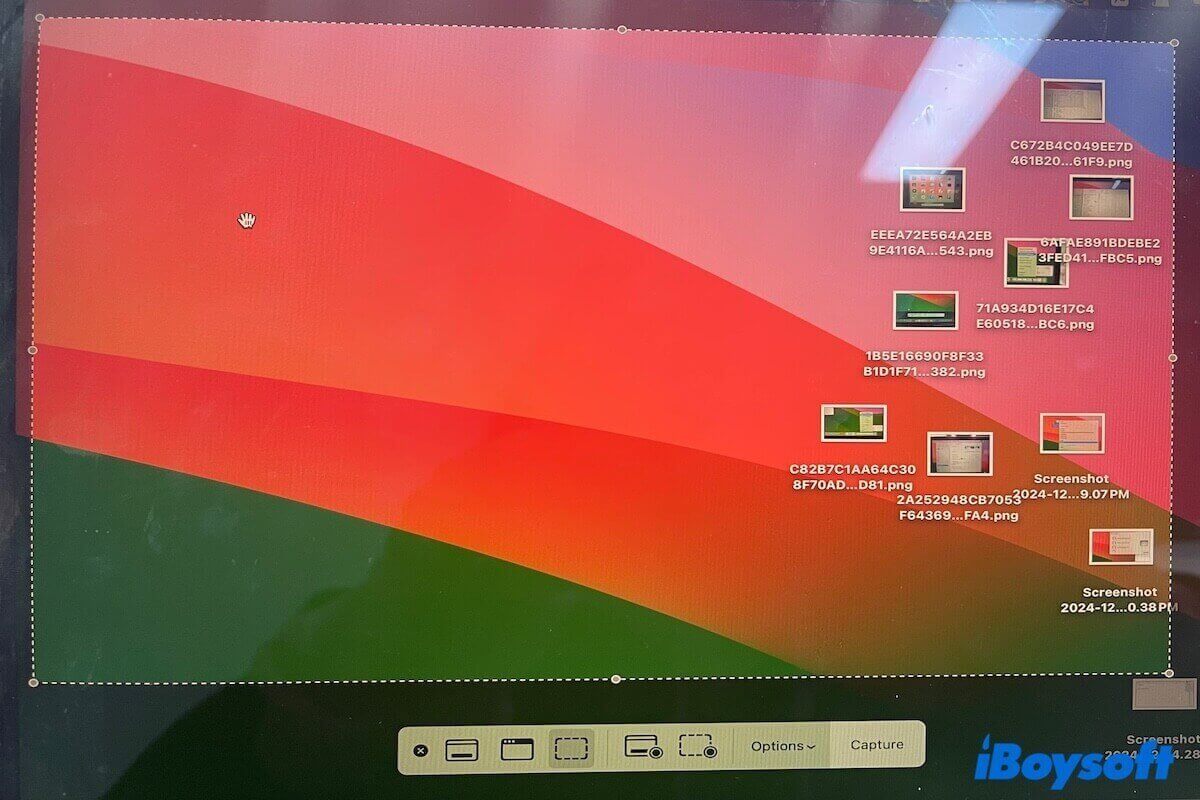
The easiest and quickest way to save and share the screen is to take screenshots.
But, how to screenshot a specific area on Mac? Just press down the Command + Shift + 4 shortcuts on the keyboard to turn your cursor into a crosshair and then drag it to select the specific area of the screen to capture.
There are actually multiple screenshot shortcuts and handy snipping tools for Mac. If you would like to repeatedly screenshot the same selected area of the screen, capture an application window, or need to set the dimensions of a screenshot on Mac, follow our post. After reading, you'll be a master of screenshots.
Note: The ways in our post are suitable for screenshots on MacBook Air, MacBook Pro, Mac mini, iMac, and all other Mac models.
How to screenshot a specific area on Mac?
Let's focus on how to screenshot a specific area on a Mac in two different ways. One is to use MacBook screenshot shortcuts, the other is to use a snipping tool for Mac.
Screenshot a specific area on a Mac with a keyboard
There are diverse MacBook screenshot shortcuts for capturing a selected area.
- Shift + Command + 4: Snap a portion of your screen on Mac.
- Shift + Command + 4, then Space bar: Snip a screenshot of a specific window on Mac.
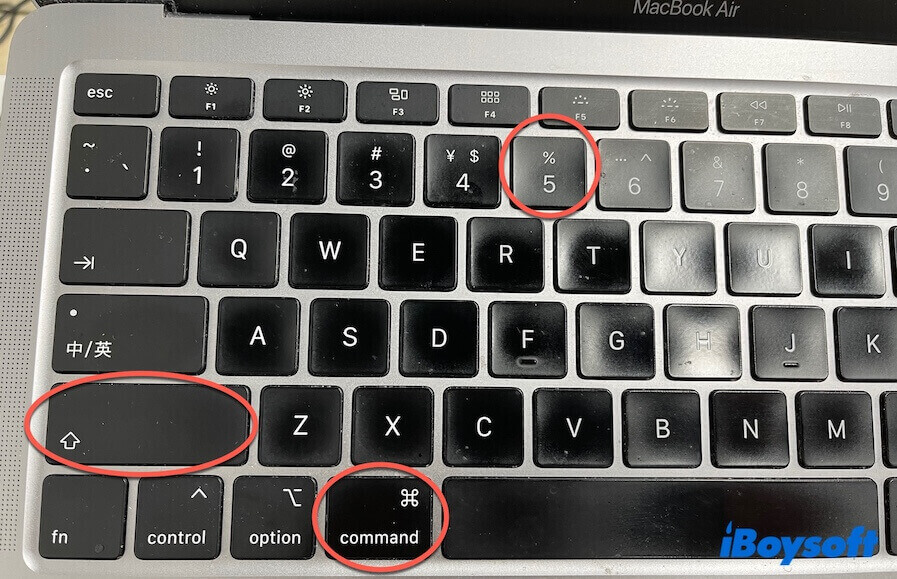
- Shift + Command + 5: Open the Screenshot app on Mac for repeatedly a selected area screenshot on Mac.
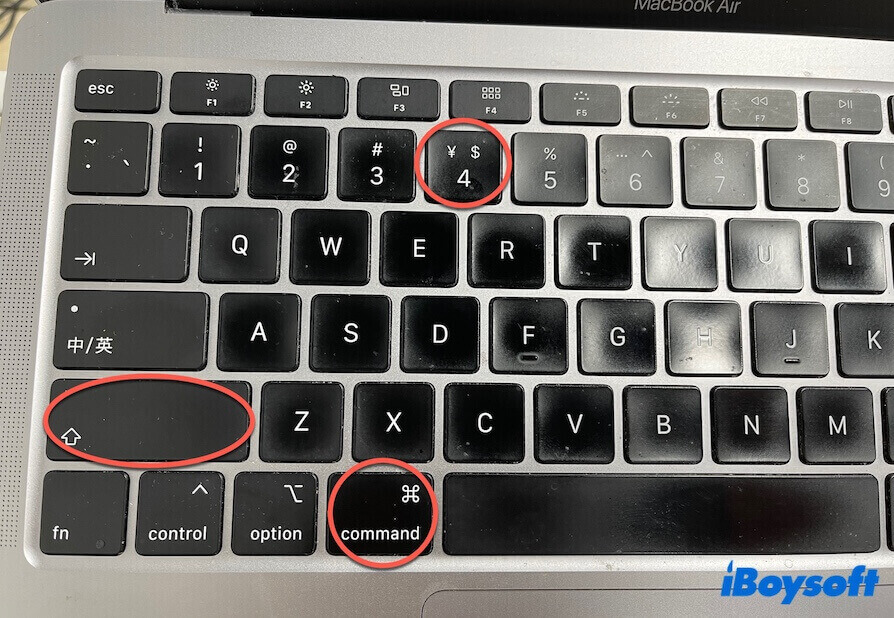
① Press Command - Shift - 4 to screenshot any selected area on a Mac
Command - Shift - 4 is the most common shortcut for capturing a selected portion on a Mac. Here are the detailed steps to use this key combination to take a screenshot of a selected area on your Mac.
- Hold the Command + Shift + 4 keys on your Mac keyboard to turn the cursor into the crosshair.
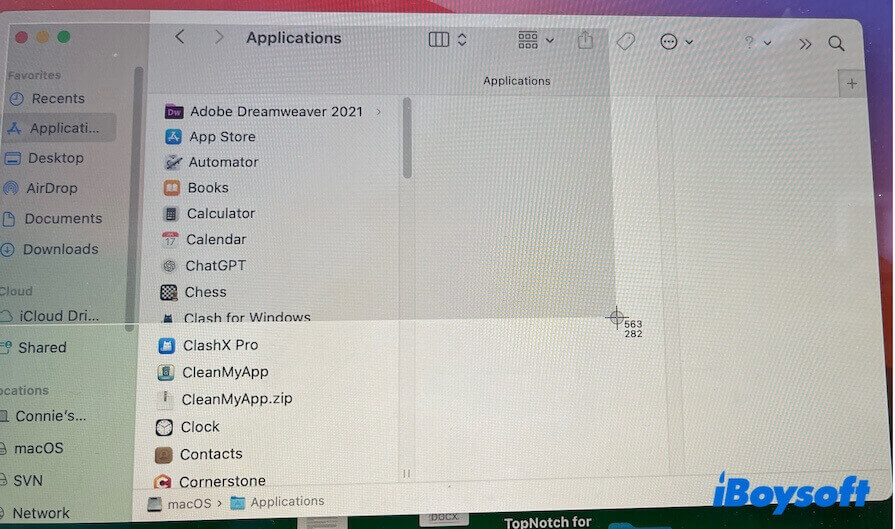
- Drag the crosshair to choose the area on the screen you want to capture. If you want to move the selection, press the Space bar while dragging.
- Release the trackpad or mouse to take the screenshot.
You'll see a thumbnail in the bottom right corner of your screen. Right-click on it to show the context menu and then, you can change its destination or open, delete, and markup it.
② Press Command - Shift - 4, then Space bar to screenshot a specific window on a Mac
If you would like to capture an application or specific window on your Mac, here's how:
- Open the window.
- Press down Command + Shift + 4 on your keyboard to show the crosshair, and then press the Space bar to switch the crosshair to the camera icon.
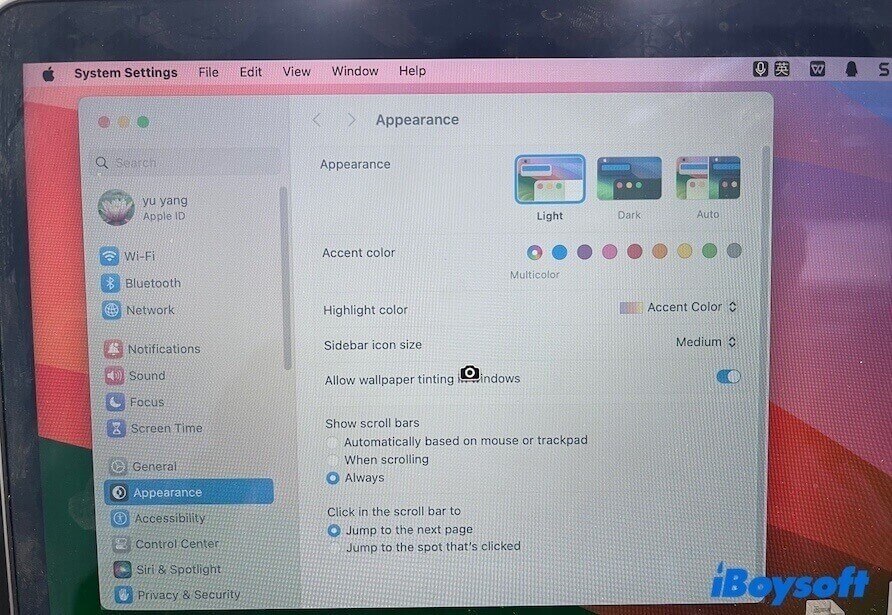
- Click on the window to take a screenshot of it.
If you need to exclude the window's shadow from the screenshot, press down the Option key while you click. - Right-click the thumbnail in the corner of your screen to edit it or wait for the screenshot of the window to save to your desktop.
③ Press Command - Shift - 5 to repeatedly take a screenshot of a selected area on a Mac
Command + Shift + 5 is just the key combination used to launch the built-in snipping tool on Mac. When you use Command - Shift - 5 to screenshot a specific area on your Mac, then it will return to this same area the next time you use this shortcut combination until you change it.
So, you can use the Command + Shift + 5 key combination to repeatedly screenshot the same selected area on your Mac.
- Press Command - Shift - 5 to launch the Screenshot utility on your Mac or open it from Launchpad > Other.
You will see a rectangle along with a toolbar below it show up on the screen. The rectangular section can be moved around and resized. If you only see a toolbar, select the Capture a portion of the screen button on it.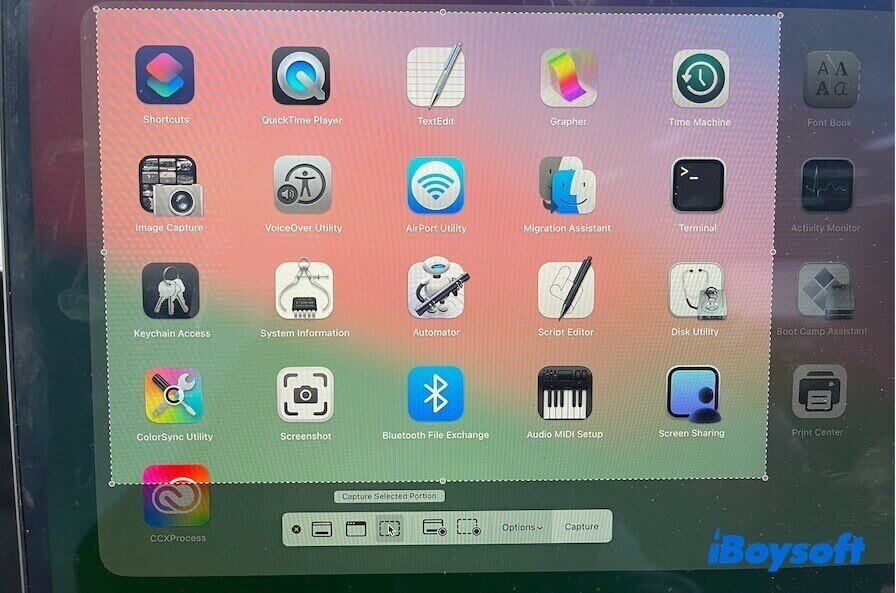
- Drag the frame to reposition the area you want to capture or drag the edges of the rectangle to adjust the size of the selected area.
- Click Capture or press Return to capture the selected area.
- Wait for the screenshot to save or right-click the thumbnail in the right corner to edit it.
Screenshot a specific area on Mac with right-click
Is there a snipping tool for Mac? Yes, apart from the built-in Screenshot app on Mac there are diverse third-party software that offer you a better screenshot experience.
iBoysoft MagicMenu is an all-in-one right-click enhancer featured with screenshots on Mac. With this handy snipping tool, you can capture a specific area on your Mac with a simple right-click.
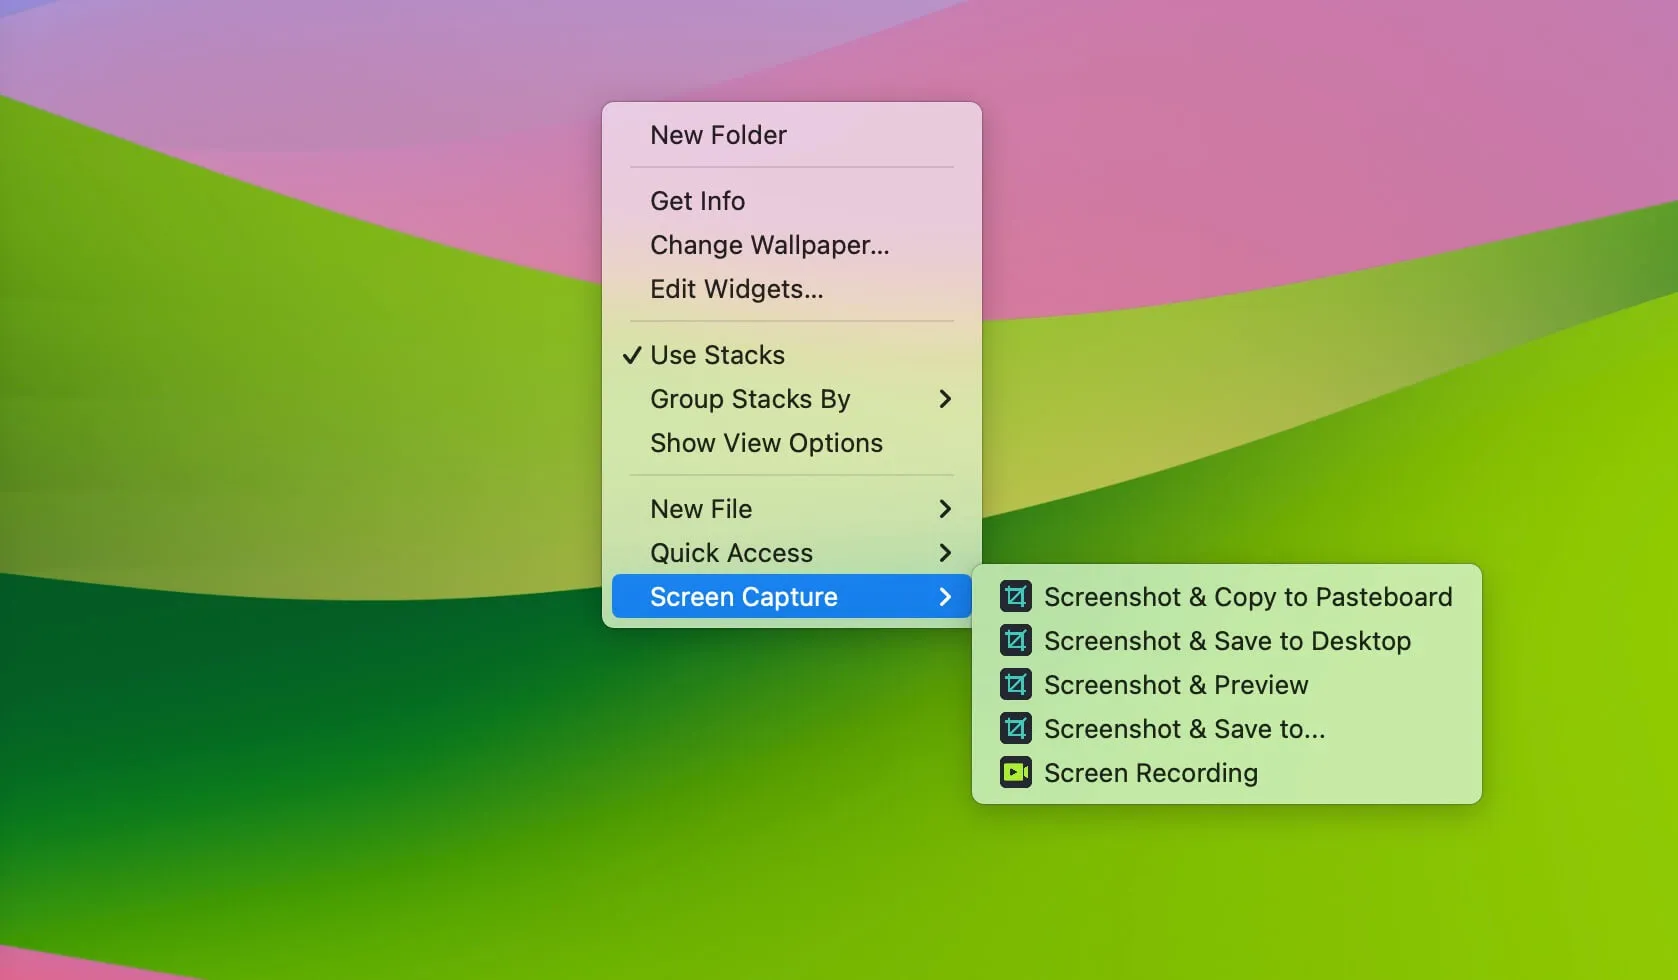
Different from the built-in screen capture program which requires you to right-click the thumbnail to change the screenshot's destination or open it, this software enables you to right-click to screenshot and copy to the pasteboard, screenshot and save to the desktop or anywhere you want, screenshot and preview, and screen record.
Here's how to screenshot a specific area on Mac with right-click:
Step 1. Download, install, and open iBoysoft MagicMenu on your Mac.
Step 2. Add the screen capture feature to your right-click menu.
Click Extension on the app's main interface and scroll down to find Screen Capture. Click the download button next to it to add this feature to your right-click menu.
Step 3. Right-click on your screen and select Screen Capture.
Choose Screenshot & Copy to Pasteboard, Screenshot & Save to Desktop, Screenshot & Preview, or Screenshot & save to... to capture a selected area on your Mac according to your needs.
Go to tell others how to screenshot a selected area on Mac.
How do you send a screenshot from your Mac to someone?
How to send a screenshot on Mac? There are various ways for us to send a screenshot from our Macs to someone else. Using AirDrop, Messages, or Mail are the common and wireless ways to share files between users on Mac.
Send a screenshot from your Mac to someone nearby with AirDrop
- Right-click the screenshot you want to share on your Mac.
- Select Share > AirDrop.
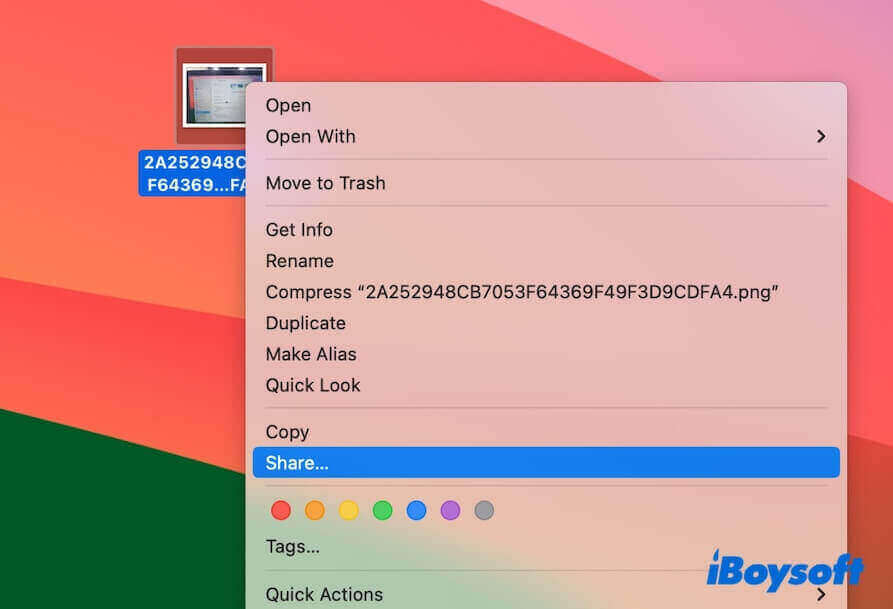
- Select the one you want to send the screenshot to.
Send a screenshot from your Mac to others remotely with Messages or Mail
Send screenshots to others using the Messages app:
- Open Messages on the Dock of your Mac.
- Start a new iMessage conversation with the one you want to send the screenshot to.
- Drag and drop the screenshot into the message box.
- Press Return to send it.
Send screenshots to someone with Mail:
- Open Mail on the Dock of your Mac.
- Start a message.
After editing the contents, drag and drop your screenshots to this message. Or, you can click the photos icon in the toolbar > Photos to add your screenshots.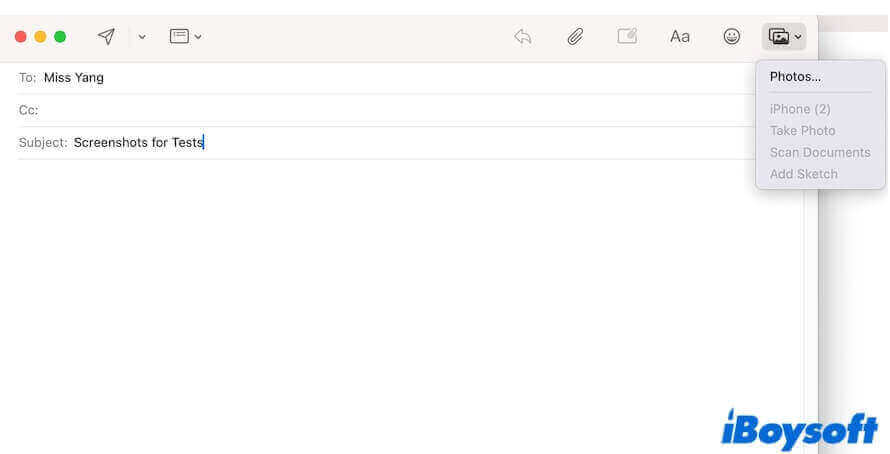
If you need to send a huge amount of screenshots, you can also save them into a folder and then zip the folder. Next, add this zipped file as an attachment to the email. - Send the email.
This post discusses how to screenshot a specific area on a Mac in multiple ways. If these methods are useful for you, share them to help more people.
