How do you create a bootable USB for MacOS Yosemite? This article provides a detailed guide on it. From scratch - download the Yosemite installer.
Once have successfully created a bootable Yosemite USB, you can go through the following process.
- Install macOS Yosemite on another Mac
- Downgrade macOS
- Troubleshoot or repair a Mac that won't boot
- Use it as a portable OS installer
- Test on older Macs
If you have a Windows PC, you can also create the macOS bootable USB from Windows.
Preparations before creating bootable Yosemite USB
If you want to quickly and smoothly create a bootable Yosemite USB, here are a few key points you should pay attention to first.
a. A USB flash drive with at least 8GB of storage capacity. It's recommended to use a 16GB or larger USB drive to accommodate the size of the Yosemite installer.
You need to know that creating a bootable installer will erase all data on the USB drive, so ensure you back up important files before proceeding.
b. Before creating a macOS Yosemite USB bootable installer, it's important to ensure that your Mac model is compatible with macOS Yosemite. This is necessary because you need to download the macOS Yosemite installer on a supported Mac to create the bootable USB.
The following Mac models are compatible with macOS Yosemite:
- MacBook (Late 2008 Aluminum or Early 2009 or newer)
- MacBook Air (Late 2008 or newer)
- MacBook Pro (Mid-2007 or newer)
- Mac Mini (Early 2009 or newer)
- iMac (Mid 2007 or newer)
- Mac Pro (Early 2008 or newer)
- Xserve (Early 2009)
c. Ensure your Mac has sufficient disk space before creating a bootable Yosemite USB. If you don't want to manually search for and delete unnecessary files, try to use a disk management tool like iBoysoft DiskGeeker for Mac.
This tool helps you quickly identify and remove unwanted files, caches, and large items occupying your storage, thereby freeing up disk space.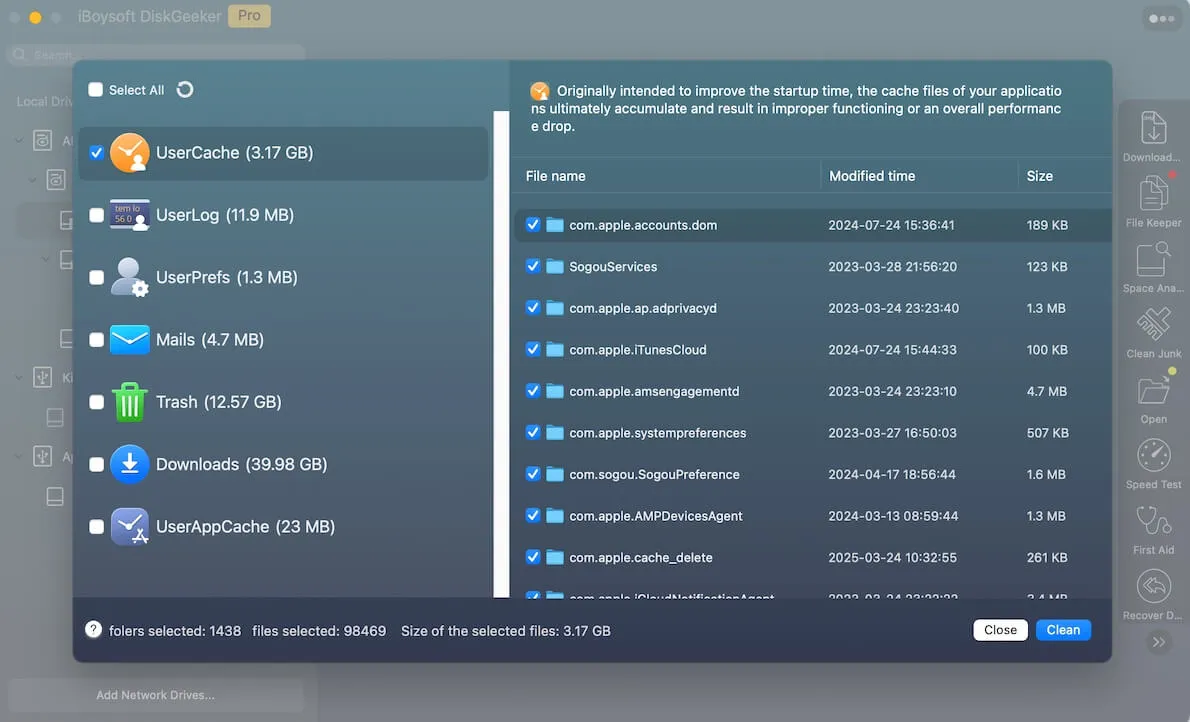
Share the preparations for creating a bootable Yosemite USB with your friends!
How do you create a bootable USB for MacOS Yosemite
Apple has discontinued offering the macOS Yosemite installer directly through the Mac App Store for macOS 10.12 Sierra and earlier versions. However, you can still download the macOS Yosemite installer via Apple's official support page or specific App Store links.
Download the macOS Yosemite installer: Mac OS X 10.10.5 Yosemite DMG download (Apple server)
Note: Ensure that you download the OS X Yosemite installer from Apple's official support page. After downloading, make sure the installer is located in the "Applications" folder. Otherwise, you may encounter errors when creating the bootable drive.
Now, you can follow the steps below to create a bootable USB for MacOS Yosemite.
- Insert the USB drive into your Mac.
- Open "Disk Utility" (located in Applications > Utilities). Select your USB drive from the left sidebar, then click "Erase." Set the Name as Yosemite, Format as Mac OS Extended (Journaled), and Scheme as GUID Partition Map.
- Click "Erase" to format the drive. (Before this, make sure you have backup important data on the USB drive, as the process will erase all contents.)
- Open "Terminal" (located in Applications > Utilities).
- Enter the following command and press Enter:
sudo /Applications/Install\ OS\ X\ Yosemite.app/Contents/Resources/createinstallmedia --volume /Volumes/Yosemite --applicationpath /Applications/Install\ OS\ X\ Yosemite.app --nointeraction - When prompted, enter your administrator password (note that no characters will appear as you type), then press Enter.
- Wait for the process to complete. The terminal will display "Install media now available" upon success. (Can't create bootable USB installers on Mac?)
At this time, you can verify the Bootable Installer. Open "Finder" and check if the USB drive is named "Install OS X Yosemite" in the left sidebar.
Alternatively, you can run the following command in Terminal to verify. If the installation files are listed, the creation was successful.
ls /Volumes/Install\ OS\ X\ Yosemite
Share the method of creating a bootable USB for MacOS Yosemite with more people!
How to use macOS Yosemite bootable USB on Mac
Once your macOS Yosemite bootable USB installer is ready, you can use it to install or reinstall macOS Yosemite on your Mac.
- Insert the macOS Yosemite bootable USB installer into the target Mac and ensure the Mac is connected to a power source.
- Restart the Mac and, during startup, hold down the Option (⌥) key until the startup disk selection screen appears.
- In the startup disk selection screen, select the USB drive named "Install OS X Yosemite," then press the Return key (or click the arrow) to launch the installer.
- The system will boot from the USB and display the macOS Utilities window. Select "Install OS X," then click "Continue," and follow the on-screen instructions to complete the installation.
Once the installation is complete, your Mac will automatically restart and guide you through the initial setup process. This includes selecting your country or region, connecting to a Wi-Fi network, and signing in with your Apple ID.
If you perform a clean installation, the system will prompt you to restore data from a Time Machine backup or set up your Mac as a new device.
If you think this article is useful, please share it with more people!