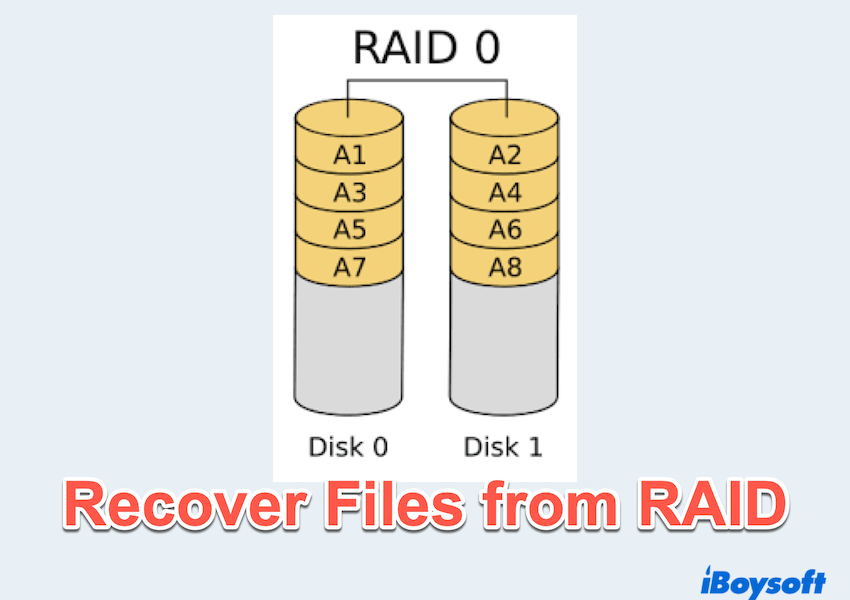
RAID (Redundant Array of Independent Disks) is widely used for data redundancy and performance improvements. However, RAID failures can still happen due to disk corruption, accidental deletion, hardware malfunctions, or software issues.
If you have lost important files on your Mac's RAID system, don't panic. There are several ways to recover data from RAID on Mac.

How to recover data from Mac RAID
After checking your Mac Trash, you found nothing. Here you can try one by one to recover data RAID.
Method 1: Restore RAID data from a Time Machine backup
If you have set up Time Machine, Apple's built-in backup tool, you may be able to restore lost RAID data easily. Here's how:
- Connect your Time Machine backup drive to your Mac.
- Finder > Applications > Utilities > Time Machine.
- Browse through backups with the timeline to find the missing files.
- Select the files and click Restore to recover them to their original location.
Method 2: Recover RAID data from Cloud storage
If you store important files on cloud services like iCloud Drive, Google Drive, or Dropbox, you can retrieve lost data from a Mac RAID from there.
Here we set iCloud as an example:
- Visit iCloud.com and log in to your Apple account.
- Click on iCloud Drive and check for deleted files.
- Find the needed files or scroll down and find Data Recovery > Restore Files.

For Google Drive or Dropbox, check the Trash or Deleted Files folder to recover lost data.
Method 3: Manually rebuild the RAID Array
If your RAID array on Mac is degraded but the drives are still functional, you may be able to rebuild it manually in Disk Utility, then try to access the data again.
- Finder > Applications > Utilities > Disk Utility.
- Locate your RAID set in the sidebar.
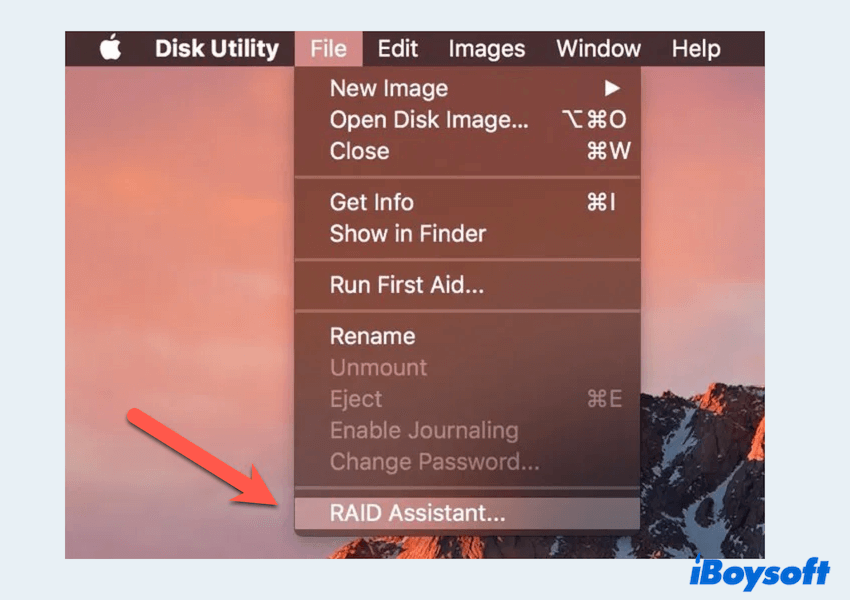
- If the RAID set appears as "Degraded" but has not completely failed, use File > RAID Assistant to rebuild it.

- Follow the on-screen instructions to restore the array.
Note: If your RAID has suffered severe physical damage, this method may not work.
Method 4: Recover RAID data from Terminal
For tech-savvy users, macOS Terminal can help recover RAID data on Mac.
- Finder > Applications > Utilities > Terminal.
- Type diskutil list and press Enter to identify RAID disks and press the Enter key.
- Type diskutil repairVolume /dev/diskX (replace X with the RAID disk number).
- If needed, use fsck (File System Consistency Check) for further repairs:
sudo fsck_hfs -fy /dev/diskX - Restart your Mac and check if your RAID volume is accessible.
Method 5: Recover RAID data from professional tools
You'll need RAID data recovery software if the above methods don't work. Some of the Mac-compatible RAID recovery tools can help you:
- Download and install one of the RAID recovery tools.
- Launch the software and select your RAID drive for scanning.
- Allow the tool to scan for lost or deleted files.
- Preview and restore the recovered files to a safe location.
Do you know how to recover data from a RAID Mac? Please share this post to help more Mac users.
Bonus: How to recover data from internal/external drives
If you need to recover lost files from your Mac's internal SSD or an external drive, iBoysoft Data Recovery for Mac is an excellent choice. It supports APFS, HFS+, exFAT, and NTFS file systems and can recover files lost due to deletion, formatting, or corruption.
Have a try if you lost or deleted cherished data accidentally~ With iBoysoft Data Recovery for Mac, you can retrieve lost files from internal and external disks, including USB drives, SD cards, and external HDDs.
Need more help with RAID recovery? Let us know your RAID setup and issue in the comments!