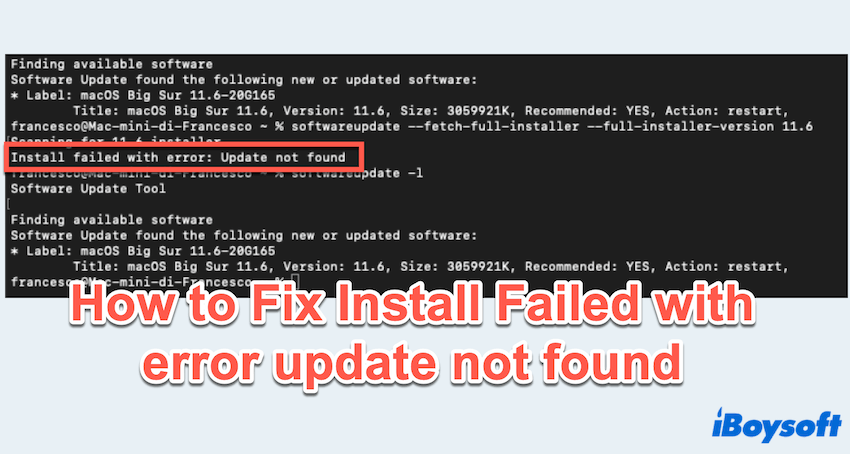
Many Mac users complain about the error "Install failed with the error: Update not found" while using the Mac Terminal. This error means that you can't download macOS like Tahoe. It is so frustrating that you can't update to macOS Tahoe or any other desired version.
I have been getting the error "Install failed with the error update not found" after running the command "softwareupdate --fetch-full-instaoller --full-intaller-version 15.4.1". -discussion.apple.com
Trying to download a full installer version of macOS 10.14.5 but got this error. Any suggestion? -reddit.com
This error usually signals a problem with macOS update mechanisms, network settings, or package managers like Homebrew. Fortunately, this guide can help you.
How to remove “Install failed with the error update not found”
There are several proven solutions that we summarize from the famous forums, hoping they can fix this Mac Terminal error.
# 1 Reset Software Update components
Corrupted or outdated software update configuration can lead to this error. Let's reset in Terminal:
- Finder > Applications > Utilities > Terminal.
- Run these commands one by one:
sudo rm -rf /Library/Preferences/com.apple.SoftwareUpdate.plist
sudo rm -rf /var/db/softwareupdate
sudo softwareupdate --clear-catalog - Reboot your Mac and try checking for updates again.
(Use "softwareupdate --list" to find the appropriate one.)
If you fail to update macOS Sequoia 15.4, please read: MacBook Fails to update to Sequoia 15.4.
# 2 Verify Internet connection & Apple services
A failed or slow connection to Apple System Status can result in the update not being found.
- Ensure you're connected to a stable internet connection. (You can change to a Wi-Fi or hotspot.)
- Test your connection by pinging Apple in Terminal: ping -c 3 swscan.apple.com
- Visit Apple's System Status page to confirm that macOS Software Update and other related services are operational.

# 3 Update macOS or Command Line Tools
Outdated command line tools (CLTs) or macOS versions can trigger this error, especially when using tools like Xcode or Homebrew.
- To update command line tools: Open Terminal and type: xcode-select --install.
(If this fails: Type "sudo rm -rf /Library/Developer/CommandLineTools
sudo xcode-select --install".) - To update macOS: Open Terminal and type: "softwareupdate --fetch-full-installer" or the full path: "sudo /usr/sbin/softwareupdate --fetch-full-installer".
If you fix this issue, please share our post.
# 4 Install and update macOS from App Store
You can download macOS from the App Store to avoid the "Install with error update not found" in Terminal.
- Open App Store and look for your desired macOS version.
- Click Get > Download.
- Quit the prompt window after the downloading process.
- Click Install macOS... > Quit Install macOS.
- Finder > Applications > Look for the downloaded installer.
- Open it and follow the installation.
# 5 Correct system date and time
If your Mac's date and time are incorrect, Apple's servers may reject update requests.
- Go to Apple menu > System Settings > General > Date & Time.
- Enable Set time and date automatically.
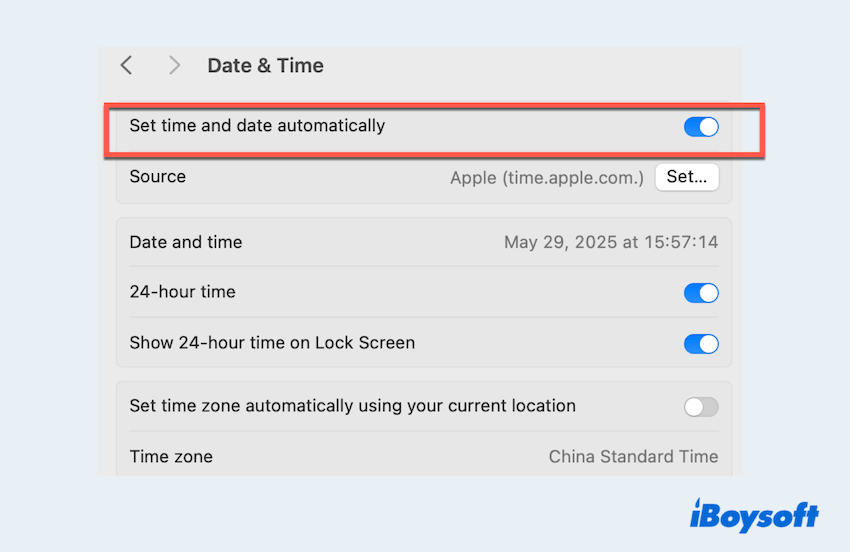
Or via Terminal with "sudo sntp -sS time.apple.com".
# 6 Perform a clean install
If none of the above solutions work, a clean macOS install in macOS Recovery Mode might be necessary. This will erase your system and reinstall macOS from scratch. So, do a backup before this fix.
- Backup your data using Time Machine.
- Boot into macOS Recovery Mode (restart and hold Command + R).
- Use Disk Utility to erase your disk.
- Choose Reinstall macOS and follow the on-screen instructions.
The "install failed with error: update not found" issue in Mac Terminal is typically solvable by addressing system update components, connectivity issues, or corrupted configurations. Follow the steps above in order, from the simplest fixes to more advanced solutions like a clean install.
Hope you can fix your issue and share our useful post~