If you're trying to write to an NTFS drive on a Mac, you've likely heard about MacFUSE, NTFS-3G, and Mounty. This combination was one of the few ways to enable NTFS write support without paying for commercial software.
However, today's macOS versions have changed significantly. Driver installation requires reduced system security on Apple Silicon Macs, compatibility varies across macOS releases, and performance may not match native drivers.
This guide explains how MacFUSE works, what versions of macOS it supports, its limitations, common installation problems, and when you should consider an alternative.
What is macFuse?
macFUSE, also called FUSE for macOS or OSXFUSE, is a software package that enables macOS to support file systems that are partially or not natively supported by macOS, such as NTFS, SSHFS, etc. It provides the infrastructure to create and manage file systems, but it doesn't itself support any specific file system types.
Therefore, it must be used with NTFS-3G, an open-source driver that provides full read/write access to NTFS on macOS. This way, macFUSE lays the groundwork for NTFS-3G to run, and NTFS-3G can leverage it to interact with the macOS kernel and provide the actual read and write support for NTFS on Mac. Together, they can allow macOS or OS X users to write to NTFS seamlessly on a Mac.
Besides, you'll also need Mounty to automate the complicated process of manually mounting NTFS volumes using command lines. It provides a simple interface that enables NTFS write support on Mac with just a few clicks.
Our macFUSE Compatibility Test
macFUSE has a long history on macOS, but compatibility has become more complicated since Apple changed the security architecture starting with macOS Big Sur and Apple Silicon Macs.
Older Intel Macs allowed third-party filesystem drivers to run with fewer restrictions. However, newer macOS versions introduced stricter requirements for system extensions, signed drivers, and startup security settings.
Before installing macFUSE, check your macOS version and Mac model.
I tested macFuse on different Mac computers to check its compatibility.
Test environment:
| Device | macOS | Result |
|---|---|---|
| MacBook Air M1 | macOS Sonoma | Installed successfully after approving system extension |
| MacBook Air Intel | macOS Sequoia | Installed normally |
| MacBook Pro M3 | macOS Tahoe | Required Privacy & Security approval |
For older macOS versions, I used virtualization.
Test scenarios:
✓ Installed macFUSE, NTFS-3G, and Mounty
✓ Connected NTFS external drive
✓ Mounted drive
✓ Created a new folder
✓ Copied files to NTFS drive
✓ Ejected drive safely
Here's the final compatibility result:
| macOS Version | Intel Mac | Apple Silicon (M1/M2/M3/M4) | Compatibility Notes |
|---|---|---|---|
| macOS Tahoe 26 | ✓ | ✓ | Requires a macFUSE version compatible with the latest macOS system extension framework. Older releases may fail to load. |
| macOS Sequoia 15 | ✓ | ✓ | macOS may block third-party system extensions until manually approved in Privacy & Security settings. |
| macOS Sonoma 14 | ✓ | ✓ | Works through system extensions. Users may need to approve driver loading after installation. |
| macOS Ventura 13 | ✓ | ✓ | Compatible, but Apple silicon Macs follow stricter security rules than Intel Macs. |
| macOS Monterey 12 | ✓ | ✓ | One of the earlier macOS versions with Apple silicon support. Requires compatible macFUSE releases. |
| macOS Big Sur 11 | ✓ | ✓ | Major transition point. Apple introduced changes affecting kernel extensions and third-party filesystem drivers. |
| macOS Catalina 10.15 | ✓ | ✗ | Intel-only. Apple Silicon Macs did not exist yet. |
| macOS Mojave 10.14 and earlier | ✓ | ✗ | Older kernel extension-based architecture. Compatibility depends on the macFUSE release. |
* The oldest macFUSE release (x3.7.5) supports OS X 10.9 Mavericks and later.
How to Use macFUSE to Write to NTFS?
You can take the following steps to mount NTFS drives with read/write access on Mac using macFUSE:
- Open Finder, then launch Terminal from the Applications > Utilities folder.
- Copy and paste the following command into Terminal and hit Enter to install Command Line Tools.xcode-select --install
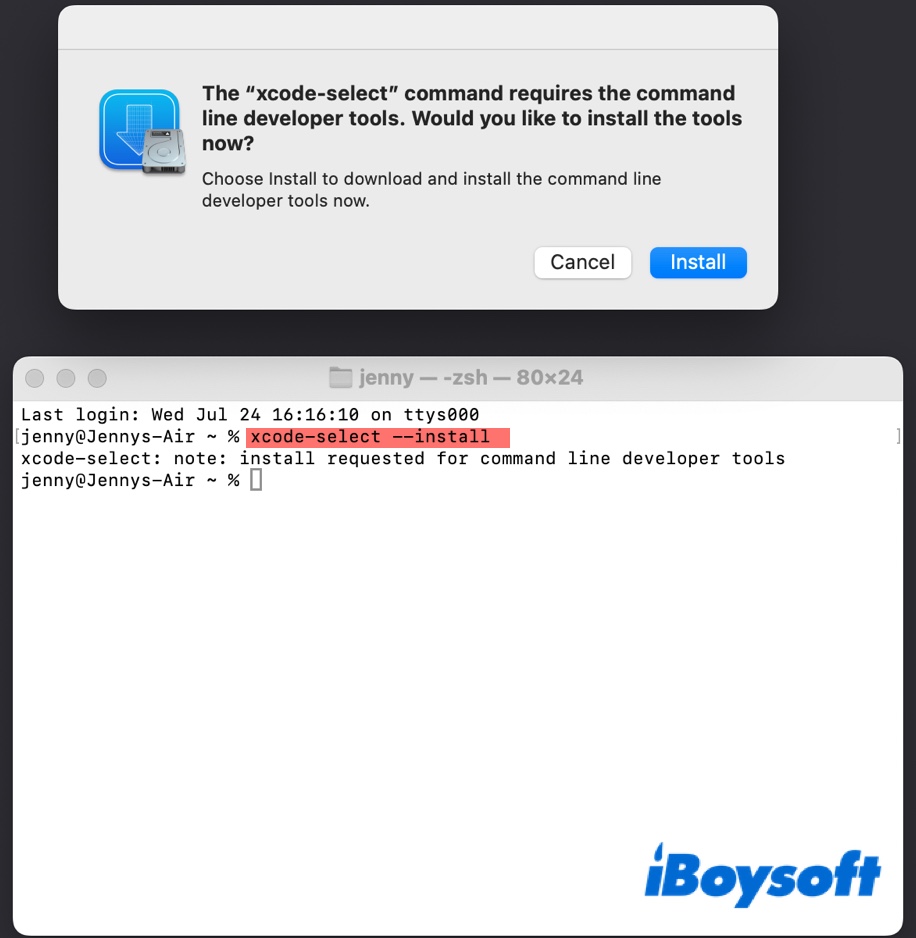
- Click Install > Agree and wait for the tools to be downloaded. (This may take a few minutes.)
- Run the following command to install Homebrew./bin/bash -c "$(curl -fsSL https://raw.githubusercontent.com/Homebrew/install/HEAD/install.sh)"
- Type in your login password and hit Enter.
- Follow the instructions to install Homebrew. (If you can't install Homebrew from Terminal, download its package to install it.)
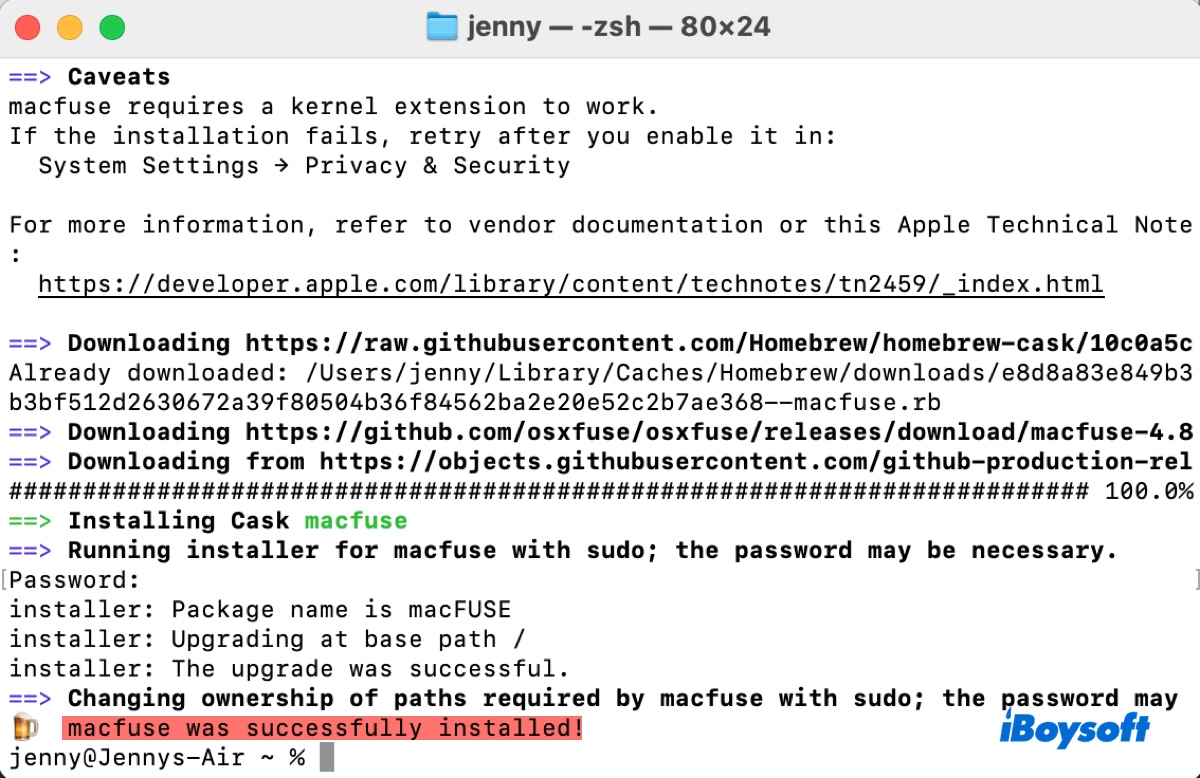
- After Homebrew is installed, you can download and install macFUSE by running the following command.brew install --cask macfuse
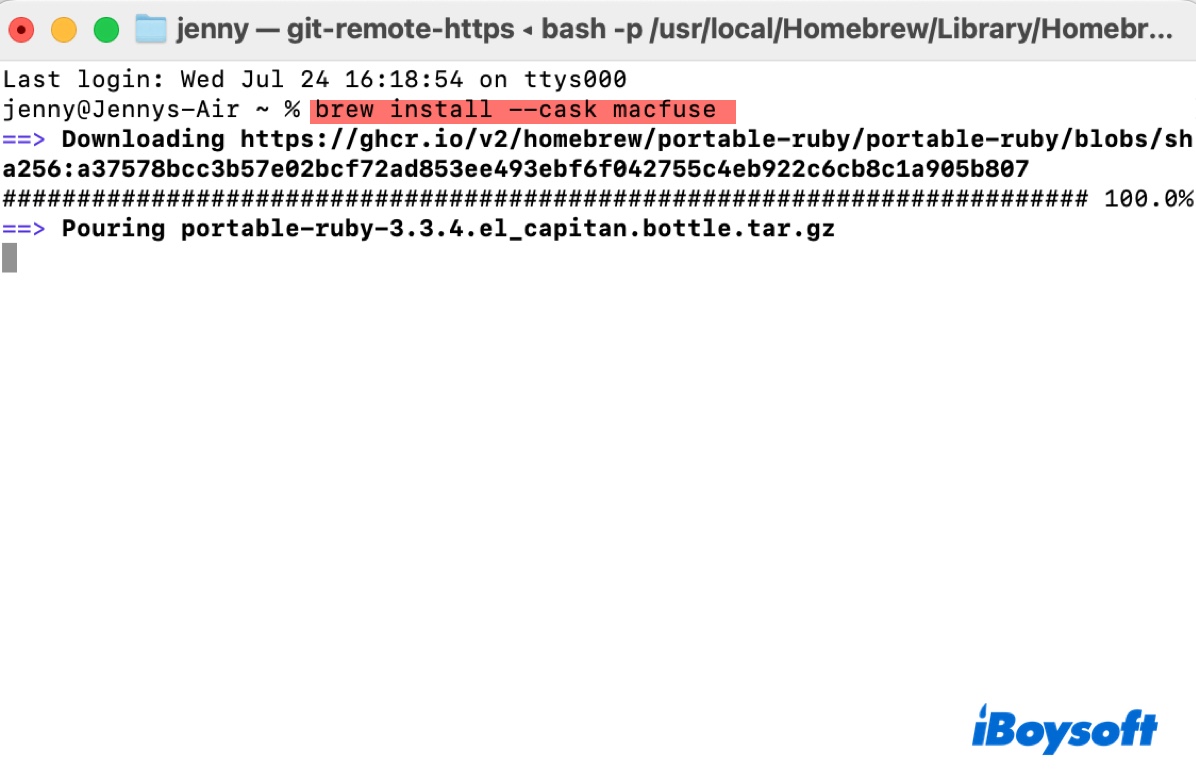
- Input your password and hit Enter when required, then wait until macFUSE is installed.
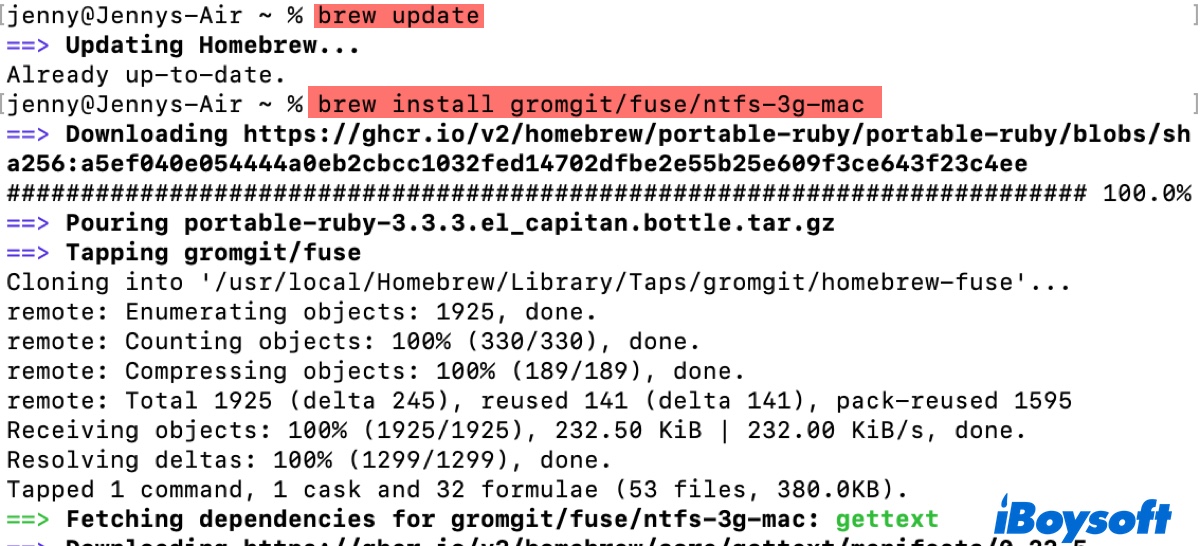
- Execute the command below to update Homebrew.brew update
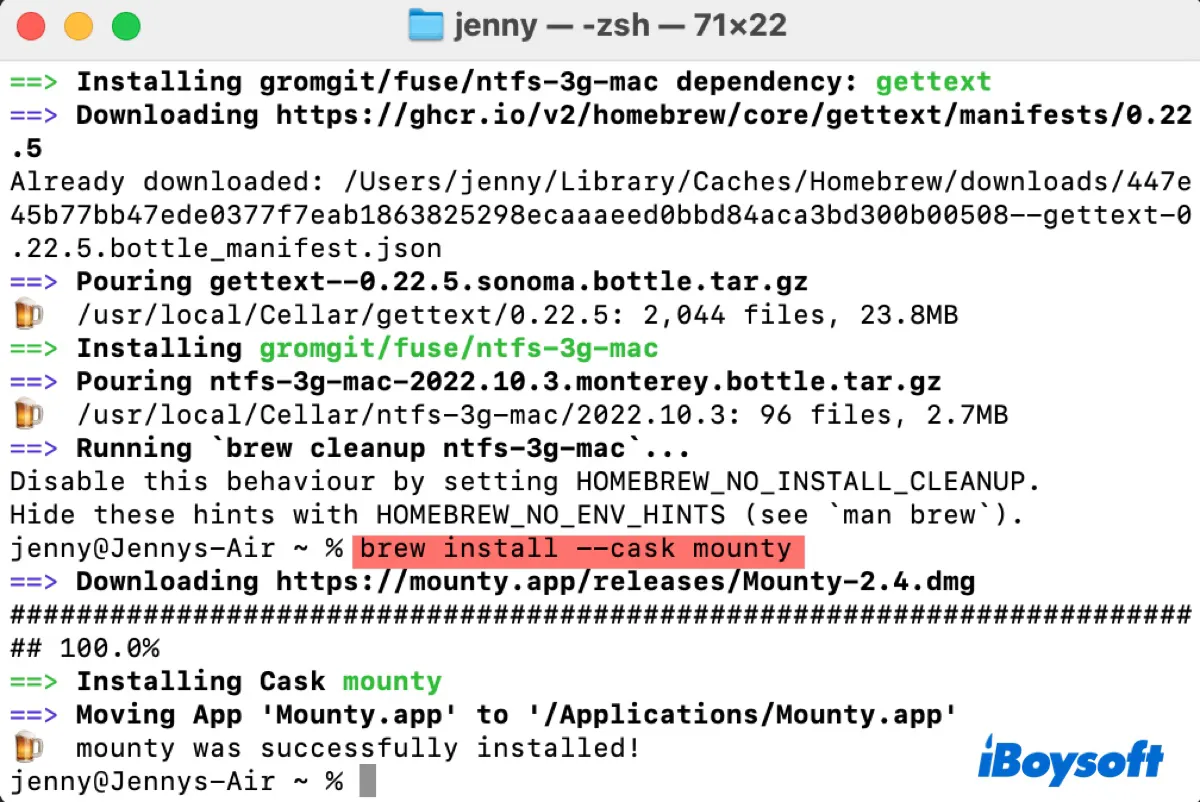
- Install NTFS-3G.brew install gromgit/fuse/ntfs-3g-mac
- Lastly, get Mounty.brew install --cask mounty
- When you are asked to enable system extension, follow the instructions to accept the changes and reboot your Mac.
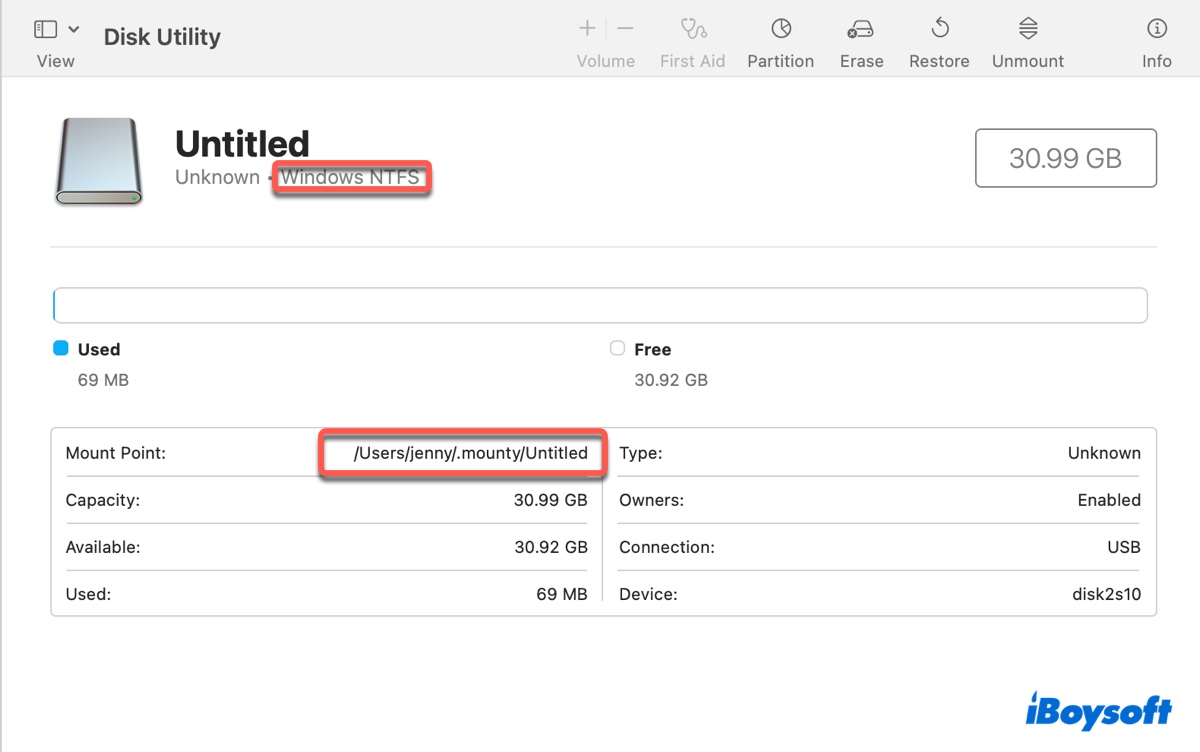
- Once all three tools are downloaded and installed, launch Mounty from your Applications folder and click Re-mount "NTFS_volume_name".

- Enter your admin login password and click OK.
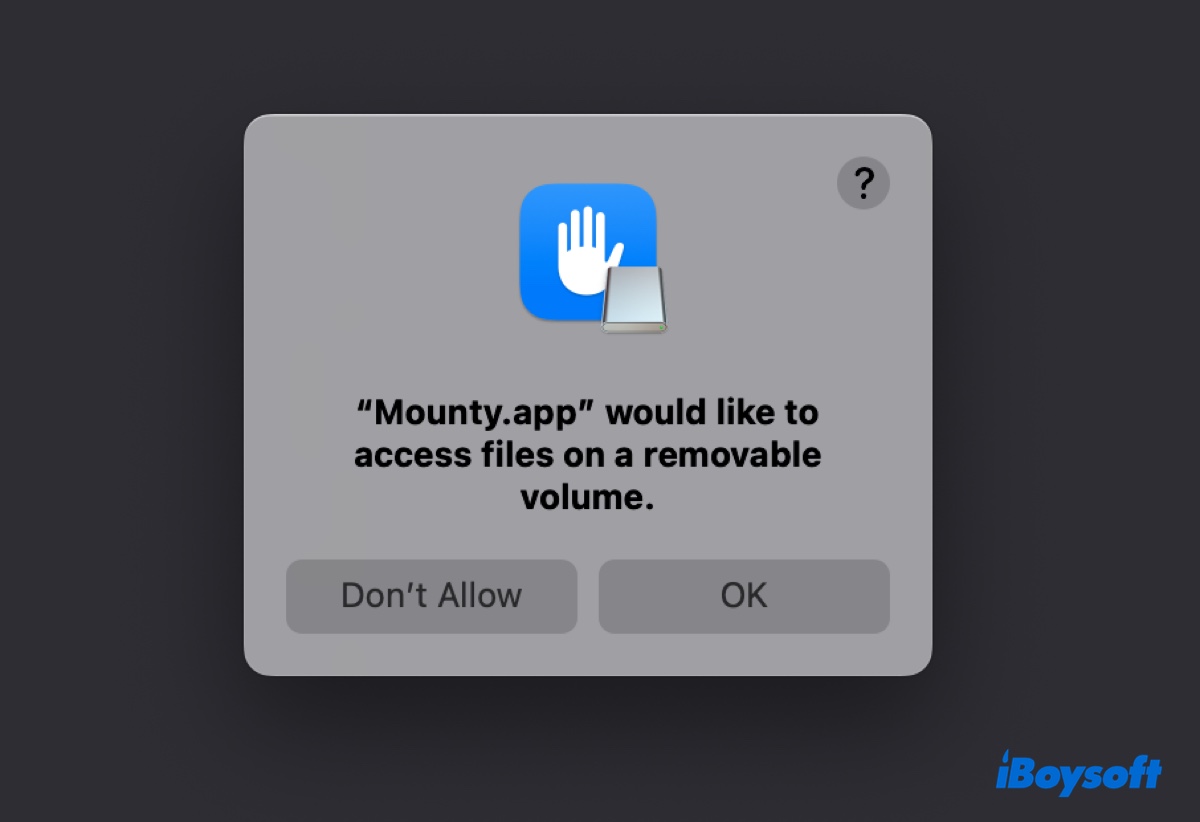
- Click OK to allow Mounty disk access.
Your NTFS drives will be mounted with read/write privileges now.
These steps work on my Mac running macOS Sonoma and should also apply to earlier systems. Be reminded that if your system is upgraded, you'll need to repeat the steps to use NTFS drives on Mac and it's not guaranteed to work.
If you want reliable and consistent access to NTFS volumes on Mac, especially the latest macOS version, consider using iBoysoft NTFS for Mac. It's Mounty's recommendation as well. With this one NTFS for Mac driver installed, you can write to NTFS on Mac without the concern that you may suddenly lose access to your NTFS drive.
Share this article to benefit others who want to mount NTFS read/write with macFUSE!
Error: NTFS-3G has been disabled because it requires closed-source macFUSE
If you're trying to install NTFS-3G with the command (brew install ntfs-3g), you'll receive the error reading "ntfs-3g has been disabled because it requires closed-source macFUSE," or "Error: ntfs-3g has been disabled because it requires FUSE!"
This is because the use of FUSE has been deprecated in Homebrew, and any formulas that involve FUSE as a dependency have been disabled. To install NTFS-3G on Mac, you need to run the command below instead:
brew install gromgit/fuse/ntfs-3g-mac
Other common problems and solutions are summarized in the table below:
| Problem | Possible Cause | Solution |
|---|---|---|
| NTFS drive still read-only | NTFS-3G not installed | Install NTFS-3G |
| MacFUSE won't load | System extension blocked | Allow extension in Privacy & Security |
| "Operation not permitted" | SIP or Reduced Security | Adjust startup security if appropriate |
| Drive disappears | Driver conflict | Uninstall conflicting NTFS drivers |
macFuse vs. Commercial NTFS Drivers
If you're uncertain about whether to use macFuse + NTFS-3G or choose a standalone NTFS driver, the comparison table below should help:
| Feature | macFUSE + NTFS-3G | iBoysoft NTFS | Paragon | Tuxera |
|---|---|---|---|---|
| Cost | Free | Paid | Paid | Paid |
| Installation complexity | High | Low | Low | Low |
| Automatic mounting | Limited (with Mounty) | Yes | Yes | Yes |
| Apple Silicon support | Yes | Yes | Yes | Yes |
| Native integration | No | Yes | Yes | Yes |
| Format drives to NTFS on Mac | No | Yes | Yes | Yes |
| Write speed | Slow | High | High | Moderate |
| Drive repair tools | No | Yes | Yes | Yes |
| App Store download | No | Yes | No | No |
How to Read and Write to NTFS on Mac Natively?
The ideal way to read and write to NTFS on Mac is to use a reliable NTFS for Mac driver like iBoysoft NTFS for Mac.
It requires no extra tools or complex commands that may lead to failure or disk corruption if done wrong. Just install it, and then it'll automatically mount NTFS on Mac with read/write access. (If you'd like, you can learn the NTFS for Mac tech evolution)
Once installed, you can write, copy, edit, or delete files on the NTFS drive on your Mac without restriction.
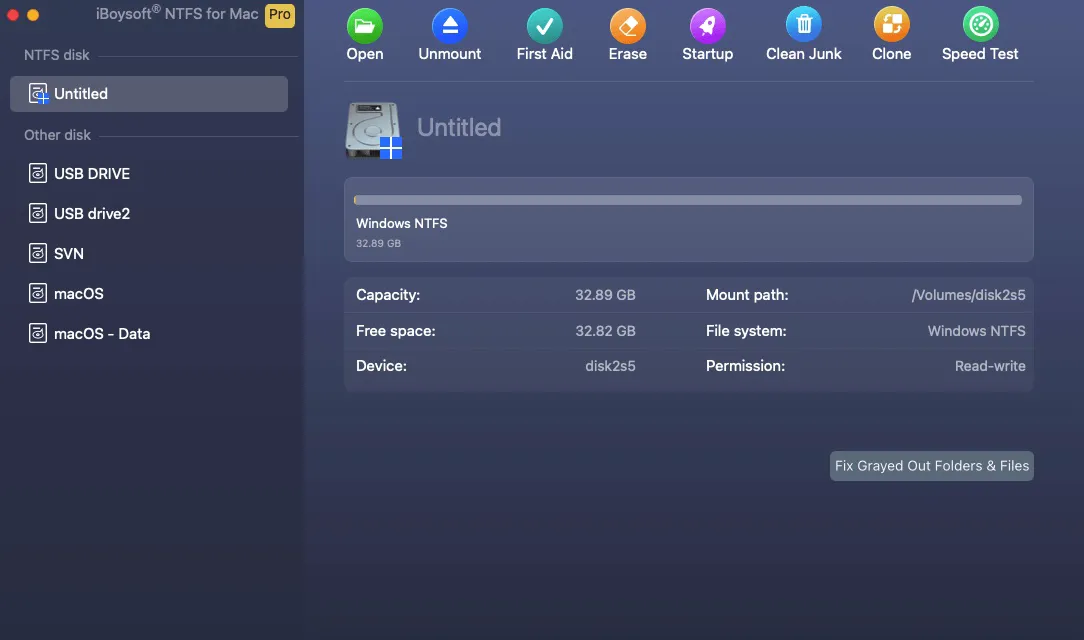
Apart from enabling NTFS read/write access on Mac, it also allows you to formatting disks to NTFS on Mac, repair NTFS on Mac, boot from Boot Camp partition, and mount or unmount NTFS drives on Mac.
Also read: Free NTFS for Mac
How to Uninstall macFUSE and NTFS-3G?
If you no longer need macFUSE or NTFS-3G, you can uninstall them with the following steps:
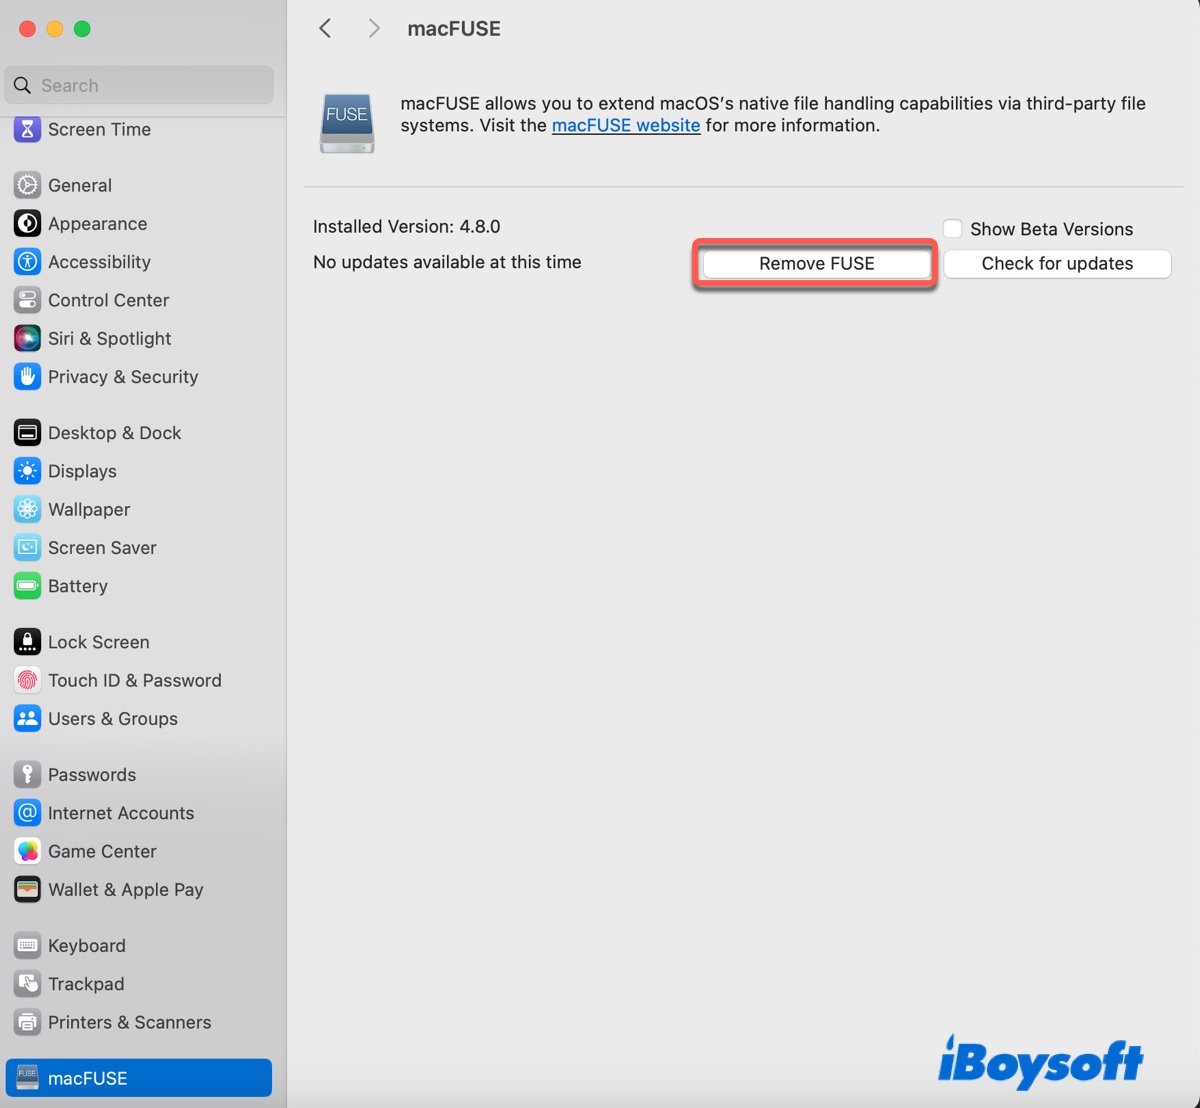
Uninstall macFUSE on Mac:
- Go to the Apple menu > System Settings.
- Select macFUSE from the left panel.
- Click Remove Fuse.
Uninstall NTFS-3G on Mac:
- Open Terminal.
- Run the following command.brew uninstall ntfs-3g
Was this post helpful? Share it!
FAQs
- QDo I need macFUSE on my Mac?
-
A
If you want to write to NTFS drives on your Mac for free, you can keep macFUSE and NTFS-3G. If you rarely use NTFS drives, you can uninstall it to free up space.
- QCan I remove macFUSE?
-
A
Yes, you can remove macFUSE if it's no longer needed. Simply go to System Settings, select it and click Remove FUSE.
- QHow to check if macFUSE is installed?
-
A
After macFUSE is installed, it will show up in System Settings or System Preferences.