
Written by
Amanda Wong
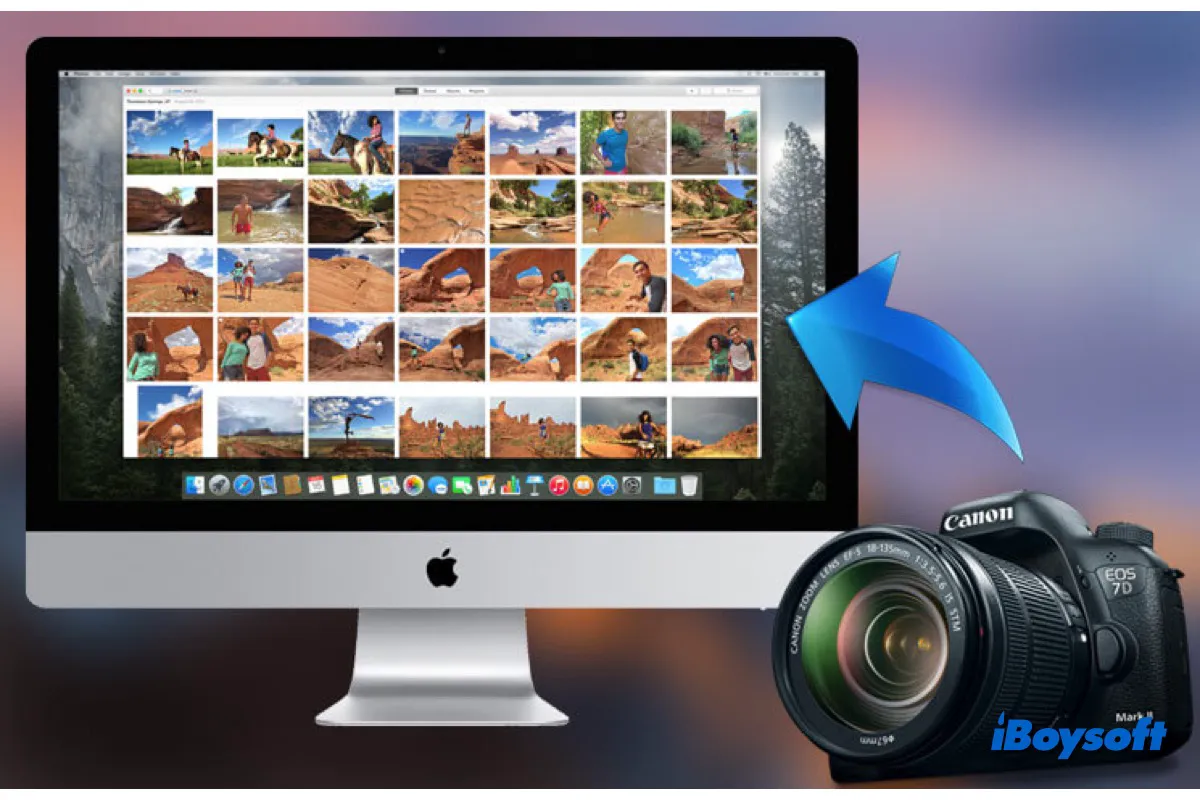
Perhaps, you want to create a backup for your camera photos, do more edits on the camera photos, share the pictures on the camera with families/friends, or the camera is almost full and you want to release more storage space, due to various reasons, you may choose to import photos from camera to Mac.
In this post, we are going to walk through multiple ways to get photos from a Canon/Sony/Fujifilm/Nikon camera to Mac:
- 1. Import photos from camera to Mac with Photos
- 2. Import photos from camera to Mac using Preview
- 3. Import photos from camera to Mac in Finder
Import photos from camera to Mac with Photos
Either straightforwardly connect the digital camera to your MacBook Air/Pro/iMac or insert the camera's SD card into your Mac, the built-in Photos app can meet your need to import photos from camera to Mac.
Transfer photos from digital camera to Mac:
- Connect the camera to your Mac via a USB cable.
- Turn on the camera and set it to the correct mode to import photos.
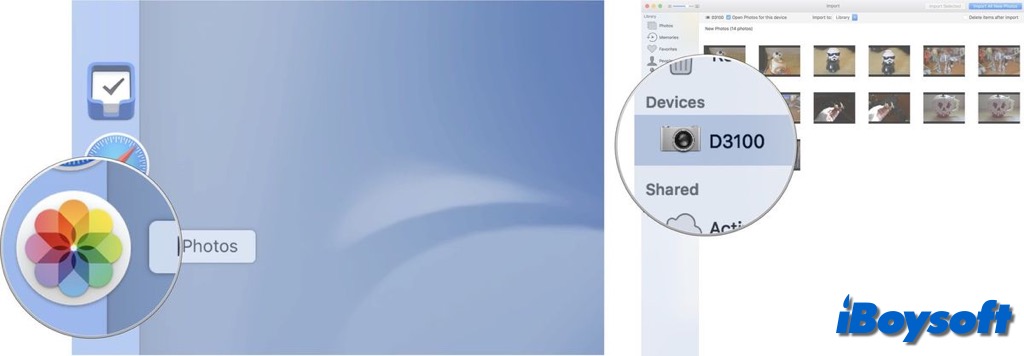
- Open Photos and find the camera under Devices on the sidebar.
- Click the camera icon to display all the photos.
- Click Import to and set where to import photos, an existing album, a new album, or the Library.
- Tap the Import All New Photos button or select the wanted photos and click Import Selected.
- Click Delete Items or Keep Items when it asks whether to delete or keep the photos on camera after importing.
- Disconnect the camera from your Mac.
Transfer photos from the camera's SD card to Mac:
- Take out the SD card from the camera and insert it into the Mac with a built-in slot or an SD card reader.
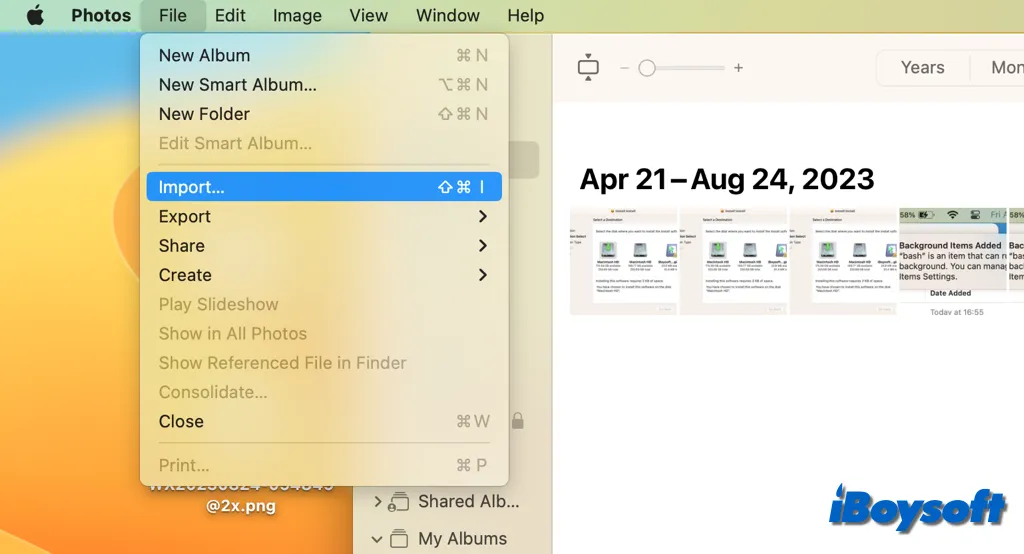
- In the Photos app, click File and choose Import from the menu.
- Click the SD card under Locations in Finder's sidebar and select the photos/videos you want to import.
- Click Import All New Photos or Import Selected as you prefer.
- Click Delete Items or Keep Items to decide whether to keep the originals on the SD card.
- Remove the SD card from Mac once all the images have been loaded.
- Find the imported photos in the Imports album.
Import photos from camera to Mac using Preview
In addition to the Photos app, another macOS tool can also import photos from the camera to the Mac, which is Preview. It is preinstalled and designed to view and modify diverse formats of images and PDFs. Here's how to import photos from the camera with Preview:
- Connect the turned-on camera to the Mac correctly.
- In the Preview app on your Mac, choose File > Import from (camera name).
- To see the thumbnails in a list, to see large thumbnails, or to rotate images, use the buttons at the bottom of the window.
- You can click Import All to import all photos, or select some photos and click Import.
- Click Choose Destination to select where to save the photos. After the process is completed, the photos are opened in a window in Preview.
Import photos from camera to Mac in Finder
When you connect the camera or insert its SD card into the Mac, it also shows up in Finder's sidebar where you can access the items stored on the device/SD card. Therefore, you can transfer files from an external hard drive, a device like a digital camera, etc. to Mac via Finder, the default, file manager.
- Connect the camera to your Mac and launch Finder from the Dock.
- Access the connected camera from the sidebar's Locations.
- Click on the Digital Camera Images (DCIM) folder and its subfolders.
- Select all the photos or the desired photos to import.
- Right-click the selected photos and press Command-C to copy them or Command-X to cut.
- Open an existing folder or create a new folder, open the folder, and press Command-V to paste.
- Disconnect the digital camera from your Mac.
Let more people know how to import photos from a camera to a Mac!