By default, your Mac checks for new software updates and tries to keep itself automatically updated whenever available. While it's designed to be a user-friendly feature, there are times you don't want your Mac to install new software behind the scenes. For example, you may prefer the older version of an app and want to keep it there.
Or the automatic updates don't work and prompt the notification "Some updates could not be installed automatically." If that's your case, this post will walk you through three easy ways to turn off Mac auto updates. Let's start with the first one, changing update preference in App Store.
Turn off Mac auto updates in App Store preference
Depending on which Mac OS you are currently using, the process of changing App Store update preference can vary.
For those who run macOS Catalina and later, including the latest macOS Ventura:
Step 1. Click on the Apple icon located at the top-left corner to bring out the Apple menu list.
Step 2. Click on App Store. You can see how many updates are available.
Step 3. Click on App Store on the top-left and choose preference.
Step 4. You should uncheck the Automatic Updates option to disable automatic software updates.
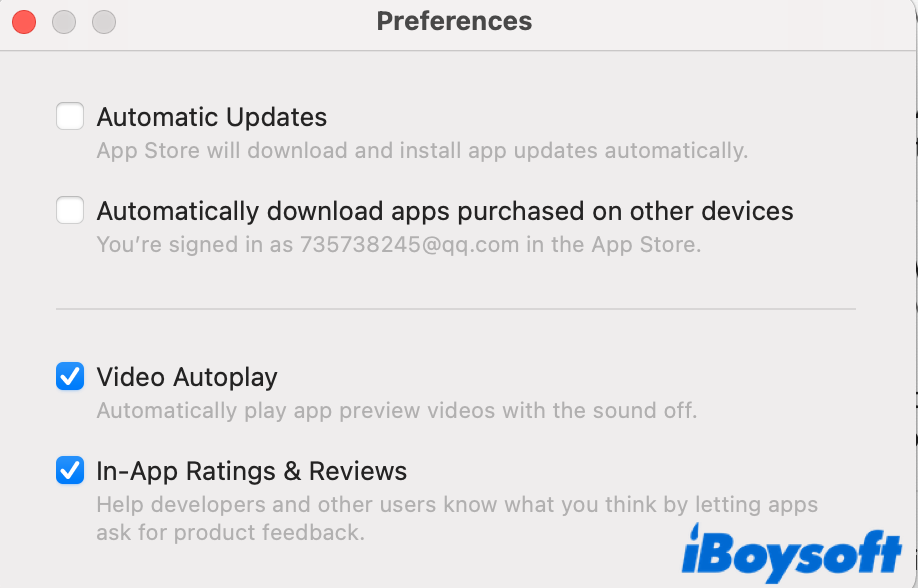
In this case, you'll be notified about the software update but the system won't start downloading and updating until you manually confirm it.
For those who run older macOS, including Mac OS X High Sierra, Sierra, El Capitan, Yosemite, and Mavericks:
Step 1. Similar to what's mentioned above, go to Apple menu > App Store > preference.
Step 2. Under Automatically check for updates, you should see four detailed options. Uncheck the first three, including:
- Download newly available updates in the background
- Install app updates
- Install OS X updates
However, keep in mind to check the last option since it plays a vital role in terms of protecting your Mac security.
In case you change your mind and want to enable Mac auto updates, simply tick all options mentioned above.
Turn off Mac auto updates in system preference
Alternatively, you can turn off software automatic updates in system settings. Follow the steps below to stop Mac from updating your software automatically.
Step 1. Click on the Apple icon located at the top-left corner to bring out the Apple menu list.
Step 2. Click on System Preference this time. You are about to enter the macOS system settings.
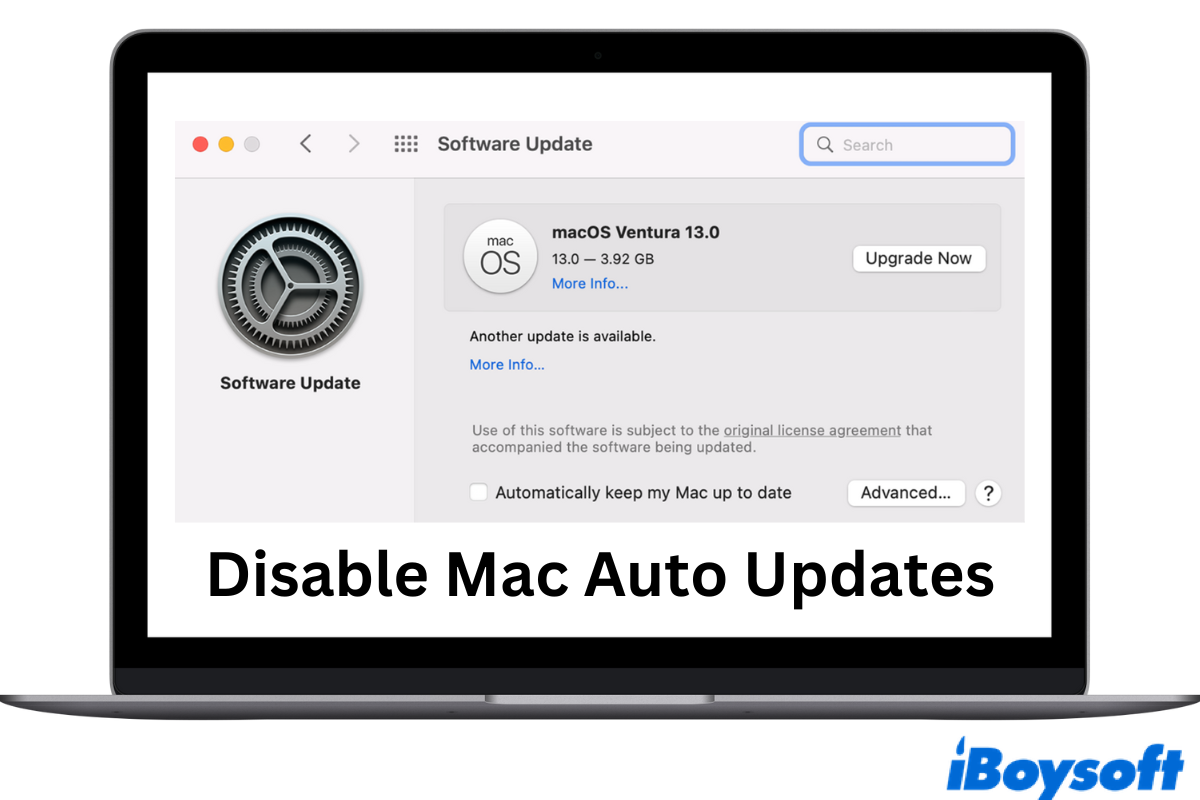
Step 3. Among all icons, select Software Update.
Step 4. You can see the available OS upgrade option. Under that, in the Advanced option, you can further customize your software update preferences. For example, whether or not you'd like to check for updates.

By following the same procedure above, you can turn on Mac auto updates as well.
Disable macOS updates using Terminal
Without a doubt, you've received macOS update notifications. The pop-ups can be really annoying while you are concentrating on your work. Here are two Terminal commands that can help your get rid of automatic macOS updates.
Method 1: Stop your Mac from downloading the latest macOS updates.
Step 1. Press the Command + Space bar to bring out Spotlight Search. Type in Terminal and launch it from the results. You can also go to Finder > Applications > Utilities > Terminal.
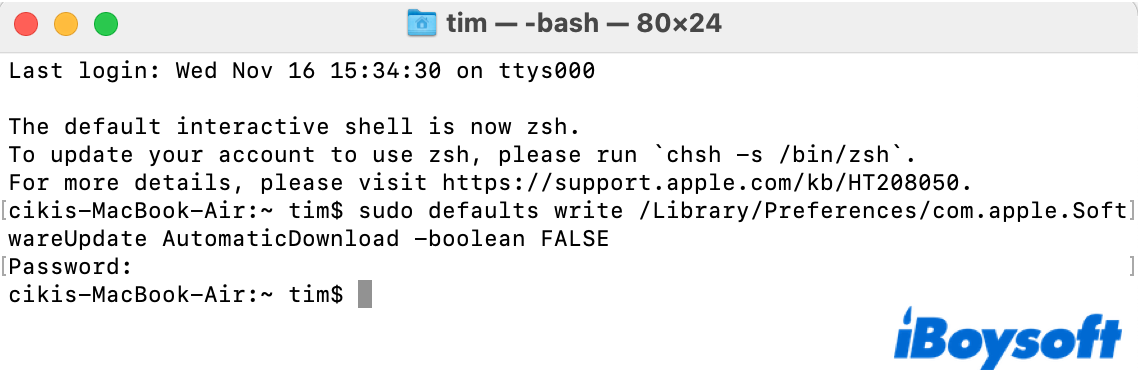
Step 2. Write the following sudo command and hit the Enter key.
sudo defaults write /Library/Preferences/com.apple.SoftwareUpdate AutomaticDownload -boolean FALSE
You'll be asked to enter your login password. Type in the password and press the Enter key.
In this way, your Mac will not automatically download the latest macOS package.
Method 2: Ignore certain macOS updates.
Step 1. Open Terminal by following the methods above.
Step 2. Write the following sudo command and hit the Enter key.
sudo /usr/sbin/softwareupdate --ignore "macOS X"
Note: Replace X with the version of the macOS update you'd like to ignore. For example, macOS Big Sur, macOS Ventura, etc.
You'll be asked to enter your login password. Type in the password and press the Enter key.
In this way, your Mac will ignore a certain macOS update alert without interrupting you in the middle of the work.
Enable and disable software updates within individual apps
It's not likely all your software is downloaded from the App Store. Chances are you download programs from their websites. How to disable or enable auto updates of these third-party programs?
You need to go to each app individually and enter the setting panel. Generally speaking, you can find the Preference option from the menu bar in each application. Then, based on what you prefer, decide to enable or disable the software updates.
Conclusion
Whether it's a particular software update or the macOS update, this post covers easy and effective solutions to disable and enable Mac auto updates. Try these methods whenever you want to turn on and off auto updates on Mac.
FAQs about how to disable Mac auto updates
- QShould I update my macOS?
-
A
If currently your Mac is sluggish and running slow, or the interface is too outdated, it’s a good idea to update to a newer macOS. macOS updates often fix existing bugs to improve your user experience.
- QHow do I turn on automatic software updates on Mac?
-
A
Go to Apple icon > System Preference > Software Update > check Automatically keep my Mac up to date.