
Tried upgrading to macOS Sequoia 15.4 from Sonoma 14.7.5 with 400GB free space and no apps running. The process completes download, preparation, and installation, but always ends in a kernel panic on restart. - Apple Community
Since the release of macOS Sequoia 15.4, many users have been eager to upgrade to the latest version for an improved experience. However, some users have encountered frustrating issues, including Finder and Dock not functioning properly after updates, and kernel panics during the installation of Sequoia 15.4, as reported by many on online forums.
You might have already tried simple fixes like restarting your Mac, only to find they don't help. To truly resolve the issue, you can try the steps outlined below.
Disconnect all external devices
Some external devices, such as older USB drives, docks, or monitors, may load incompatible drivers or cause power-related conflicts, leading to a kernel panic.
During macOS installation, the system attempts to initialize drivers for connected peripherals, and if those drivers aren't compatible with Sequoia 15.4, it can result in a crash.
Additionally, non-certified docks or third-party chargers may provide unstable power, which can cause kernel panic during the installation process, potentially leading to instability or system failure.
- Shut down your Mac completely.
- Disconnect all external accessories, including USB drives, hubs, external SSDs, monitors, docks, and audio devices.
- Leave only the keyboard, mouse, and power cable connected.
- Restart your Mac and try the installation again.
If the installation proceeds normally after disconnecting external devices, it's likely that one of the peripherals was causing the kernel panic during the Sequoia 15.4 installation.
Share this part with more people if you think it is useful!
Reset NVRAM
NVRAM (Non-Volatile Random-Access Memory) stores important startup information on your Mac, such as the startup disk settings, display resolution, time zone, system boot parameters, and kernel panic logs.
If these settings become corrupted or contain outdated boot parameters, they may interfere with the installation process and cause a kernel panic. Resetting the NVRAM clears these settings and restores the default values, which can help resolve startup and installation issues.
How to Reset NVRAM (for Intel Macs Only)
- Shut down your Mac.
- Turn it on and immediately press and hold the Option + Command + P + R keys.
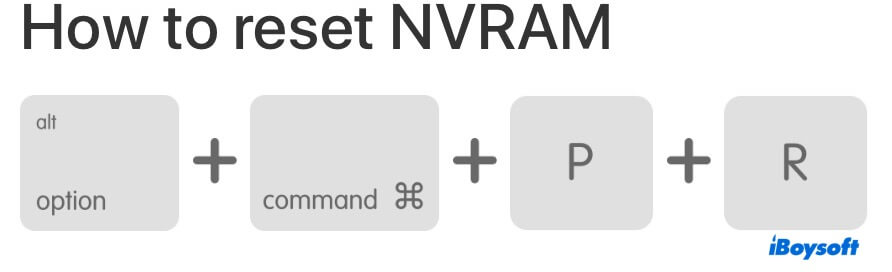
- Continue holding the keys for about 20 seconds, until your Mac restarts.
- Release the keys, and the system will boot with default settings.
Note: For Apple Silicon (M1/M2/M3) Macs, simply shut down and wait for 30 seconds before restarting to automatically reset NVRAM.
Try Safe Mode
Safe Mode can help you disable all third-party kernel extensions (kexts) and startup items. This helps prevent incompatible drivers or software from interfering with the installation of macOS Sequoia 15.4, reducing the likelihood of a crash.
Additionally, Safe Mode clears system caches, removing potentially corrupted cache files that could lead to crashes. You can follow these steps to enter Safe Mode:
- Shut down Mac.
- Turn it on and immediately press and hold the Shift key.
- Continue holding the Shift key until you see the login screen. If you have an Apple Silicon Mac, "Safe Boot" will appear in the top-right corner of the login screen. If you have an Intel Mac, "Safe Mode" will appear in the top-right corner of the login screen.
- Log in to your Mac.
Once in Safe Mode, try reinstalling macOS Sequoia 15.4. If the installation still fails in Safe Mode, proceed with the next methods!
Share with your friends if they have encountered a kernel panic during Sequoia 15.4 installation!
Enter macOS Recovery Mode
Entering macOS Recovery Mode is an effective way to fix a kernel panic during the installation of Sequoia 15.4, especially when the system files are corrupted or the Mac fails to start properly.
Booting into Recovery Mode allows you to bypass the current system environment to reinstall macOS or repair the disk. It's a more advanced solution compared to Safe Mode.
- Shut down your Mac.
- For Apple Silicon Macs: Press and hold the power button until you see the Options icon. Click Options, then click Continue to enter Recovery Mode.
For Intel Macs: Turn on your Mac and immediately hold down Command (⌘) + R. Keep holding until you see the Apple logo or a spinning globe, then release the keys to enter Recovery Mode. - In the "macOS Utilities" window, click “Disk Utility” and then click “Continue”.
- Select your system disk (usually Macintosh HD) from the sidebar, then click the First Aid button and confirm to run it.
- The system will check the disk for errors and attempt to repair any it finds. This helps you fix file system issues that may be causing the kernel panic.
- After that, close Disk Utility and return to the macOS Utilities window. Click “Reinstall macOS” and then click “Continue”.
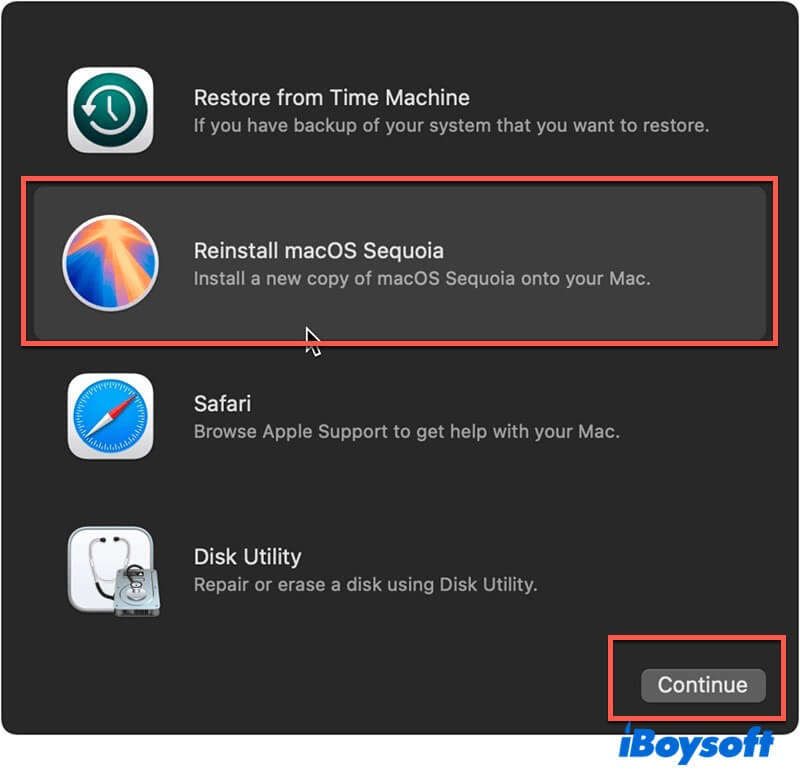
- Follow the on-screen instructions to select a disk (typically Macintosh HD), then begin the macOS Sequoia 15.4 installation.
Create the boot disk using iBoysoft DiskGeeker for Mac
If Recovery Mode or Safe Mode continues to trigger kernel panics, then using a bootable installer becomes the most reliable way to install macOS. A bootable USB allows you to fully erase the target disk using Disk Utility and perform a clean installation of Sequoia 15.4.
Normally, creating a bootable installer involves running several complex Terminal commands. If you're not familiar with the command line, this process can be time-consuming and error-prone.
Alternatively, you can try a bootable disk creation tool like iBoysoft DiskGeeker for Mac. Just download and launch it on any Mac that's compatible with Sequoia 15.4, with several steps, and you'll be able to create a bootable installer quickly and easily.
Here are the detailed steps:
- Free download and install iBoysoft DiskGeeker for Mac.
- Connect the external hard drive to your Mac. (Make sure the disk has enough space.) Then, select a volume and click Create boot disk.
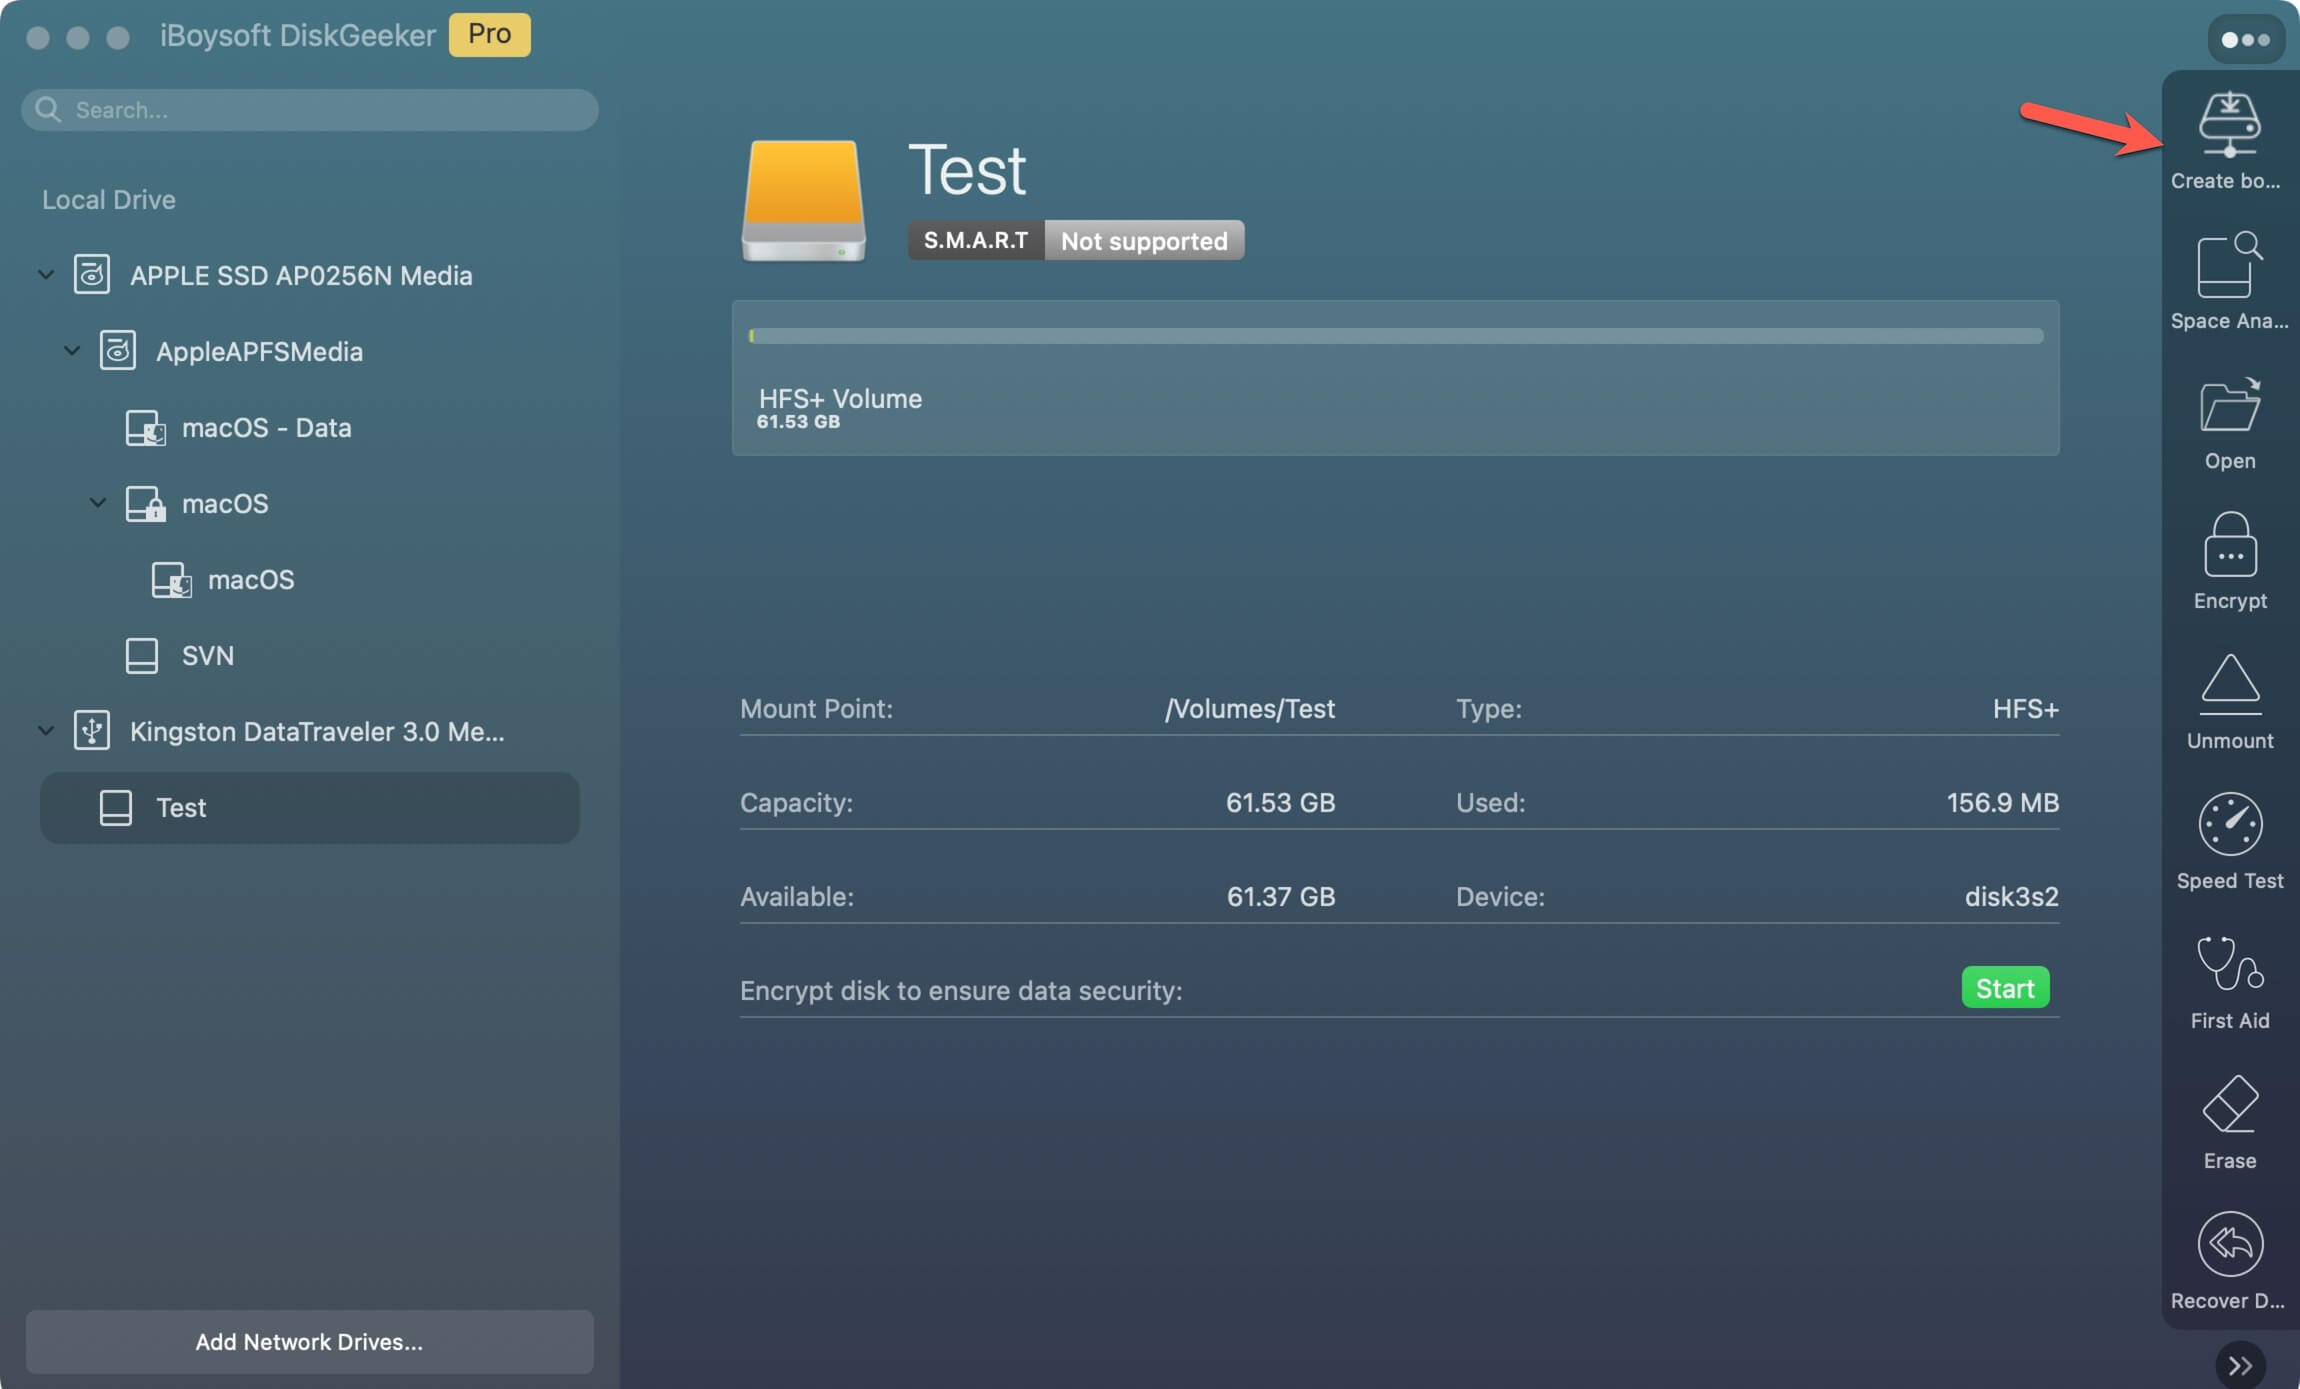
- Click Continue.
- Select macOS 15 Sequoia in the window and click Create boot disk.

- When you see "Creating the boot disk will erase the target partition", click OK.
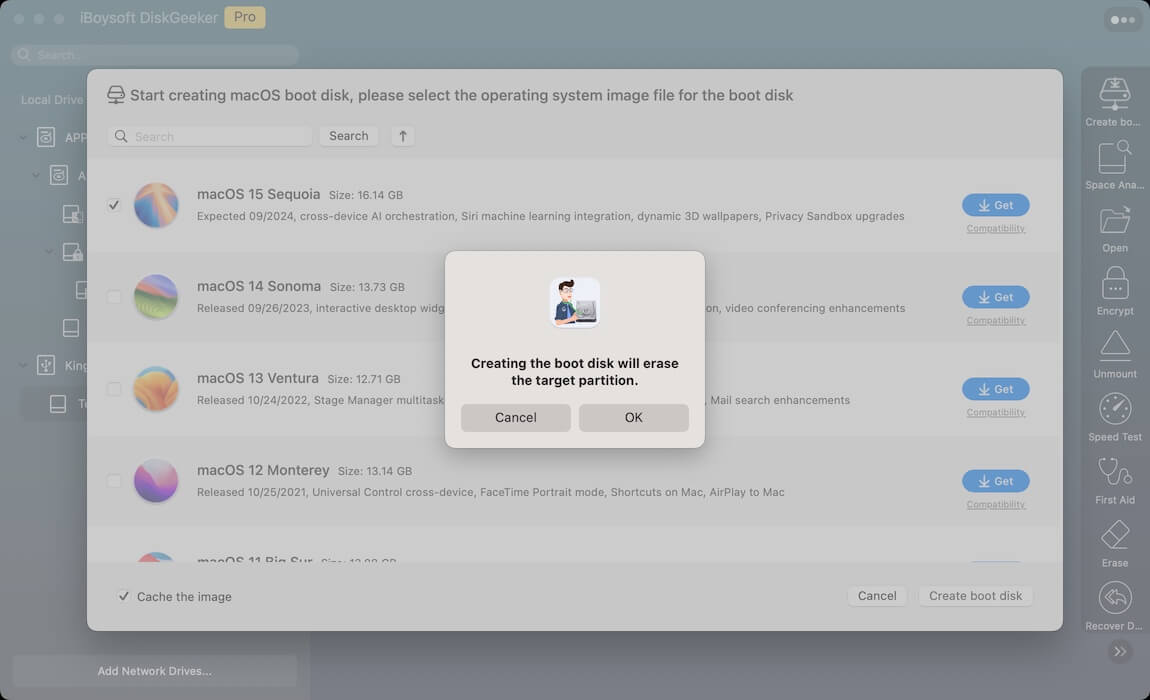
- Follow the on-screen instructions, wait a moment, and the macOS Sequoia bootable USB will be created.
Once you've created the bootable installer, you can use it on the Mac where you want to install macOS 15.4. If you're not familiar with the installation steps, you can read: How to boot a Mac from USB & fix Mac won't boot from USB?
If you have solved the kernel panic problem during installation, please share it!