Notion is an incomparable software that allows your team to create a doc, connect it to a project, and track tasks with colleagues dealing with the missions that matter most.
However, when it becomes useless to you one day, it's highly recommended to remove it from the Mac hard drive to free up more available space. More importantly, it makes your machine vulnerable to software conflicts and operating system issues to have barely used software left on the Mac.
Although Notion the app itself takes up a few sizes of space, the documents and projects you create on it accumulate heavily, triggering this software and its associated data consuming vast space on your Mac workstation. Hence, it's a must to uninstall Notion from the Mac completely!
How to uninstall Notion from a Mac completely with iBoysoft MagicMenu?
The longer you use Notion for creating documents, the more files and data accumulate on your Mac hard drive. Including the software files, the user data of Notion are scattered on different volumes or partitions, making it quite challenging to locate them.
On top of that, you may randomly find the files reappearing on your Mac after deletion, only because you uninstall the app with the simple drag-and-Move to Trash way.
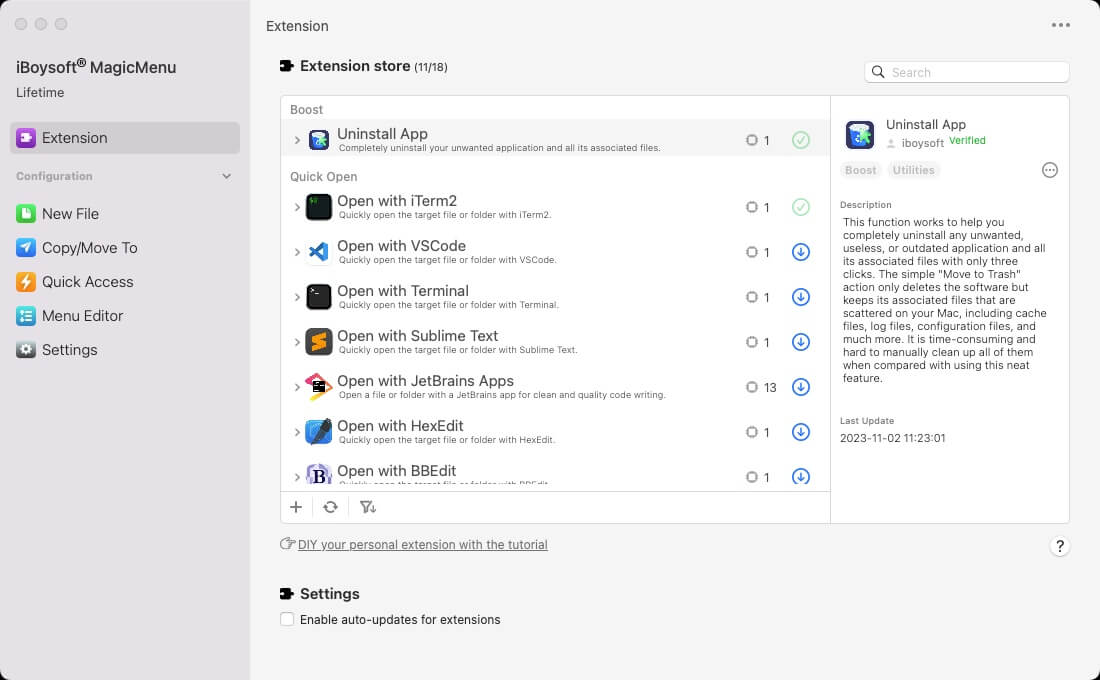
Therefore, a professional app uninstaller for Mac - iBoysoft MagicMenu is recommended here. It is an excellent right-click enhancer that stands out for its Uninstall feature among loads of right-click software on Mac.
Once downloaded, it scans the hard drive bit by bit and sector by sector, gathering all associated files of Notion including the install packages, extensions, launch helpers, support files, caches, preferences, root files, data logs, junks, etc. on your machine. Then it asks for your confirmation on what files to delete along with the Notion uninstallation.
Only the uninstall being thorough like the before can be called a complete uninstall. Here we'll show you how to uninstall Notion from your Mac completely with the assistance of iBoysoft MagicMenu.
Step 1: Download and install iBoysoft MagicMenu on your Mac.
Step 2: Launch this handy app uninstaller and search Uninstall in its main window to have a download. Note that iBoysoft MagicMenu only takes a little space and so does the Uninstall function, which barely influences your Mac.
Step 3: Go to Finder > Applications, locate the Notion app that you want to remove, then right-click it to select Uninstall from the dropdown menu.
Step 4: Wait for this professional app remover to gather all associated files of the will-be-uninstalled app. Once it finishes, check the useless files to let them be removed along with the app.
Step 5: Click Uninstall to confirm your actions and initiate the uninstall progress. This progress may take up to several seconds.
See? It's quite easy to remove Notion from your Mac completely by using iBoysoft MagicMenu, which saves time and effort greatly!
Share this post if you have removed Notion from Mac successfully!
How to uninstall Notion from a Mac with a built-in uninstaller?
If, you prefer to carry out any operations by yourself and have no liking for any third-party software, you can go on with the following steps.
Step 1: Locate Notion on your Mac by Finder > Go > Applications > Notion.
Step 2: Right-click Notion and select Move to Trash from the dropdown menu.
Step 3: Visit the following directories by Finder > Go > Go to Folder, find the file or folder whose name contains "Notion" from the Mac, and then right-click the targeted files to select Move to Trash to remove the associated files.
~/Library/: for library files
~/Library/Caches/: for application caches
~/Library/Preferences/: to find your preference files
~/Library/Application Support/: for application support files
~/Library/Application Support/CrashReporter/: for all the old crash reports
~/Library/Saved Application State/: to find saved app states
~/Library/Containers: for container files
~/Library/Logs: for app logs data
If you're confused about so many strings of file paths, scroll up and give iBoysoft MagicMenu a chance to let it complete the uninstallation!
Step 4: Open Mac Trash and click Empty on the upper right corner of the main window to clear the app and its files completely.
Bonus tips after removing Notion from your Mac
If you need to cooperate with your teams to create a document or project one more time, you needn't install Notion one more time since Apple configures Mac with loads of apps to work as Notion.
To create documents with your colleagues, you can try to invite people to collaborate on a text file in Apple Notes with your Apple ID logged in. You can send an invitation to a list in Messages or Mail, or share the link with the following steps:
- Launch Apple Notes on your Mac.
- Click the Share button in the toolbar, and choose either Collaborate or Send Copy in the pop-up menu.
- Select Messages, Mail or Invite with Link.
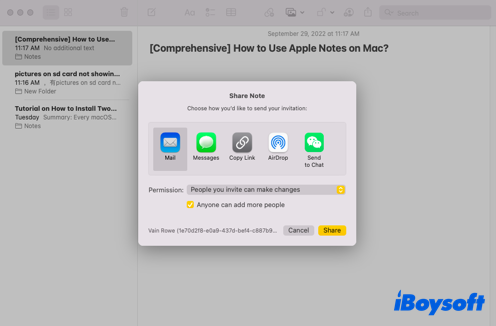
- You can track activity and manage collaboration after the recipient agrees to your invitation.
To make a project or draft, you can give Apple Frerform a chance. It allows you to create a digital pinboard, write down highlights and essences of certain tasks, gather information for a school assignment, etc. It is perfect for you and your colleagues to collaborate.
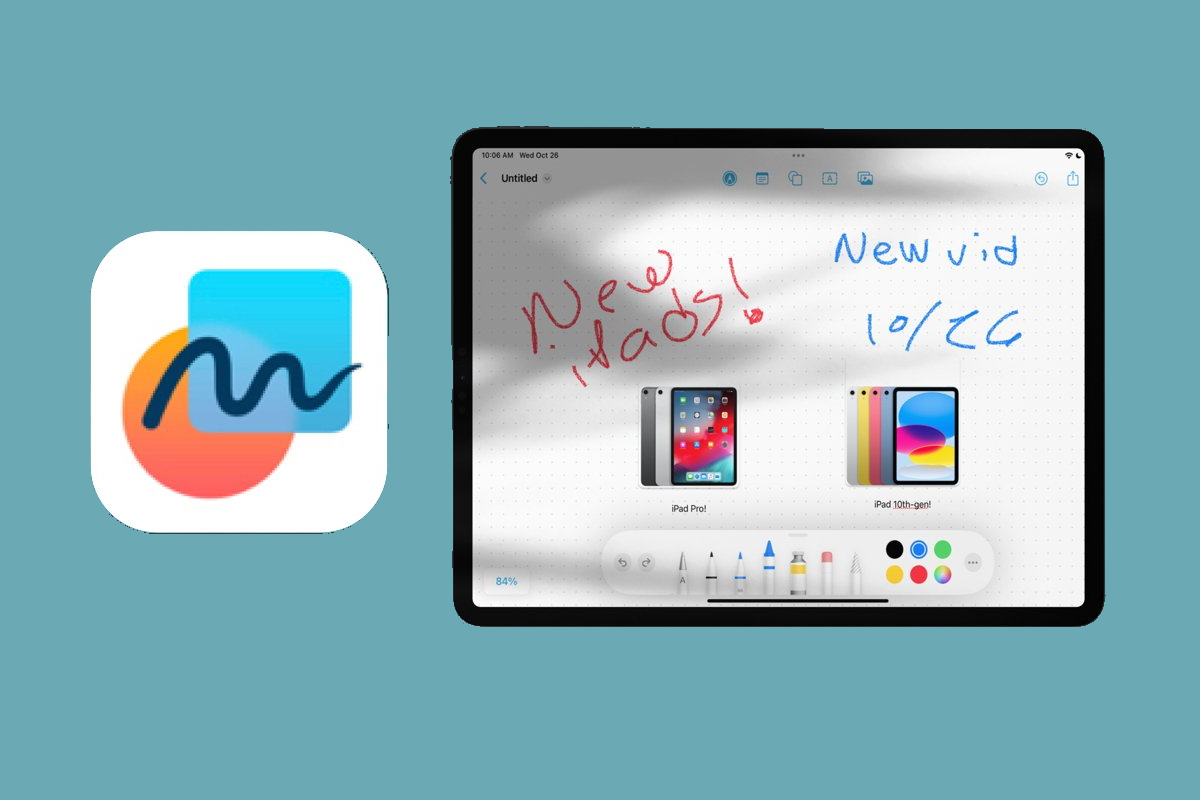
- Go to the Freeform app on your Mac.
- Click Shared in the sidebar, then double-click a board to open it.
- Click the Collaborate button in the toolbar, and turn on Participant Cursors. Then you can edit the board together.
Conclusion
To avoid the install helper still hiding on your machine to induce the next installation, a complete uninstall of Notion is a must. This post gives you two approaches to that goal. If you need them, try them right now!