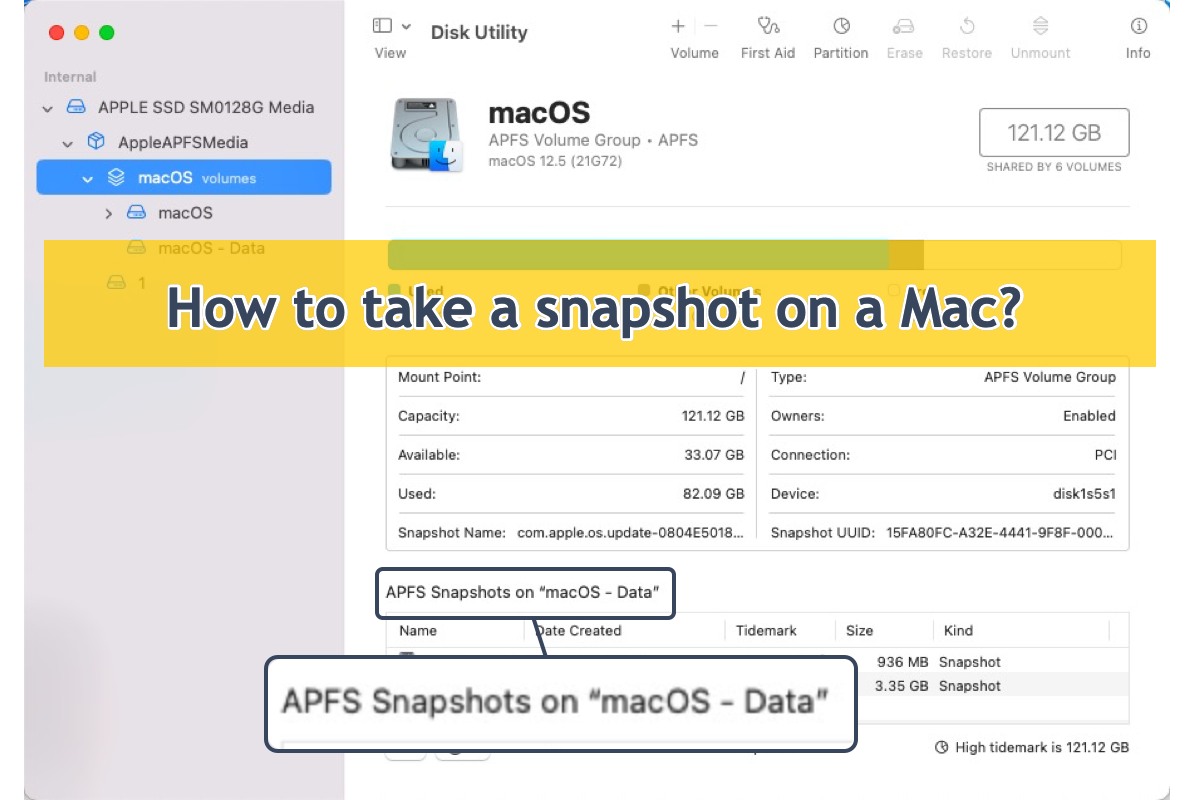
Snapshot is a wonderful utility that records one certain point of your Mac machine with all unfinished or finished files, folders, programs, projects, and more. It helps a lot when you desire to retrieve some lost or unaccessible files by rolling back your machine to that moment.
Typically, your Mac takes snapshots automatically when the macOS is updated or when Time Machine backs up the hard drive. Apart from these two ways, however, you can take a snapshot on Mac on your own, which is analyzed in this post with step-wise guidance. Read on to learn about how to perform this task with ease!
How to take a snapshot on a Mac?
Here in this post, we provide two methods to create the snapshot on macOS machines, and you can try the one that fits you most for the snapshot creation.
Solution 1: Create a snapshot by executing command lines
If you're confident about yourself in running Mac machines and keen on executing command lines, then you can give Terminal a shot in creating the snapshot by yourself.
Please make sure you type the command line in the Terminal window accurately or any wrong command may put your machine at risk!
- Launch Finder on your Mac that has a smile face on the blue-and-white background.
- Click the Go menu on the top menu bar to select Applications from the pulldown menu.
- Go to Utilities and select Terminal to open it.
- When you're in the Terminal window, copy and paste the following command line in its window. Please confirm you typed the correct command line, or you'll be prompted with an error notification.tmutil snapshot
- Hit Run to begin the snapshot creation mission.
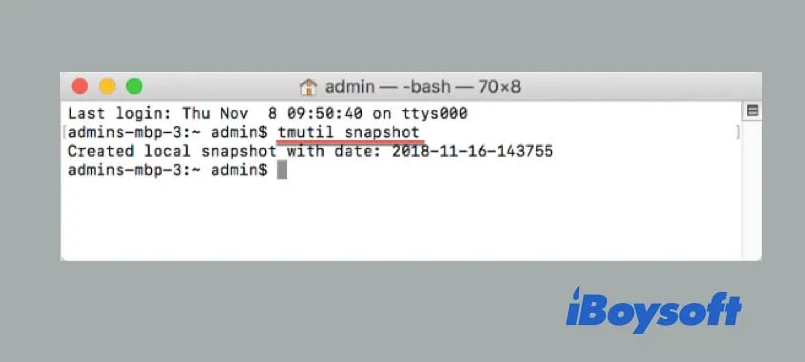
When you see the specific time of the snapshot on the Terminal window, it indicates that the macOS snapshot was created successfully.
If you want to roll back to a previous APFS snapshot point for certain files like documents, photos, videos, numbers, presentations, keynotes, pages, etc., the launch of the Time Machine utility is a must. Do the following to restore the lost files:
- Click the Time Machine icon at the upper right corner of your screen.
- Select Enter Time Machine.
- Search for the snapshot point that preserves the files you want.
- Choose the data and click Restore.
If you want to restore to a certain point for further mission, you need to carry out it in the macOS Recovery Mode:
- Hold down the Command - R keys during Mac restart until the Apple logo appears.
- In the macOS Utilities window, select Restore From Time Machine Backup and click Continue.
- Select the disk that contains snapshots (the startup disk) and click Continue.
- Choose a local snapshot you want to restore and click Continue.
- Click Continue if asked whether to restore from the selected snapshot or not.
Then, the restoration goes on itself. This process may take some time and your Mac computer will restart automatically.
Thanks will be given if you'd like to share this post with more people on your social platform!
Solution 2: Run iBoysoft DiskGeeker to complete the snapshot creation
There is a top-recommended utility that you can use to implement the snapshot mission, that is, iBoysoft DiskGeeker. Its File Keeper function works to record the data changes of the APFS volumes (Macintosh HD) within the specified time range for later recovery.
You can launch this versatile utility to make a full snapshot for capturing the target volumes hourly, weekly, or monthly. When any unexpected data deletion or data loss happens, you can run this File Keeper feature to have a restoration with ease!
Here we will show you how to create a snapshot on Mac with the help of iBoysoft DiskGeeker:
Step 1: Download and install iBoysoft DiskGeeker on your Mac device.
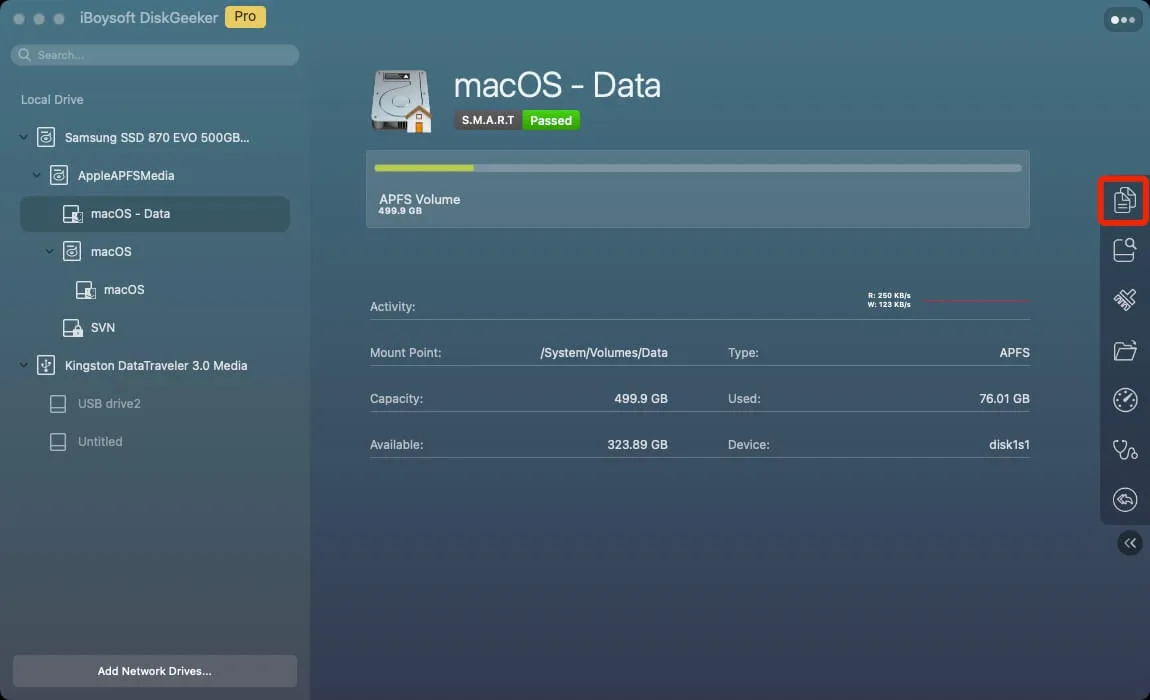
Step 2: Select the target APFS volume on the left sidebar.
Step 3: Click "File Keeper" from the right-side toolbar.
Step 4: Click "Turn On" on the popup window.
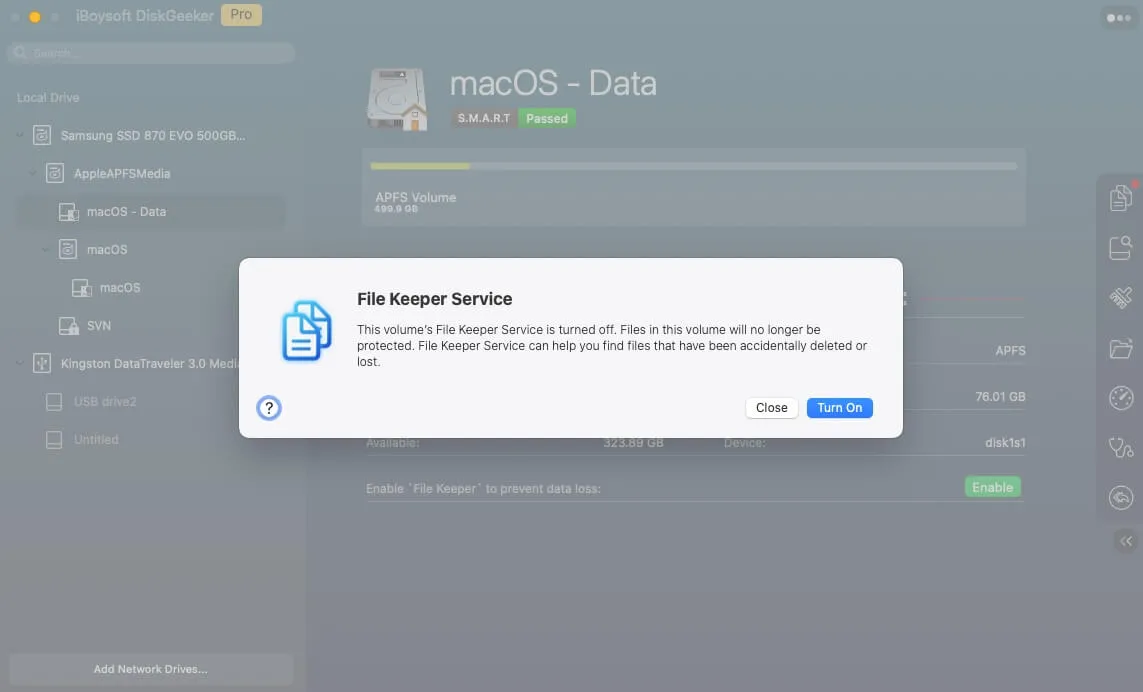
By default, once you enable File Keeper, it starts to back up the target APFS volume as a snapshot automatically. To disable File Keeper, click the gear icon at the upper right corner > "Turn Off".
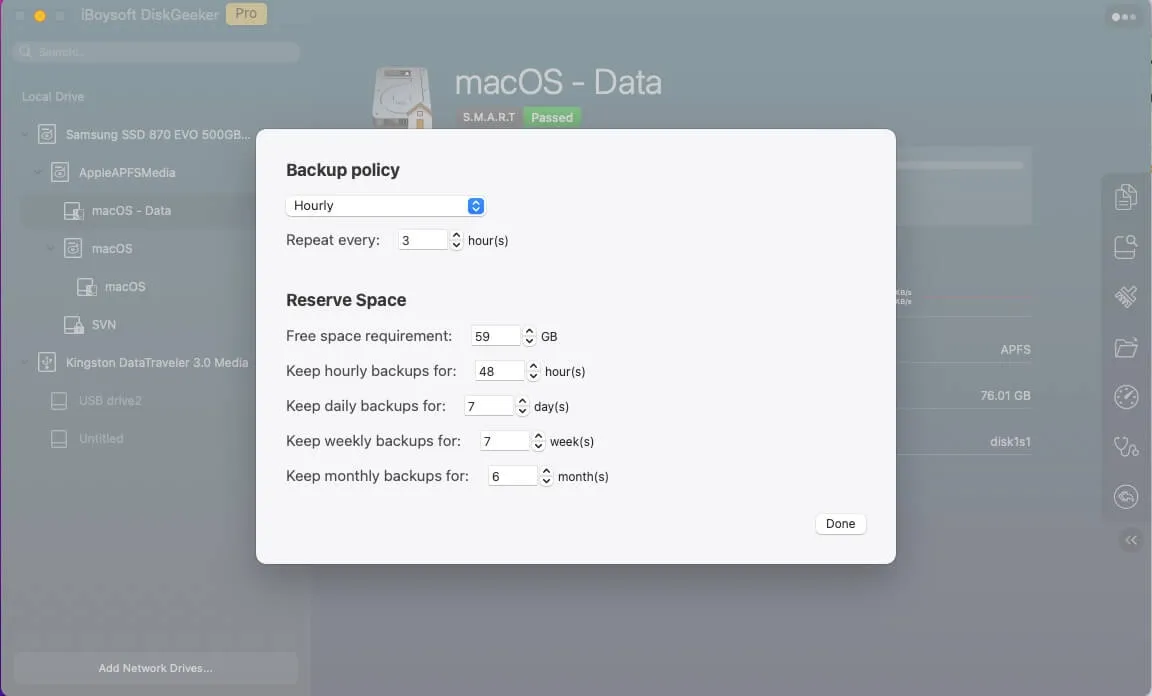
If you want to change the backup settings, click the gear icon > Options to open the backup preferences pane. Here are how to:
More specifically, in the Backup policy section:
1. You can set it to allow iBoysoft DiskGeeker to back up the target APFS volume hourly, weekly, daily, or monthly.
2. On the box next to Repeat every, set an interval time to repeat each backup.
In the Reserve Space section, you can:
1. Choose an amount of free storage capacity you want (the minimum requirement is 15GB) beside the Free space requirement box. Files on the target volume can be backed up only if the volume has the free space you set.
2. Set the retention time for hourly, daily, weekly, and monthly backups.
If you want to search files from File Keeper Backups, here is how to perform it:
Step 1: Select the target APFS volume on the left sidebar.
Step 2: Click "File Keeper" from the toolbar.
Step 3: On the pane, set the searching range from your backups to quickly locate the target backup files.
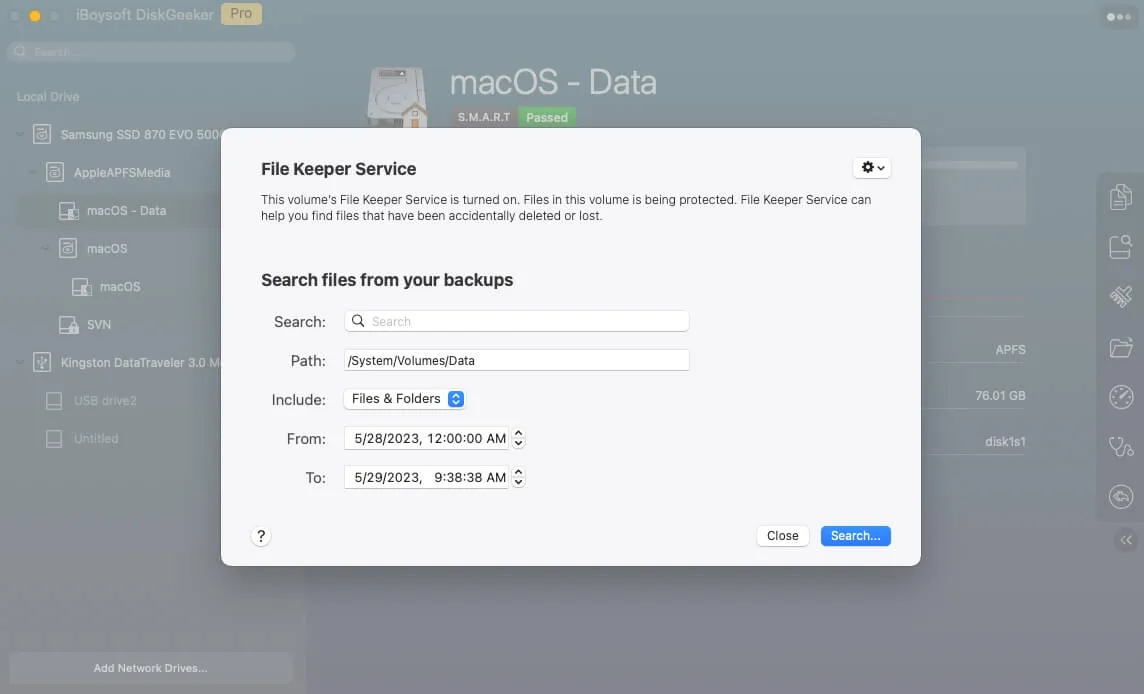
Step 4: Click "Search".
Step 5: Expand the backup folders and tick in your desired files.
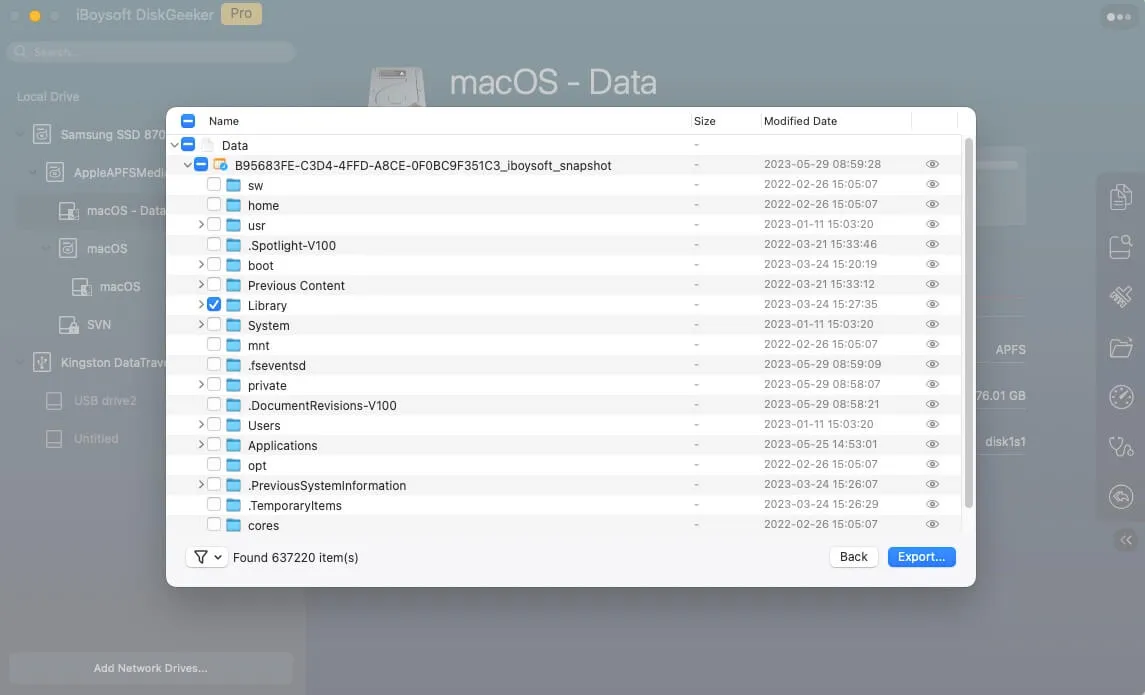
Step 6: Click "Export".
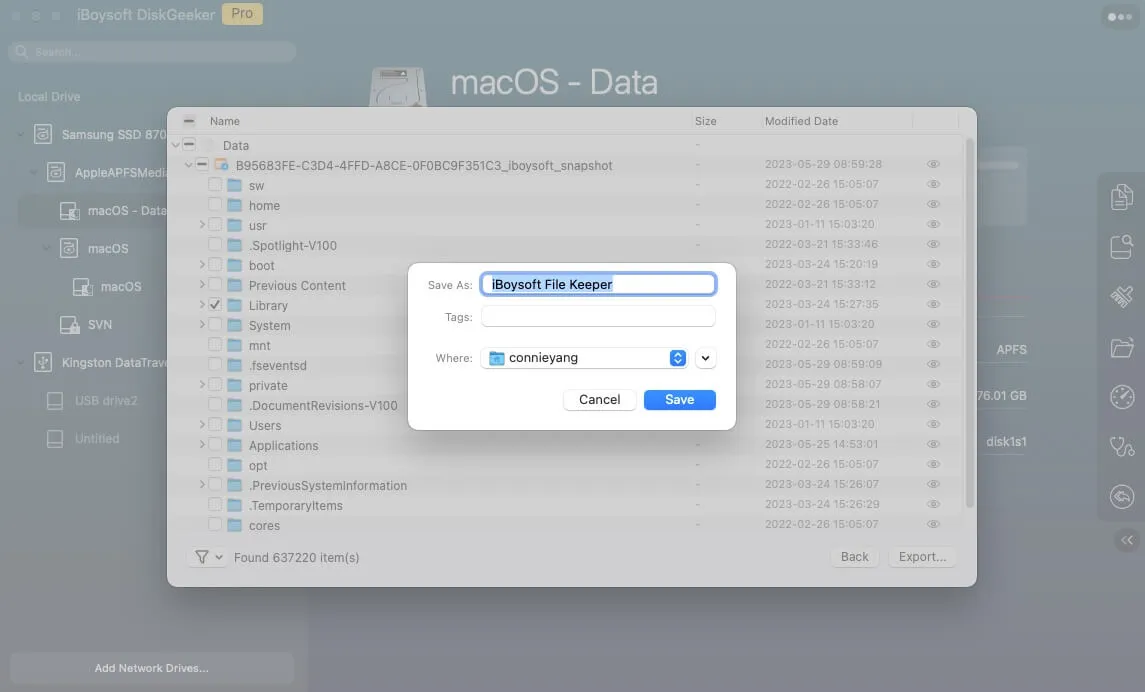
Step 7: Choose a destination to save the files and click "Save".
Why do you need to take a snapshot on a Mac?
Since there is already the Time Machine backup, then why do I need to take a snapshot on my machine? Some users may ask this question. Well, A snapshot is a point-in-time copy of data capturing the devices' current state and allowing for quick recovery or system restoration.
While the Time Machine backup is a comprehensive and separate copy of data, designed for long-term retention and operation point-in-time restore.
For the sake of comprehensiveness and security of data, therefore, it's highly recommended to take a snapshot of Mac on top of the Time Machine backup.
Final words
Backup is of vital importance which helps a lot when the machine goes wrong or data loss happens, which saves you from hopeless scenario. On top of data backup, a snapshot is crucial also since which plays a significant role in restoring files and OS to deal with data loss or OS instability.
This post elucidates how to take a snapshot on a Mac with two ways, you can have a detailed reading to make one on your own machine.
