Mapping a network drive on a Mac creates a shortcut to a remote storage location, making it appear as if it's part of the local file system. This simplification allows you to access and manage files on the network drive as easily as if they were stored on your local hard drive.
In this article, we'll show you how to map a network drive on a Mac temporarily or permanently.
How to map a network drive on a Mac?
Generally speaking, there are three ways to map a network drive on a Mac computer, including using Finder, a third-party network drive mounter, or Terminal.
These steps apply to most traditional network drives, such as Network Attached Storage (NAS) devices, shared folders on local servers, and other network-accessible storage systems that operate within a local area network (LAN) or can be accessed as if they are local through a VPN (Virtual Private Network) or port forwarding.
Note: Mapping a cloud-based service like OneDrive as a network drive on a Mac requires a different approach than mapping traditional network drives.
If you want to learn how to map a Windows network drive on a Mac, the steps will also serve the purpose.
Before getting started, ensure your network drive is ready to share. For example, the network-attached drive is turned on or File Sharing is enabled if you're trying to access shared folders on a computer. Besides, you'll also need the network drive's supported protocol (e.g., SMB or AFP), IP address (e.g., 192.168.0.172) or hostname, and your user credentials.
If all is set, choose one of the following ways to map your network drive on a Mac.
How to map a network drive on MacBook/desktop Mac:
| Ways to map network drives on Mac | Effectiveness | Difficulty Level |
| Use Finder | High - Easily map a network drive on a Mac | Low - Just need to fill in the required information |
| Employ a third-party network drive mounter | High - Quickly map network drives on Mac; provide advanced features like autonomous login, WebDAV support, etc | Low - Same as above |
| Utilize Terminal | Low- May fail with errors | High - Need to run commands |
Way 1: Map a network drive on Mac in Finder
The most common way to manually map a network drive on a Mac is by using Finder. Here are the steps:
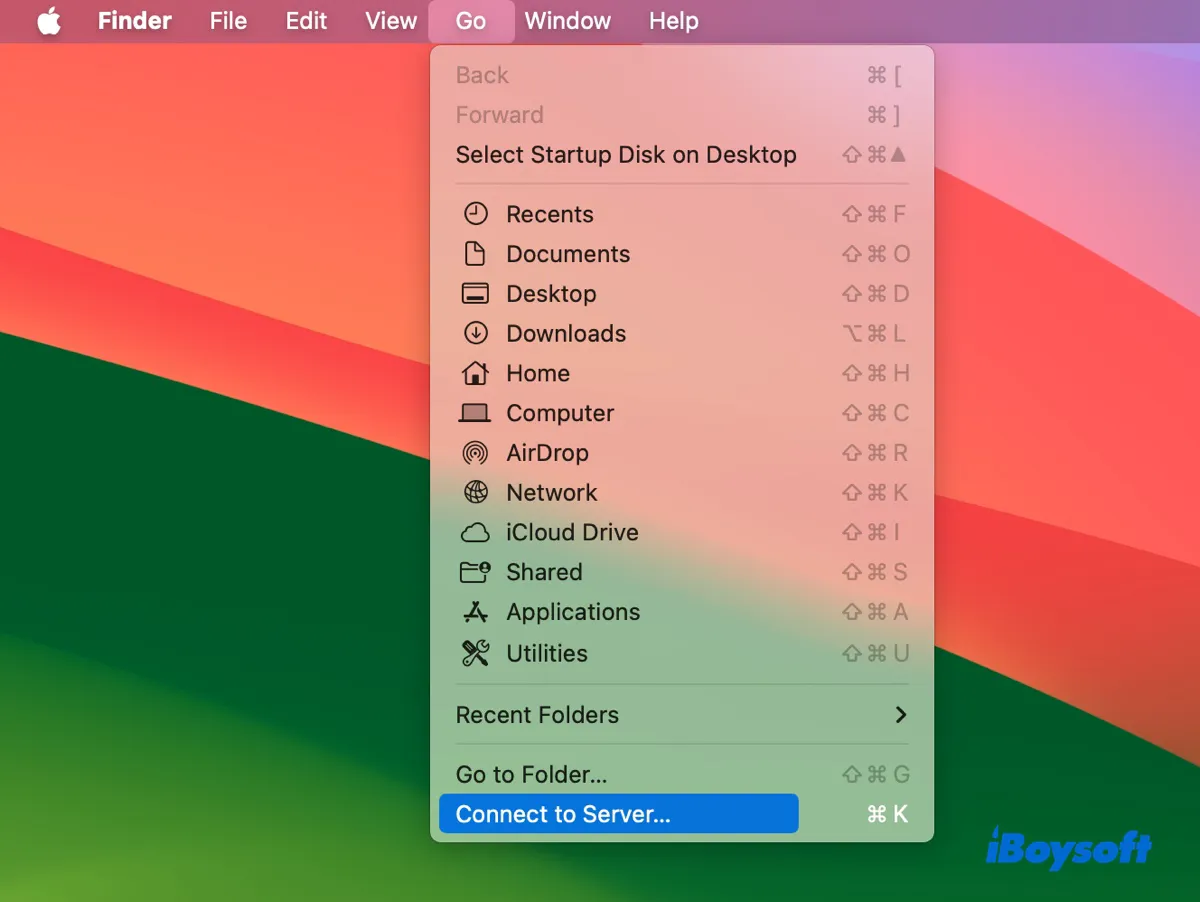
- Open Finder, then select Go > Connect to Server from the top menu bar.
- If the network drive is connected to the same LAN or Wi-Fi network as your Mac, click Browse to check if it is automatically detected. If it is, double-click it, then enter your credentials to connect to it.
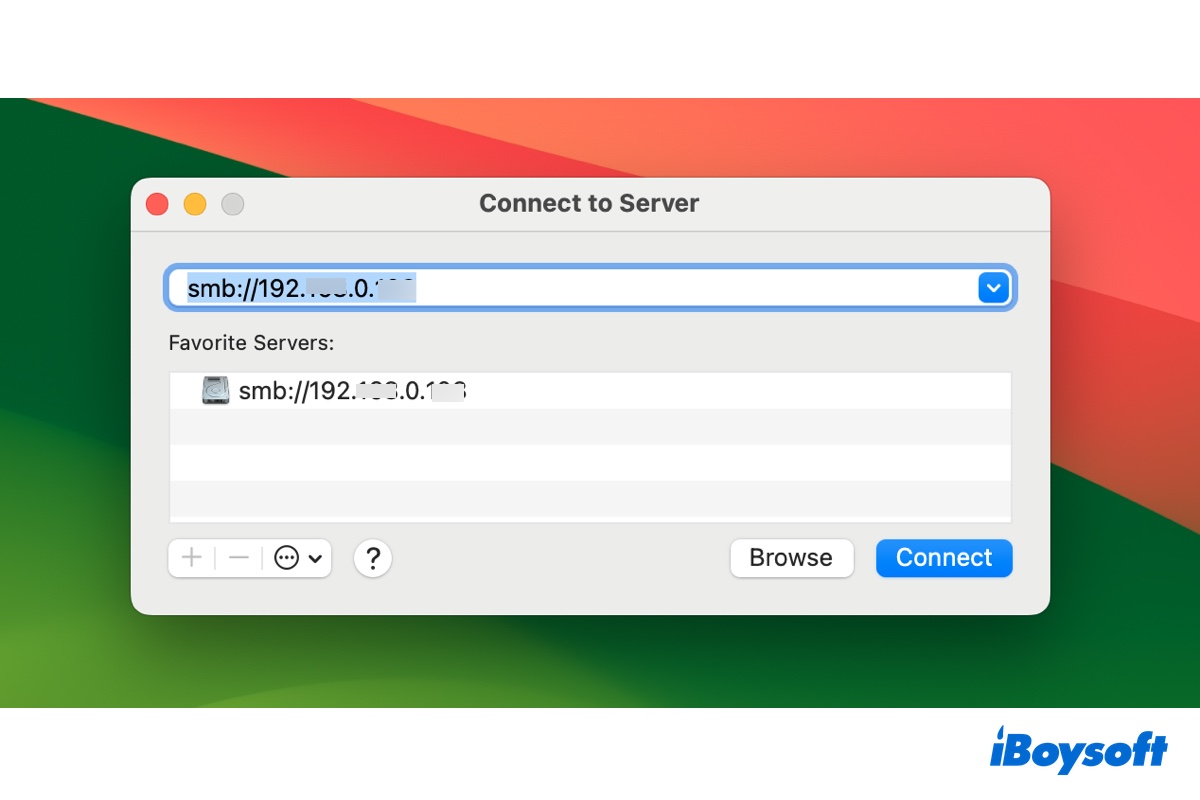
- If the desired network drive or server isn't detected, enter its address in the dialog box. (For instance, smb://192.168.0.172 or smb://192.168.0.172/share.)
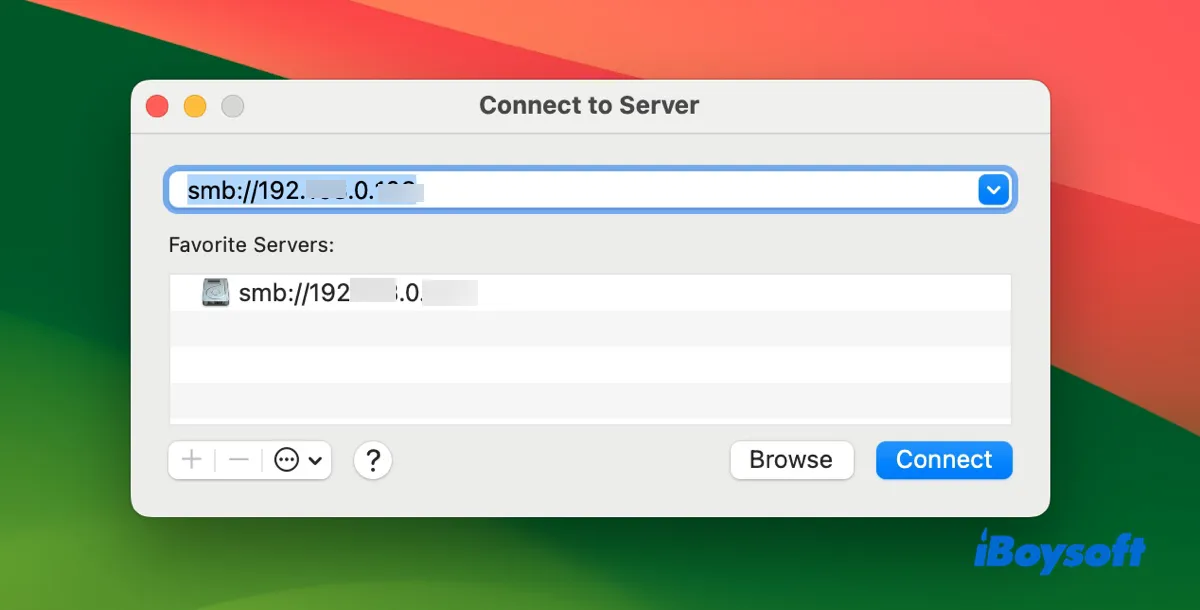
- Tap the ( + ) button to add the network drive to your favorite servers so that you don't need to reenter your credentials on your next attempt to connect.
- Click Connect.
- Tap Connect again to confirm your action.
- Enter your username and password for the network drive or server. (If your network drive doesn't require a password, select Guest and click Connect.)
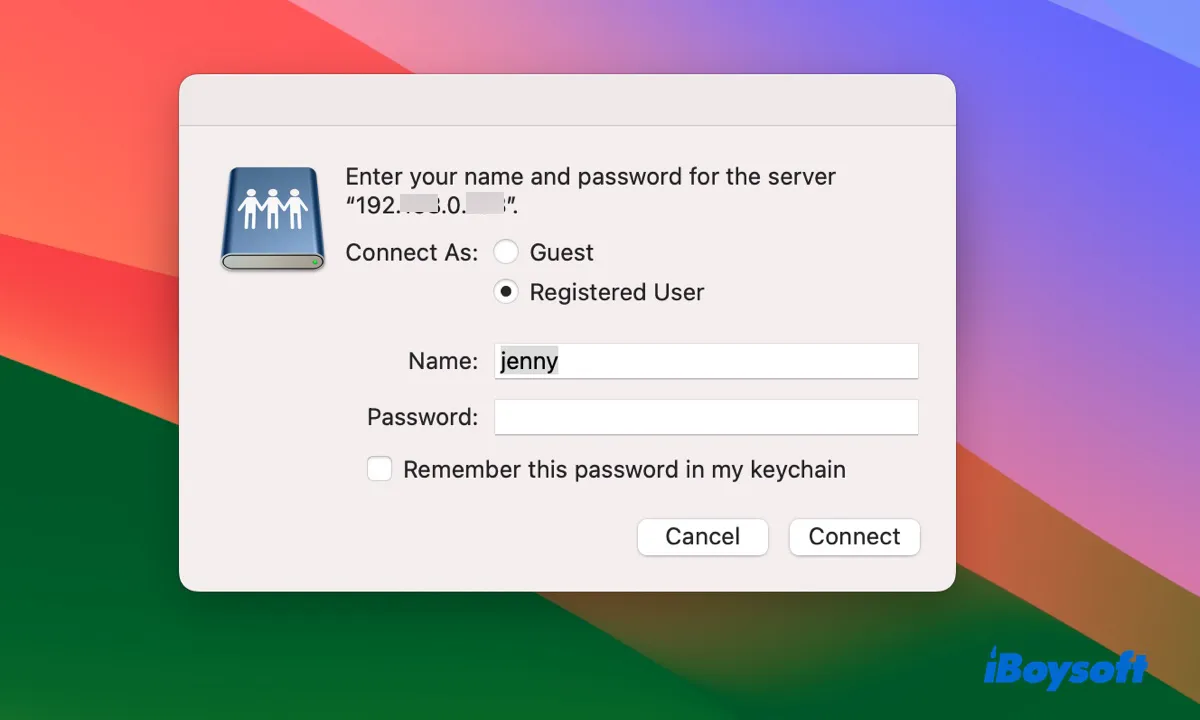
- Tick the box next to "Remember this password in my keychain" for easier access in the future.
- Click Connect.
- Select the volumes you want to mount if asked, then click OK.
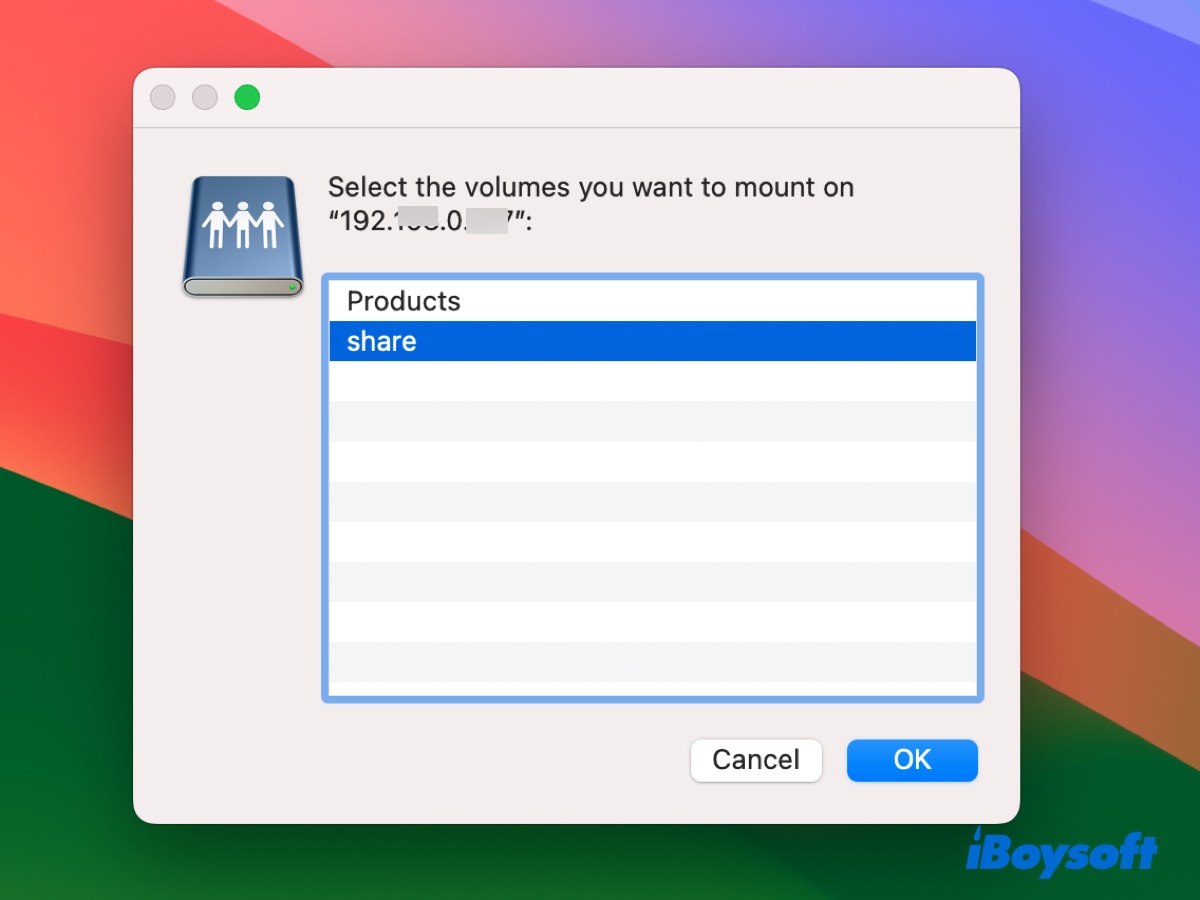
- Access files on the network drive.
- To disconnect the mounted network drive, right-click its icon on the desktop and select "Eject."
How to add network drive to Finder's sidebar or your desktop?
If you wish to access the network drive from Finder's sidebar or your desktop, you can adjust the following settings:
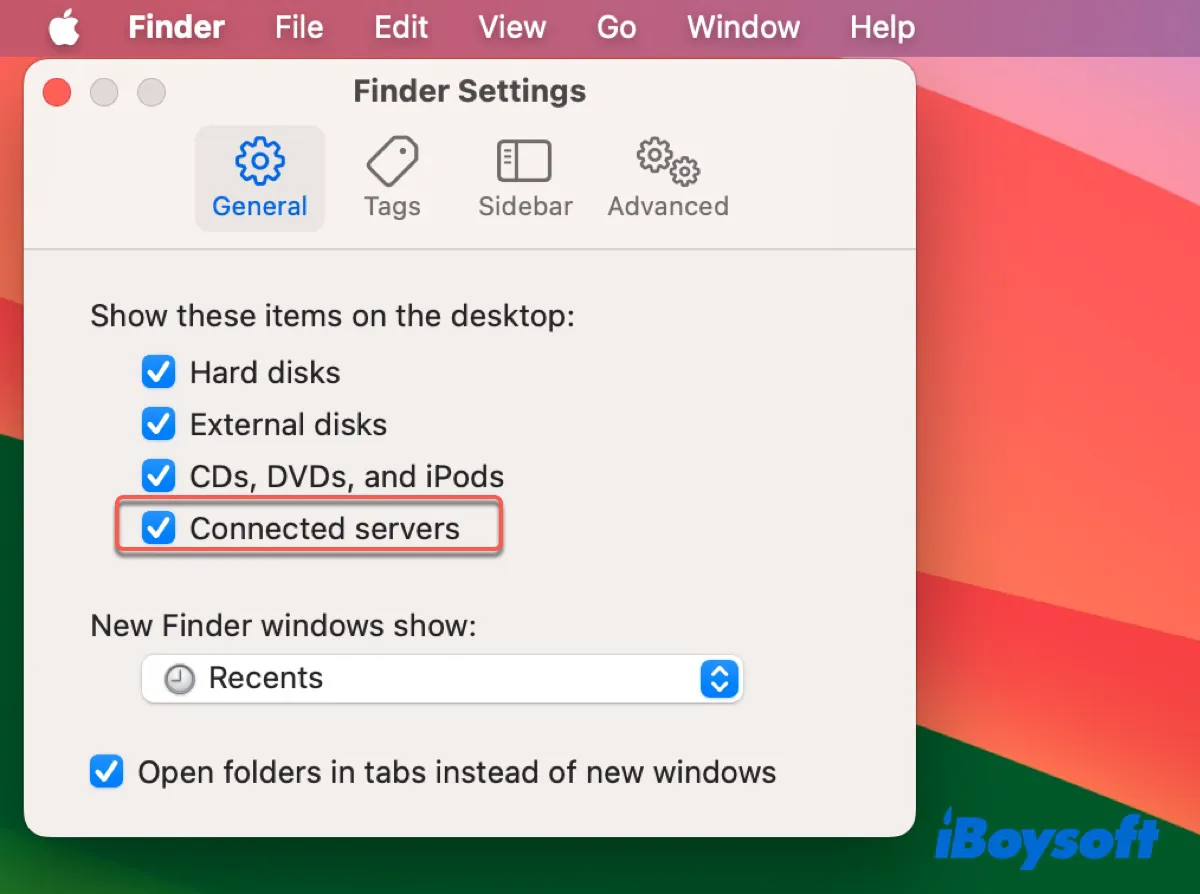
- Open Finder and click Finder > Settings/Preferences in the menu bar.
- Select the "General" tab, then check the box next to "Connected servers" under "Show these items on the desktop."
- Select the "Sidebar" tab, then check the box next to "Connected servers" under "Show these items in the sidebar."
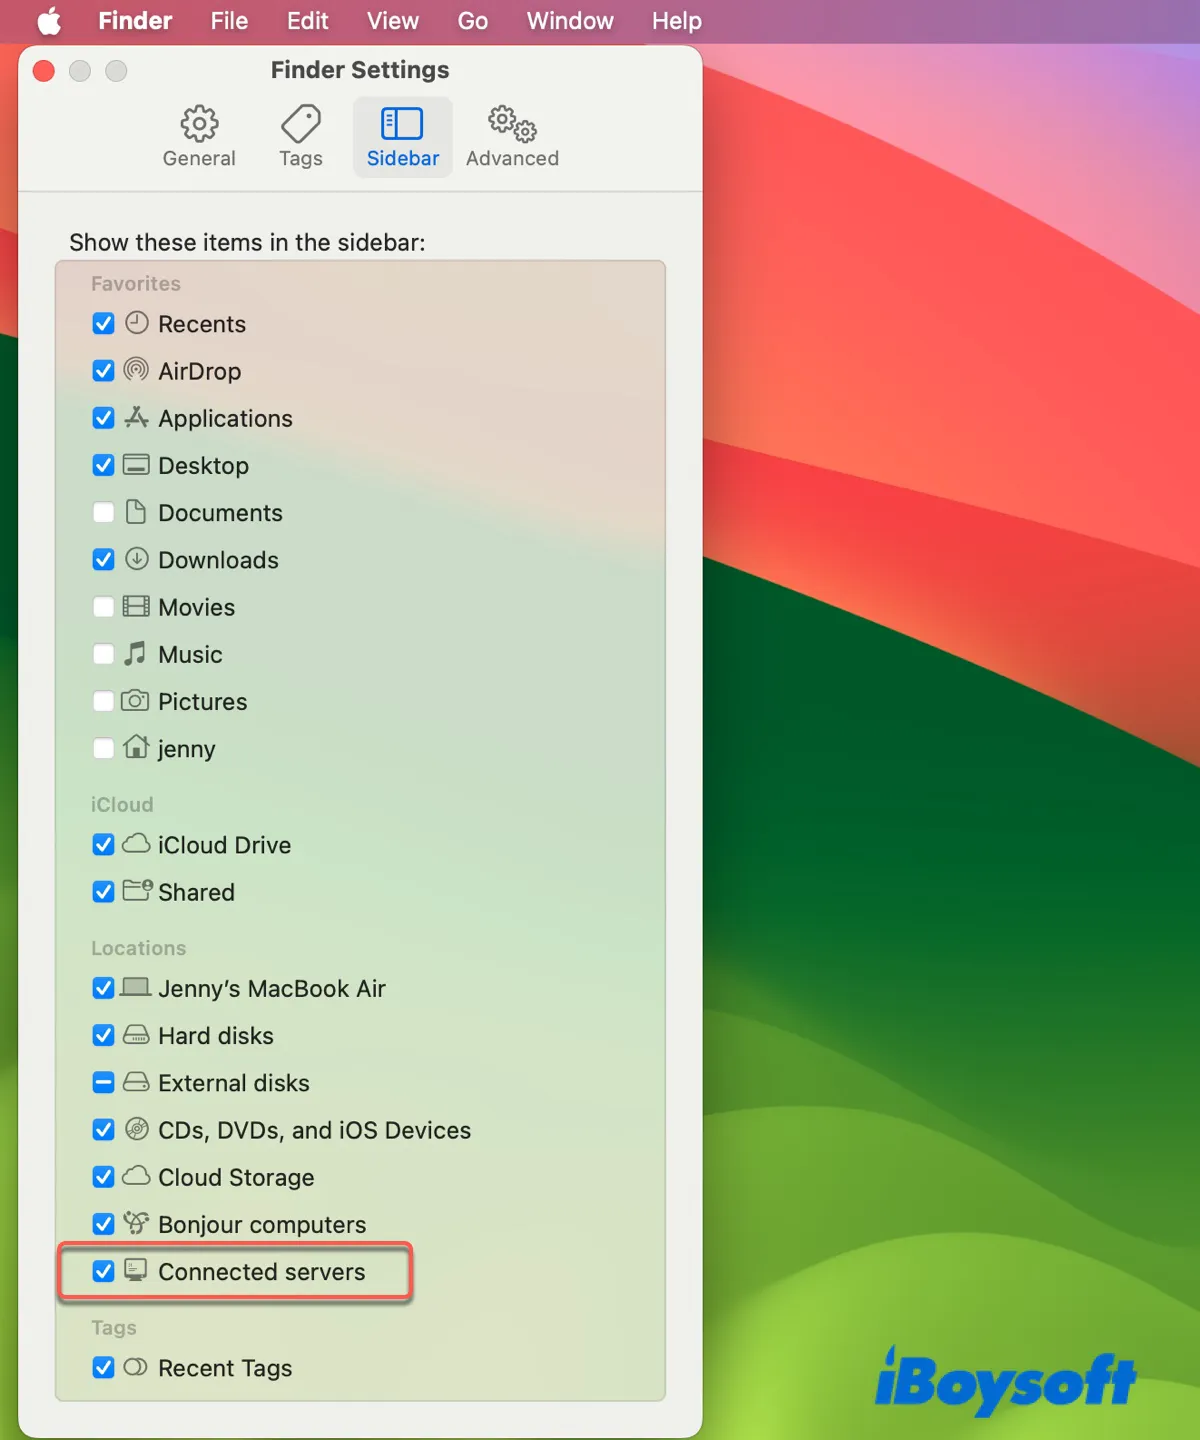
- Check if the network drive has been added to the intended place. If it's not showing up in Finder's sidebar, you can drag and drop its icon from the desktop to the sidebar to add it.
How to create a desktop shortcut to map a network drive on Mac?
Finder typically only mounts your network drive once, and you'll need to repeat the process we mentioned before to connect to the network drive after ejecting it or rebooting your Mac. If you want to quickly map your network drive on your desktop without going through all the trouble, you can make an alias for the network drive with the steps below:
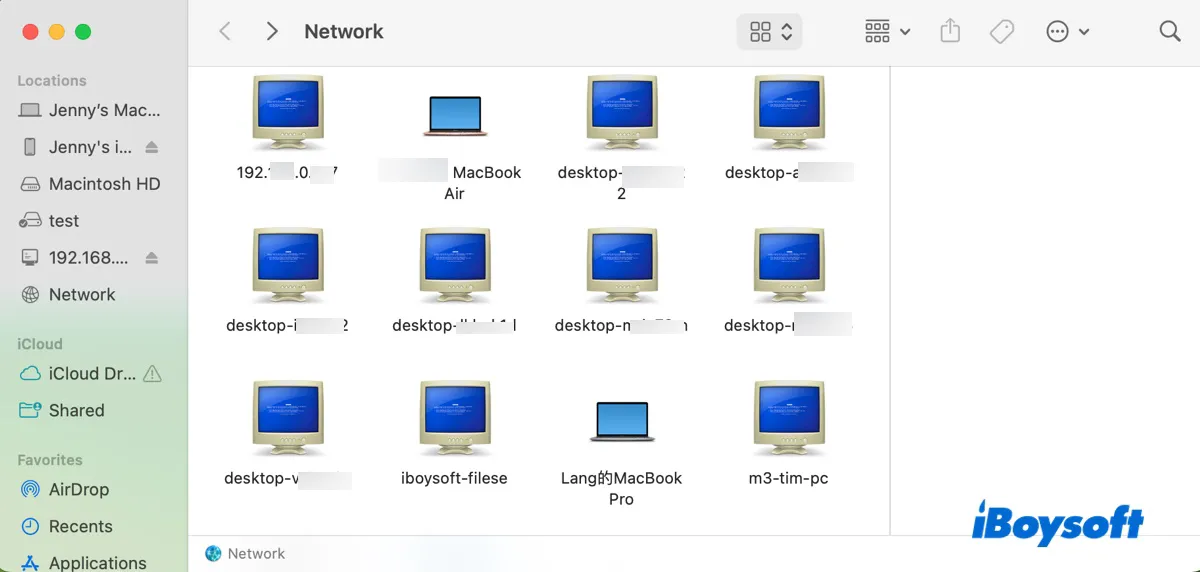
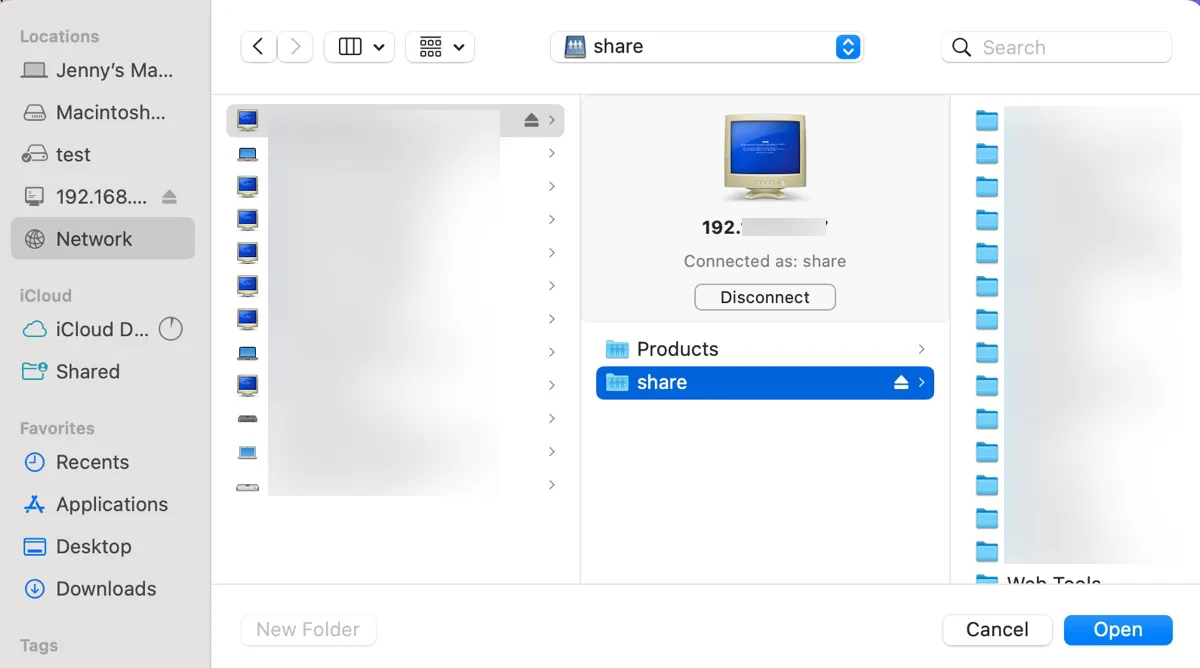
- Open Finder and click Network from the left sidebar.
- Navigate to your network drive and select it.
- Open the drive to choose the folder or volume you want to map from your desktop, if necessary.
- Right-click the drive, or its volume or folder, and select "Make Alias."
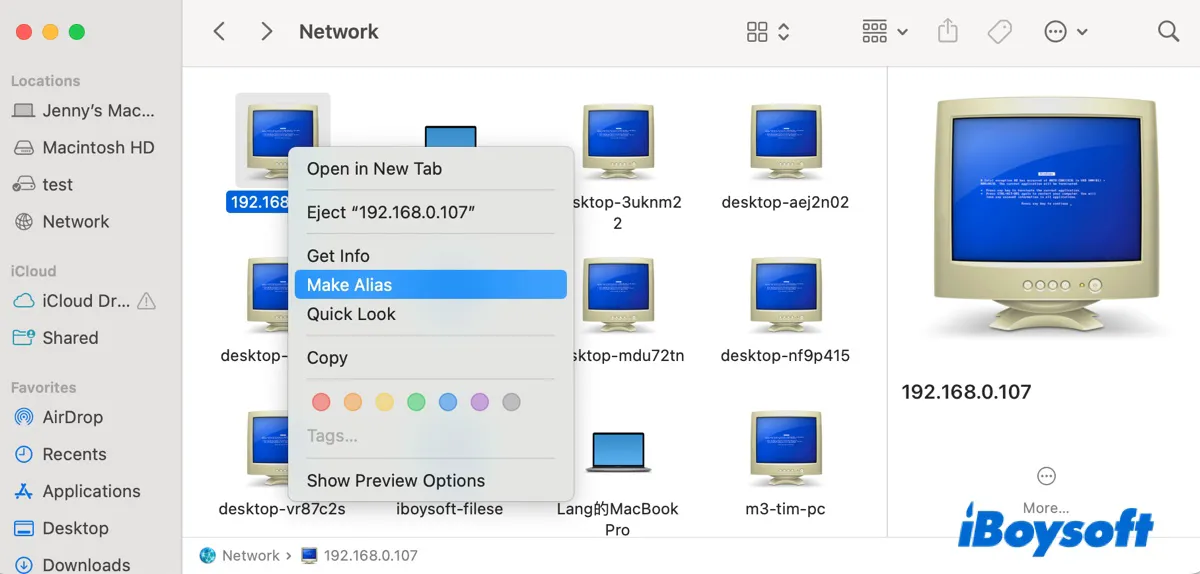
- Check the alias on your desktop.
After that, you can open the alias to mount the network drive or folder the next time you want to access it.
Share these steps to help others learn how to map a shared drive on Mac.
Way 2: Mount network drive on Mac via iBoysoft DiskGeeker
Another way to add network drives to a Mac is to employ a network drive mounter like iBoysoft DiskGeeker. It offers exclusive features like autonomous login, support for the WebDAV protocol, and automatic disconnecting and reconnecting when the system goes to sleep or wakes up.
It supports mapping network drives on macOS High Sierra and later versions, regardless of whether the drive is a Windows or Mac computer, a network-attached drive, or a server. It's also fully compatible with commonly used protocols, including WebDAV, SMB, NFS, FTP, and AFP.
This versatile disk management tool also helps you manage the internal and external drives connected to your Mac with functions like disk cleaning, drive cloning, speed testing, BitLocker/FileVault encryption, restricting access to USB devices, etc.
Here's how to use it to map a network drive on a Mac:
Step 1: Download and install iBoysoft DiskGeeker.
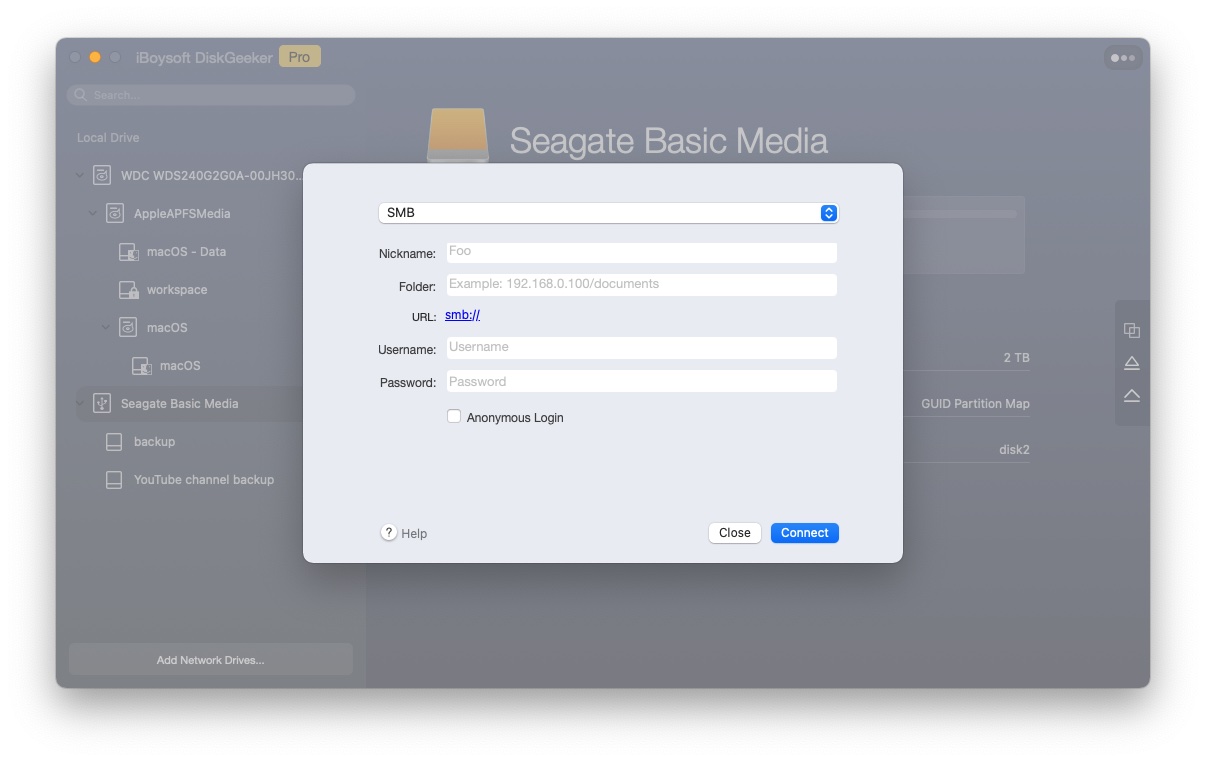
Step 2: Open the tool and click "Add Network Drives."
Step 3: Provide the required information and click Connect.
Step 4: Select the software's name from the top-left menu, then open Settings > Advanced to configure sleep/wake settings.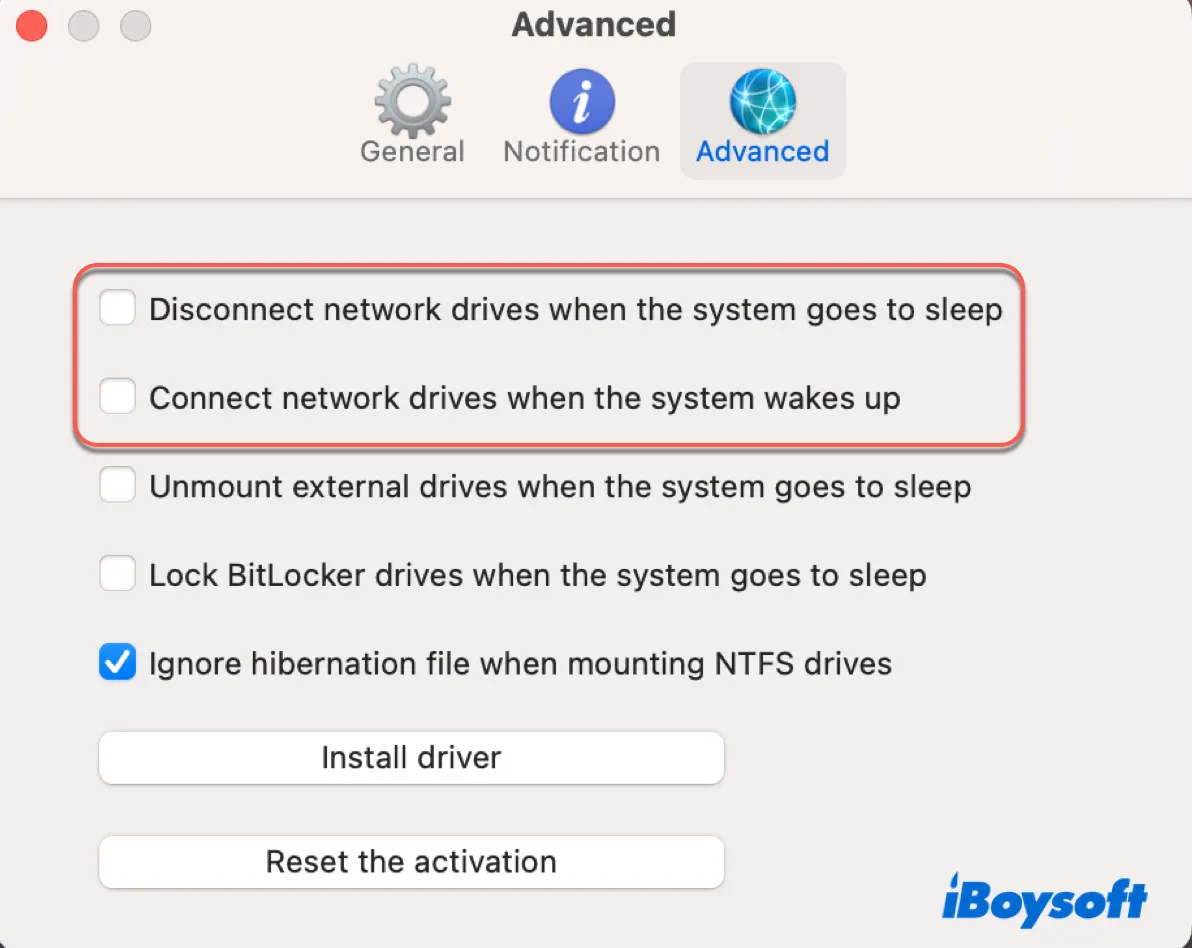
Way 3: Connect to network drive on Mac with Terminal
Alternatively, you can map a network drive on macOS using the Terminal app. It's the built-in command-line interface that allows you to interact with the operating system using text commands.
How to access network drive on Mac Terminal:
- Open Terminal from the Applications > Utilities folder.
- Type the following command and hit Enter to create a mount point for the network drive.sudo mkdir /Volumes/NetworkDrive
- Type your password and hit Enter.
- Input the following command after replacing the personal info and hit Enter to mount the network drive.mount -t smbfs //username:password@server-address/shared-folder-name /Volumes/NetworkDriveFor example, to map a network drive with the address (192.168.0.172/share) in the SMB protocol with the user name "share" and password `45, the command should be: mount -t smbfs //share:%[email protected]/share /Volumes/NetworkDrive (Note that special characters need to be URL encoded. The URL-encoded representation of the backtick character is "%60."
- To navigate to the mount point, run the command below:cd /Volumes/NetworkDrive
- To unmount the mapped network drive, execute the following command:unmount /Volumes/NetworkDrive
Share this post to assist others in adding network drives to their Macs.
How to map network drive on Mac permanently?
If you want the previously mapped network drives to automatically connect to your Mac after a reboot, you can add them to the login items.
- Go to the Apple menu and select System Settings/Preferences.
- Type "login items" in the search bar.
- Click "Login Items" to open it.
- Tap the ( + ) button below the list of items that open at login.
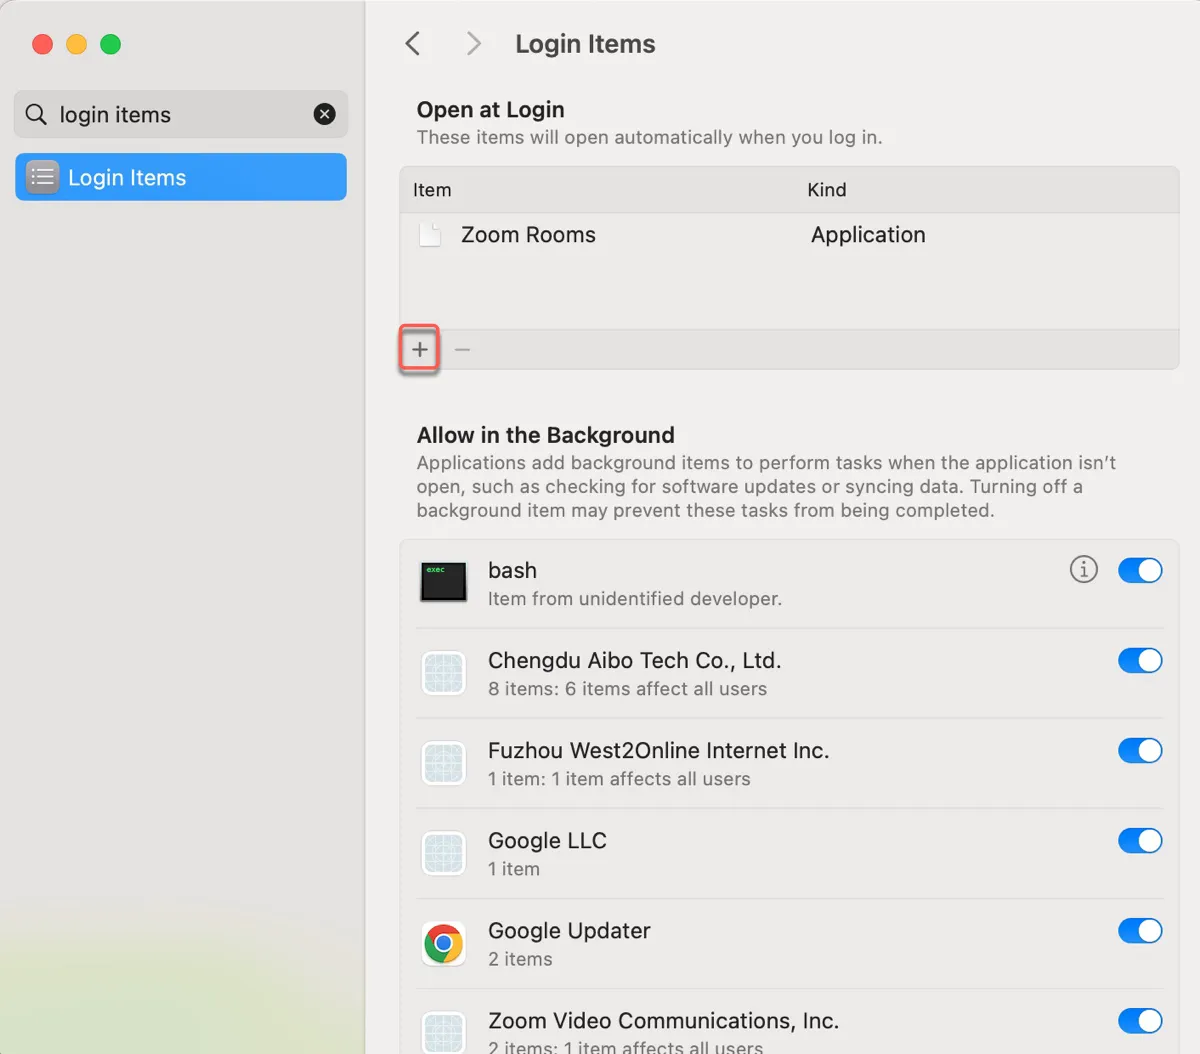
- Navigate to the network location you want to add and click Open.
The volume or folder should now automatically reconnect to your network drive when your Mac restarts.
Click the button below to assist others in mapping network drives on MacBook or desktop Mac.
Mac not connecting to network drive, How to fix?
If your Mac won't connect to a network drive, try the following tips:
- Ensure your Mac is connected to the network (either Wi-Fi or Ethernet). If you're using VPN to access the remote network drive, ensure that the VPN connection is active and stable.
- Verify that you're using the correct address, protocols, and credentials. If using SMB, there might be version compatibility issues (e.g., SMB1, SMB2, SMB3). Sometimes specifying the version in the connection string can help.
- Check if your Mac's firewall or any installed security software is blocking the connection.
- If you have access to your network settings, verify that the router or network switch isn't blocking the connection to the network drive.
- Reboot your Mac.
- Make sure the network drive is turned on and prepared to share.
- Try a different way to map the network drive.
- Delete the mapped network drive in Finder and remap it.
Share this article to benefit others who want to know how to map a network drive on macOS Sierra/High Sierra/Mojave/Catalina/Big Sur/Monterey/Ventura/Sonoma, and other versions.
FAQs about how to map a network drive on a Mac
- QHow do I find my network drive path?
-
A
Here are a few tips you can use to find the address of your network drive on Mac:
・If it's a NAS device, the address is often provided in the device's documentation or can be found in the NAS's web-based management interface.
・If the network drive is properly set up and broadcasting its presence, you should find it in the Network section of Finder's sidebar.
・You can also use network discovery commands in Terminal, like arp -a, to list devices on your network and their IP addresses.
・If you’re in a managed IT environment (like an office), the easiest way is to ask the network administrator for the address of the shared network drive.
・If you have access to the server, you can check its settings to see what IP address it’s using and what shares are available.
- QHow do I add a network drive to favorites on Mac?
-
A
To add a network drive to favorites on Mac, take these steps:
1) Open Finder and click Go > Connect to Server.
2) Enter the address of your network drive.
3) Click the ( + ) button.
- QHow do I add OneDrive to my network location on a Mac?
-
A
Adding OneDrive as a network location directly on a Mac, like you would with a traditional network drive (using SMB, AFP, or NFS protocols), is not supported natively. However, you can access OneDrive files on your Mac by using the OneDrive application, which syncs your cloud files with a local folder.