Nowadays, using MacBook built-in FaceTime camera to make video calls or have a teleconference has become an integral part of our daily life. However, it could be a real pain if the MacBook camera not working.
When you have your MacBook camera not working properly, it'll say disconnected or unavailable. The "There is no connected camera" error might surprise you anytime with any app. Luckily, here we conclude 9 useful methods to resolve the problem. You can try them one by one.
Mac camera not working: Check the webcam's permissions
If you are experiencing camera issues on your MacBook when using an app to make video calls or recordings, you should check the webcam's permissions first. You may have denied the camera access before and then forgotten about it.
Here's how to check the permissions for webcam use:
- Click on the Apple logo in the left corner of your Menu bar and select System Preferences.
- Find Security & Privacy and go to the Privacy tab.
- Scroll down to Camera and make sure there's a checkmark in the box next to the app you want to use the camera with.
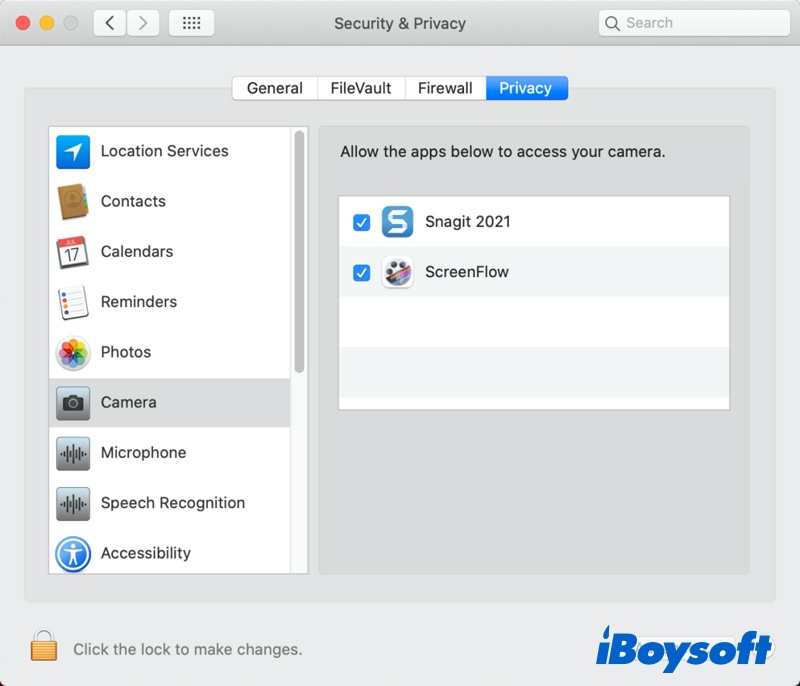
If the box is empty, it means the permission was denied. You can click the padlock icon at the bottom of the screen, and authenticate with your administrator password, Touch ID, or Apple Watch. Then, check the box next to the app and try the camera again.
Mac camera not working: Reset your Mac's camera with Terminal
VCDAssistant process and AppleCameraAssistant process perform webcam duties that run in the background on your Mac. Sometimes, these two processes did not quit properly though you've closed the app using the camera. This means your MacBook camera is not ready for the new app to use under this circumstance.
To make your macOS built-in webcam available again, you need to reset or restart it manually by doing the following:
- Launch Terminal from Mac Dock or Utilities.
- In the Terminal window, type in the below commands and press the Enter key: sudo killall VDCAssistant sudo killall AppleCameraAssistant
- Type the admin password when prompted.
MacBook pro camera not working: Force quit conflicting apps
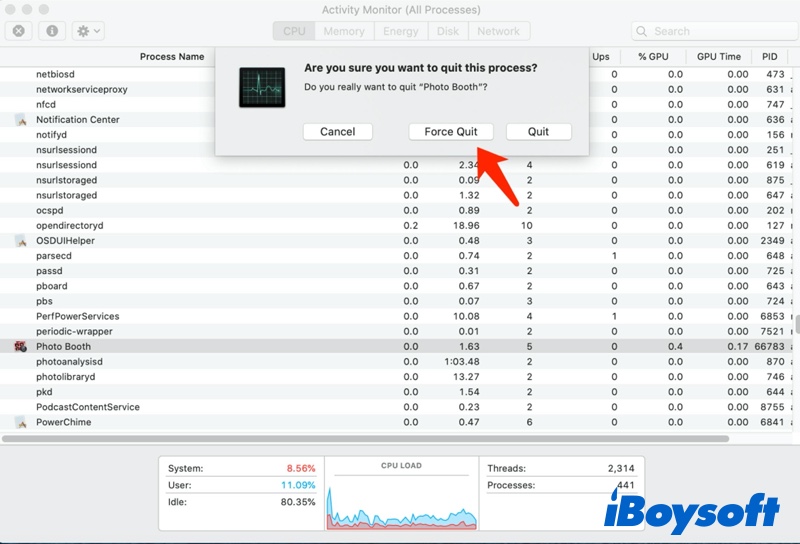
Only one app at a time can use your MacBook Pro camera. If you try to use it with multiple apps simultaneously, you'll be denied permission. To resolve the MacBook Pro camera not working problem, you need to force quit those conflicting apps.
Here's how to force quit app on Mac:
- Look in the Mac Dock for any apps that you know might potentially use the webcam, like Skype, FaceTime, PhotoBooth, or your browser. If you find anyone, right-click on it and select Quit.
- If the app still remains in the Dock, open Finder, choose Applications > Utilities > Activity Monitor.
- Select the app that might be using your Mac camera, click on the X button on the top left corner and click Force Quit.
MacBook camera not working: Restart your Mac
If killing all the processes that might be using the camera didn't work, try killing the whole operating system instead. Some webcam problems are caused when multiple apps try to use it simultaneously. You can restart your MacBook to resolve it, and not open all the same apps when it boots.
To do this, simply click the Apple logo, and then click Restart. When a window appears, uncheck the box next to the "Reopen windows when logging back in" option.
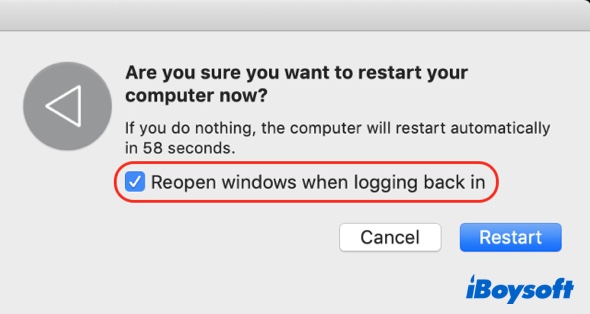
Click Restart again, wait for your Mac to power cycle, and then log in again when prompted. Relaunch the app that was trying to use your webcam and see if the problem is resolved.
MacBook Pro camera not working: Update or Reinstall the app
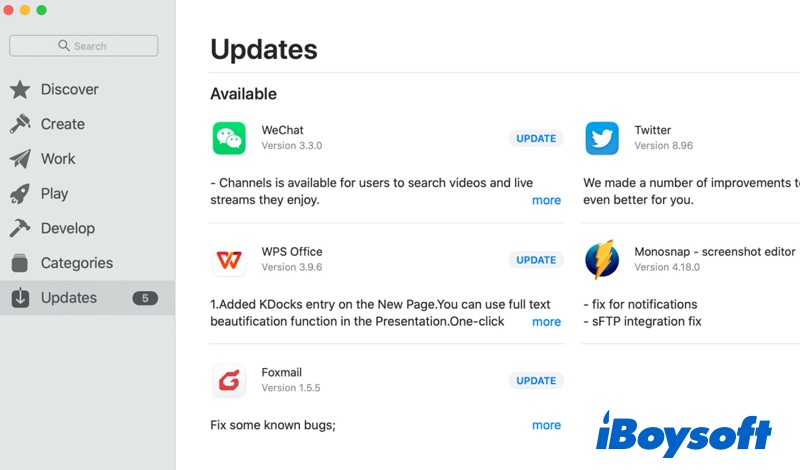
If you constantly face problems with an app and Mac's camera, such as FaceTime camera not working on Mac, try to update it for better compatibility. You can update apps by opening the App Store and going to the Updates section.
If the update is useless for fixing the MacBook camera not working issue, try to uninstall the app on Mac and reinstall it.
MacBook camera not working: Check the Mac Screen Time permissions
On macOS Catalina and later, you can restrict your Mac's camera via Screen Time. Follow the steps below to ensure your Mac's camera is not restricted via Screen Time:
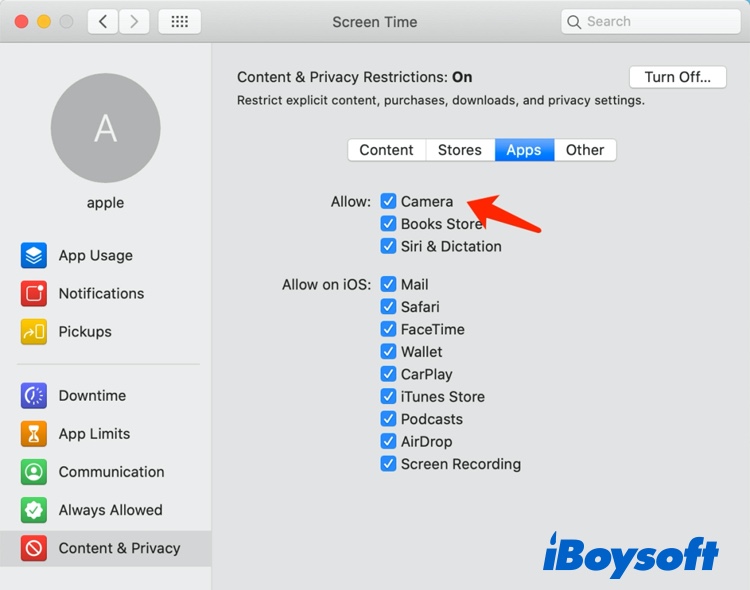
- Click the Apple logo, select System Preferences > Screen Time.
- From the left sidebar, click Content & Privacy > Apps.
- Here, ensure the camera is allowed. If it isn't, you can enable or authenticate it manually by checking the box next to the Camera option.
MacBook Pro camera not working: Reset your Mac's SMC
The System Management Controller (SMC) is responsible for low-level settings, like fans and LEDs, but it might also impact your internal webcam. If your Mac camera isn't working, it could be fixed by resetting the SMC.
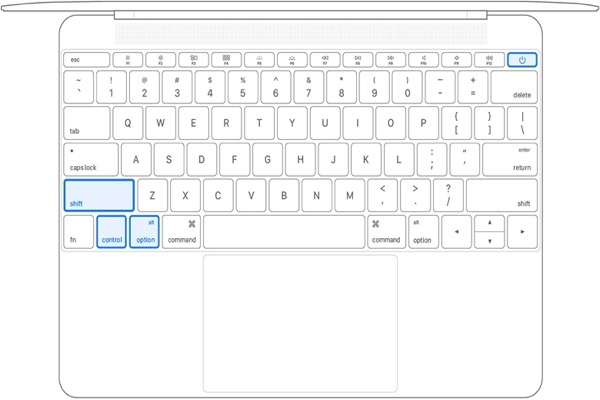
To reset the SMC in early Macs, make sure your MacBook is connected to a power source and shut it down. When it's completely off, hold the Shift + Control + Option + Power buttons until your Mac reboots.
Source from: Apple.com
If you own a newer Mac with a T2 security chip (2018 and later), the process is a bit different:
- Shut down your Mac.
- When it's fully off, hold the power button for 10 seconds.
- Release the power button and, after a while, turn your Mac back on.
- Shut down your Mac again.
- Hold Shift + Control + Option for 7 seconds.
- After 7 seconds, add the power button to the combination and hold for a further 7 seconds.
- Release all the keys and, after a few seconds, turn your Mac back on.
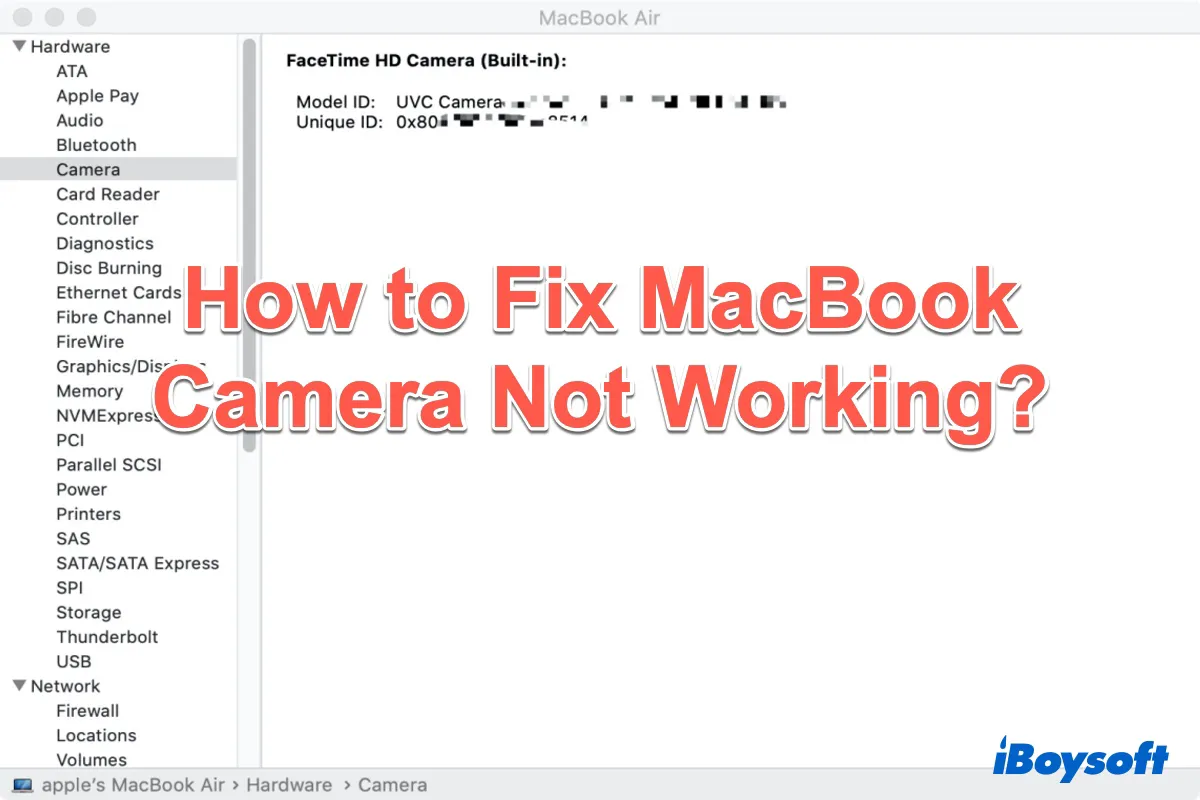
MacBook camera not working: Check if the Camera is detected by Mac
Your camera should be detected by Mac or MacBook to work properly. If Mac does not detect it, it could be a hardware issue.
Steps to check if the camera is detected by Mac:
- Select the Apple menu icon, choose About This Mac.
- In the Overview tab, select System Report.
- Select Camera under the Hardware tab.
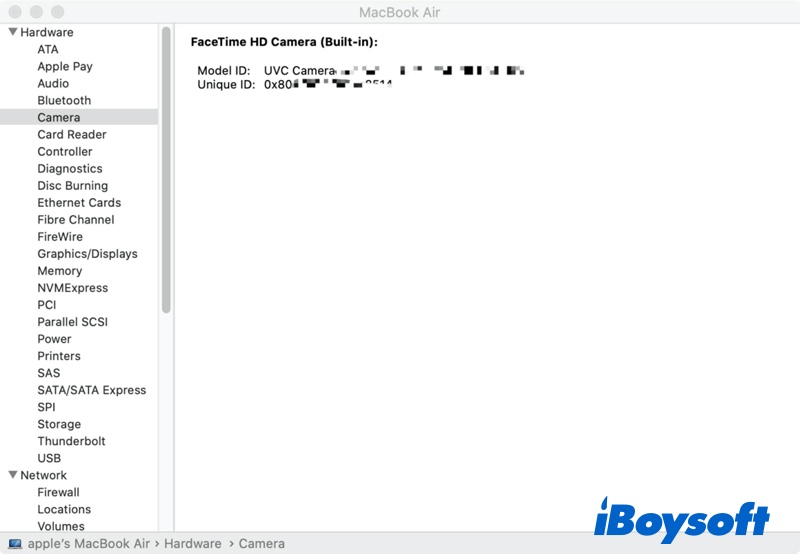
You should see something like "FaceTime HD Camera (Built-in)" listed, along with a bunch of numbers and model IDs. If you don't find this information, it means Mac does not detect your camera. That's the reason why your MacBook camera is not working. Try to contact Apple to fix the issue.
Mac camera not working: Run Apple Diagnostics
Another handy solution to identify the MacBook camera not working hardware problem is by running Apple Diagnostics. Apple Diagnostics is capable of helping you find which hardware component might be faulty.
Start Apple Diagnostics on Intel MacBook:
- Press the power button and immediately hold the D key as your Mac boots up.
- Release the key when asked to choose the language.
- Select the language using arrow keys.
Run Apple Diagnostics on M1 Mac:
- Release it as soon as you see the startup Options window.
- Press and hold Command + D on your keyboard.
- Select I agree when prompted.
Once the diagnostics are finished, you'll get a report on your Mac screen with one or more diagnostics codes. If the error codes begin with N, that means you have a problem with the camera. To resolve this problem, you'd better take your MacBook to an Apple Store or Apple Authorized Service Provider for help.
External webcam not working on Mac, how to fix
MacBooks, iMacs, and the iMac Pro all have internal cameras. However, you might need to buy an external webcam for some Mac models, like the Mac mini or Mac Pro. If your external webcam not working on your Mac, there might be a physical problem with that connection.
There are a few things you should check:
- Make sure the cable and the port are clean and not covered with dust - these can interfere with the connection.
- Make sure the cable fits tightly when you insert it.
- If your Mac camera isn't instantly recognized, try plugging it into a different port.
If the connection has no problem, try to use the above-mentioned ways to fix the problem. If none of these solutions works, go to the professional lab for help.
FAQs about MacBook camera not working
- QWhy is the camera on my Mac not working?
-
A
Possible reasons for the MacBook camera not working include:
The camera permission was denied.
Multiple apps use the camera simultaneously.
The camera itself has some hardware problems.
- QHow do I reset my Mac camera?
-
A
To reset your Mac camera, open Terminal, type in 'sudo killall VDCAssistant' and 'sudo killall AppleCameraAssistant' respectively, and then press the Enter key. Then, enter your admin password when asked.
- QWhy is my Mac camera showing a black screen?
-
A
If your Mac camera shows a black screen, the lens might just be blocked or covered with something. If you are receiving a black video when attempting to capture your video on your Apple Mac computer, it might be a result of a problem with the driver software that macOS provides to control the camera.