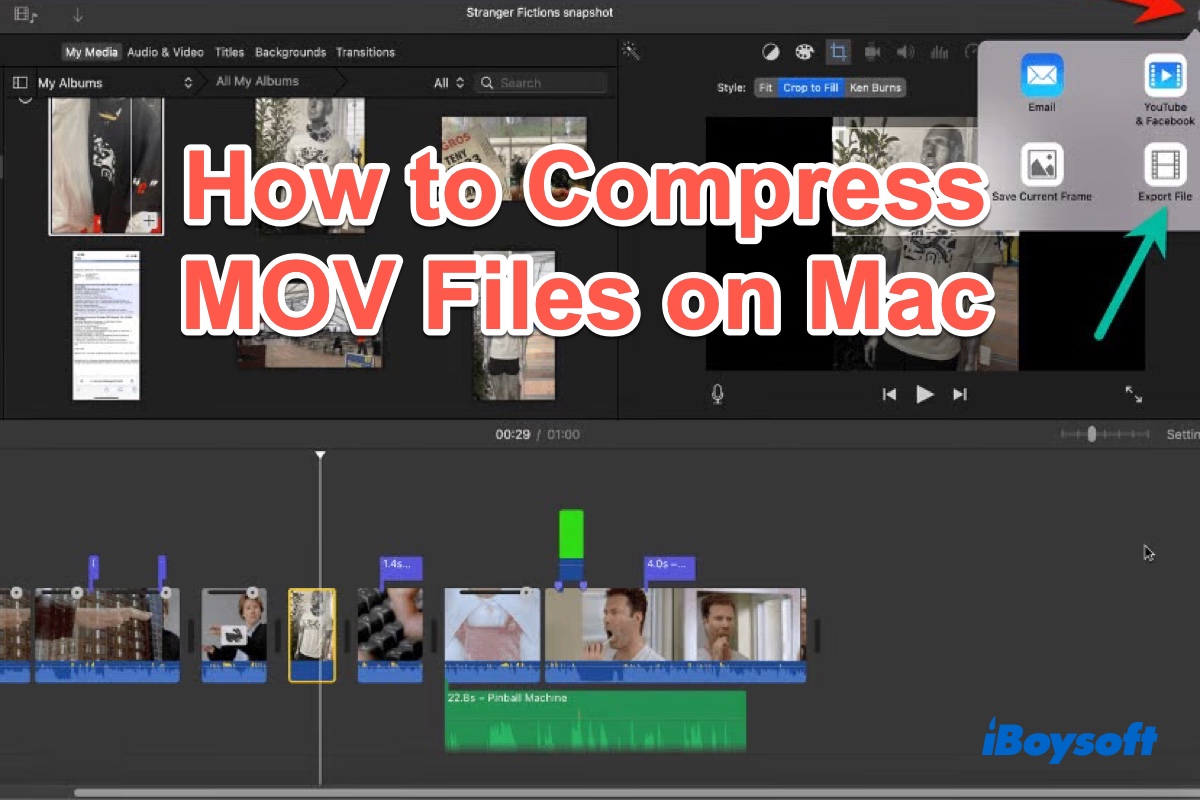
A video with .mov as the extension name is the MOV file, which is normally created by Apple's QuickTime application. A MOV file can be very large if it contains a long video clip or a very high-resolution clip and it may surpass the maximum size allowed for attachments in many E-mail services.
If you want to make a MOV file smaller for some reasons, such as freeing up the disk storage space or fast sharing the video with friends via social media or emails, you can choose to compress the .mov file. Luckily, this post will walk you through how to compress MOV files in 4 ways. Just keep reading.
How to compress a MOV file on Mac quickly
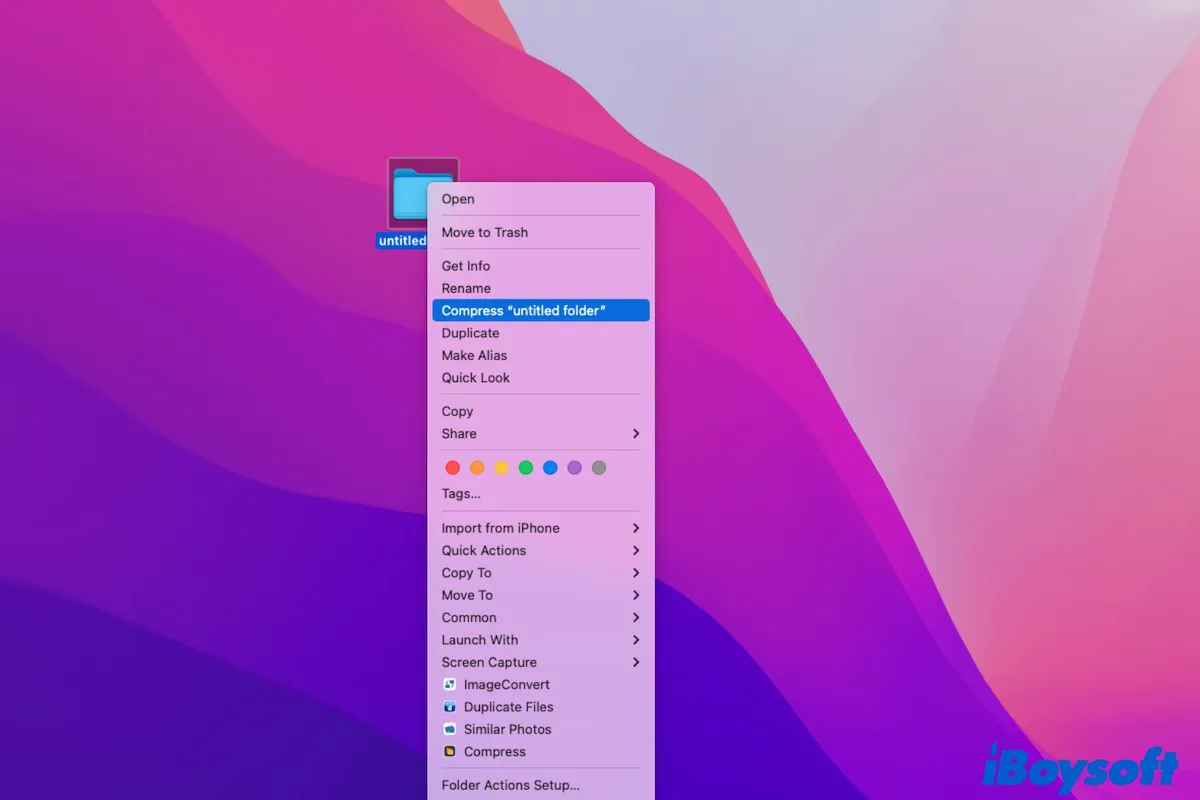
To quickly compress a MOV file on Mac without losing quality, the best way is to find a professional and neat video compressor. There are many of the best video compressors for Mac in the market, here we will use iBoysoft MagicMenu.
iBoysoft MagicMenu is capable of compressing videos, photos, and audio on Mac in a simple way. It supports compressing video on Mac with various formats, including mp4, mov, m4v, wmv, avi,flv, etc. This compressing app works smoothly on macOS Ventura, Monterey, Big Sur, Catalina, and High Sierra. It is straightforward to use whether as a tech-savvy individual or a beginner.
To compress a MOV file on Mac with iBoysoft MagicMenu, simply do the following:
- Free download, install and launch iBoysoft MagicMenu.
- Go to Mac Finder, and open the file folder which contains the MOV video you want to compress.
- Right-click on this .mov file and choose Compress "XXX" from the context menu. Here XXX is the name of your .mov files.
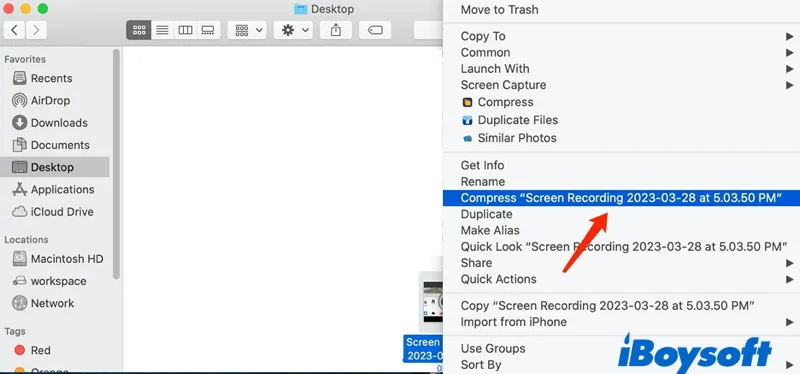
- Wait a moment, a new zip file should appear in the same folder, this is the compression file of your MOV file. This zip file should be smaller than the original. Now, you can delete the original MOV video file to free up more space on Mac storage if you need.
If you think this post is useful, please share it with more people, thanks!
How to compress MOV files on Mac with iMovie
iMovie for Mac is a macOS built-in video editing app. Using it, you can trim videos, add effects, apply filters, and compress videos, among other things. With iMovie, you can also compress MOV files on Mac by choosing the resolution, selecting compression quality, and compression speed. The process to resize files in iMovie is simple, quick, and free.
Here's how to reduce MOV files on Mac with the help of iMovie:
- Open iMovie for Mac.
- Click on File in the menu bar and select Import Media.
- In the Finder window, choose the MOV file you want to compress and hit Import Selected.
- Click on the MOV video you just imported and then go to File in the menu bar and select Share > File > Export File.
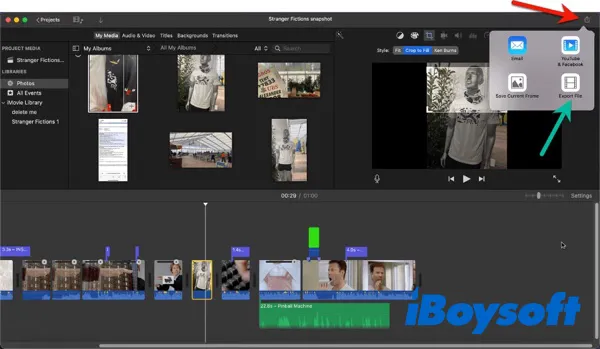
- As soon as you've done this, you'll be able to view the settings that will allow you to shrink your video. Select the desired resolution and quality, then set the compressed mode to "Faster."
- Once you've set the compression values, iMovie will show you the final file size of the video clip as well as the time it will take to compress the clip. If you're satisfied, hit Next.
- On the save prompt, name this file, select the output location, and hit Save to begin .mov file compression.
- iMovie will compress the MOV file based on your chosen preferences and export it as a .mp4 file.
MP4 is typically more compressed and smaller in size, while MOV files are often higher in quality and larger in size. Thus, to reduce MOV files on Mac, you can choose to convert MOV to MP4.
How to compress MOV files on Mac with QuickTime Player
Another way to compress .mov files on Mac is to use QuickTime Player, a macOS media player. It supports playing various audio and video file formats. As both a video editor and compressor, QuickTime Player can reduce a .mov video to half its initial size or even smaller.
To compress a .mov file on Mac using the QuickTime Player, do the following:
- Open Launchpad, find QuickTime Player, and open it on your Mac.
- Go to the folder that contains the MOV video you want to compress, select the .mov file, and hit Open.
- Select File in the QuickTime Player menu bar, and click Export As. From the options given, choose a lower resolution than the source file.
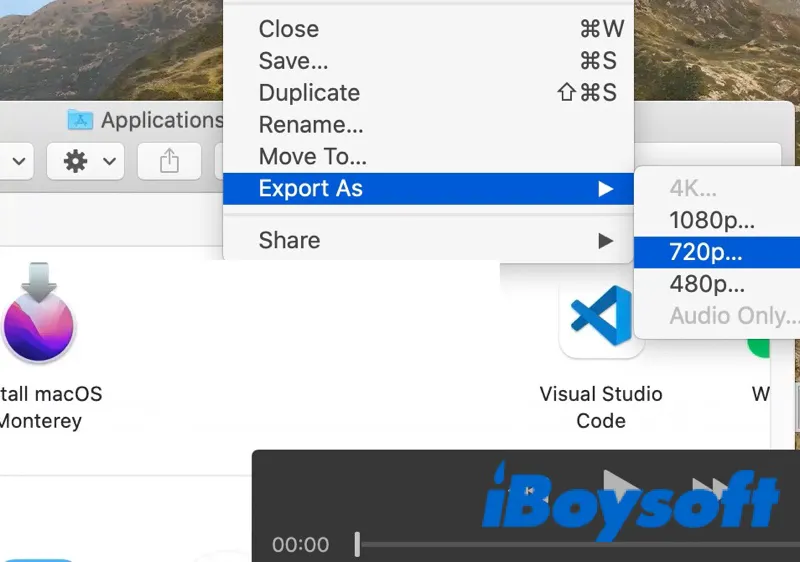
- Name this compressed file, select the folder where you want to export it, and hit Save.
- QuickTime Player will begin to export the video file. The export time will depend on your preferred output resolution.
We'd be appreciated it if you can share this post with more people.
How to compress a MOV file on Mac online
As you can see, the above-mentioned ways for compressing MOV files on Mac all require downloading applications. You may wonder if you don't want to download apps, what should you do? Don't worry, you can also compress MOV files on Mac online without downloading any apps.
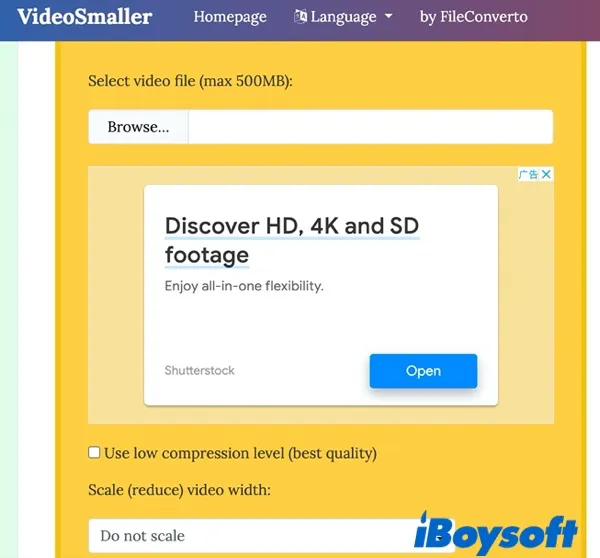
VideoSmaller is a free MOV compressor suitable for anyone. It is not only an online MOV file compressor, but it can also be used to compress audio. The way how to compress MOV files on Videosmaller is straightforward and easy. You only need to open the Videosmaller website, click the Browse button to select the MOV file, and open it.
Next, choose if you'll use a low compression level, reduce video width and remove audio from the video. Finally, click Upload Video to compress it. When finished, you'll get a smaller MOV file.
Please post this useful post on your social media to help more people, thanks!
FAQs about how to compress a MOV file on Mac
- QHow do I make a .MOV file smaller?
-
A
To make a MOV file smaller, you can compress it to a zip file or convert it to an MP4 file. When you convert it to an MP4 file, the resulting file size can be as small as one-tenth of the original MOV file size.
- QHow do I make a MOV file small enough to email?
-
A
You can create a zip file for this MOV file. Simply download iBoysoft MagicMenu and launch it. Open Finder, right-click on the MOV file, and click Compress from the right-click context menu. Then, a new zip file will be created and can fit the email transferring size.
