When you're running out of space on your Mac hard drive, the very first thing you may do is to find large files on your Mac and delete them to get more space. It's not a surprise that the largest files on your Mac are probably your videos.
However, if the large video files are very important to you and you are not willing to remove them from your Mac. What else can you do to reduce the video size? Actually, you can compress video files so that they will take up less storage space on your Mac. This article will explain what is video compression and how to compress a video on a Mac, just keep reading.
What is video compression and how it works
Before you learn how to compress all of your videos, you may want to know what compression is and what happens when a video is compressed.
A video is just a series of photos played in rapid sequence. So when you compress videos, you are doing something very similar to compressing photos, but at a much larger scale, stripping some information from every frame.
You may also wonder if compression affects video quality. Since compressing video may delete some data, your video will technically get worse. But since cameras are so outstanding nowadays, the reduction in quality might not even be noticed by our eyes. Overall, there are three main aspects that help you reduce the video file size: resolution, bitrate, and encoding.
Please share this informative post on your social media, thanks!
How to compress video on Mac without losing quality
To compress a video on Mac without losing quality, the best way is to find a professional and neat video compressor. There are many of the best video compressors for mac in the market, here we will use iBoysoft MagicMenu.
iBoysoft MagicMenu is capable of compressing videos, photos, and audio on Mac in a simple way. It supports compressing various formats of video, including mp4, mov, m4v, wmv, avi,flv, etc. Besides, it can help you find duplicate video files on your Mac or MacBook so that you can free up Mac storage space by deleting duplicate videos.
To compress a video file on Mac with iBoysoft MagicMenu, simply do the following:
- Free download, install and launch iBoysoft MagicMenu.
- Go to Mac Finder, and open the file folder which contains the video you want to compress.
- Right-click on this video and choose Compress "XXX" from the context menu. Here XXX is the name of your video files.
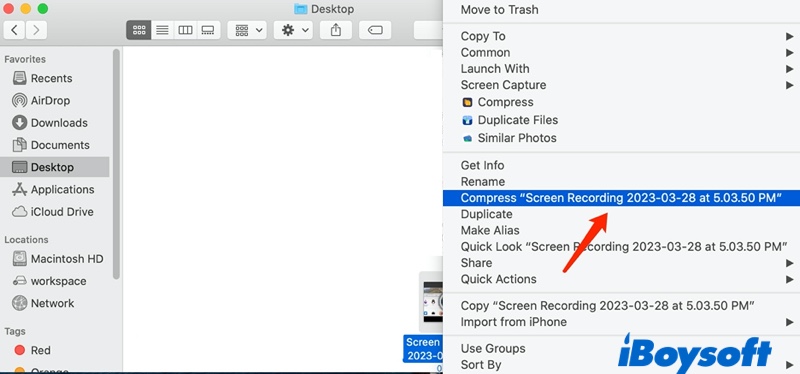
- Wait a moment, a new zip file should appear in the same folder, this is the compression file of your video. This zip file should be smaller than the original. Now, you can delete the original video to free up more space on Mac storage.
In addition to compressing a video on Mac, to free up space on a Mac computer, another thing you can do is to delete duplicate video files. If you used to edit video files with Mac, then your Mac may store more duplicate video files than you know. To delete duplicate video files quickly and easily, you can also use iBoysoft MagicMenu to help you.
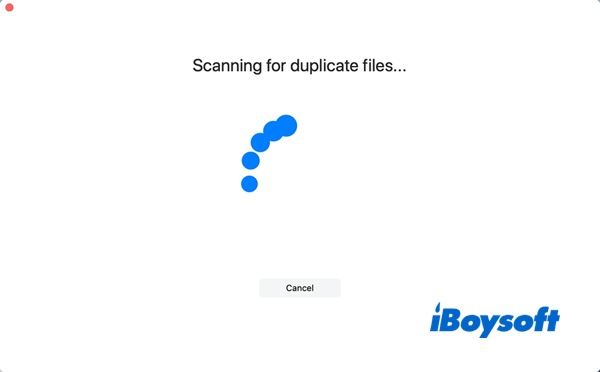
Launch iBoysoft MagicMenu first, then go to the file folder that has a huge possibility to keep duplicate videos. Right-click on this folder and click Duplicate Files from the context menu. Then iBoysoft will begin the scanning process and when it finishes, you'll see the duplicate videos and other duplicate files if there are many. You can choose what duplicates to delete according to your needs.
If you think this post is useful, please share it with more people, thanks!
How to compress video on Mac with iMovie
iMovie for Mac is a macOS built-in video editing app. Using it, you can trim videos, add effects, apply filters, and compress videos, among other things. With iMovie, you can also compress video files on Mac by choosing the resolution, selecting compression quality, and compression speed.
Here's how to compress a video file on Mac with the help of iMovie:
- Launch iMovie for Mac.
- Click on File in the menu bar and select Import Media.
- In the Finder window, choose the video file you want to compress and hit Import Selected.
- Click on the video you just imported and then go to File in the menu bar and select Share > File.
- Click on the dropdown button next to the properties and select the desired option based on your preference. To compress files with better control, you'd better change values for these properties: Resolution, Quality, and Compress.
- Once you've set the compression values, iMovie will show you the final file size of the video clip as well as the time it will take to compress the clip. If you're satisfied, hit Next.
- On the save prompt, name this file, select the output location, and hit Save to begin compression.
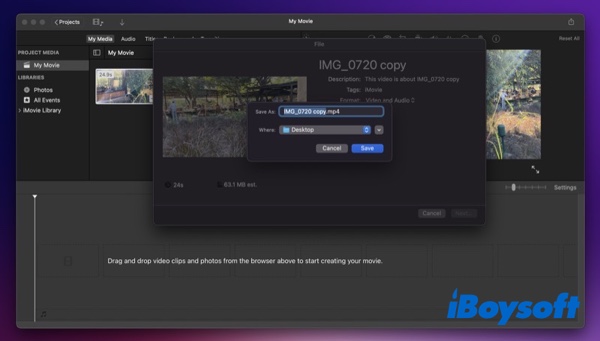
- iMovie will compress the video file based on your chosen preferences and export it as an .MP4 file.
How to compress video files on Mac with QuickTime Player
The last way to compress video files on Mac is to use QuickTime Player, a media player that comes bundled with macOS. It supports playing various audio and video file formats. You may have used it to play a wide range of videos on your Mac. But you may not know the QuickTime Player also works as an editor and allows you to perform a few operations on your video files, such as compression.
To compress a video file on Mac using the QuickTime Player, simply do the following:
- Open Launchpad, find QuickTime Player, and open it on your Mac.
- Go to the folder that contains the video you want to compress, select the video, and hit Open.
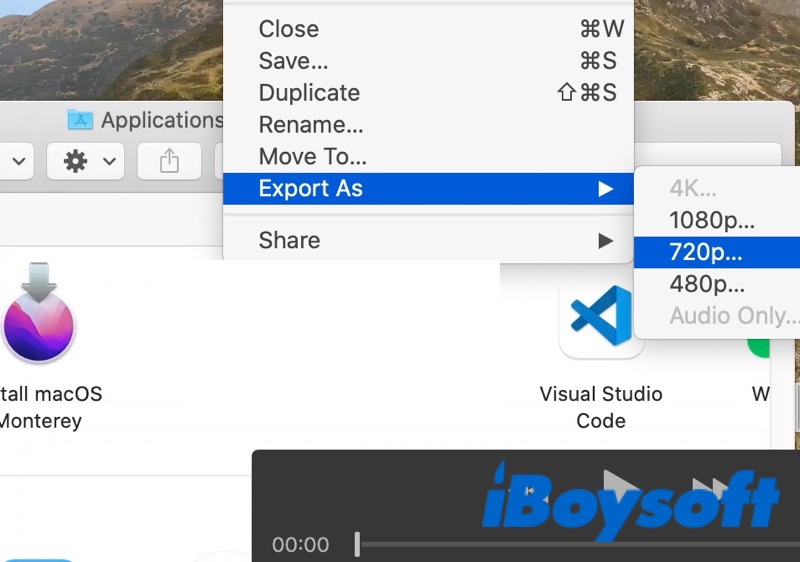
- Select File in the menu bar, select Export As, and choose the output video resolution from the available options.
- In the export window, name this file, select the folder where you want to export it, and hit Save.
- QuickTime Player will begin to export the video file. The export time will depend on your preferred output resolution. Once it's finished exporting, you'll have your compressed file in the .MOV file format.
We'd be appreciated it if you can share this post with more people.
FAQs about how to compress video on Mac
- QHow do I reduce the size of a video file on a Mac?
-
A
One of the easiest ways to make your video file smaller is to compress its contents. Simply install and launch iBoysoft MgicMenu, right-click on your video files, and choose Compress from the context menu to reduce its size.
- QHow to compress a video on Mac for Email?
-
A
Launch iMovie on your Mac. Import the video you want to compress and drag it to the timeline. To export the video, click File > Share > Email and choose Small to decrease the file size.
- QDoes MOV or MP4 reduce size?
-
A
MP4 are typically more compressed and smaller in size, while MOV files are often higher in quality and larger in size. MOV files are better for video editing on a Mac, since they're specifically designed for QuickTime.