Nowadays, people used to take videos to record daily life or work, such as birthday parties, travel adventures, and other special life events. Thus, it's very important to have a neat app to edit videos. If you're a Mac user and looking for an easy-to-use app to edit video clips, you can use iMovie for Mac. Have no idea what is iMovie for Mac? Just keep reading.
What is iMovie for Mac
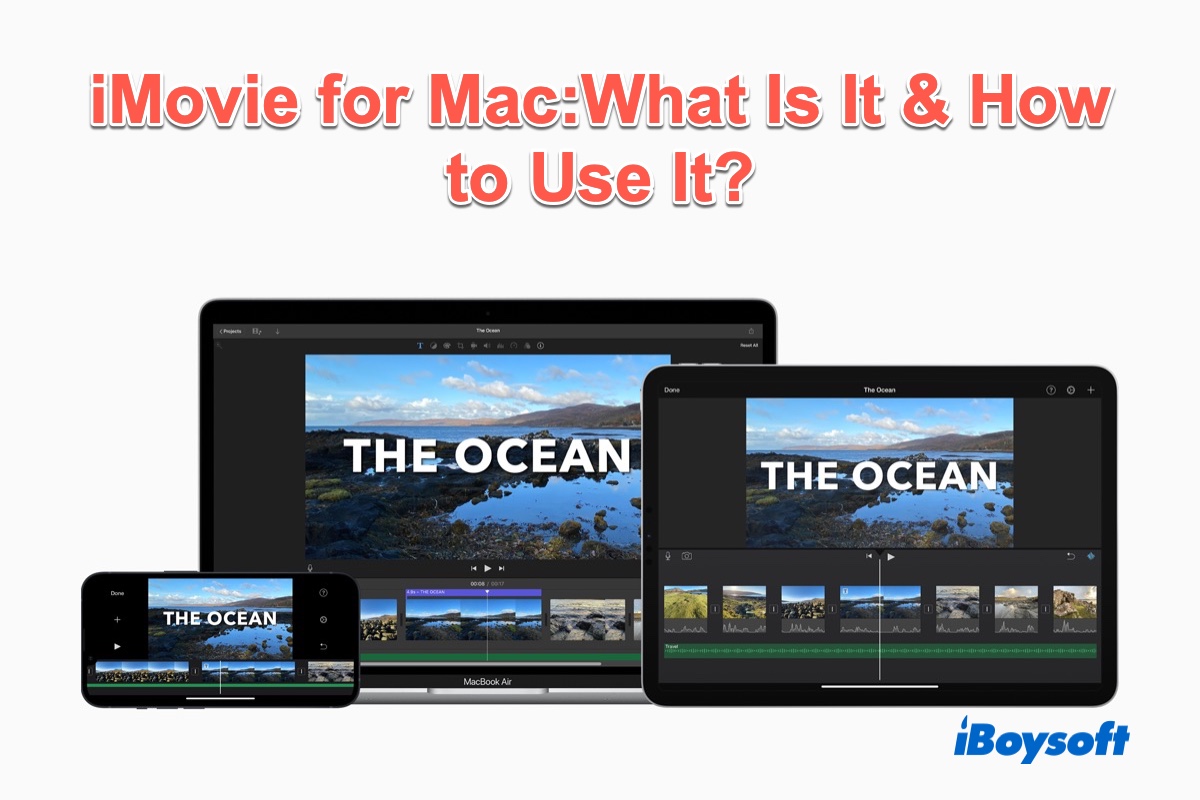
iMovie is an Apple free app for editing video and is available for Mac, iPhone, and iPad. With iCloud enabled, you can share video projects across all three Apple platforms, allowing you to start editing on iPad/iPhone and then move to your Mac. iMovie for Mac includes excellent tools for a media organization, color grading, speed, green-screen effects, narration, and soundtrack in your digital movies. It works with 4K and HEVC.

Compared with other video editing software for Mac, iMovie has the following Pros & Cons:
- Pros:
- Simple user interface
- Classy themes
- Color matching for consistent movie looks
- Lots of audio tools
- Excellent movie templates
- Cons:
- Not support tagging
- Limited to two video tracks
- No 360-degree video editing
Please share this informative post with more people, thanks!
How to use iMovie for Mac
Before you can start to use the iMovie app for Mac, you need to make sure you actually have it on your Mac. Normally, if you purchased a Mac on or after October 20, 2010, iMovie for Mac can be freely downloaded from the Mac App Store, which means the iMovie app is free on nearly all Macs. The latest version of iMovie for Mac requires macOS 11.5.1 or later and requires 2.6GB of storage.
Usually, iMovie for Mac is downloaded by default on your Mac. If you ever uninstalled it, you can reinstall it by the next steps:
- Go to Mac App Store, type in iMovie in the search field, and press the Return key.
- Click on the cloud icon showing next to the iMovie. It will start to download the iMovie dmg file.

- Double-click the iMovie dmg file to install it, when the installation finishes, you can open it from Launchpad or Finder.
Now, let's see how to use iMovie for Mac:
How to trim a clip in iMovie
If you think the video or movie is too long for you and want to reduce the duration of the clip you've just added in iMovie, you can easily cut it by:
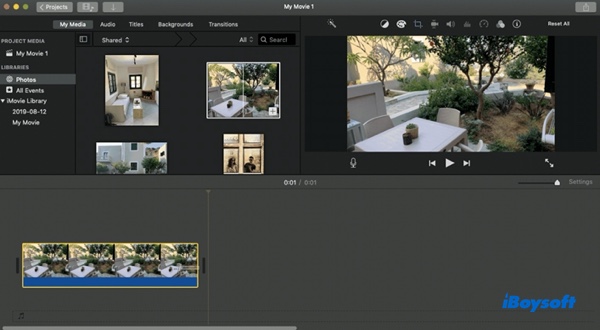
Select the clip on the timeline and drag its corner inwards. When done, click somewhere else to save the cut. Your changes remain adjustable until you click them off (you can still use the undo command though).

How to add text to iMovie
If you need to add text to an iMovie project, such as a title or a subtitle. Luckily, it's very simple to do:
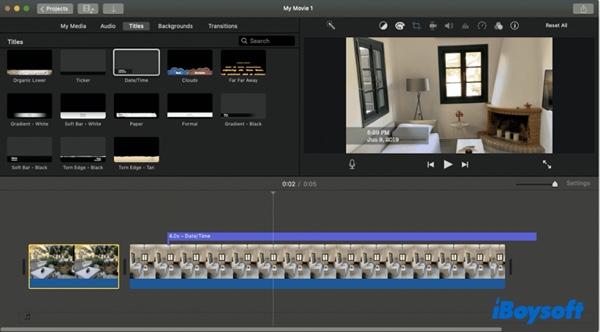
- While in your project, select Titles in the top bar.
- Look through all available titles, watch previews, and pick the best one for your video. Edit the title if such an option is presented.

- Drag it onto your timeline and place it in the right spot.
How to save iMovie projects
When you finish editing a video in iMovie, the most important thing is to save it successfully. Here's how to save iMovie projects:
- In the iMovie window, click Share and choose File.
- Customize the default video information and click Next.
- Select the destination folder and click Save.
If you think this post is useful, please share it with more people.
How to uninstall iMovie for Mac
If you don't want to use iMovie for Mac, uninstall it to free up space. To uninstall it with a few clicks, you can use iBoysoft MagicMenu to help you. It is a comprehensive app that can uninstall apps on Mac, compress a file on Mac, and even find duplicate files on Mac.
To uninstall iMovie for Mac, do the following:
- Free download, install and launch iBoysoft MagicMenu.
- Go to Finder > Applications, and find iMovie for Mac. Right-click on iMovie for Mac, and choose Uninstall from the context menu.
- Tap Uninstall again and click Yes to confirm the uninstallation and when it completes, choose Close to quit the iBoysoft app.
FAQs about iMovie for Mac
- QIs iMovie free for Mac?
-
A
Yes, iMovie for Mac is totally free to use.
- QIs iMovie good enough for editing?
-
A
Yes, iMovie is good for basic video editing. You can edit 4K videos, and iMovie is available on macOS and iOS.
