Open File With Code Editor on Mac
- iBoysoft Mac Extension
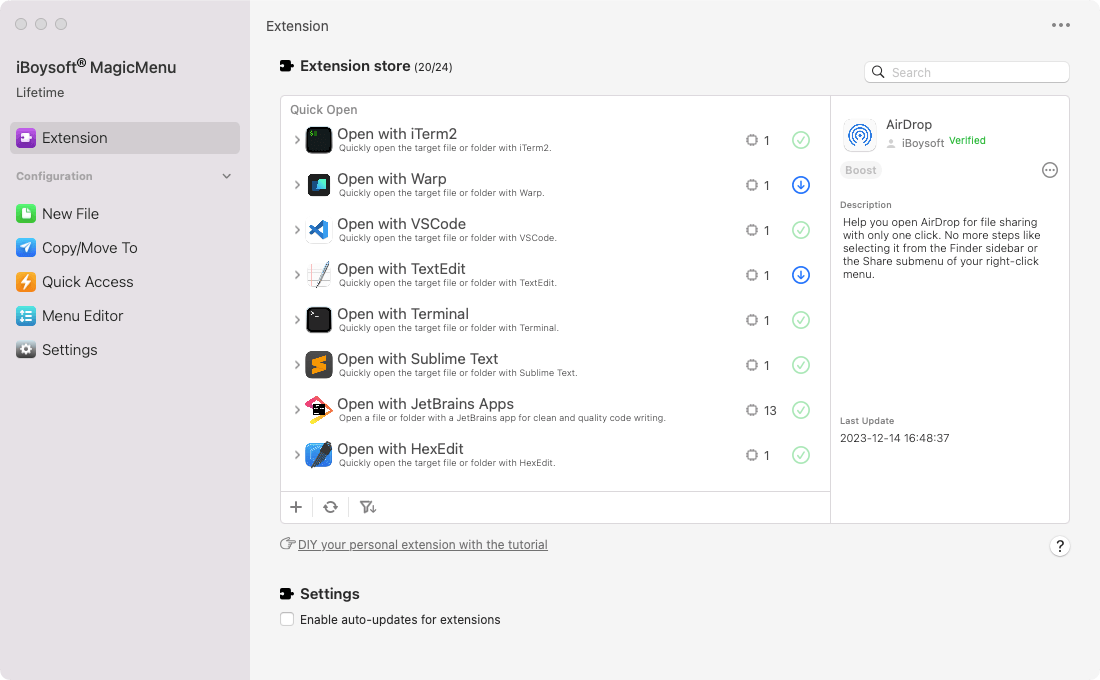
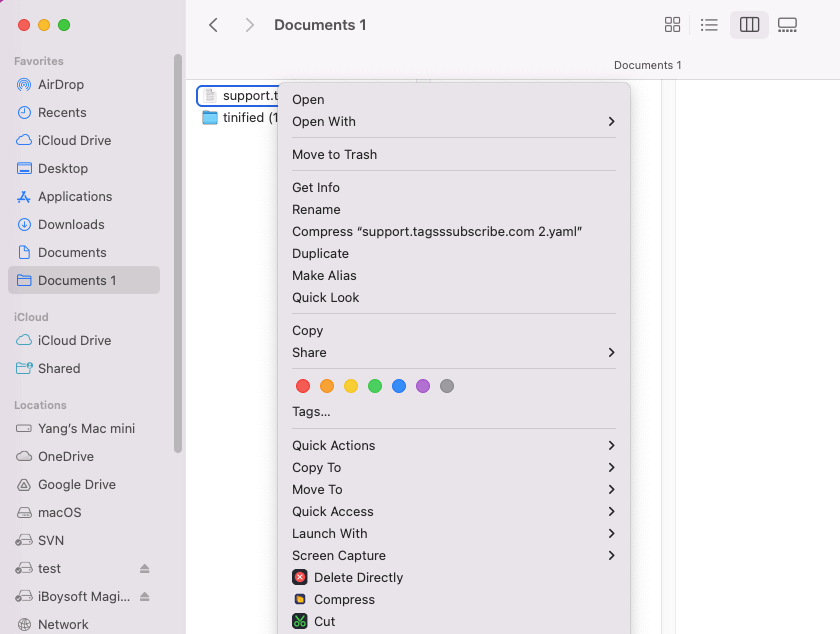
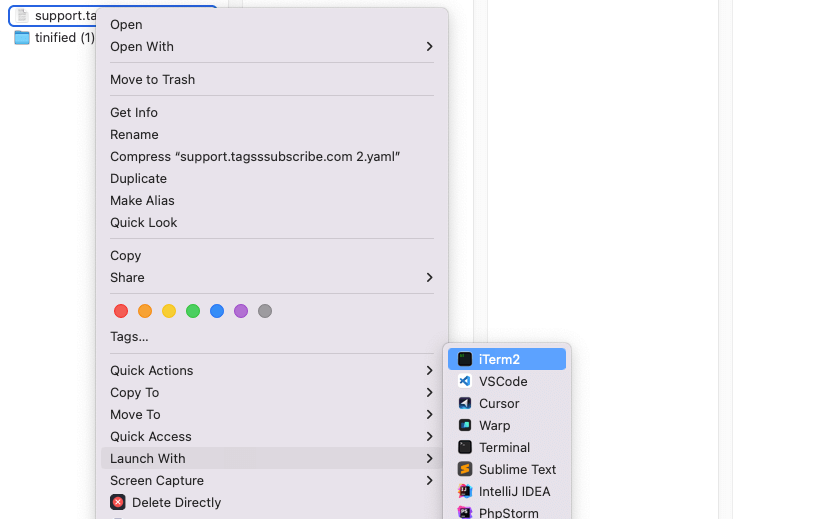
iBoysoft Launch With extension is an all-in-one quick file opener that supports you to directly open the target file or folder with any installed code editor on your Mac, including iTerm2, Warp, VSCode, TextEdit, Terminal, Sublime Text, JetBrains Apps, HexEdit, Cursor, CodeRunner, BBEdit, and Atom. It reduces your extra steps to open those programs from Finder.
Moreover, if you haven't installed the code editing tool you want to use, this quick open extension will bring you to its official website and give you a step-by-step installation guide. With it, you won’t need to waste time to launch a desired code or text editing application on your Mac.