Convert Images on Mac
- iBoysoft Mac Extension
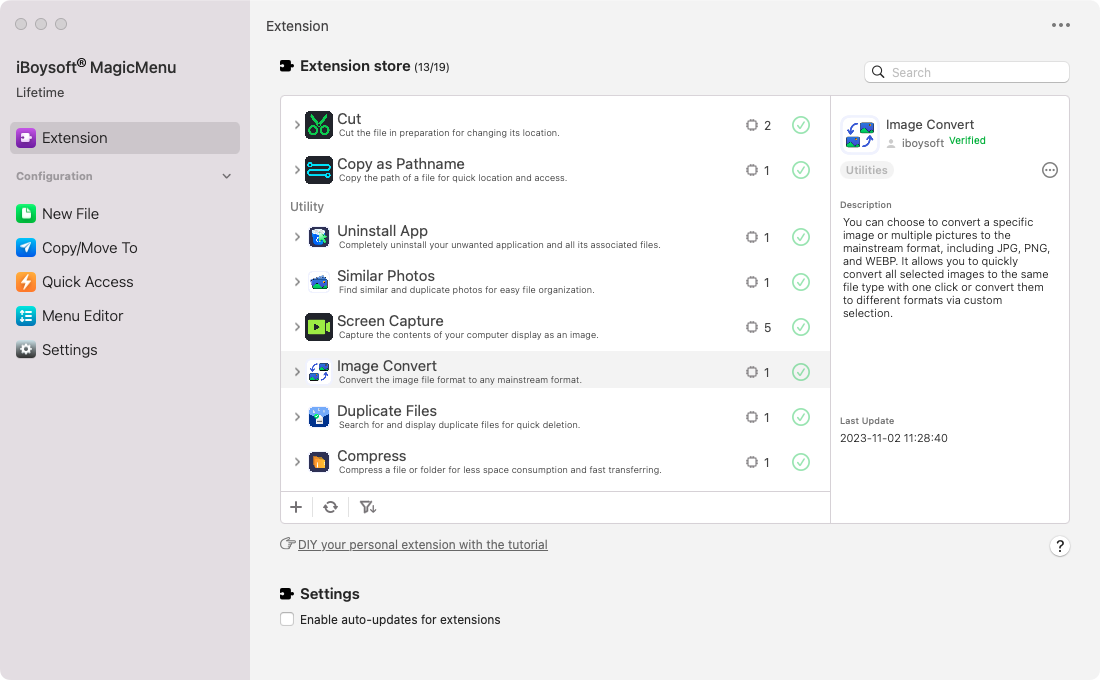
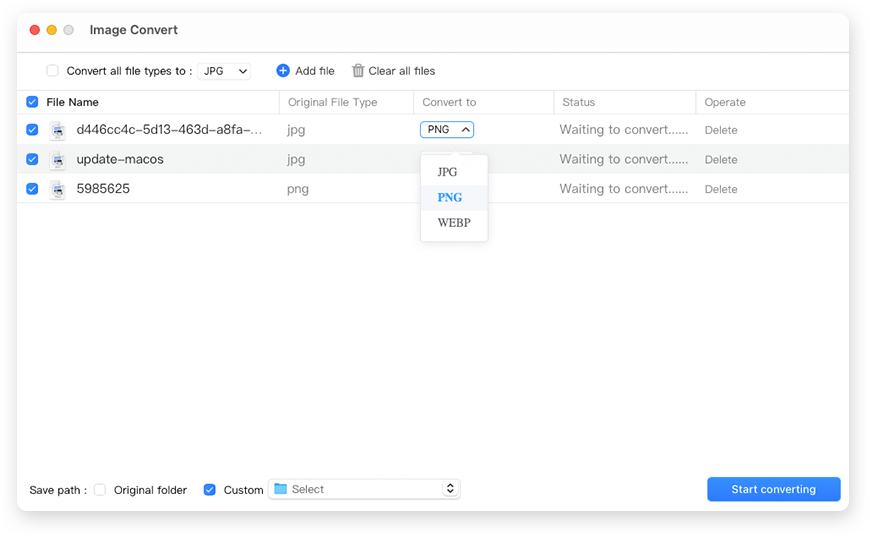
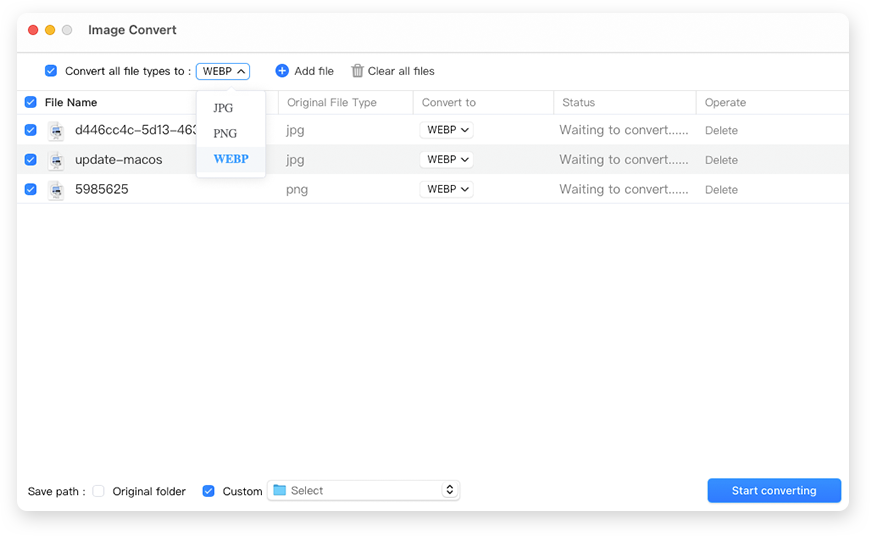
iBoysoft Mac ImageConvert extension is an easy-to-operate and powerful image converter that allows you to convert various formats of images to PNG, JPG, or WEBP fast and stably. It is designed with advanced options for your customizable image conversion.
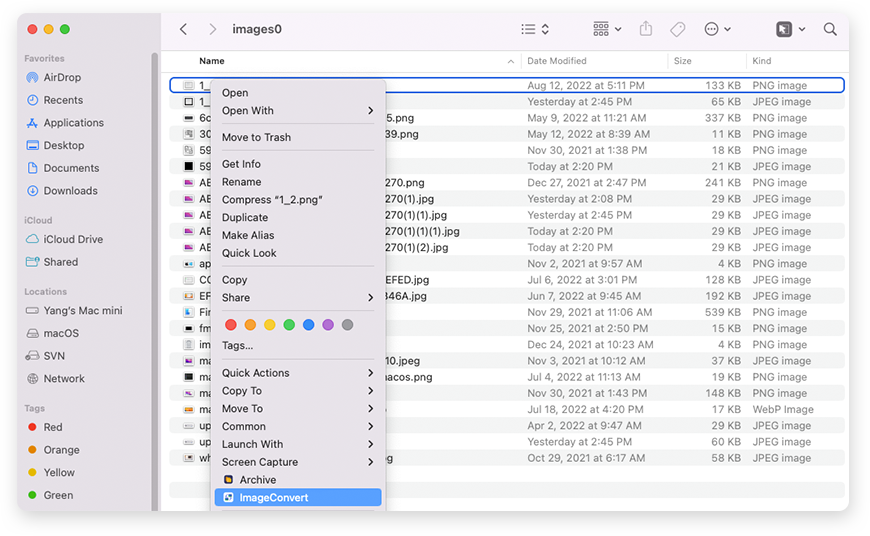
Unlike online image converters that consume time to load up the web pages and are vulnerable, the Apple-trusted iBoysoft Mac image converter program allows you to right-click to convert images in a quick way. And no one except you have the access to your files.