
Written by
Amanda Wong
Summary: When connecting an external disk to your Windows PC, one error message pops up, saying There's a problem with this drive. Scan the drive now and fix it. Check this post to recover data from the problematic disk using iBoysoft Data Recovery and repair it in 5 working ways.
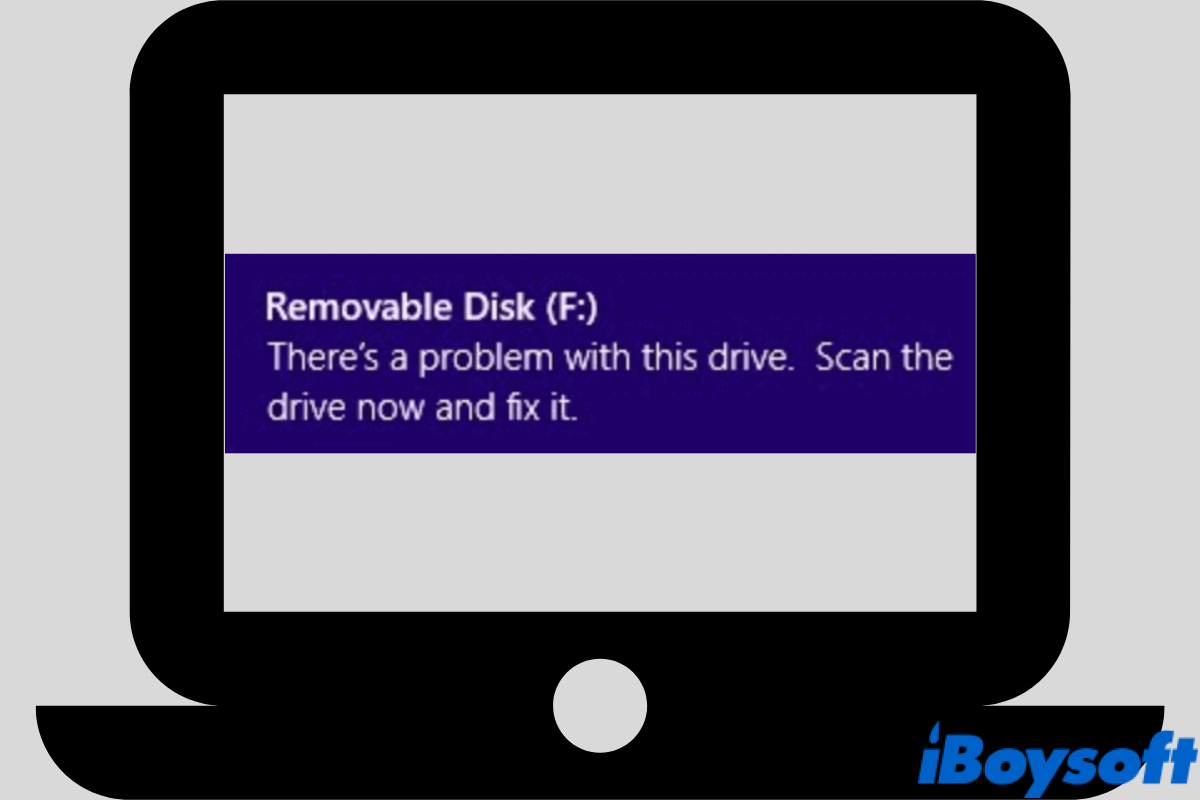
When connecting a portable external device, say, a USB thumb drive or an SD card to your Windows computer, mainly in Windows 8/8.1/10/11, one error message pops up and warns you to repair the problematic drive.
There's a problem with this drive. Scan the drive now and fix it.
Although some of you may still access the drive in rare cases, it's advised to check and fix this error in case of any worse outcomes. For example, data loss, drive corruption, etc. Therefore, instead of using the drive, read this post to know how to fix There's a problem with this drive error on Windows 8/8.1/10/11.
| Methods for "There's a problem with this drive" | Specific Steps |
| Scan and fix as recommended | 1. Click the Scan and fix option on the error message window. 2. Continue to choose Repair drive. 3. Wait for the scan and repair process to complete. |
| Run Windows Troubleshooter | 1. Type in Troubleshooter or Troubleshooting in the search box to open this program. 2. Head to Hardware and Sound > choose Configure a device. 3. Choose Advanced and Check Apply repair automatically. 4. Click the Next button to start the automatic scan and repair process. |
| Run CHKDSK command | 1. Type 'cmd' in the Search Box, right-click Windows Command Prompt and select Run as administrator. 2. Type the command chkdsk /f e:(replace e with your drive letter) and press Enter. 3. Waiting for the CHKDSK stages to finish. |
| Enable Quick removal for safe eject | 1. Click on Device Manager after right-clicking the Start menu. 2. Scroll down to find the Disk drives section. 3. Right-click on the problematic drive, then choose Properties. Follow Policies > Removal policy > Quick removal (default) > OK. |
Recover data from problematic drives – highly necessary
Most of you will find it unable to access the external drive after receiving the error prompt. It's all possible that your data is broken or even lost. Therefore, when the status of your content becomes unknown, it's necessary and important to recover data from the drive first before proceeding with any repair solutions.
Here, we'll use iBoysoft Data Recovery to retrieve data from corrupted drives, thanks to its advanced search algorithm and satisfying recovery success rate.
Step 1. Free download iBoysoft Data Recovery for Windows by clicking on the green button below. This free data recovery software will trace your deleted & lost data from every corner of your drive.
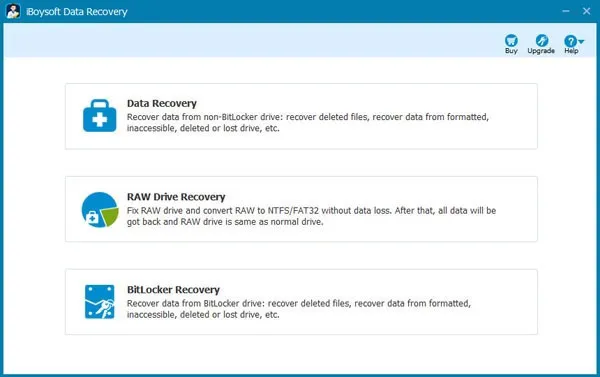
Step 2. After the installation, launch iBoysoft Data Recovery for Windows. You'll be presented with three recovery modules, including Data Recovery, RAW Drive recovery, and BitLocker recovery. Here, Data Recovery module will do you good.
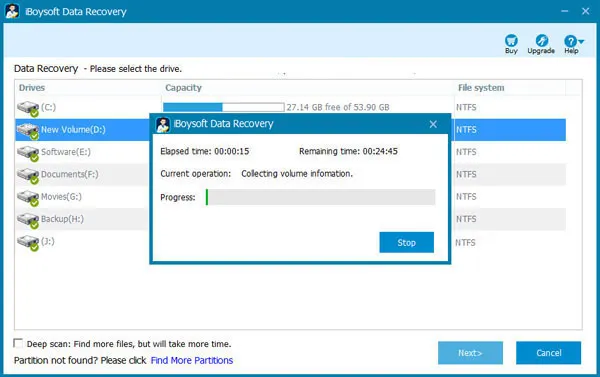
Step 3. Select your problematic USB drive or SD card from the list. Additionally, this Windows data recovery software supports a wide range of devices, including the internal drive, external HDD, SSD, digital cameras, etc.
Step 4. Click on the Next button to start a quick scan. For a more thorough search, you can also opt for the Deep scan mode.
Step 5. The scan process depends on how large your drive is. Once it's done, filter and preview found files to make sure they are recoverable. Select desired files and click on the Recover button.
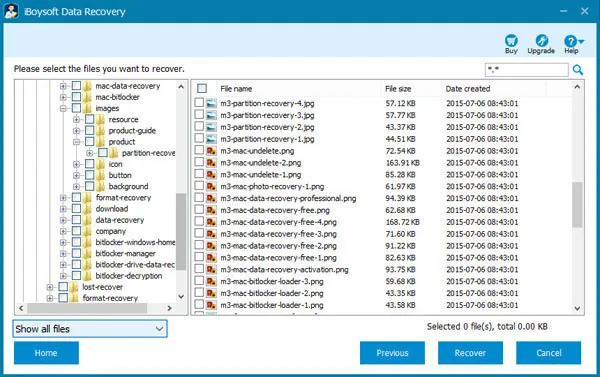
You'll be prompted to save the recovered files to a different location. Take a look at the files and make sure they are safe and sound. Now, you can start fixing There's a problem with this drive error on Windows 8/10/11.
Scan and fix the drive as recommended
After the error message pops up, you'll be prompted with a window asking you to whether scan and fix the removable disk or not. Since Windows already shows you the recommended way, why not do as recommended?
Step 1. In the prompt window, click on the first option, Scan and fix (recommended).
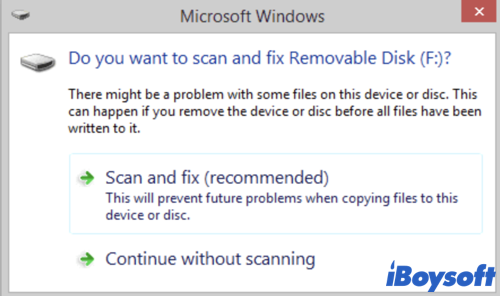
Step 2. In the follow-up window, proceed with Repair drive.
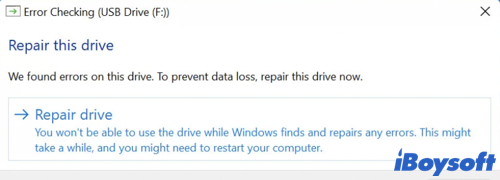
Step 3. Wait for the system to scan and repair your drive. Once it's completed, close the window.
Is the error still showing up? If so, try the methods below.
Use Windows built-in tools for scan and repair
Windows offers more than one native utility to check and repair problematic drives. Some target device and hardware issues while others focus on file system errors. You can use any of the tools below to fix There's a problem with this drive problem.
To fix hardware issues:
Run Windows Troubleshooter
The built-in Hardware and Devices troubleshooter can diagnose and repair issues of external storage devices. Follow the steps below to get rid of There's a problem with this drive error.
Step 1. In the search box, type in Troubleshooter or Troubleshooting and open this program.
Step 2. Under the Hardware and Sound section, choose Configure a device.
Step 3. In the prompt window, choose Advanced. Check the box in front of Apply repair automatically.
Step 4. Hit the Next button to start the automatic scan and repair process.
Are these solutions helpful? Share the post with more people!
To fix file system issues:
Run error checking
Similar to the first method, you can manually scan & fix a faulty drive by running disk error checking in Windows.
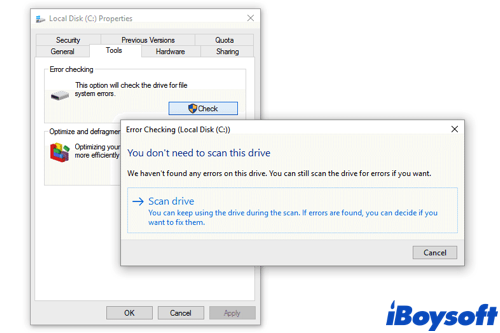
Step 1. Open File Explorer. Under This PC, find your removable disk and right-click on it. Choose the last option, Properties.
Step 2. In the Properties window, choose the second tab, Tools. Click on the Check button to start error checking.
Step 3. In the prompt, choose Scan and repair drive.
Note: During the error-checking process, you won't be able to use the drive.
Step 4. Wait for the error-checking process to be done. Once finished, restart your computer for better performance.
Run CHKDSK commands
The CHKDSK utility is a great help in terms of checking and fixing file system-related issues. With two effective commands, CHKDSK /F and CHKDSK /R, you stand a big chance to scan the bad sectors and repair the corrupted file system. Click on the article below for a detailed guide.

CHKDSK /F or /R, Which One Is Better for Disk Check & Repair
This guide introduces the differences between CHKDSK /F and CHKDSK /R and how to run them to check and repair hard drive errors and what to do when CHKDSK fails to run. Read more >>
Is this post helpful? Share it on your social media!
Enable Quick removal for safe eject
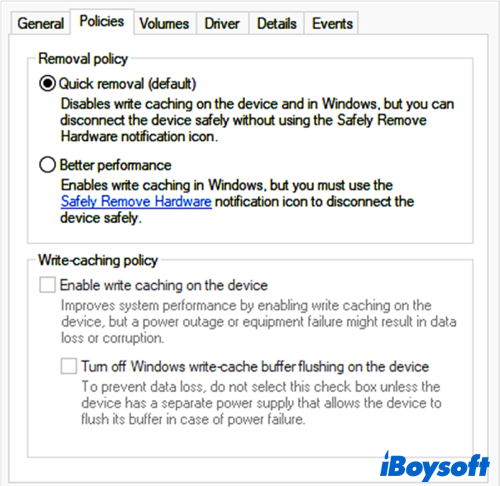
By enabling Quick removal, the system ensures that your drive is always ready for safe ejection. Although Quick removal disables write caching on your device, you can disconnect the device without clicking on the Safely Remove Hardware notification. It also stops the 'do you want to scan and fix' message from popping up.
Step 1. Clicking on Device Manager after right-clicking the Start menu.
Step 2. Scroll down to find the Disk drives section. Expand it to find the disk that shows There's a problem with this drive error.
Step 3. Right-click on the drive, then choose Properties. Follow Policies > Removal policy > Quick removal (default) > OK.
There is a problem with this drive: why does it occur
Why does it say there is a problem with your USB drive? Below is a list of possible causes.
- Eject the drive without choosing the Safely Remove Hardware option.
- Abrupt eject the drive while still writing to it.
- There's a corrupted file system on your drive.
- The USB drive is virus infected.
Conclusion
This post elaborates on how to fix There's a problem with this drive in 5 effective solutions. Be it a hardware issue or a file system error, you can find related solutions in this article. However, before scanning and fixing, you should always recover data from the drive first. If you encounter any problems, leave a comment below!