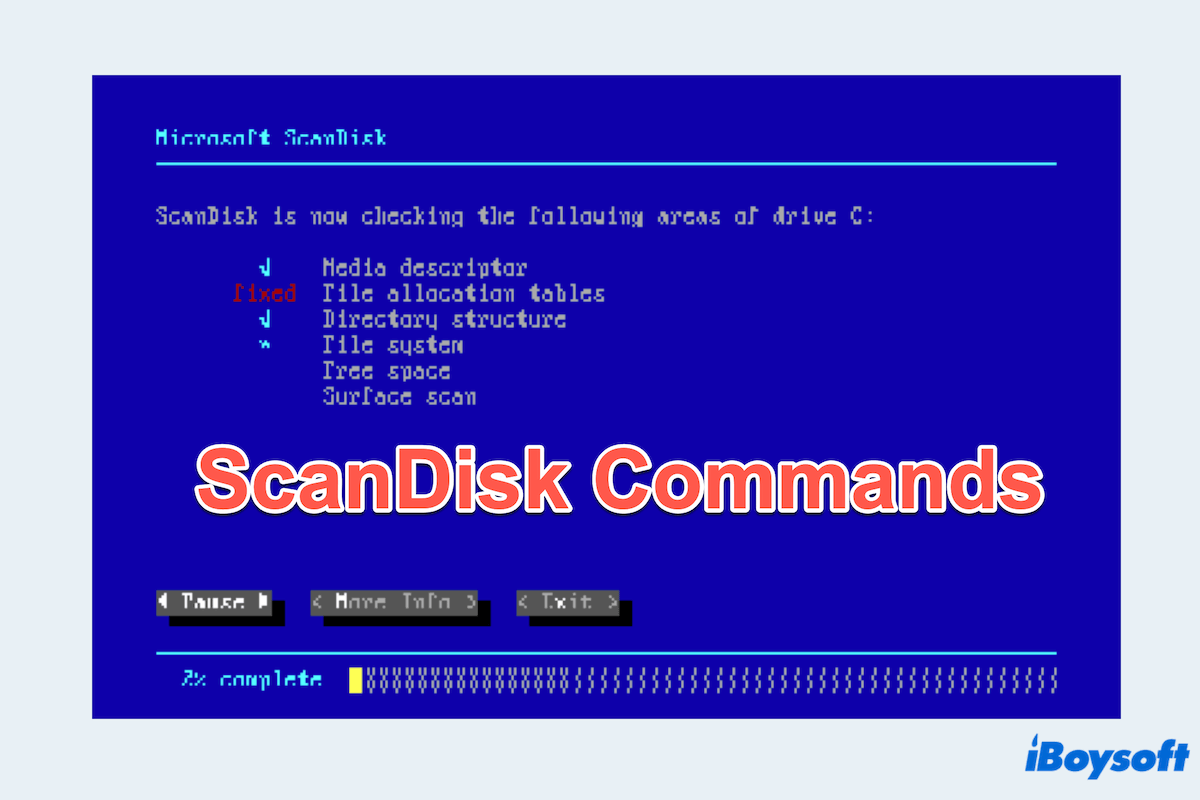
What is ScanDisk on Windows? Microsoft ScanDisk is a utility tool developed by Microsoft to scan and repair file systems and hard disk errors on Windows. Originally introduced in MS-DOS and early versions of Windows, ScanDisk command is designed to find and fix common disk issues such as corrupted files, bad sectors, and directory errors.
You must hear about CHKDSK: ScanDisk and CHKDSK both can repair errors, but ScanDisk can also repair cross-linked files and ScanDisk can't check NTFS disk drives whereas CHKDSK can.
Let's have a look at the brief introduction to ScanDisk commands.
Advantages and disadvantages of ScanDisk commands
First, you should know the pros and cons of ScanDisk commands which will help you understand this tool more deeply:
| Advantages | Disadvantages |
| Overall disk health monitoring | Only support for surface-level fixes |
| More efficient computer performance improvement | The time-consuming process of fixing |
| Prevention from data loss | Outdated for modern systems and has mostly been replaced by CHKDSK |
In summary, while ScanDisk commands are useful for basic disk error checking and repairs, they have limitations in terms of data recovery capabilities, system impact, and compatibility with modern technologies.
Commonly used ScanDisk commands
While ScanDisk was a prominent tool in earlier versions of Windows, it has since been replaced by the more advanced chkdsk utility. However, some of the basic ScanDisk commands and their chkdsk counterparts are:
| ScanDisk commands | Functions | Equivalent to |
| ScanDisk /All | Scan all drives on the system | chkdsk /F (Check and fix errors on all drives) |
| ScanDisk /AUTOFIX | Automatically fix errors and locate bad sectors | chkdsk /F /R(Automatically fix errors and locate bad sectors) |
| ScanDisk /CHECKONLY | Check for errors but do not fix them | chkdsk /C(Check without fixing) |
| ScanDisk /SURFACE | Perform a surface scan to detect and fix bad sectors | chkdsk /R(Locates bad sectors and recovers readable information) |
Have you got these ScanDisk commands? Share them with others~
How to run ScanDisk on Windows?
As we know, ScanDisk always appears on earlier Windows like Windows 95 and 98, you can follow these ways to run ScanDisk on Windows:
- Click the Start > Run.
- Type ScanDisk in the Run box, then press Enter.
- Select your wanted drive.
- Choose the Standard or Thorough option.
(We suggest you use Standard first.) - Click Start to begin ScanDisk.
But for modern Windows systems, to run a disk check similar to ScanDisk, you can use chkdsk utility in File Explorer and Command Prompt:
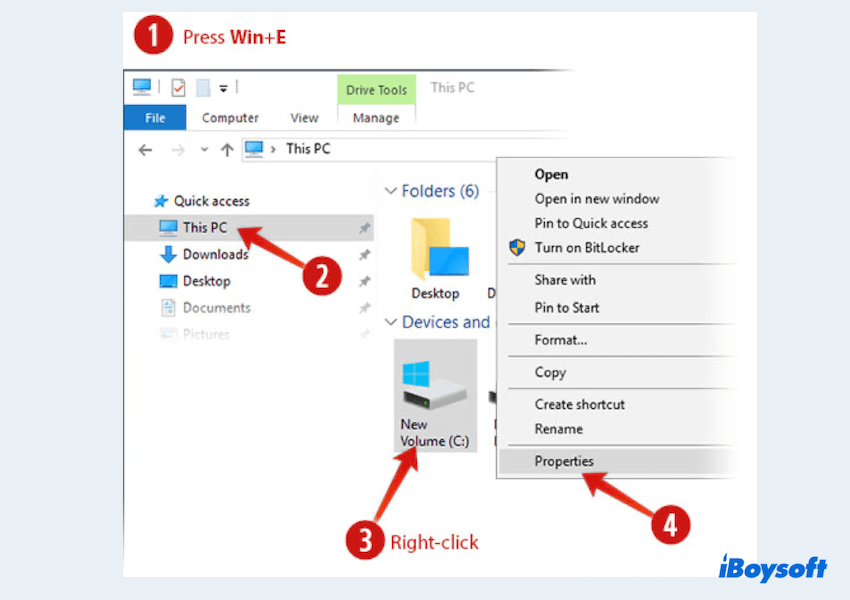
Option 1 Using File Explorer
- Press Win + E to open File Explorer.
- Click This PC then right-click the drive you want to scan and select Properties.
- Click Tools and choose Check under Error checking.
- Click Scan drive.
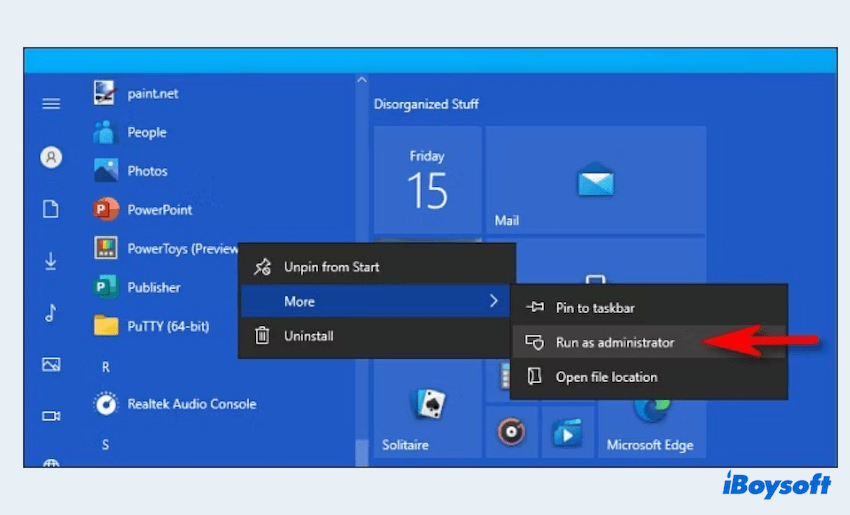
Option 2 Using Command Prompt
- In the Start menu, type cmd.
- Right-click Command Prompt and select Run as administrator.
- To check and fix errors on a specific drive (e.g.,C:), type chkdsk C:F and press Enter.
Note: Running chkdsk may require a system restart if the drive is currently in use. It is also advisable to back up your data before running the utility, as fixing disk errors can sometimes lead to data loss.
Why not share these ways to help others?
Conclusion
Microsoft ScanDisk command, once a staple utility for checking and repairing disk errors, has been largely replaced by the more advanced chkdsk tool in modern Windows systems.
By regularly running these disk-checking utilities, we can prevent data loss, improve system performance, and prolong the lifespan of their storage devices.