The quickest way to recover a replaced document on your Mac is to use a data recovery tool.
For example iBoysoft Data Recovery for Mac. This application can help you recover the replaced file on your Mac within a few clicks.
Here's how:
- Free download and install iBoysoft Data Recovery for Mac on your computer.
- Open it and select the macOS - Data or Macintosh HD - Data volume. Then, click Search for Lost Data.
- After all the scanning results are listed, click Type on the left sidebar and then click Document for quick location.
- Find the replaced document and preview it.
- Click Recover to save it to a different destination on your Mac.
Moreover, if you have a little more time, you can try these ways to find the replaced document. But don't get your hopes up about these possibilities.
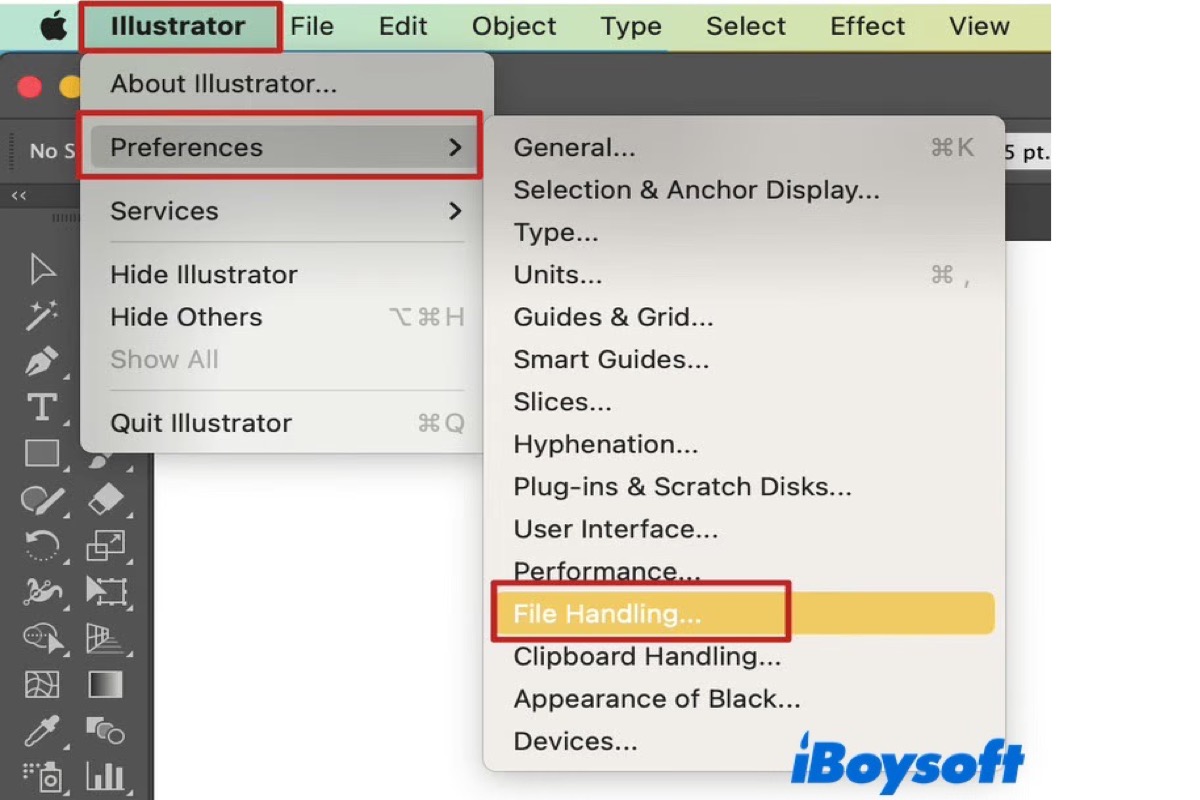
Use the document editor's built-in reversion function. Open the file editor and click File on the menu bar, and then, check if there's an option like Revert on the drop-down menu.
Use iCloud. If you've turned on iCloud, log into iCloud.com with your Apple ID. Then, click Account Settings > Restore Files. Browse the files here and check if the previous versions of the replaced file are available, then restore it.