Does NTFS format work on Mac? Yes! NTFS works on Mac but with read-only access by default. To write to NTFS on Mac, you'll need an NTFS for Mac driver.
In other words, you can view the content of an NTFS-formatted external drive on Mac, but are unable to edit the NTFS drive or copy files to it.
So, how does NTFS work on Mac? Let's explore together and learn three ways to enable write support to NTFS on Mac.
| Mount NTFS on Mac with read/write privileges | Difficulty Level | Data safety |
| Use an NTFS for Mac tool | Low, automatically mount NTFS on Mac in read/write mode | Safe; NTFS for Mac driver can't write files to your drive or Mac |
| Enable write access to NTFS drive on Mac with Terminal | Medium, need to run commands in Terminal to enable write access to NTFS; won't work on macOS Ventura or later | Unsafe; May corrupt data on the NTFS drive or cause data loss |
| Mount NTFS on a Boot Camp partition | High, install Windows on Mac to use NTFS; only for Intel Macs | Safe, needs a lot of work |
Share the table to help others write to NTFS on a MacBook or desktop Mac!
Does Mac read NTFS?
Yes, Macs can read NTFS. NTFS, shortened for New Technology File System, is a journaling file format developed and owned by Microsoft. It's the default file system for the Windows NT family and later versions.
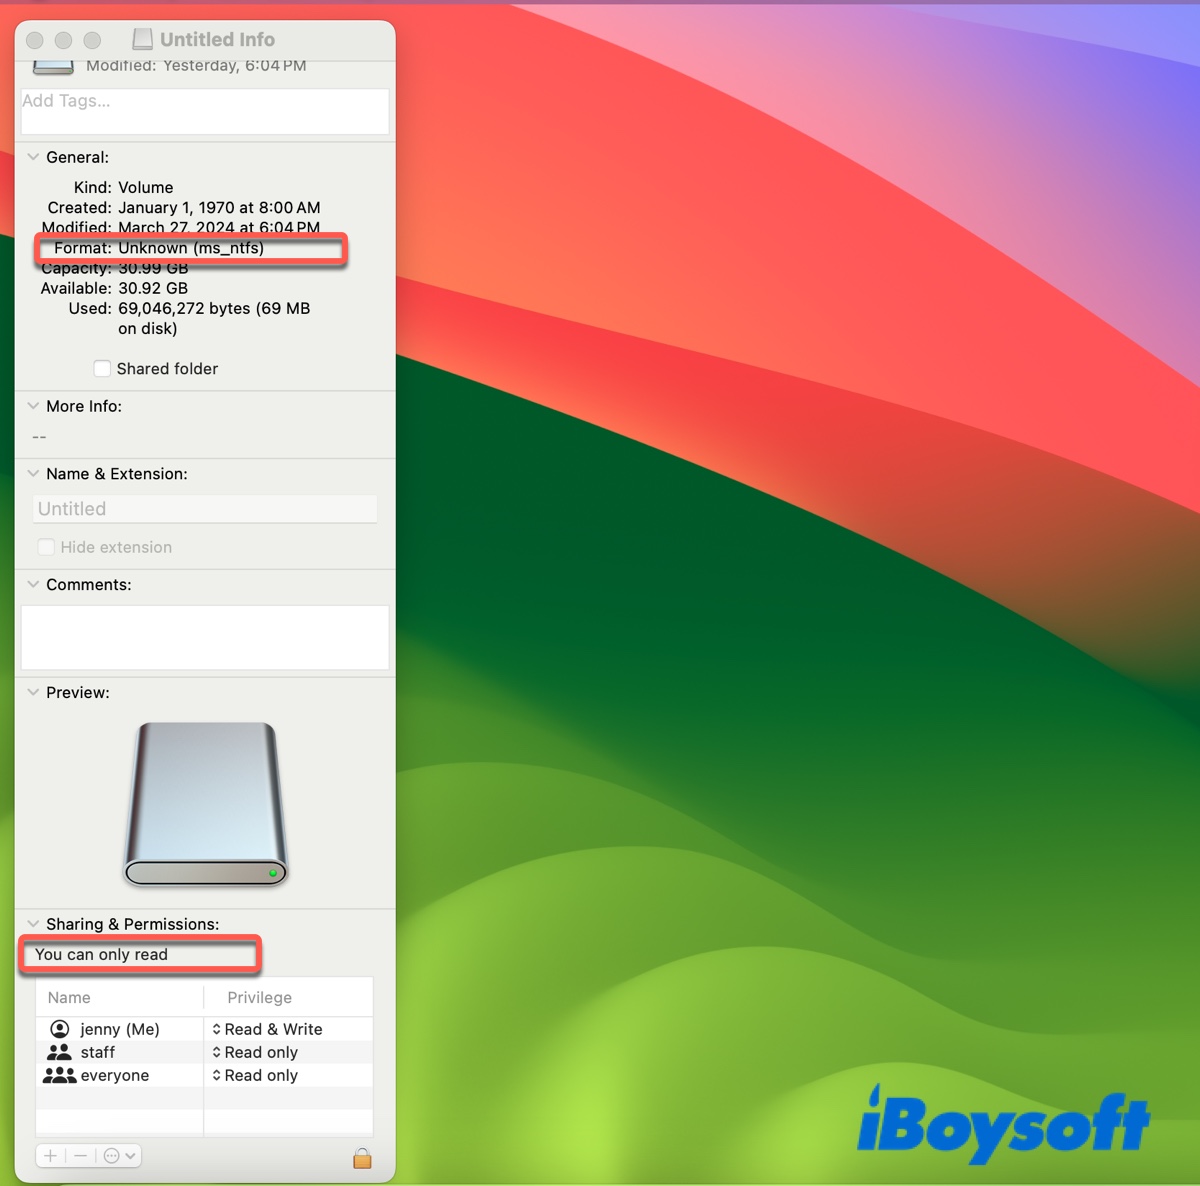
When connecting an NTFS-formatted flash drive or external hard drive to a Mac, macOS, or OS X will automatically mount the disk with read-only access. If you right-click on its drive icon on your desktop and choose "Get Info", you'll notice the message "You can only read" beneath the "Sharing & Permissions" section.
NTFS does not work on Mac?
However, your Mac may fail to read NTFS drives after a macOS update due to incompatibility between your NTFS for Mac driver and the new system or unknown bugs. In this case, you must uninstall the outdated NTFS for Mac driver, if any, and then employ a compatible NTFS for Mac tool like iBoysoft NTFS for Mac.
Can Mac write to NTFS?
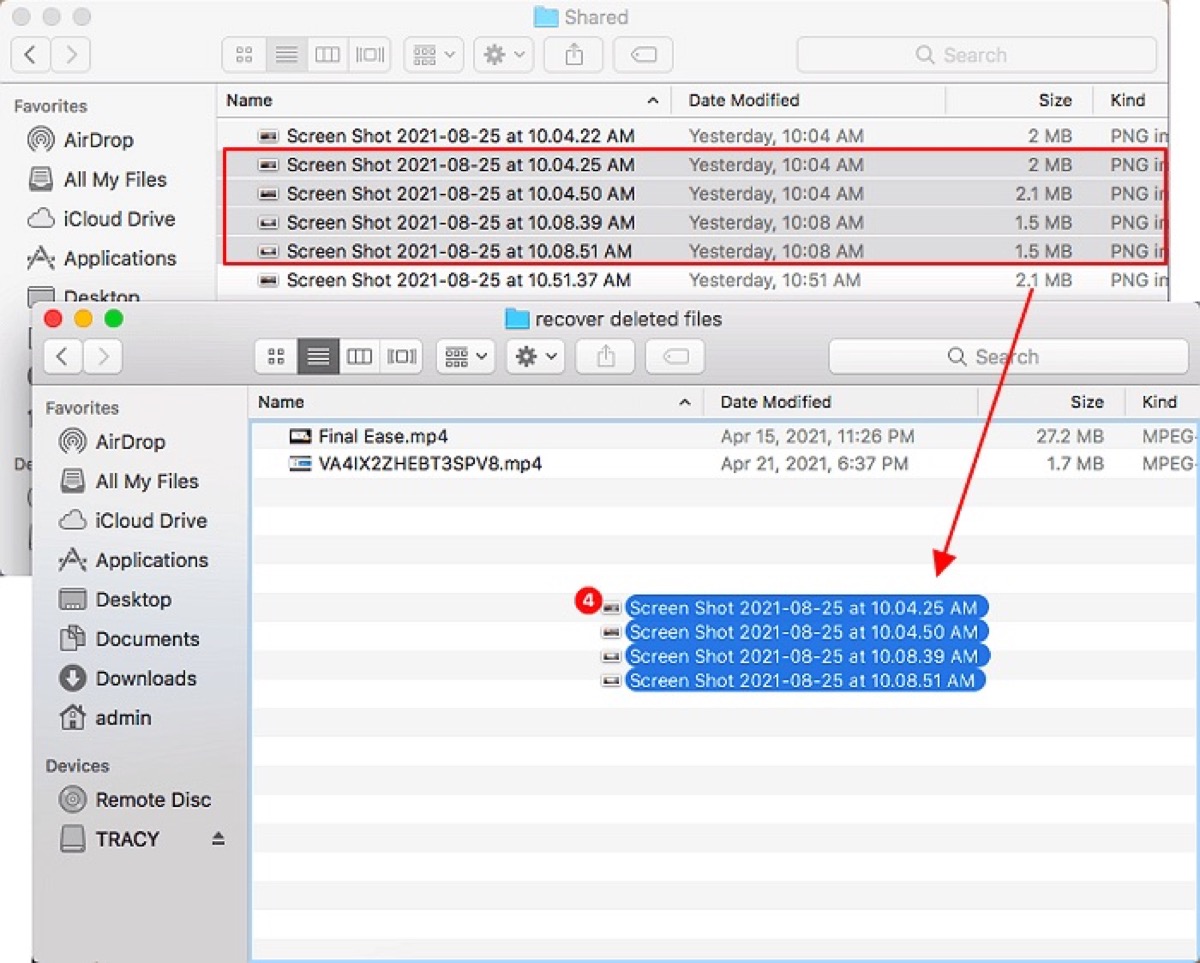
No, a Mac can't write to NTFS by default, as NTFS is a Windows-proprietary file system and Apple doesn't have a license. If you open an NTFS-formatted pen drive on Mac, you'll notice the existing files and a blank background, indicating it's read-only. If your drive is writable, the background should have gray shadowed areas.
Besides, a forbidden symbol will appear when you attempt to transfer files to a read-only NTFS drive on Mac.
How to write to NTFS on Mac?
To use an NTFS drive on Mac, you must first enable write access to it. Here are three ways to read and write to NTFS on Mac. Choose the one most suitable for your situation.
Read/write to NTFS on Mac with NTFS for Mac
The safest and most efficient way to read and write to NTFS drives on Mac is to use iBoysoft NTFS for Mac. It's an easy-to-use NTFS for Mac tool that works with any NTFS-formatted drives or partitions.
It can automatically mount your NTFS disks in read/write mode on Mac, letting you seamlessly use the NTFS drive on both macOS and Windows, format drives to NTFS, and repair NTFS drives on Mac.
This app is compatible with macOS 10.13 High Sierra and later versions used on Intel and Apple Silicon Macs. Here's how to read/write to NTFS on Mac:
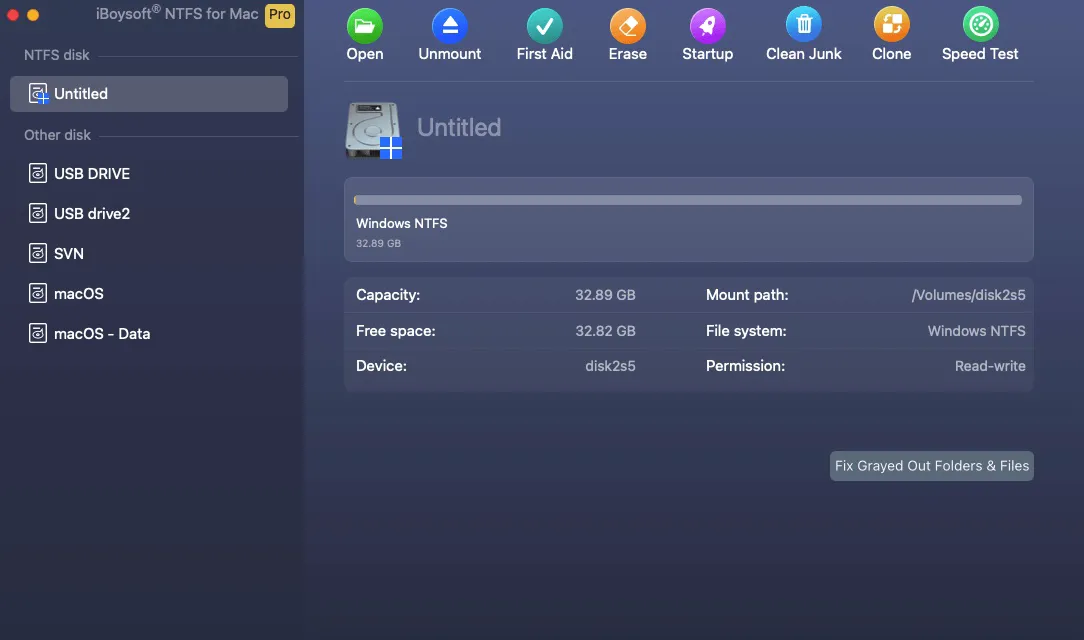
Step 1: Download and install iBoysoft NTFS for Mac.
Step 2: When the app launches, select your NTFS-formatted drive and click Open.
Enable write access to NTFS on Mac via Terminal
You can also choose to enable write access to NTFS on Mac by running commands in Terminal, the command-line interface of macOS. This will utilize the built-in kernel implementation to re-mount your drive in read/write mode.
But it's not recommended because you could lose your data or corrupt your NTFS drive. Also, the kernel extension has been removed on macOS Ventura, so this method only has a chance on macOS Monterey or earlier versions.
If you embrace the risks, follow the steps below to make NTFS fully compatible with Mac:
- Open Terminal.
- Type the command below and hit Enter to open the /etc/fstab file in the nano text editor.sudo nano /etc/fstab
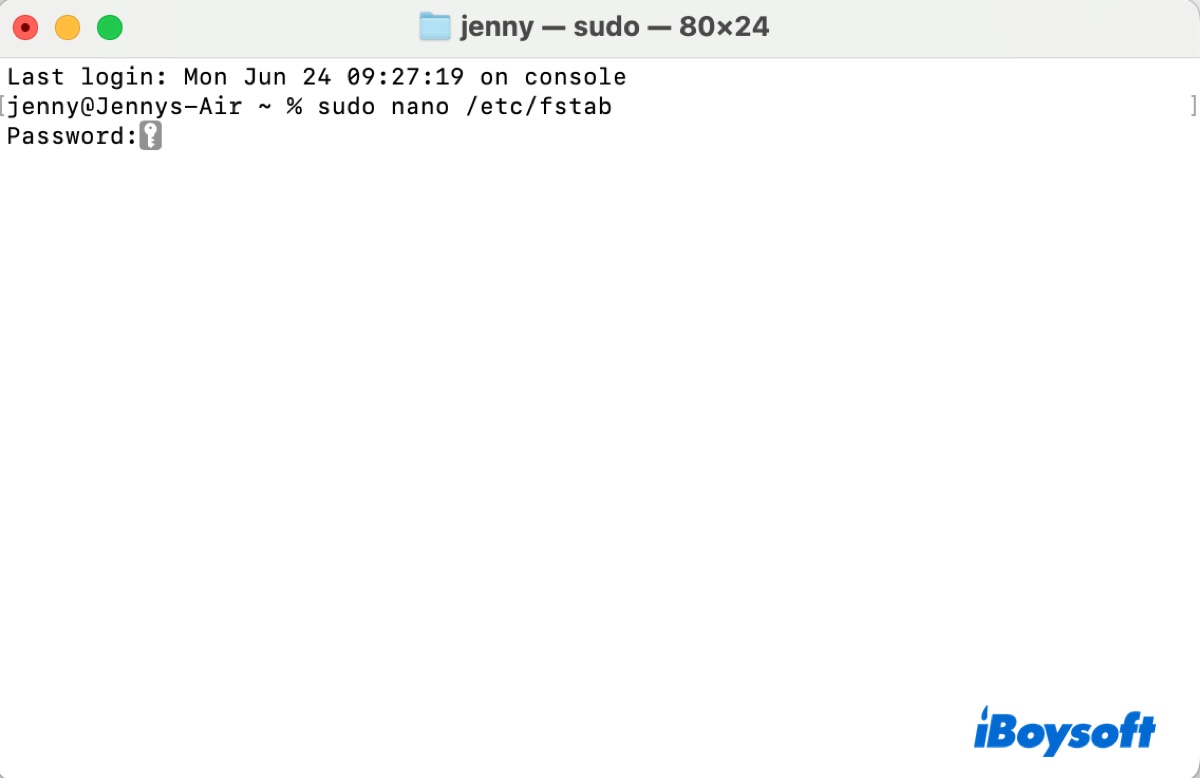
- Enter your admin login password and hit Enter.
- Add the following line to nano to enable NTFS write support. (Replace NAME with your drive's name.)LABEL=NAME none ntfs rw,auto,nobrowse
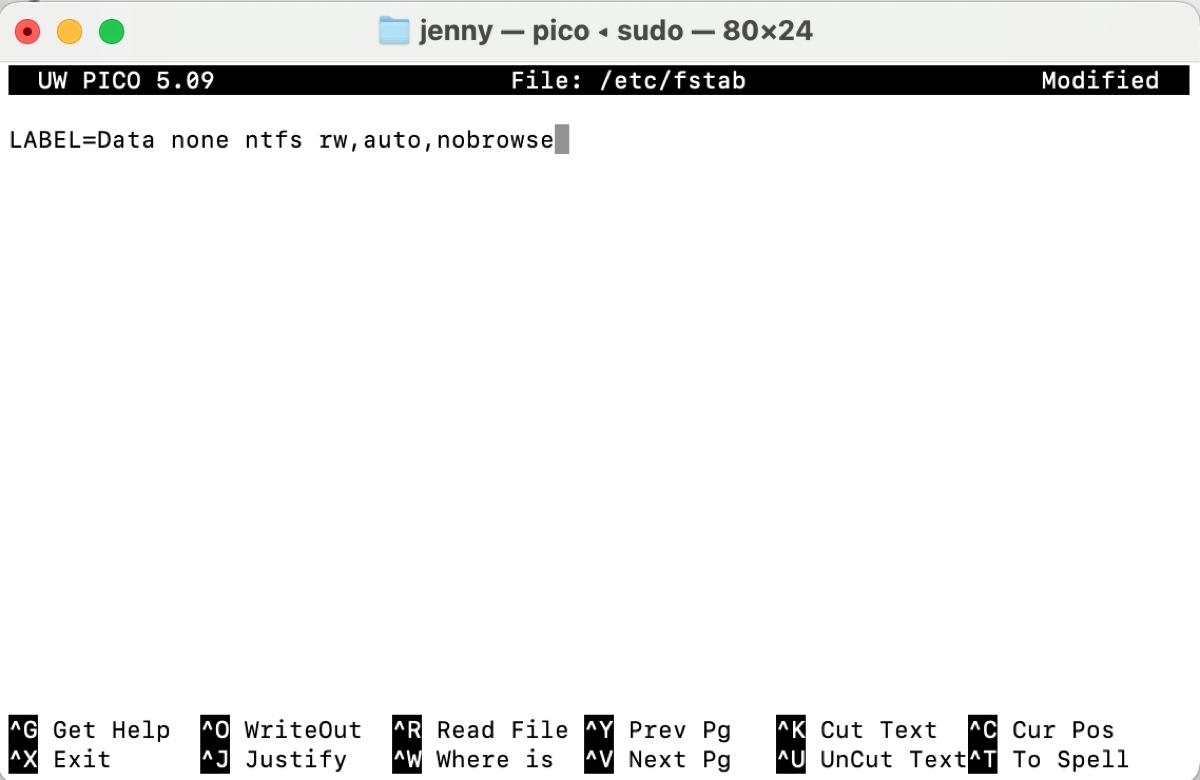
- Press Ctrl + O to save the changes and then press Ctrl + X to quit nano.
- Open Finder, click Go > Go to Folder.
- Type /Volumes and hit Enter.
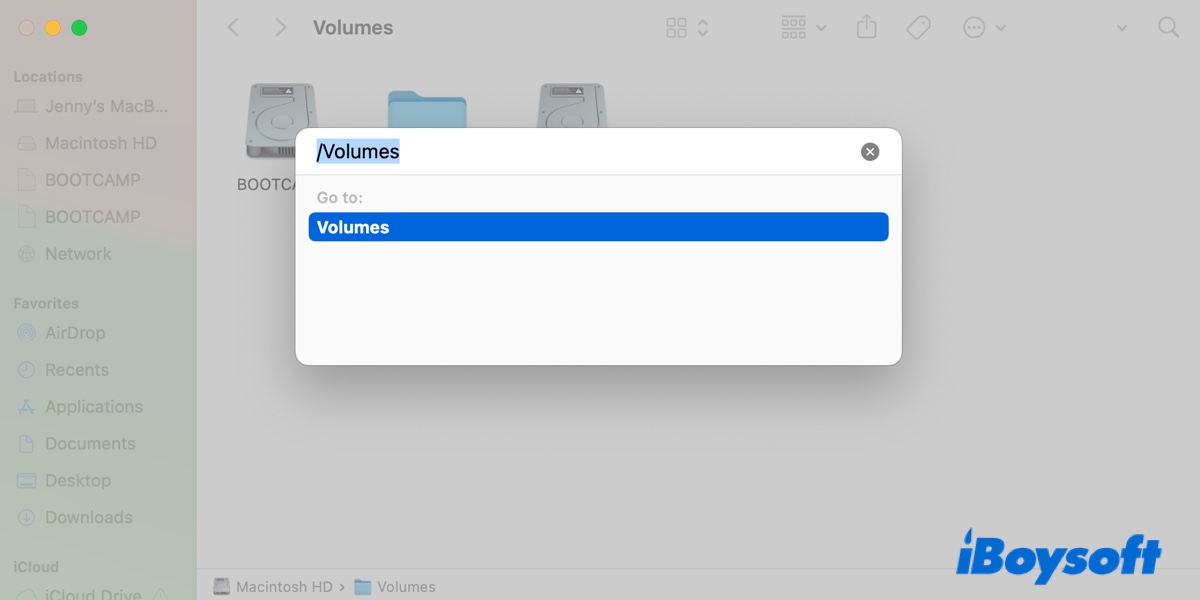
- Open your NTFS disks to write to it.
- To undo the change later, open the nano editor, delete the added line, and save your changes.
If you have several NTFS drives, add a different line for each.
Mount NTFS on a Boot Camp partition
Another alternative is to create a Boot Camp Windows partition on your Mac to use NTFS drives. This suits those who want to run Windows on Mac and work with their NTFS disks on the Windows partition. Note that it's only available on Intel-based Macs.
﹒How to Install Windows 10 on Mac? [Completely Free]
Now that you know whether NTFS is compatible with Mac and how to write to it, don't forget to share with others!
How to format to NTFS on Mac?
If you need to use your external drive on a Windows PC or a device that requires NTFS, you can format it to NTFS on Mac with the following steps. These steps apply to flash drives, SD cards, SSDs, HDDs, and other storage devices.
How to format to NTFS on Mac:
Step 1: Download and install iBoysoft NTFS for Mac.
Step 2: Open the tool, select your external drive, and click Format to NTFS.
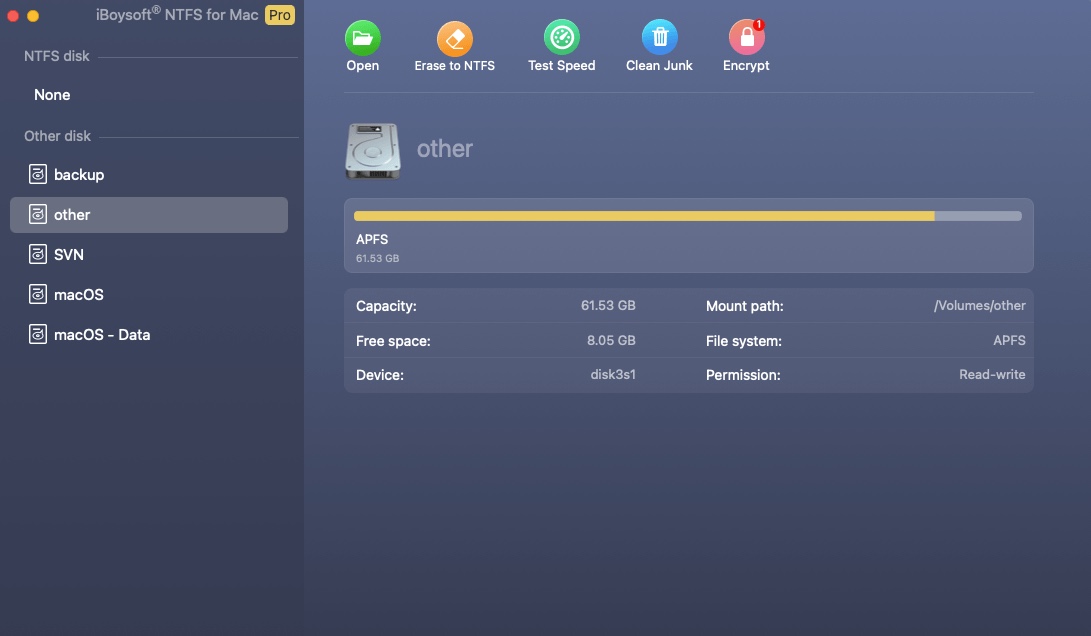
After the erase process is complete, you can work with your NTFS-formatted drive on Mac like it's a native Mac drive. The app will also add the NTFS format to Disk Utility, offering a second way to format drives to NTFS on Mac.
What is NTFS?
NTFS is a Windows format that's read-only on Mac. It was developed in 1993 and is currently the default format for Windows and many external hard drives and USB drives. Apart from journaling, it also supports large files (up to 16TiB), file-level encryption, crash protection, and file compression.