With the yearly release of macOS different versions, Apple brings enhanced performance, security, and exciting new features like macOS 15 Sequoia.
If you are a macOS Mojave user, now is a great time to think about upgrading. For macOS 15.x, it introduces a refined interface, improved privacy controls, and better support for modern apps and Apple silicon.
This guide will walk you through how to upgrade Mojave to Sequoia safely and efficiently, while also addressing common issues you might encounter along the way.
Best preparations to upgrade Mojave to Sequoia
Before jumping into the macOS Mojave to Sequoia upgrade, it's crucial to prepare your Mac to avoid issues during or after the installation. That's to say, after putting in a lot of effort, it was all in vain. So please do these preparations below:
Check the device's compatibility
Not all Macs that run macOS Mojave can be upgraded to Sequoia. Visit Apple's official macOS Sequoia compatibility list to confirm if your device is eligible. Generally, Sequoia supports:
- MacBook (2018 or later)
- MacBook Air (2018 or later)
- MacBook Pro (2018 or later)
- Mac Mini (2018 or later)
- iMac (2019 or later)
- Mac Pro (2019 or later)
- iMac Pro (2017)
Note: Note that if your Mac doesn't meet these requirements, you won't be able to install Sequoia in the end. (You can check your Mac model in Apple menu > About This Mac.)

Free up Mac disk space
macOS Sequoia requires at least 25-30 GB of free space, and more is recommended for optimal performance. After checking disk space on Mac, if it is running low on storage, you'd better clear out unnecessary files and system clutter.
Deleting everything at once or endlessly searching aimlessly will make the situation even worse. (Some hidden files can't be searched completely, and system files can't be deleted for safety.) A highly effective and convenient way to reclaim disk space is by using iBoysoft DiskGeeker for Mac.
Its Clean Junk tool can locate and delete unneeded files from your startup disk to give your upgrade more possibilities. Meanwhile, the Space Analyzer can scan the entire volume and use an AI helper to selectively remove space-consuming files.
Let's free more disk space for the Mojave to Sequoia upgrade:
- Free download, install, and open iBoysoft DiskGeeker for Mac.
- Select a partition from the left side, then click "Space Analyzer" on the right toolbar.
- Wait for the scanning and open the folders.
(You can move your cursor on the file/folder and click "AI analysis" to learn whether it can be deleted or not.)
- Drag and drop the files into the circle at the bottom.
- Click "Delete" to permanently remove them.
You can also use the Clean Junk tool, which can delete the startup disk data as well. Please share this app to help more ones need to upgrade macOS.
Backup disk date and update existing applications
Always back up your Mac before upgrading. Use Time Machine or a trusted third-party tool to ensure your files, settings, and apps can be restored in case anything goes wrong during installation.
Older apps may not work properly on macOS Sequoia. Before upgrading, make sure your current apps are updated to the latest versions that support the new system.
How to upgrade Mojave to Sequoia?
There are several methods to install macOS Sequoia depending on your current system configuration.
Method 1: Step-by-step upgrade (Recommended for most users)
Apple does not support direct upgrades from Mojave(10.14) to Sequoia(15. x). You must first upgrade to macOS Catalina(10.15) or later, then proceed to Sequoia. Here are the sequential upgrades via System Settings/Preferences.
- Open App Store on Mojave, search for macOS Catalina, and click Get.
- Follow the installer prompts (takes 30-60 minutes).
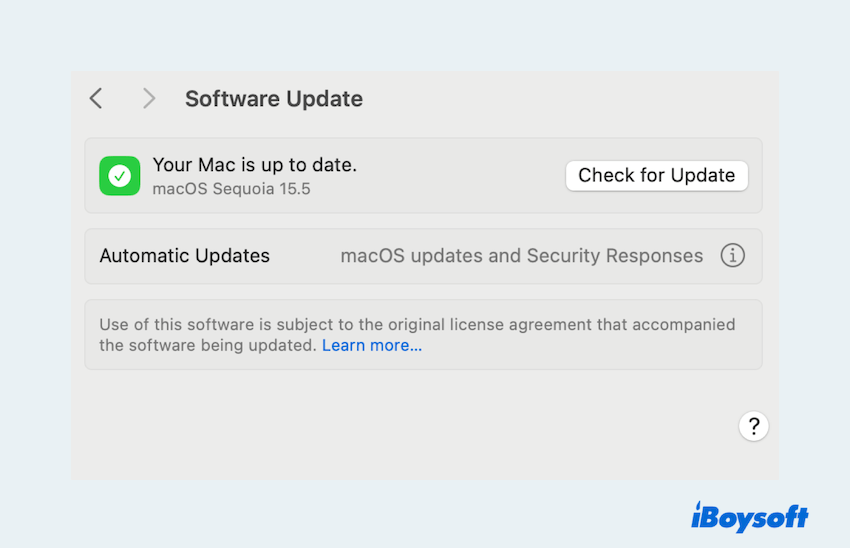
- After rebooting into Catalina, open System Preferences > Software Update, and install macOS Big Sur.
(If Big Sur isn't listed, check for Monterey/Ventura/Sonoma instead.) - If Sequoia is compatible, it will appear here. Download and install it.
🕒Time Estimate: 2-5 hours (depends on internet speed and Mac performance).
Method 2: Clean install via USB (Advanced users)
Ideal for a fresh system, but erases all data. Besides, this requires a 16 GB+ USB drive and another Mac if you create a bootable USB installer.
- On a Mac running Sonoma (14.x) or newer, open App Store > Download "macOS Sequoia".
- Insert a USB drive (16GB+).
- Open Finder > Applications > Utilities >Terminal and run:
sudo /Applications/Install\ macOS\ Sequoia.app/Contents/Resources/createinstallmedia --volume /Volumes/YourUSBName
(Replace "YourUSBName" with the USB's volume name). - Insert the USB > Restart the Mac >Hold the Option key during boot.
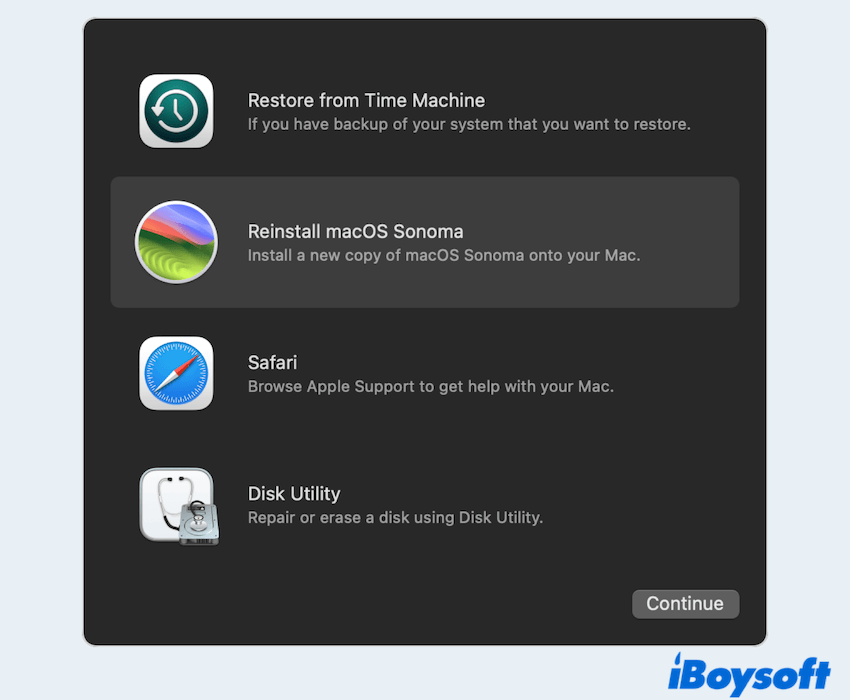
- Select the USB drive > Open Disk Utility > Erase your startup disk (APFS/GUID).
- Quit Disk Utility > Select Install macOS… and follow prompts.
⚠️Warning: This erases all data. Restore files from backup after installation.
Method 3: Use a direct upgrade tool (Easy for everyone)
Is there any way much faster and easier? Certainly! Without any Terminal commands and saving one-by-one upgrades, iBoysoft DiskGeeker for Mac allows you to quickly and easily download macOS Sequoia DMG files on HDD, SSD, or even USB drives.
Moreover, it can help you create a bootable macOS installer in just a few clicks, greatly saving time and effort. (It can also free up disk space if you don't have enough disk space.)
Let's upgrade macOS Mojave to Sequoia with iBoysoft DiskGeeker for Mac:
- Free download, install, and open it.
- Click "Get" next macOS Sequoia.
(If you don't read the supported devices before, you can click the "Compatibility" button.)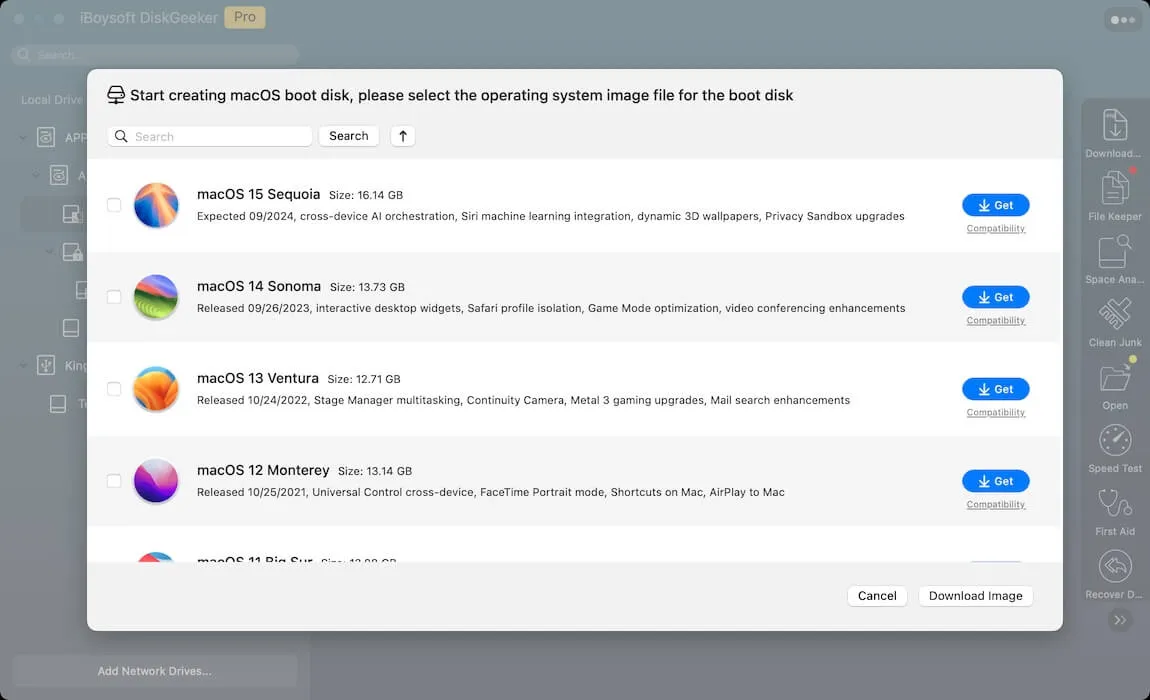
- Choose a place to save the DMG file.
- Wait for the process.
This is useful if your Mac doesn't upgrade normally via Software Update or App Store, or you don't wanna do a complicated command process.
Final words
Upgrading from Mojave to Sequoia is a smart move for most Mac users, bringing better performance, enhanced security, and new features. With the proper preparation and the right upgrade method, you can transition smoothly without losing data or running into compatibility issues.
If your Mac isn't eligible or you encounter problems during the process, there are always workarounds — just be sure to back up your system before trying any advanced solutions.
Welcome to share your answers with other methods to upgrade.