If you want to run macOS Tahoe, installing it on your Mac's internal hard drive isn't the only option. Instead, you can download macOS Tahoe full installer and install it on an external drive to get a good look at macOS Tahoe without changing anything on your Mac.
This method is handy if your Mac has limited storage, you're concerned that the bugs in macOS Tahoe may affect your Mac, or you want to dual-boot your Mac with macOS Tahoe and another version.
Note: To ensure macOS Tahoe performs optimally, choose a Thunderbolt external hard drive or SSD that offers fast read/write speed and sufficient storage capacity. Then choose the proper USB port to connect it to your Mac.
- If it's a MacBook, use any USB-C port except the leftmost when facing the ports on the left side of the Mac.
- If it's an iMac, use any USB-C port except the rightmost when facing the back of the Mac.
- If it's a Mac Mini, use any USB-C port except the leftmost when facing the back of the Mac.
- If it's a Mac Studio, use any USB-C port except the rightmost when facing the back of the Mac.
- If it's a Mac Pro with a desktop enclosure, use any USB-C port except the one on the top of the Mac that's furthest from the power button.
- If it's a Mac Pro with a rack enclosure, use any USB-C port except the one on the front of the Mac that's closest to the power button.
The safest way to install macOS Tahoe on an external drive is to get the macOS Tahoe DMG file from iBoysoft DiskGeeker for Mac and then install it on the external drive. To do this:
Step 1: Free download and install iBoysoft DiskGeeker for Mac.
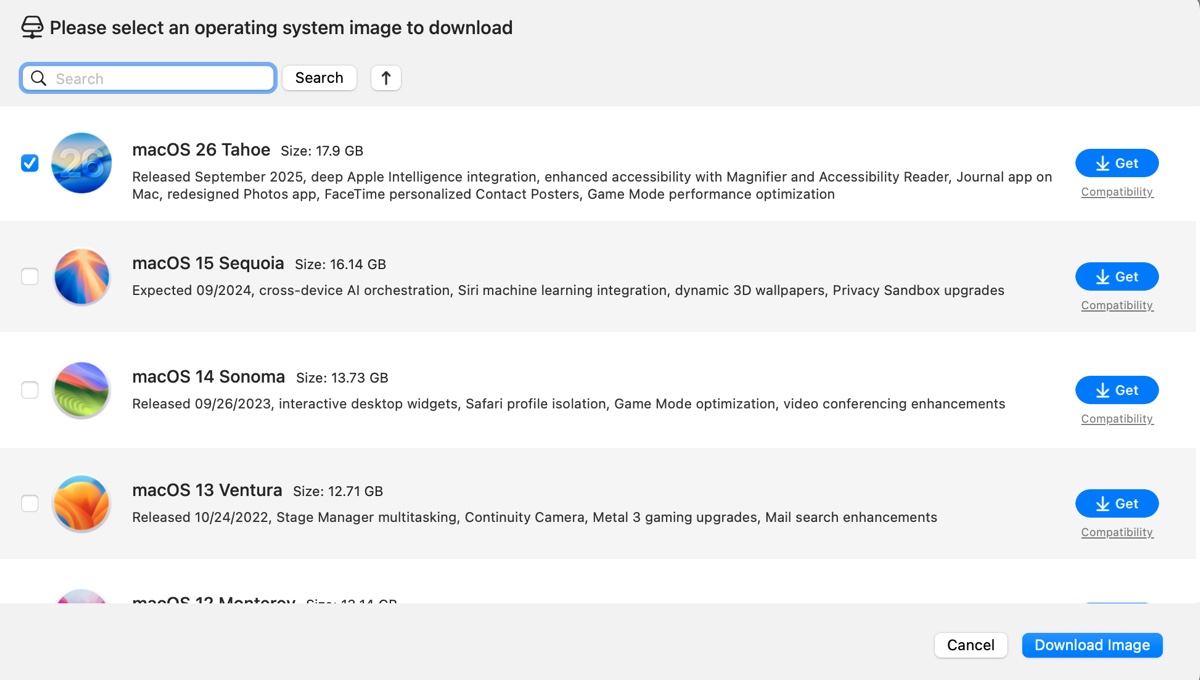
Step 2: Click Download Images from the left.

Step 3: Choose macOS Tahoe and click Download Image.
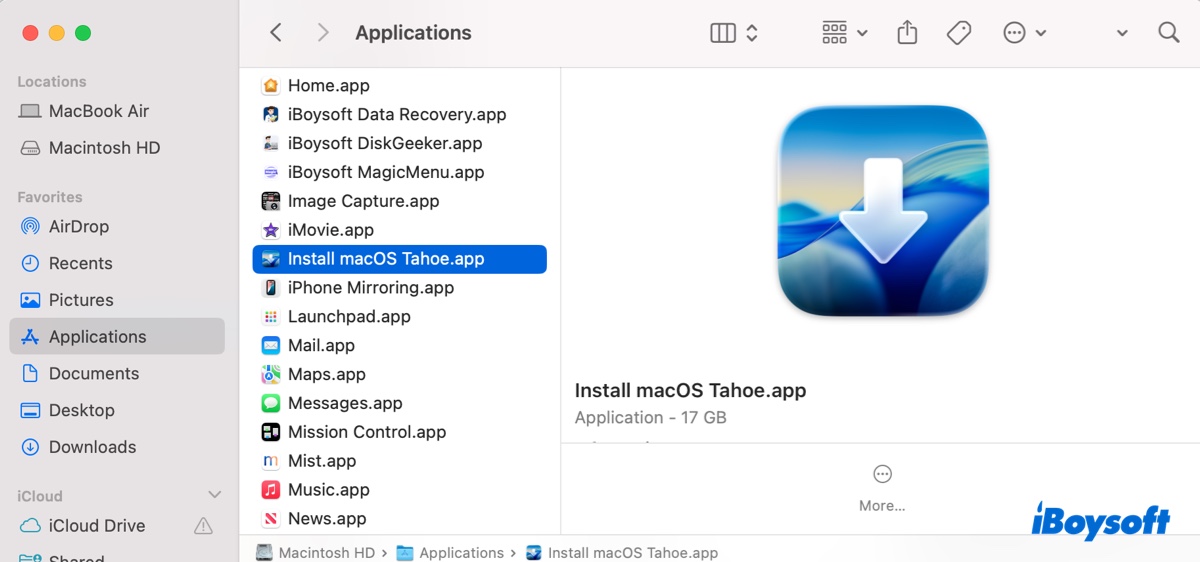
Step 4: After the macOS Tahoe DMG installer is downloaded, open it, and drag the Install macOS Tahoe app installer to your Applications folder.
Step 5: Run the Install macOS Tahoe.app and choose the external drive as the destination.
Tips: This utility also enables you to create a bootable USB installer for macOS Tahoe or earlier releases easily.
Nevertheless, if you want to manually install macOS Tahoe on an external hard drive, you can follow the steps in the following sections.
(*If you're trying to install macOS Tahoe on Windows, creating a macOS Tahoe Hackintosh can bring the best performance.)
Step 1: Format the external drive for macOS Tahoe
Before installing macOS Tahoe on your external drive, you should prepare the drive and reformat it with the APFS file system and GUID Partition Map. This will remove all data on it, so make sure the important files are backed up beforehand.
Here's how to format the external drive before installing macOS Tahoe:
- Connect the external drive to your Mac.
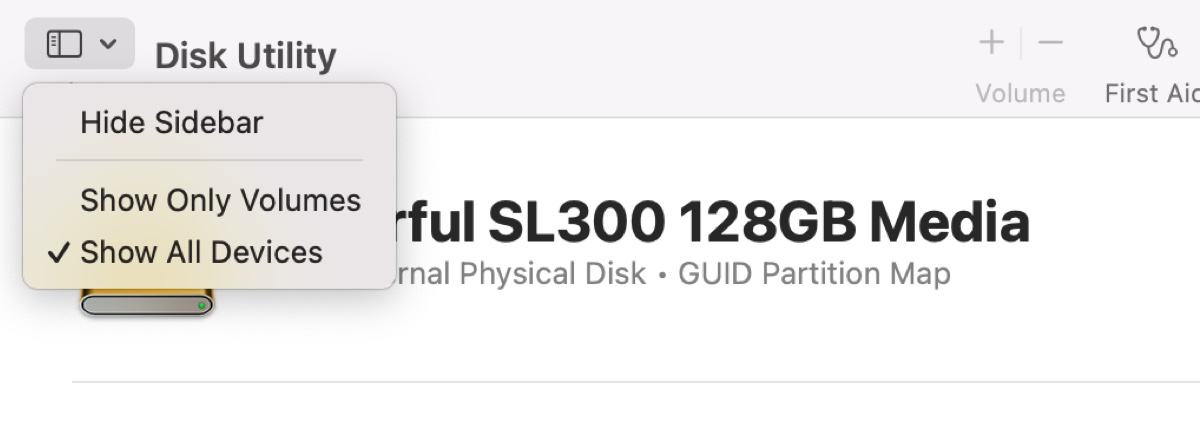
- Launch Disk Utility from the Applications > Utilities folder.
- Click on the View drop-down menu and choose Show All Devices.
- Select the top level of your external drive and click Erase.
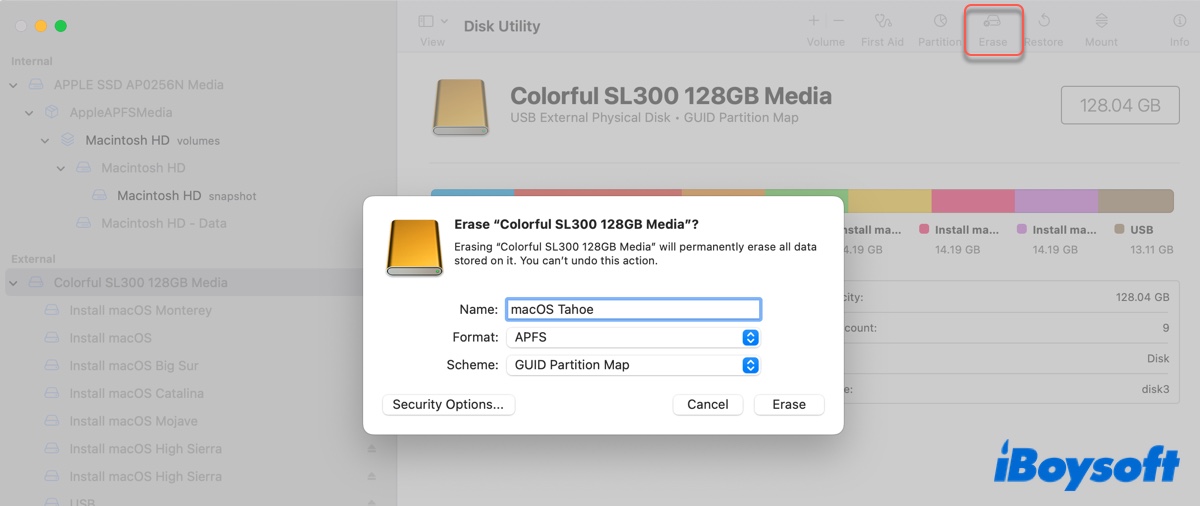
- Name your drive macOS Tahoe or another preferred name.
- Choose APFS as the Format.
- Keep GUID Partition Map as the Schema.
- Click Erase again.
After the erase process is complete, the external storage will be renamed with the name you choose and be ready to accommodate the macOS Tahoe installation.
Step 2: Get the macOS Tahoe full installer
The next step is to get the macOS Tahoe full installer. Unfortunately, Apple doesn't provide the full installer for macOS Tahoe in the Mac App Store. So, you can either download it from iBoysoft DiskGeeker for Mac or from the links provided in the resource hub below:
macOS Tahoe Full Installer Download Database
(*This macOS installer downloader contains a library of full installers for various macOS versions, including the latest macOS Tahoe.)
Step 3: Install macOS Tahoe on the external drive
Now, it's time to install the macOS Tahoe full installer on your external drive. Follow these steps:
- Locate the Install macOS Tahoe.app installer in your Applications folder.
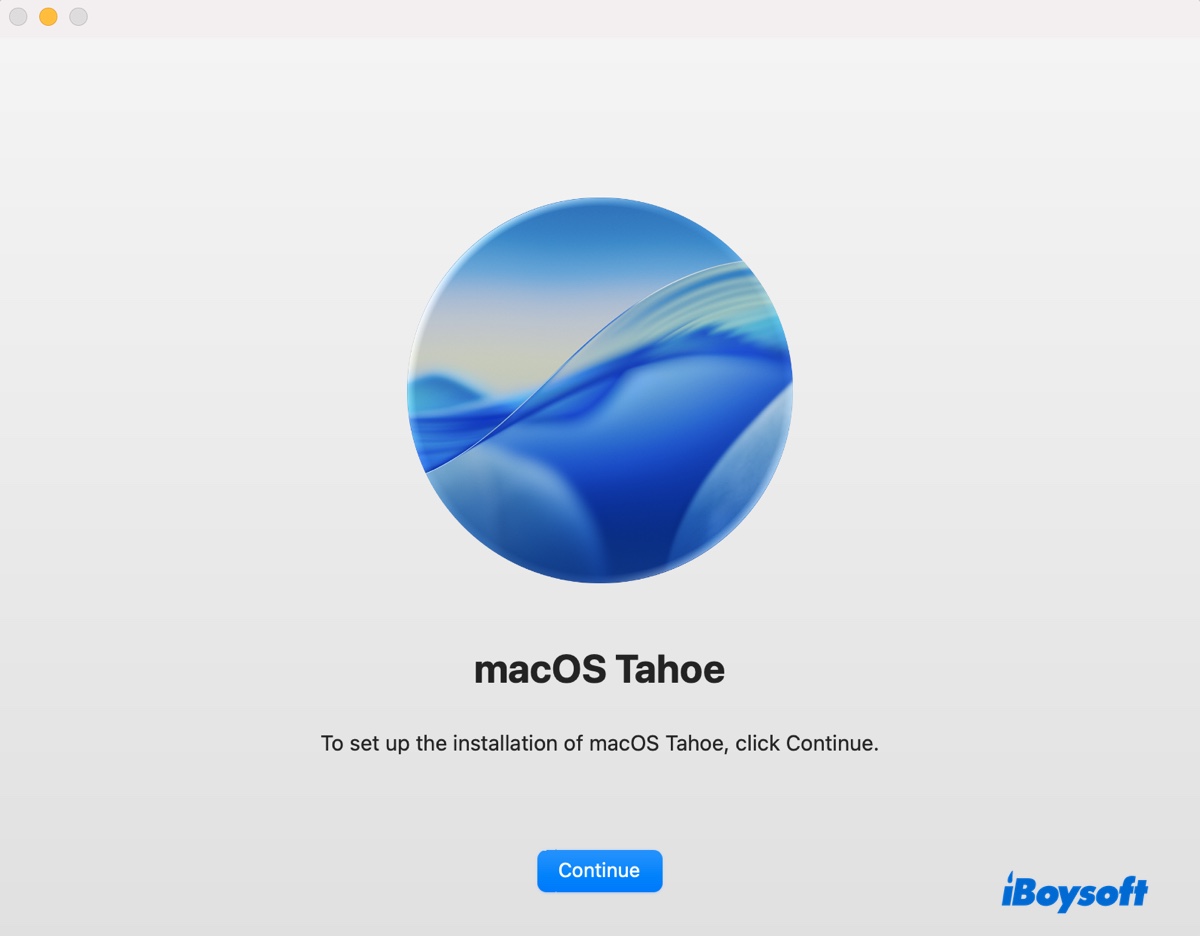
- Double-click on it to open the installer.
- Click Continue to set up the installation of macOS Tahoe.
- Agree to the terms and conditions.
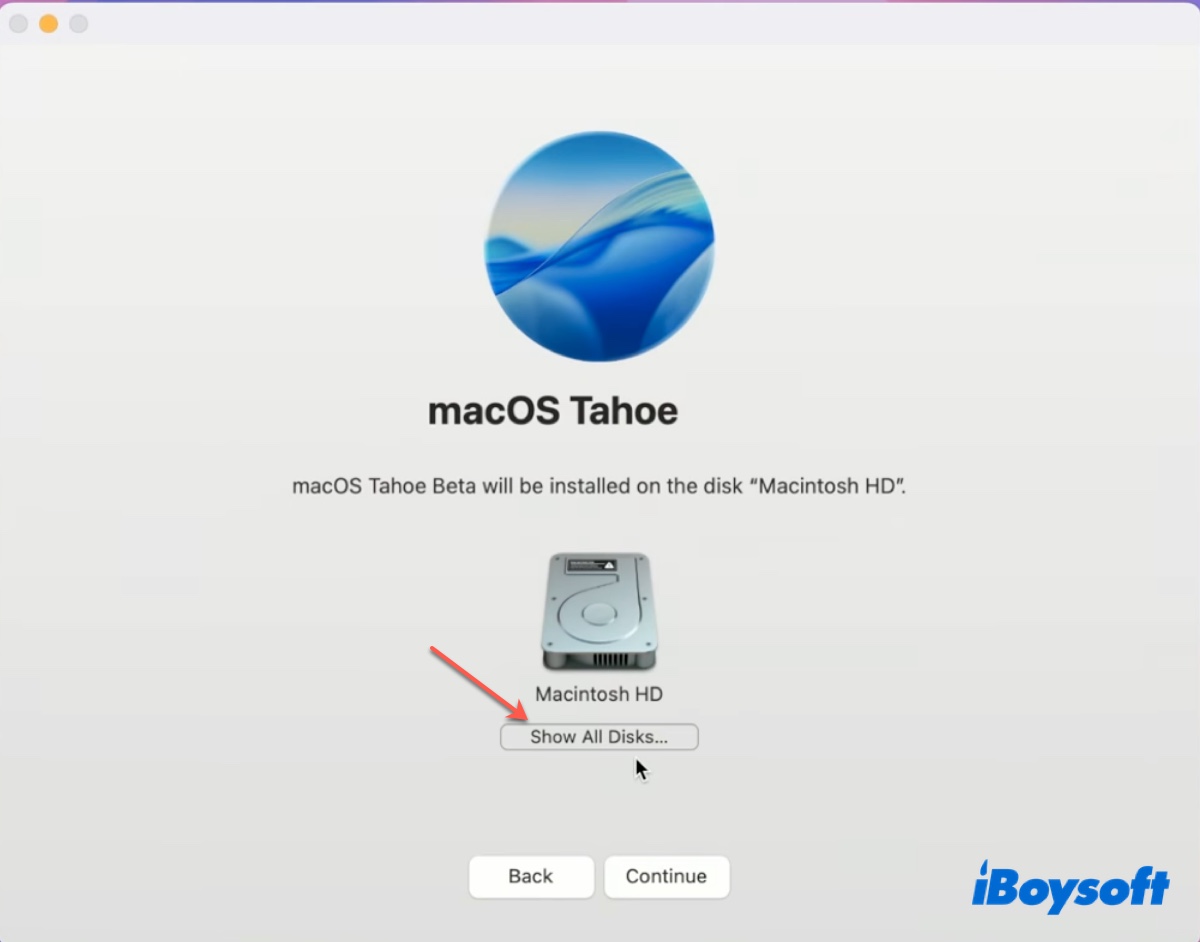
- When it asks you to choose the disk where macOS Thaoe will be installed, click Show All Disks…
- Select your external drive.
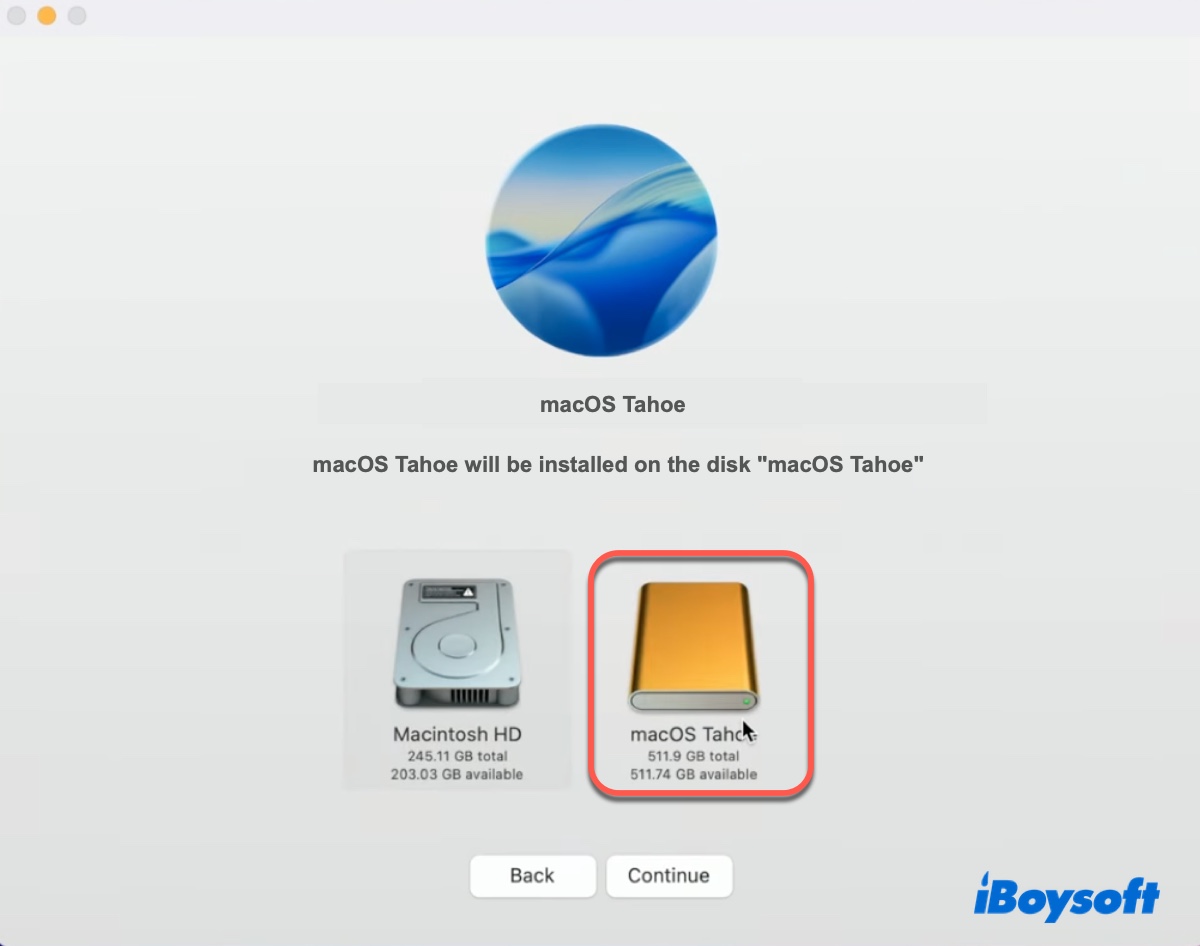
- Click Continue and follow the instructions on the screen to finish the installation.
This may take a while, depending on the speed of your drive. Wait patiently until the process completes successfully.
Step 4: Boot your Mac from the external drive
After macOS Tahoe is installed on your external drive, you can choose one of the following ways to start up the operating system from the drive.
Option 1: Change the startup disk to the external drive from System Settings
- Plug the external drive into your Mac.
- Go to System Settings > General > Startup Disk.
- Select the external drive containing macOS Tahoe and click Restart.
- Run macOS Tahoe from the external drive as you wish.
Option 2: Boot from the external drive at startup
- Shut down your Mac.
- On a Mac with Apple Silicon: Press and hold the power button until "Loading startup options" appears.
On a Mac with the Intel processor: Press the power button, then immediately hold down the Option key until you see the startup disks. - Select the external drive with macOS Tahoe installed and click the Continue button (on Apple Silicon Macs) or the up arrow (on Intel-based Macs).
- Test macOS Tahoe as you please.
Share with others on how to install macOS Tahoe on external drives!
Can't install macOS Tahoe on an external drive?
If you've followed everything we mentioned above but still can't install macOS Tahoe on the external disk or boot from the external disk, consider installing from Recovery Mode on a Mac that's already running macOS Tahoe. Here's how:
- Turn off a Mac that's currently running macOS Tahoe.
- Insert the external drive that's formatted for macOS Tahoe into the Mac.
- Boot into the macOS Recovery Mode based on your Mac's processor.
- In the macOS Utilities window, click on Reinstall macOS Tahoe and then Continue.
- Agree to the terms and conditions.
- When you get to the phase where you choose a destination disk, click Show All Disks…, and choose your external disk.
- After that, follow the instructions on the screen.
Also, if you're using an Intel-based Mac that won't boot from the external drive, modify Startup Security Utility to set Security Boot to No Security and allow booting from external or removable media.
If your Mac doesn't support macOS Tahoe, this guide is the remedy:
How to Install macOS Tahoe on an Unsupported Mac
Share this article if it's helpful!
FAQs about how to install macOS Tahoe on external drive
- QCan you boot macOS Tahoe from an external hard drive?
-
A
Yes, you can boot macOS Tahoe from an external drive. To do this, you can either create a bootable USB installer or install macOS Tahoe on an external drive if you want to run it from an external storage device.
- QHow to install macOS Tahoe from USB without internet?
-
A
You can create a bootable USB instalelr to install macOS Tahoe from USB without internet.
- QHow do I install macOS Tahoe on a USB drive?
-
A
Here are steps to install macOS Tahoe on a USB drive:
Step 1: Format the external drive for macOS Tahoe.
Step 2: Get the macOS Tahoe full installer.
Step 3: Install macOS Tahoe on the external drive.
Step 4: Boot your Mac from the external.