Usually, you can update macOS directly on your Mac, but sometimes you'll need to create a Monterey USB installer to install or reinstall macOS Monterey. For whatever reason, you can find detailed methods for creating a Monterey USB installer in this article.
Preparations Before creating the Monterey USB installer
To successfully create a Monterey USB installer, the following preparations are needed.
A healthy Mac. You need a fully functional Mac to download the macOS Monterey installer and create a USB installer. If your Mac has system issues like frequent crashes or hardware failures, it may cause the installation process to be unstable or fail.
A compatible Mac. Your Mac must support macOS Monterey; otherwise, you may not be able to download or install it properly. Check compatibility: Click Apple menu > About This Mac to see if your Mac supports Monterey.
Supported Mac models:
- iMac (2015 and later)
- MacBook (2016 and later)
- MacBook Air (2015 and later)
- MacBook Pro (2015 and later)
- Mac mini (2014 and later)
- Mac Pro (2013 and later)
- iMac Pro (2017)
Note: If your Mac doesn't support macOS Monterey, follow: Download macOS on Unsupported Macs.
A USB drive with at least 16GB. You need a USB flash drive with at least 16GB of storage (32GB or more is recommended for better stability). The USB must be formatted to a macOS-compatible format (APFS or Mac OS Extended), and all data on it will be erased, so back up any important files beforehand.
A stable internet connection. A fast and stable internet connection is necessary to prevent download failures or interruptions because downloading macOS Monterey requires over 12GB of data.
Enough storage space on your Mac. You need at least 30GB of free space to download the installer, create the USB installer, and complete the installation without issues.
How do you create a bootable USB on Mac
Before creating a bootable macOS Monterey USB installer, you need to download the macOS Monterey installer on your Mac. However, to encourage users to upgrade to the latest macOS version, Apple does not display Monterey on the App Store homepage or search results, instead prioritizing the newest macOS release.
That said, Apple still provides official download options for macOS Monterey. While you can't find it through a direct search in the App Store, you can access it via Apple's official support page or specific App Store links. Click the link below to download the macOS Monterey installer.
Download the macOS Monterey Installer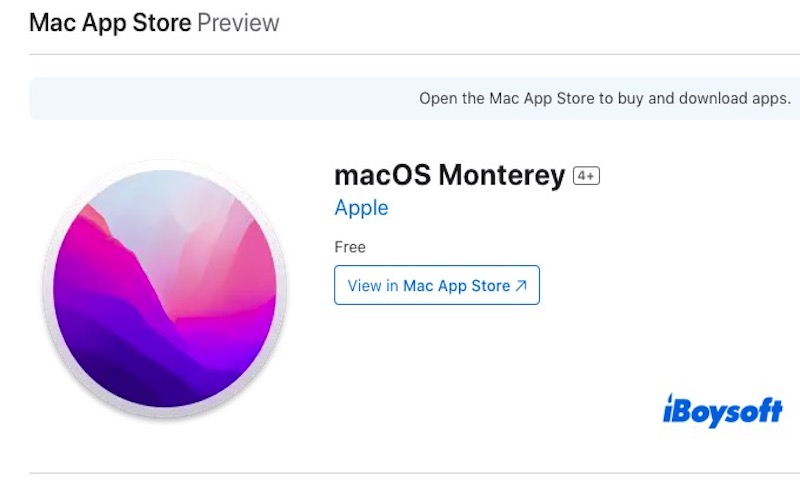
Now you can insert the USB drive into your Mac to create a macOS Monterey bootable USB, but the whole process can be quite complicated because it requires using complex Terminal commands.
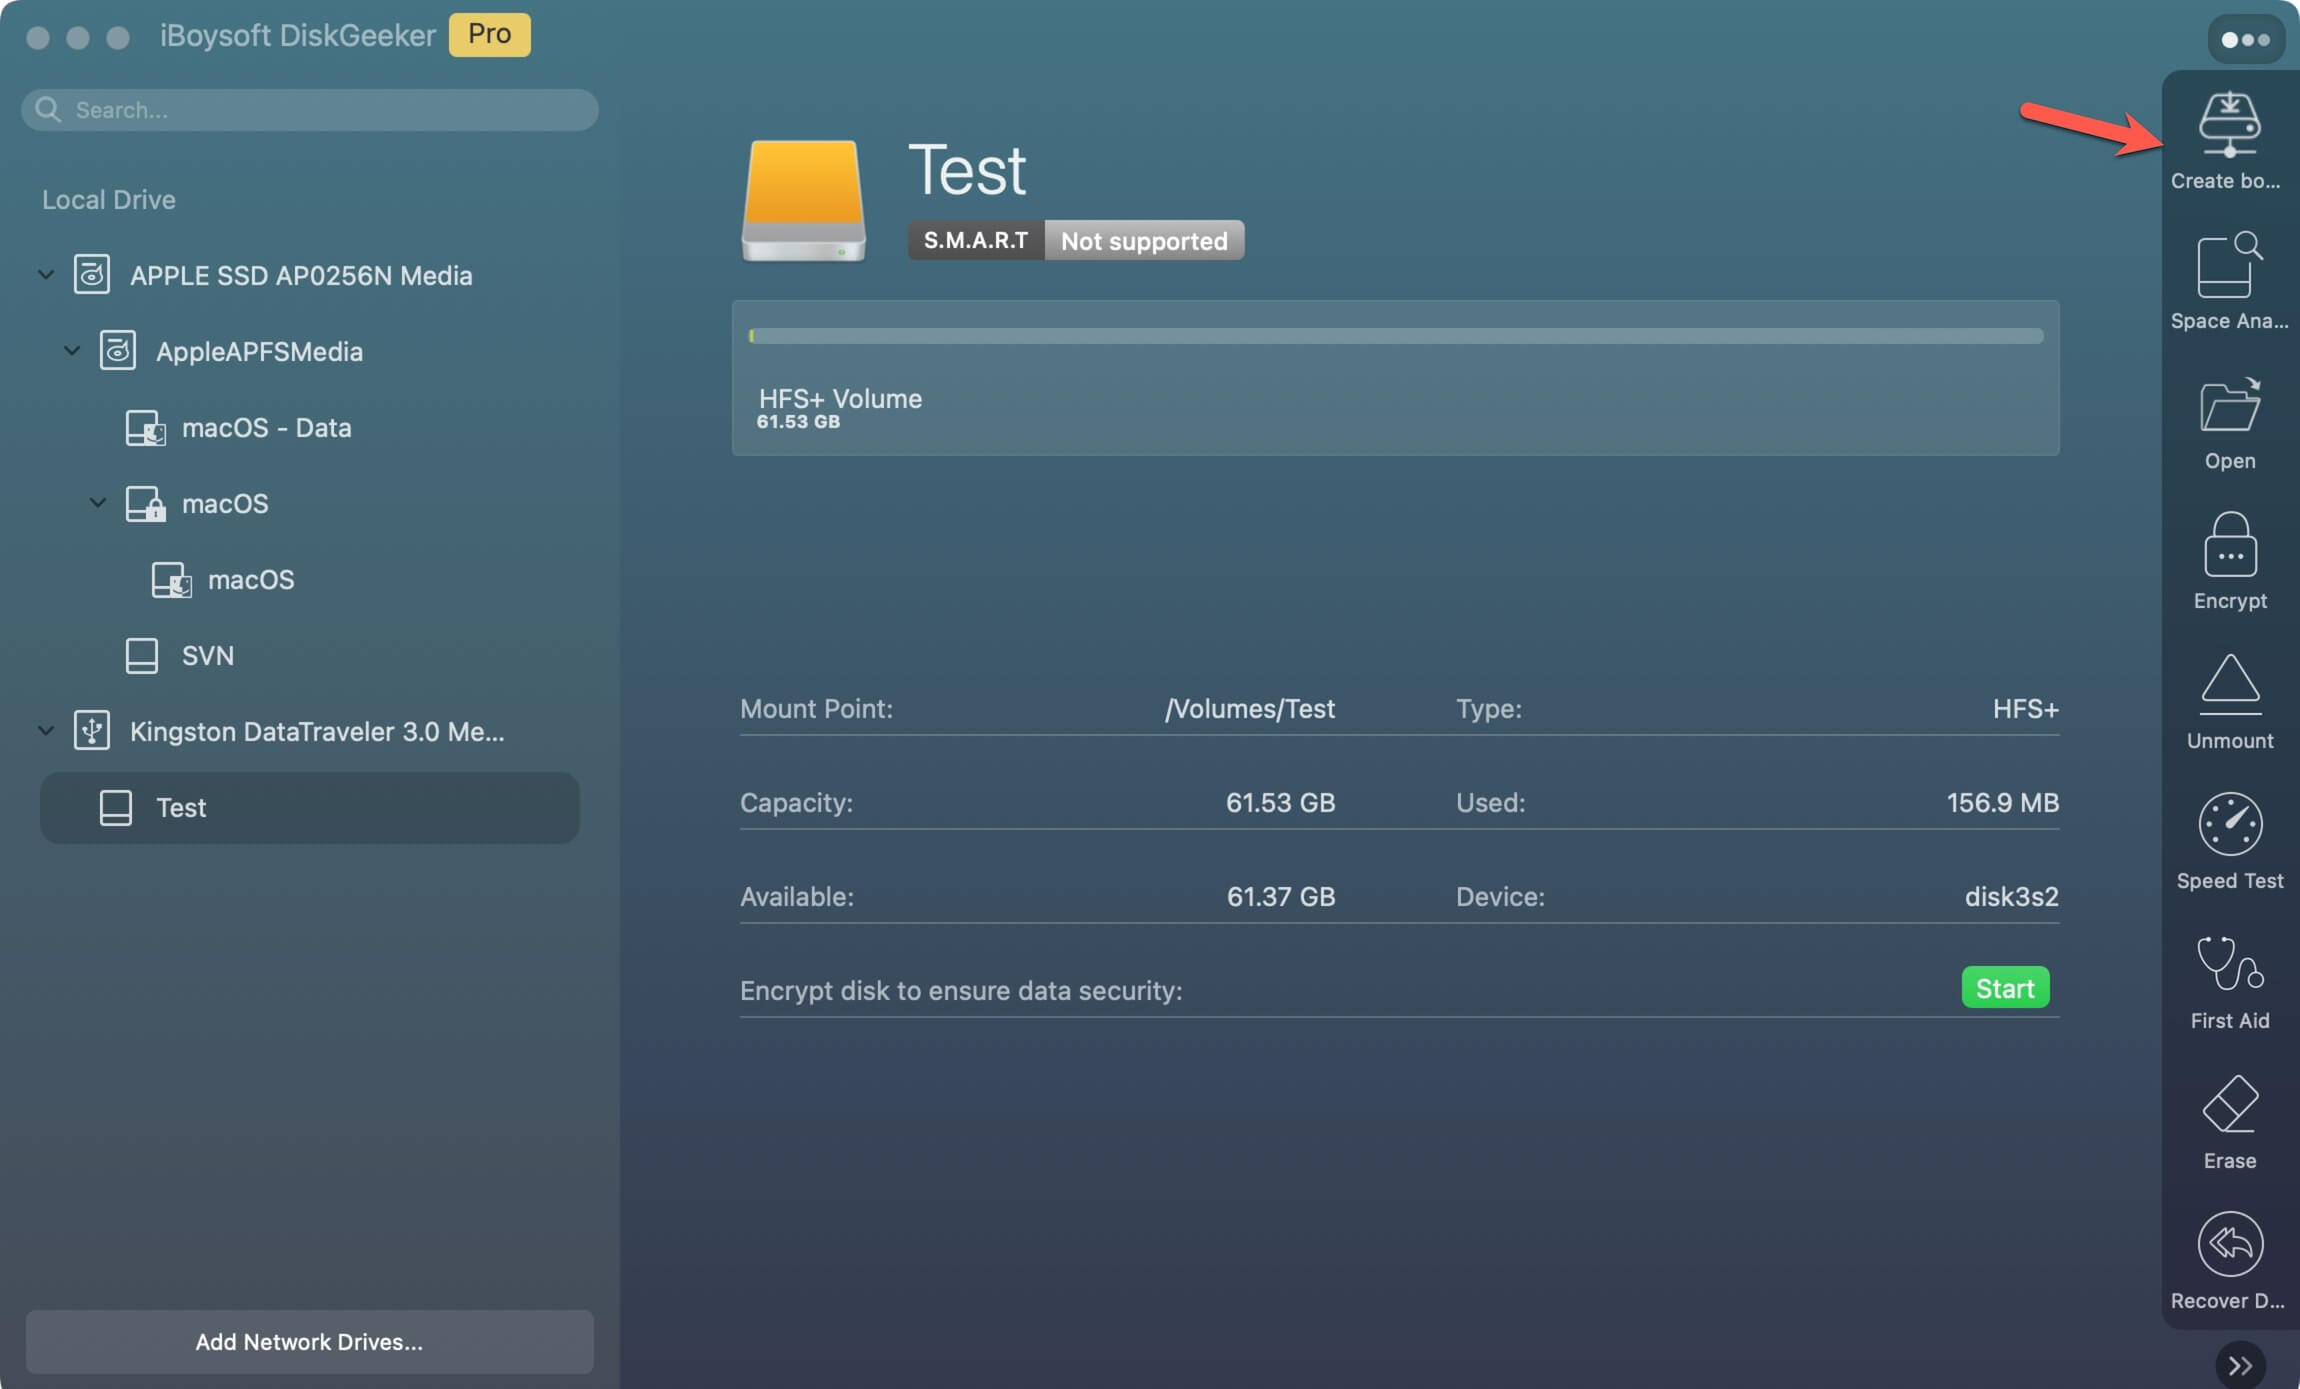
Alternatively, a much easier way is to use iBoysoft DiskGeeker for Mac to create the macOS Monterey bootable USB. With it, you don't need to deal with complicated Terminal commands—just a few simple clicks, and you can quickly create a bootable USB drive.
Read to learn how to quickly create a bootable USB on a Mac:
- Download, install, and open iBoysoft DiskGeeker for Mac.
- Connect the external hard drive you've prepared to your Mac. Then select a volume, and click Create boot disk.
- Click Continue when you are prompted that your selected volume will be formatted.
- Select macOS 12 Monterey and click Create boot disk.
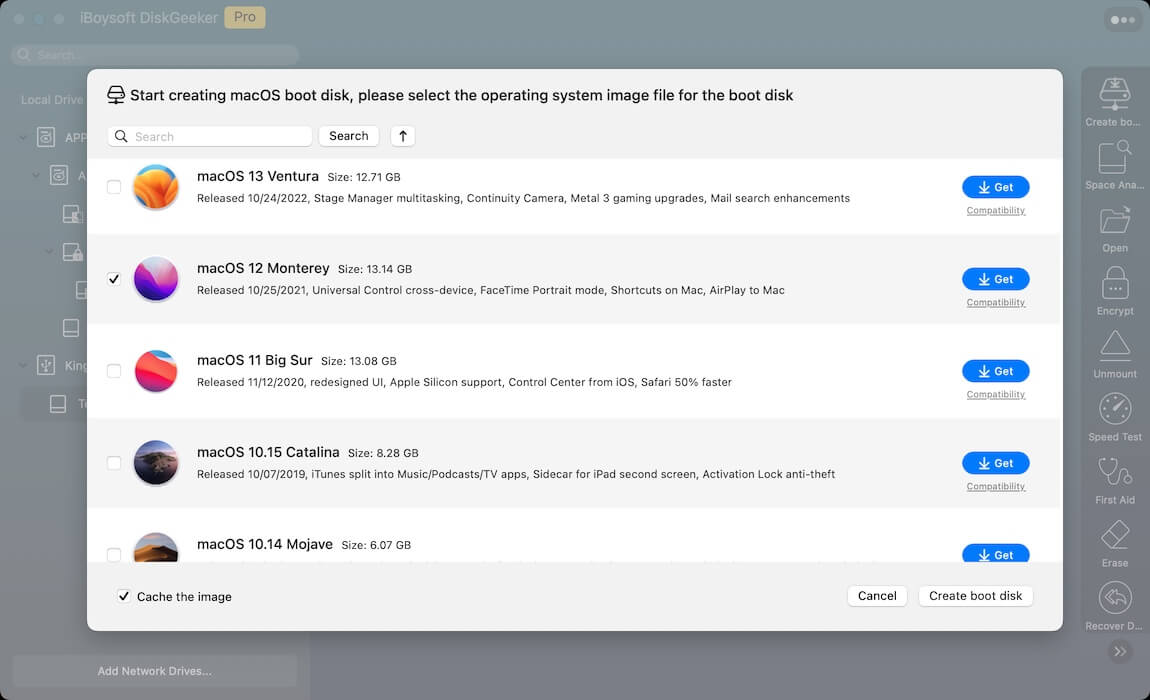
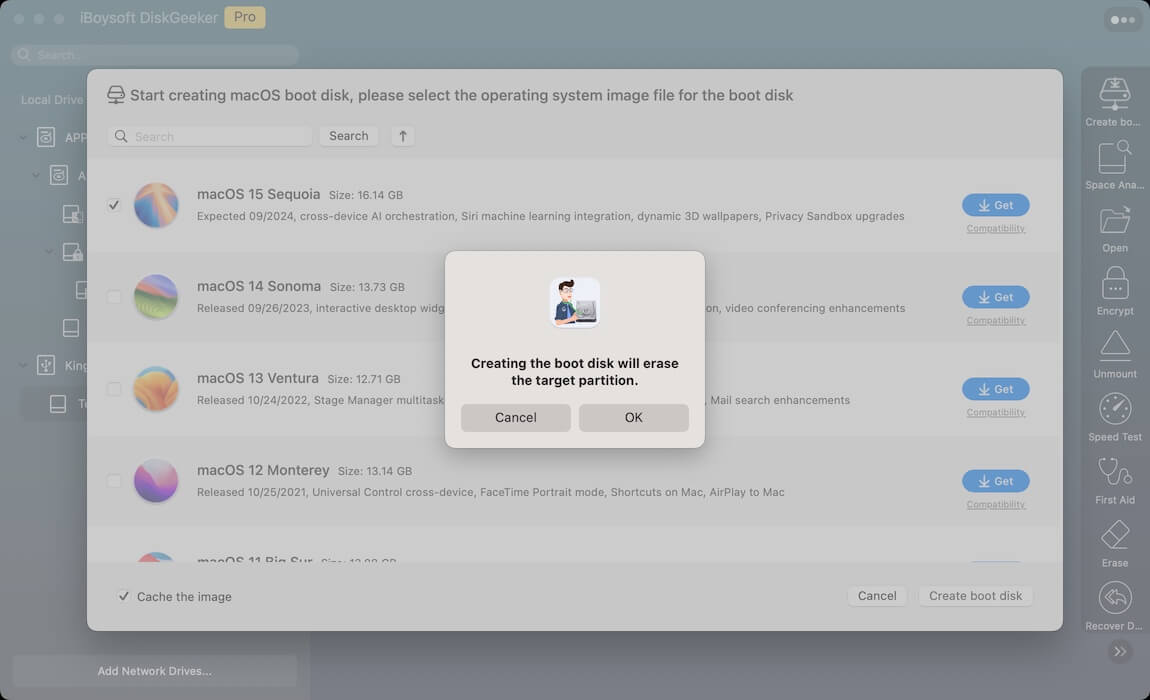
- Click OK when you are notified the target disk will be erased.
- Once the DMG file has finished downloading, confirm the warning message that informs you the target partition will be erased during the creation process by clicking OK.
- After that, just wait a little while, and the macOS Sonoma bootable USB will be successfully created.
Share to help more people know the method to create a bootable USB on a Mac.
How do you use the macOS Monterey bootable USB on Mac
Once your macOS Monterey bootable USB installer is ready, you can use it to install or reinstall macOS Monterey.
First, insert the USB drive into the target Mac and ensure it is connected to a power source. Then, restart the Mac and immediately hold down the Option key on an Intel Mac or the Power button on an Apple Silicon Mac until the startup disk selection screen appears. From the list of available bootable drives, select Install macOS Monterey and press Return to launch the installer.
Once you enter the macOS Utilities window, you can choose Disk Utility to erase the target drive for a clean installation or proceed by selecting Install macOS Monterey to continue with the setup.
Follow the on-screen instructions to complete the installation process. Once the installation is complete, your Mac will automatically restart and boot into the macOS Monterey setup screen.
When do you need to create a Monterey USB Installer
We believe you already know how to create and use a macOS Monterey USB installer. If you encounter any of the following situations in the future, you can use the USB boot disk to install or restore macOS Monterey.
- Upgrade or reinstall macOS Monterey: If your Mac needs to be upgraded to Monterey or your current system has issues that require a reinstall, a USB boot disk allows for a faster and more convenient installation.
- Install macOS Monterey on multiple Macs: If you need to install Monterey on multiple Macs and want to avoid downloading the installation file each time, a USB installer enables offline installation, saving time and bandwidth.
- Mac won't boot (Recovery Mode unavailable): If your Mac encounters serious issues and cannot access macOS Recovery, a USB boot disk can be an independent recovery tool, allowing you to boot up and reinstall macOS.
- Perform a clean installation (erase disk and reinstall): If you want to completely wipe your Mac and perform a fresh installation, a USB installer helps format the disk and install a clean version of macOS Monterey.
- Downgrade to macOS Monterey: If you are running a newer macOS version (such as macOS Ventura or Sequoia) but wish to revert to Monterey, a USB boot disk is the most straightforward and effective method.
- Create an emergency boot disk: If you're concerned about potential system failures or compatibility issues, preparing a macOS Monterey USB boot disk in advance can serve as an emergency recovery tool for fear that you cannot access the system.
Share this post to let more people know how to create a Monterey USB installer!