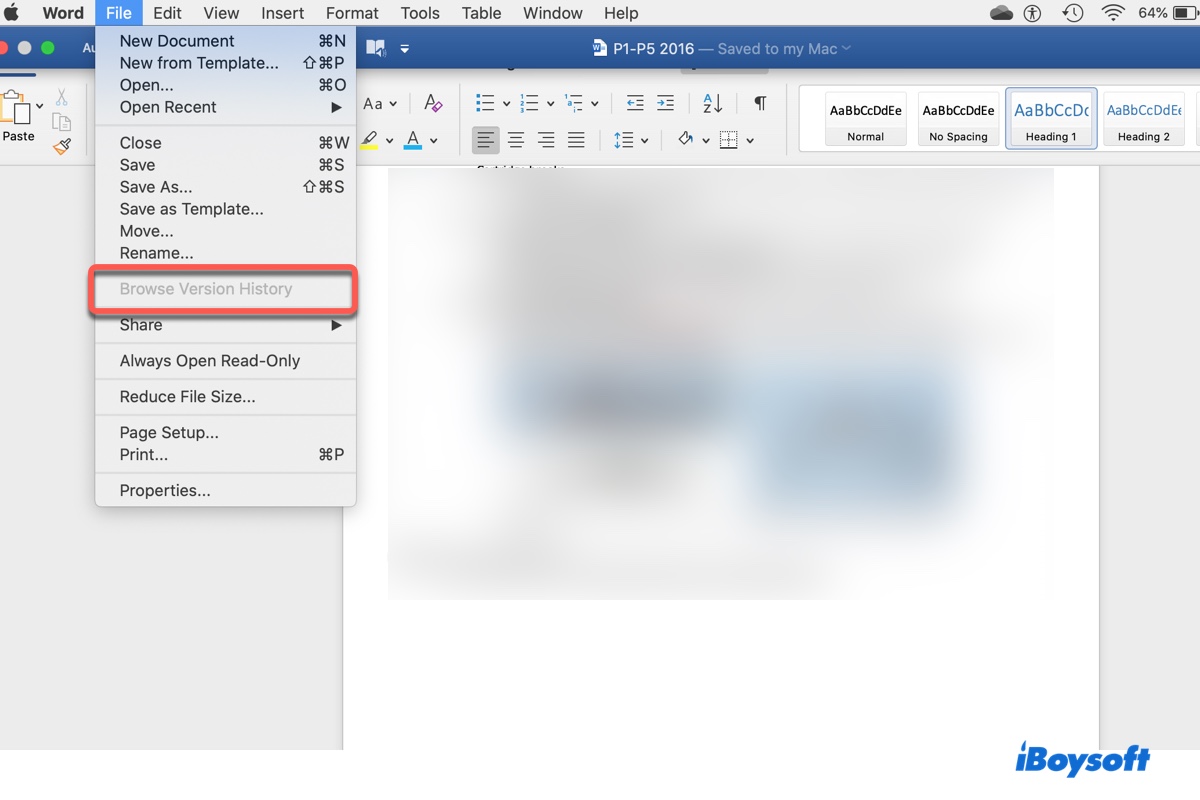
Microsoft Excel, Word, and PowerPoint allow you to browse version history on Mac to conveniently restore to a previous version. However, the feature isn't enabled by default. The "Browse Version History" button is grayed out when it's turned off.
If you have assumed the option is on, you're likely frustrated now because you can't go back to an older version. But all hope is not lost. There are still ways that may help you get back to the previous version. Try them out before giving up.
| Recover previous version of Word/Excel/Powerpoint document on Mac when Browse Version History is grayed out | Availability |
| Way 1: Use iBoysoft Data Recovery for Mac | Easily check if a previous version is recoverable and recover data from Microsoft Word, Excel, or Powerpoint |
| Way 2: Check Time Machine backups or snapshots | Restore to a previous version when Time Machine is enabled |
| Way 3: Check the AutoRecovered files | Recover a previous vesion lost due to accidents like power outage |
Recover a previous version with this Microsoft Word/Excel/PPT recovery tool!
Why is Browse Version History greyed out on Mac?
"Why is Browse Version History grayed out in Word, Excel, or PowerPoint on Mac?" You may wonder. Here's the answer:
"Browse Version History" is grayed out on Mac when the files are stored locally. Only when the files are stored in the cloud with OneDrive or SharePoint will the option be available. This rule applies to all Office suites, including Word, Excel, and PowerPoint.
(The picture below shows Microsoft Excel Browse Version History grayed out.)
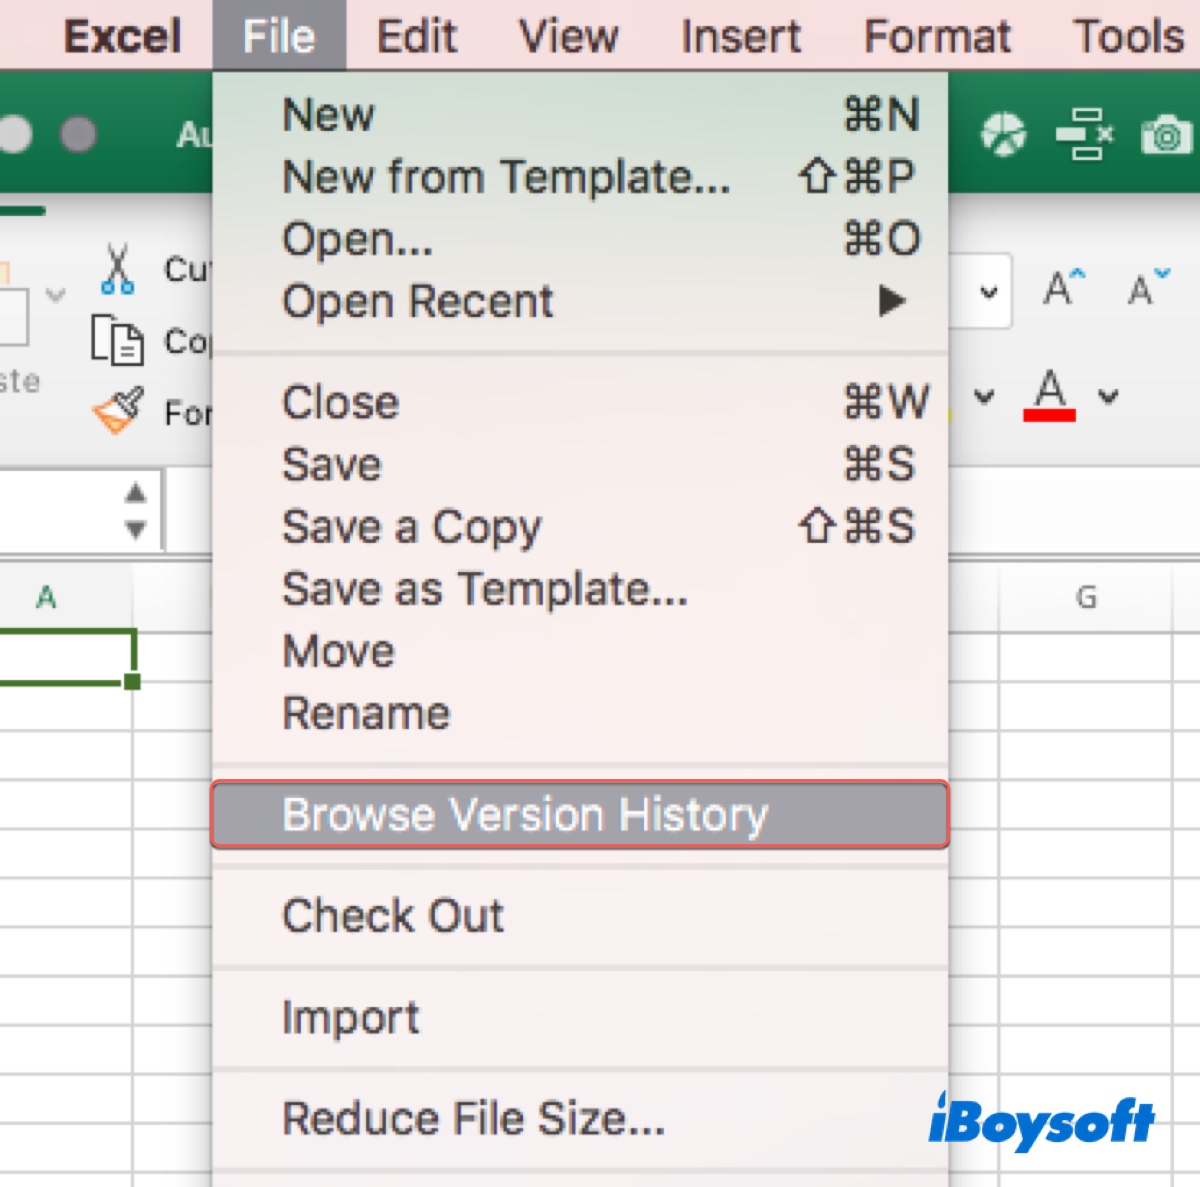
That said, you can't click Browse Version History in Word, Excel, or PowerPoint if the file is stored locally rather than in the cloud.
How to enable Browse Version History on Word, Excel, or PowerPoint?
To enable "Browse Version History" on Mac, you just need to save the file you're working with to OneDrive or SharePoint. SharePoint and OneDrive for work or school are usually provided by your organization. But you can use the free 5GB of cloud storage offered by OneDrive for every Windows account.
Here's how to enable Browse Version History on Word/Excel/PowerPoint on Mac:
- Open the file in the specific app.
- Click Save > Save As.
- Name the document.
- Select OneDrive or SharePoint as the location. If the dialog box doesn't show an online service, click "Online Locations."

- Once the location is selected, navigate to the folder where you want to keep your file.
- Click Save.
Note that the feature needs to be enabled before saving changes. If you turn it on now, you'll have access to version history in the future.
How to browse version history on Mac for Word, Excel, or PowerPoint?
If you're unsure how to browse version history on Word on Mac, similar to Excel or PowerPoint, follow the steps below.
In Microsoft 365 for Mac, open the document, select its name on the title bar and click Browse Version History, then choose a version to view.
In an older version of Office for Mac, open the document, select File > Browse Version History, then choose a version to open it in a separate window.
Note that if you're logged in with a personal Microsoft account, you can retrieve the last 25 versions. However, if you sign in with a work or school account, the number of version history you can browse will depend on your library configuration.
This is how to check version history in Word, Excel, and PowerPoint. Share it to help others find version history!
How to recover data when PowerPoint/Word/Excel Browse Version History is grayed out on Mac?
So, the question is, how can you recover data if "Browse Version History" is grayed out in Word, Excel, or PowerPoint on your Mac? Here are the ways worth trying:
Way 1: Restore the previous version with iBoysoft Data Recovery for Mac
One easy way to verify if your work is recoverable is to use a document recovery tool like iBoysoft Data Recovery for Mac. It can scan your drive to find all files stored on it, even if they don't seem to be available now. As long as the previous version still exists, this software will dig it out.
The program runs perfectly on all types of Macs, including Intel-based, T2, M1, M2, and M3 Macs. It's the go-to tool for recovering a previous version of a Word, Excel, or PowerPoint document on Mac when "Browse Version History" appears grayed out. It also has wide compatibility with macOS versions, supporting Mac OS X 10.11 El Capitan and later.
Take these steps to restore to an earlier version of Microsoft Word/Excel/PowerPoint documents on Mac:
Step 1: Download and install iBoysoft Data Recovery for Mac.
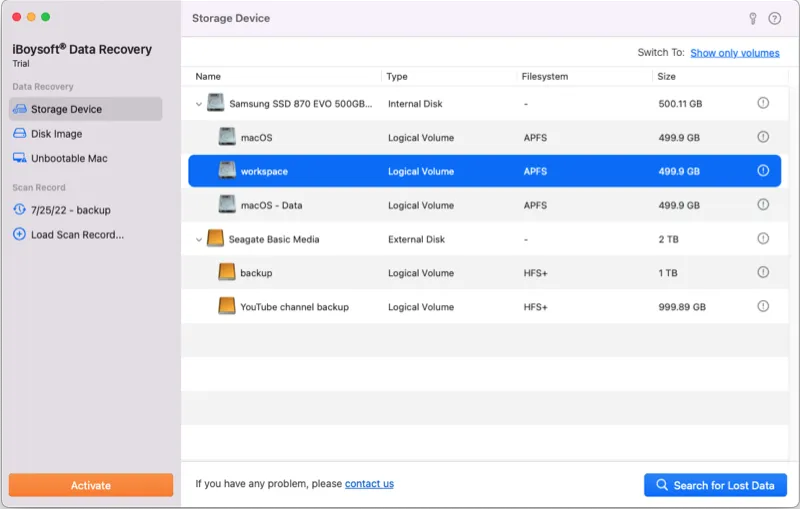
Step 2: Open the software, select the drive where the PowerPoint/Excel/Word document is stored, and click "Search for Lost Data."
Step 3: Wait until the scan is finished.
Step 4: Filter the results to locate the desired document. For instance, you can choose Documents on the left side, or search for the document extension like (.docx) in the search bar.
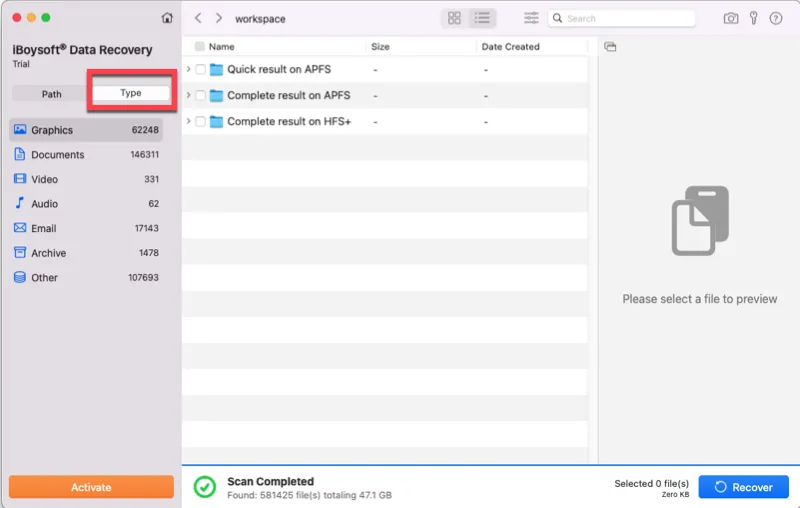
Step 5: Preview the file for free.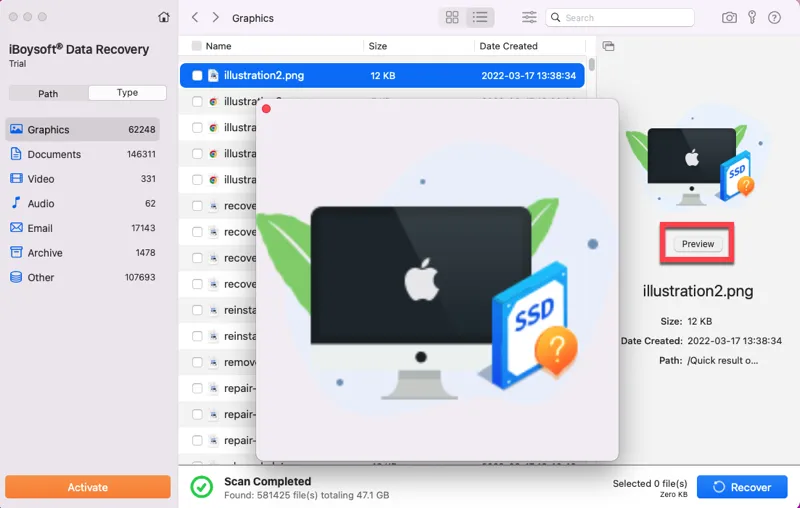
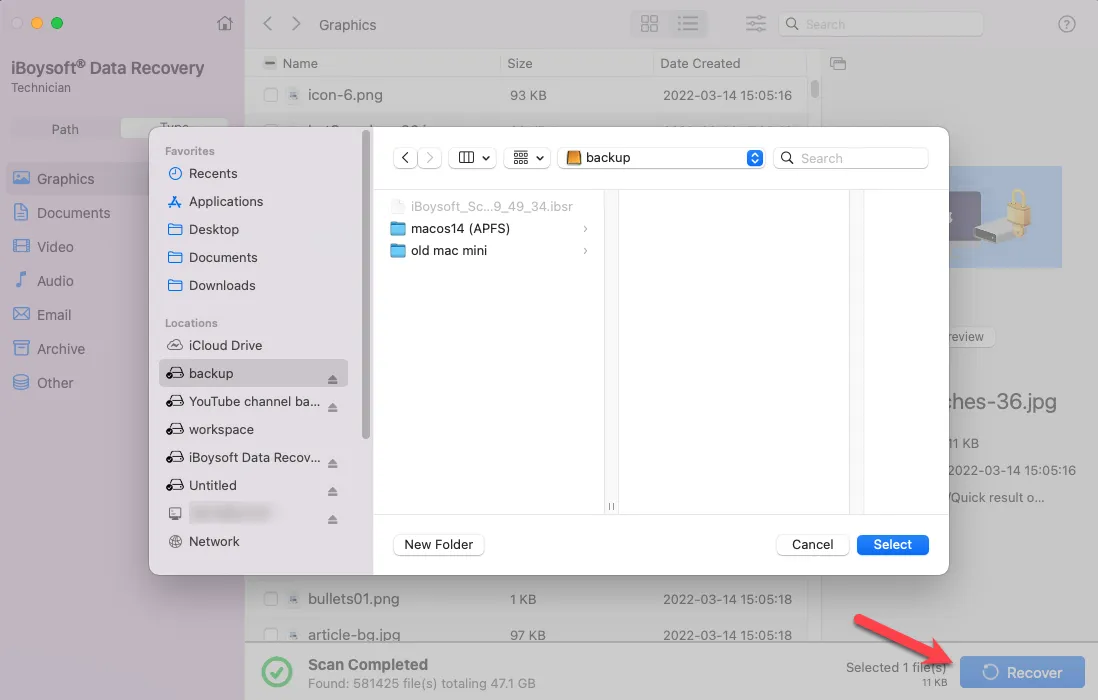
Step 6: Tick the box next to the file you want to recover, click Recover, and then save it to a different location.
Share this tool if it helps you recover previous version of Word/Excel/PowerPoint document on Mac!
Way 2: Check Time Machine backups or snapshots
Did you configure Time Machine on your Mac? If your Mac was backed up after the version you want to retrieve was saved and before a new version was created, you can easily restore that version with the backup.
Even if the backup disk isn't connected, you might still have a local snapshot of your previous version of the office document if you have set Time Machine to automatically back up your Mac.
Usually, Time Machine creates a snapshot every hour for file changes and stores it for up to 24 hours or until the storage is needed. If you act fast, you can recover your data from the snapshots.
To restore a previous version of Word, Excel, or PowerPoint document on Mac:
- Connect the backup disk if you think the intended document version is saved on a backup.
- Open Finder, then navigate to where the file is located and select it.
- Launch Time Machine.
- Use the arrows and timeline to move to the backup or snapshot containing the previous version.
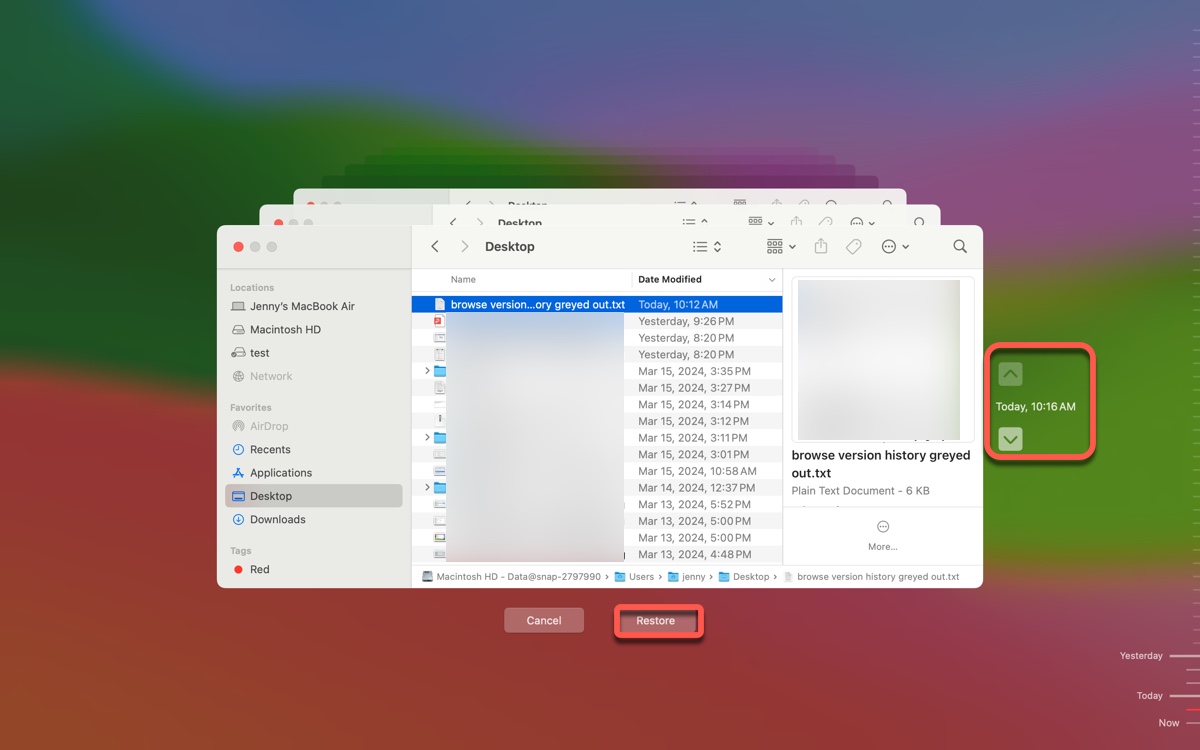
- Select it and click Restore.
Way 3: Check the AutoRecovered files
There's a feature in Office applications called AutoRecovery. It defaults to saving a copy of a file in the background every 10 minutes to prevent data loss in the event of a power outage or system crash.
If you lost the previous version due to an unexpected shutdown, you can recover the file from the AutoRecover folder. However, this doesn't work for files that are manually saved because the AutoRecovered files are removed in this case.
To find the AutoRecovered files on your Mac, open Finder, then click Go > Go To Folder and enter the proper folder path below:
Word: /Users/<username>/Library/Containers/com.Microsoft/Data/Library/Preferences/AutoRecovery
Excel: /Users/<username>/Library/Containers/com.microsoft.Excel/Data/Library/Application Support/Microsoft
PowerPoint: /Users/<username>/Library/Containers/com.Microsoft.Powerpoint/Data/Library/Preferences/AutoRecovery
Share this guide to benefit others who can't browse version history on Word, Excel, or PowerPoint.