
Normally, when your Mac won't connect to Wi-Fi, the first thing you could do should be to use third-party software to find out where the Wi-Fi problem is and fix it. But do you know that your Mac device actually has a built-in Wi-Fi diagnostic tool - Mac Wireless Diagnostics?
This tool is cost-free and if you want to make the best use of this app to fix some wireless problems, you shouldn't miss this post which introduces what is Wireless Diagnostics on Mac and how to open Wireless Diagnostics on Mac.
What is Mac Wireless Diagnostics
Mac Wireless Diagnostics is a network analysis tool in macOS that detects all the wireless problems and solves them right away. This tool is often used when your Mac is connected to Wi-Fi but has no internet, which makes it impossible to view photos, stream music, receive or send emails, or open a website.
How to open Wireless Diagnostics on Mac
To open Wireless Diagnostics on Mac, simply hold the Option key on your keyboard, and meanwhile, click the Wi-Fi icon on the top right corner of your screen, and select Open Wireless Diagnostics from the drop-down menu. Alternatively, you can also press the Command + Space keys to bring up Spotlight Search on Mac and type Wireless Diagnostics to search for and access it.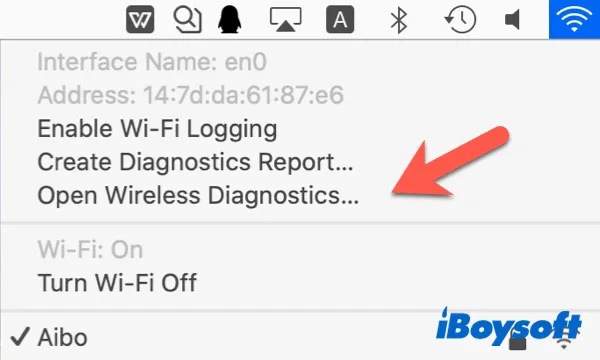
Now, if you have opened this Mac Wi-Fi Diagnostics tool, let's see how to use it to troubleshoot Wi-Fi issues.
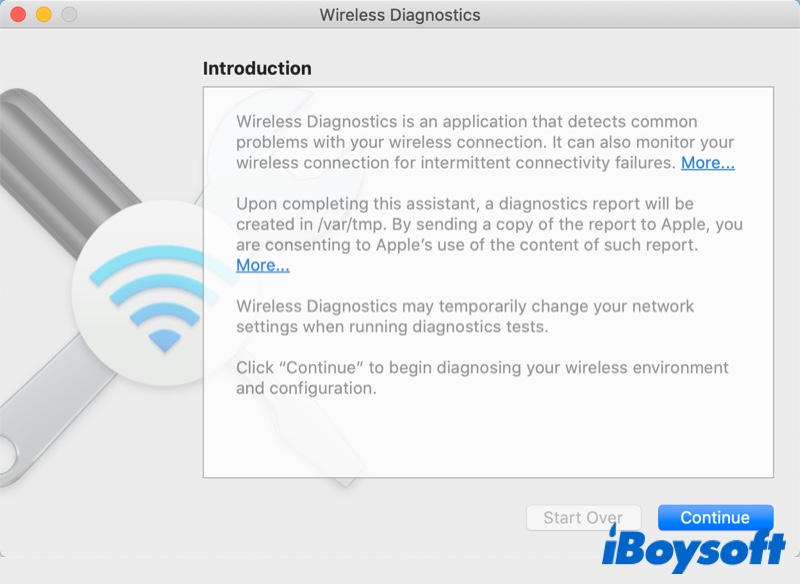
- When you access the Wireless Diagnostics on Mac, you'll be prompted with a dialogue window as below. After viewing the information on the screen, click Continue to begin diagnosing.
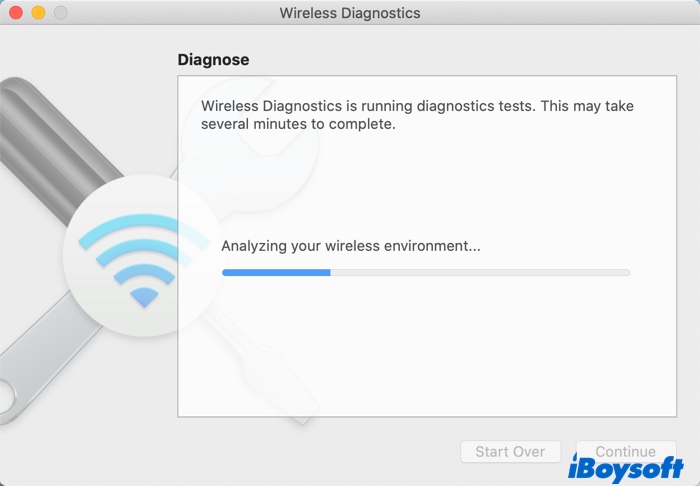
- The app runs diagnostic tests immediately. If you have network issues, this could take a few minutes. If your Wi-Fi connection is working normally, you receive that information quickly.
- A new dialogue window appears, if you are facing Wi-Fi problems, select Monitor my Wi-Fi connection.
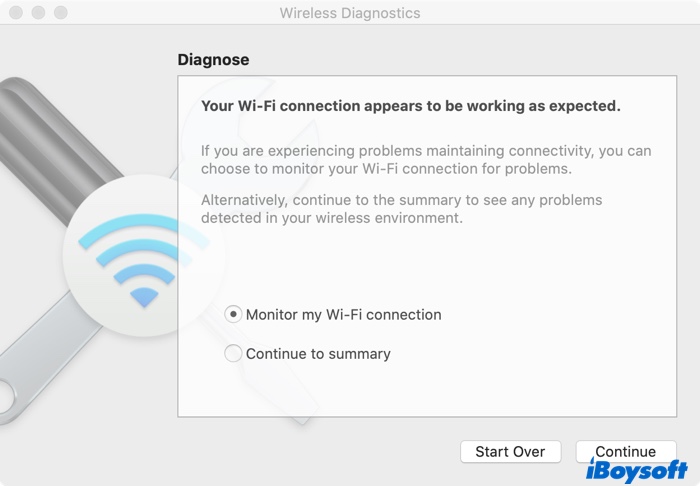
- After several minutes of monitoring the Wi-Fi connection, the tool generates a diagnostics report. Then, select Continue to summary to get the information about the analysis.
- The program will create a compressed file with all the relevant details, which can help the service provider, IT support representative, or network administrator identify Wi-Fi issues. This file is stored in the /var/tmp folder. The name of this compressed report will start with WirelessDiagnostics and ends with .tar.gz.
How to quit Wireless Diagnostics on Mac
After finishing using Mac Wireless Diagnostics, you may want to close it. Here's what to do to quit Wireless Diagnostics on Mac:
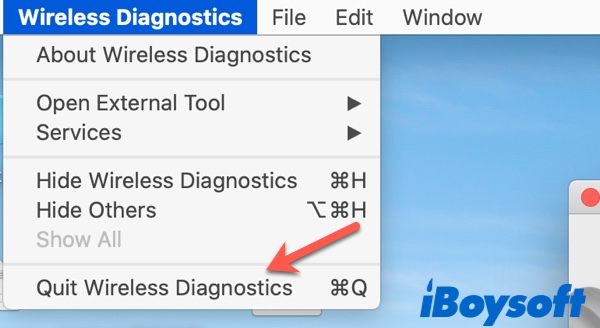
In the Wireless Diagnostics window, select Wireless Diagnostics from the upper-left corner of the menu bar and click Quit Wireless Diagnostics from the context menu.
Also, you can quit Mac Wireless Diagnostics just like forcing quit other apps on Mac. Simply press the Command + Option + Esc keys on your keyboard to bring up the Force Quit Applications window, and then select Wireless Diagnostics and hit the Force Quit button.
Other Tools in macOS Wireless Diagnostics
Troubleshooting the Wi-Fi connection problem isn't the only thing that Wireless Diagnostics does. It has several other tools that perform different functions. Click Window from the Wireless Diagnostics menu bar, and you'll find these tools.

- Assistant: Produce a report which you can send to Apple Support for assistance and technical support. You might not find this feature super helpful as all the relevant data is present in the program's other windows.
- Info: Show a full overview of your Wi-Fi network: Name, Mac address, channel, IP address, and more are all displayed.
- Logs: Store the network process activity in the system log file. You can access the saved information through the console app but the stored logs are not easy to understand and interpret.
- Scan: Show the details about all Wi-Fi networks in the range of your Mac and provides recommendations about which channels are the best for 2G and 5G networks.
- Performance: This is a visual representation of the speed, quality, and signal strength of your Wi-Fi connection displayed in real-time, and can be very valuable for determining which areas of your house have the best connections.
- Sniffer: Allow you to sniff the Wi-Fi signal in the air, capturing nearby packets and logging them. It'll capture the packets for as long as you want to monitor them and save a log of the captured packets to a .wcap file on your desktop.
- Sidecar: This is another visual representation of Wi-Fi data. It displays things like latency, failure, and channel congestion.
FAQs about Wireless Diagnostics on Mac
- QDoes Mac Have a Wi-Fi diagnostic tool?
-
A
Yes, it's called Mac Wireless Diagnostics. This Wi-Fi diagnostics app is designed primarily to help users resolve Wi-Fi issues.
- QCan I delete Wireless Diagnostics on Mac?
-
A
If you're meaning the multiple desktop folders named Wireless Diagnostics followed by numbers & letters, you can delete them by dragging them into Mac trash on the condition that you don't need them anymore.